Easter, Home Decor
Fabric Bunny Bowl Fillers
22
Mar
Mar
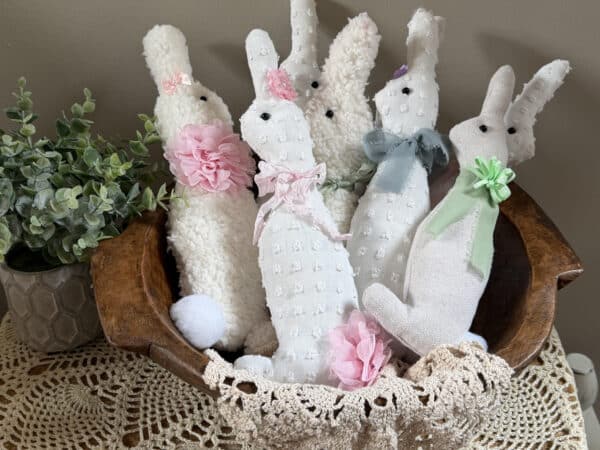
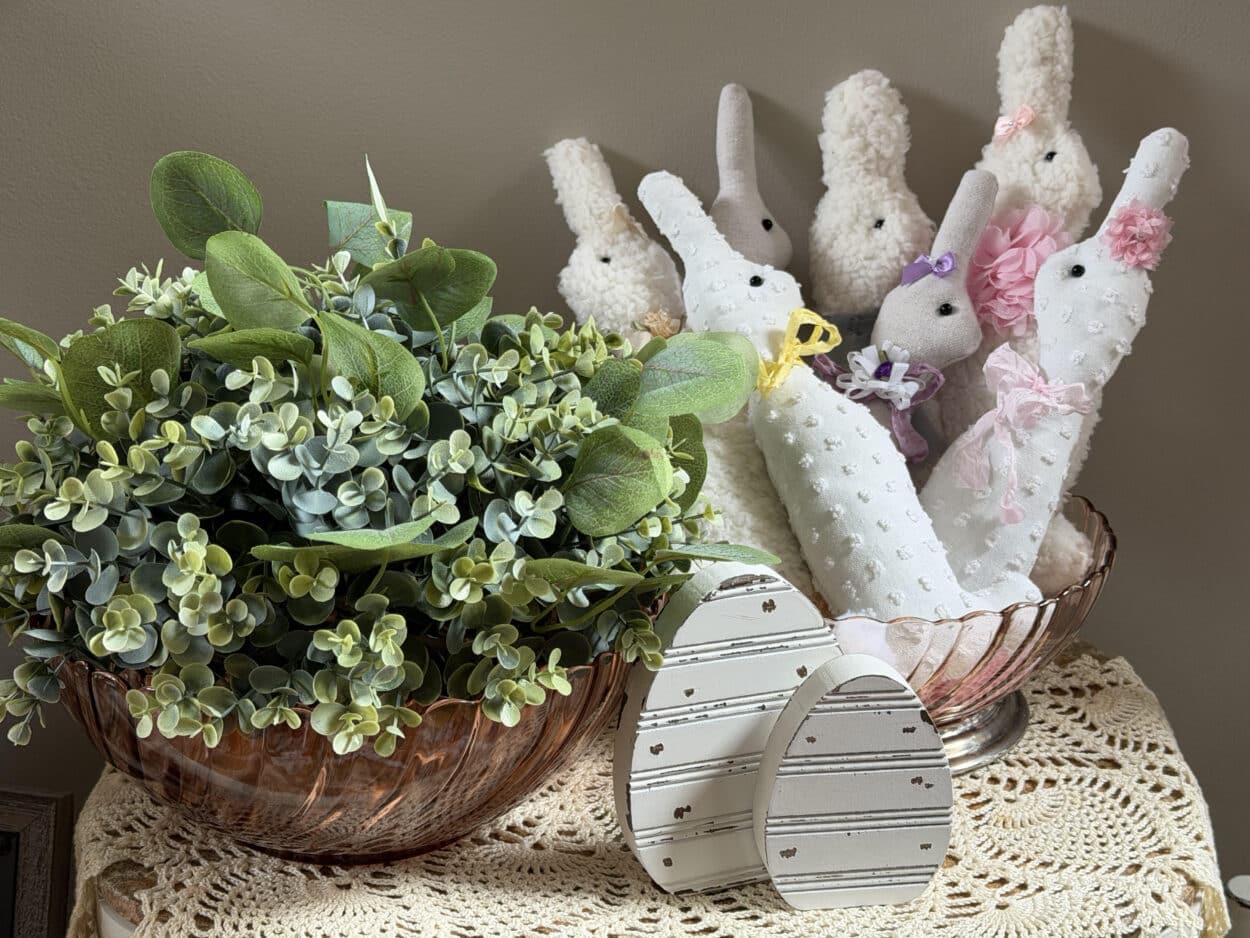
I think these fabric bunny bowl fillers came out adorable! I used a few different fabrics to make my bunnies; I like the look of mixing them together. Depending on the fabrics you choose the bunnies come out a little different. The sherpa fabric made the bunny look bigger and fuller versus the drop cloth and chenille bedspread I used for the others.
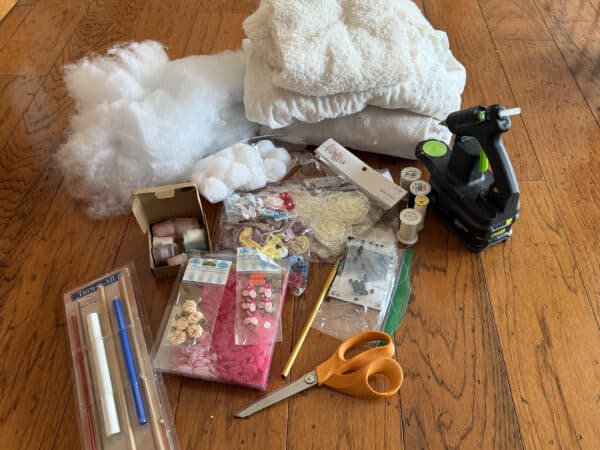
Materials I Used
- Bunny bowl filler pattern
- Fabrics of your choice. I used a 12″w x 13″ h piece of fabric for each bunny
- Sewing Machine and thread to match fabrics
- Sewing needle and matching threads
- Black thread
- 6mm black beads
- Polyester fiberfill
- Pencil or fabric marking pen
- 1.5″ white pom poms
- Ribbons of choice
- Embellishments such as little bows and flowers
- Scissors
- Turn it all tool
- Hot glue gun and glue sticks
Step 1
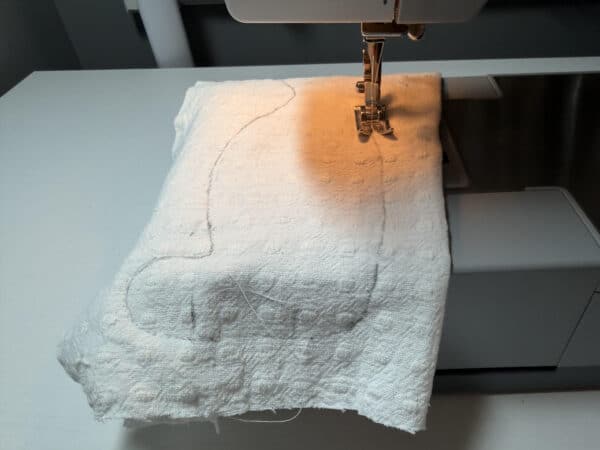
Print and cut out the bunny bowl filler pattern. Fold your fabric in half with the right side facing in. Trace the bunny pattern onto the fabric. Mark the opening so you know where to start and stop sewing.
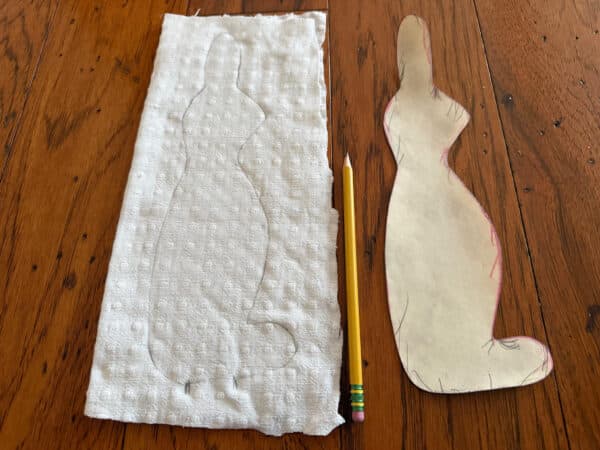
Use a sewing machine to sew the bunny on the traced line.
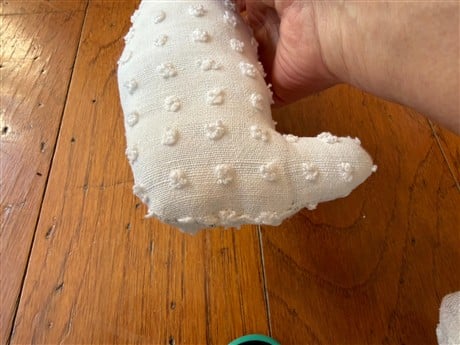
Cut out the bunny about 1/4 inch away from the sewn bunny. Leave a little extra fabric at the opening; see the photo below. Using scissors make small snips around all the bunny’s curves. This will help stop the fabric from puckering when turned right side out.

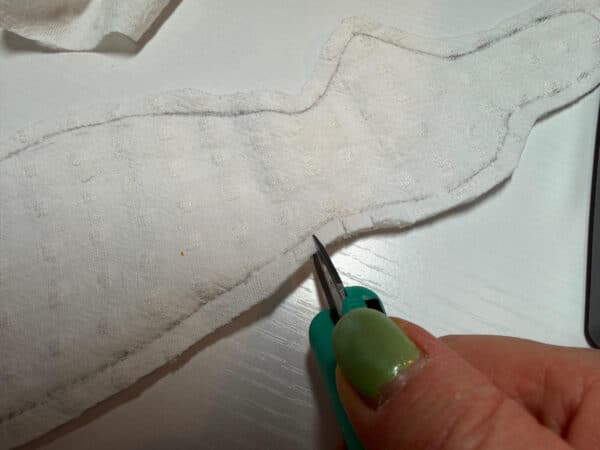
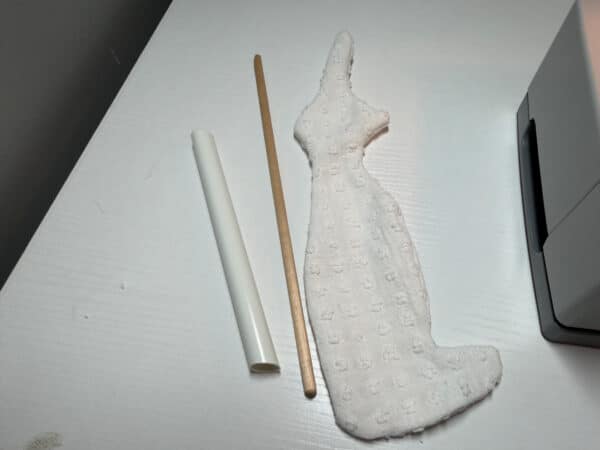
Using a turn it all tool turn the bunny right side out.If you do not have one, you really need to invest in a turner; it makes turning so much easier.
Step 2
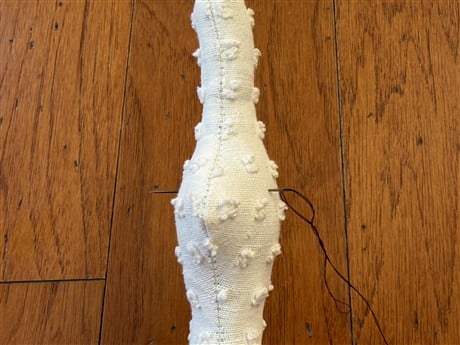
Fold in the extra fabric at the opening of the bunny.
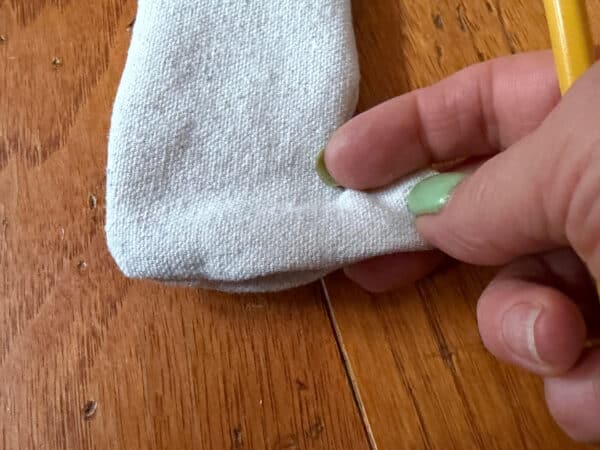
Firmly stuff the bunny. I like to use the eraser end of a pencil to push the stuffing in.
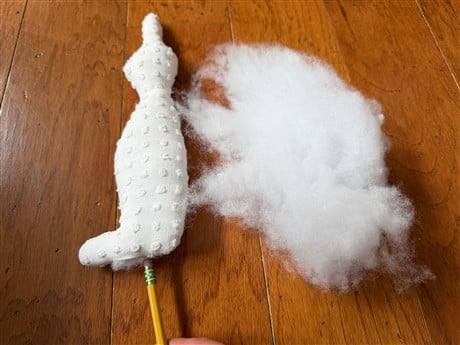
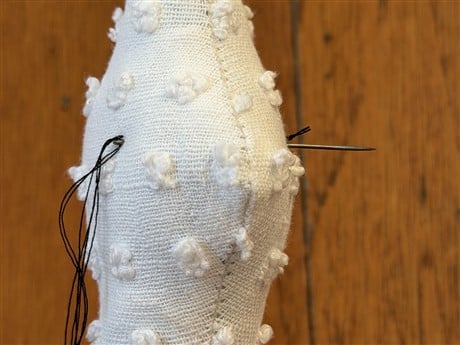
Use matching thread and a sewing needle to sew the opening closed.

Use a needle and black thread to sew on the beads. I doubled the thread to make it stronger. Run the threaded needle through the bunny’s face where you think the eyes should be.
Slide a bead onto the needle then run the needle back through the head to the other side.

Slide a bead onto the needle, then pull the needle and thread slightly to position the first bead against the face.
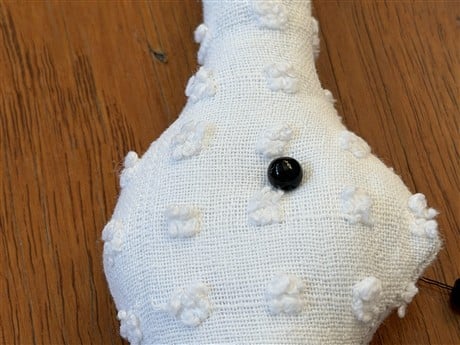
Run the needle back through the head to the other side. Go through the bead and pull the thread lightly to draw both eyes slightly into the face. Put the needle through the bead and bring it back to the other side.Go through the second bead and run the needle back to the first eye. Make a knot under the bead, run the needle through to the other side and trim off excess thread.


Step 3
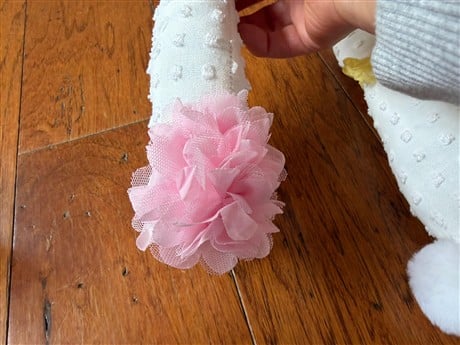
Add a small amount of hot glue to a pom pom and attach it to the bunny. You can also use a fabric flower as the tail as shown in the photos below.


Tie a ribbon of your choice around the neck and add any embellishments you would like. Below, you can see how I made some of my bunnies. I think I want to go back and add a wood button to the boys’ ribbon.

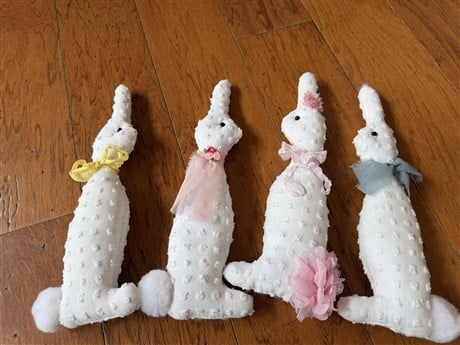
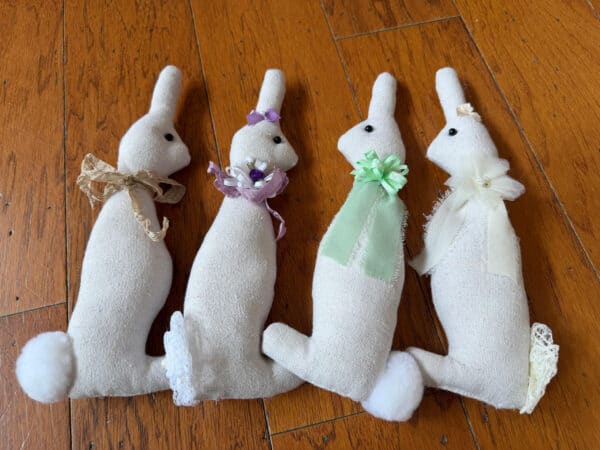
These cuties look good in a wood bowl also. They don’t have to be just bowl fillers they would be adorable stuck in a tree or run a ribbon through a few and use them as a garland. Use your imagination!