Easter, Home Decor
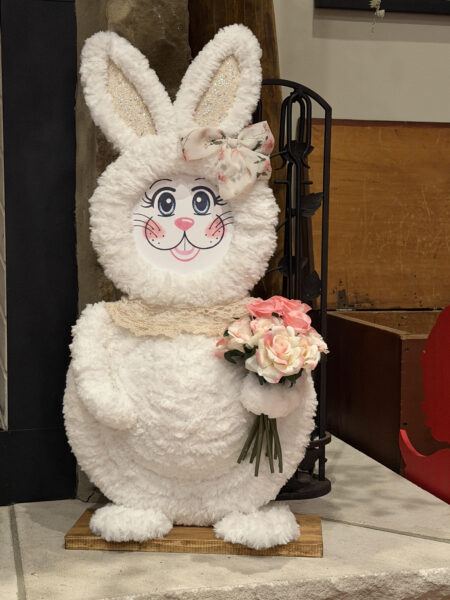
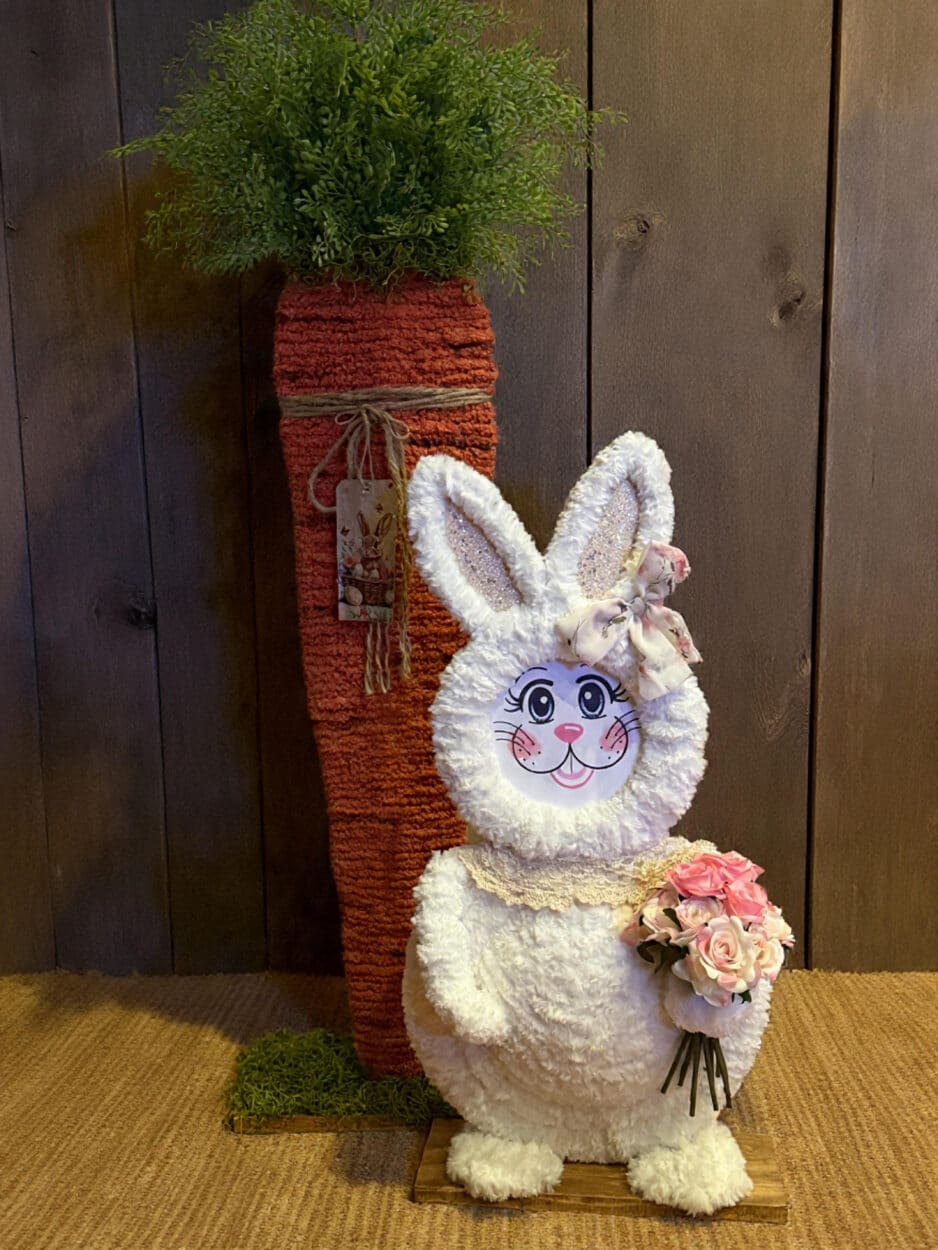
Free Standing Yarn Wrapped Bunny
26
Jan
Jan
I am so over all the snow and cold weather and ready for Spring! Last year I made this large free standing carrot so I wanted to make a free standing bunny to stand next to the carrot and I just love how this bunny turned out! I used all items I had in my craft stash so when I went for more of the Yarn Bee fur the moment yarn at Hobby Lobby they no longer carry it, so sad. If you use the yarn bee fur the moment you yarn you will need three skeins.I ran to Michael’s to find another yarn. s I found a fluffy chenille yarn by loops & threads which you will only need two skeins of this yarn.
Supplies I used:
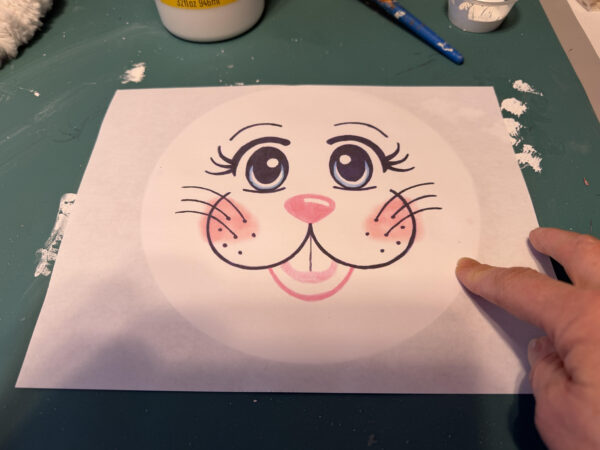
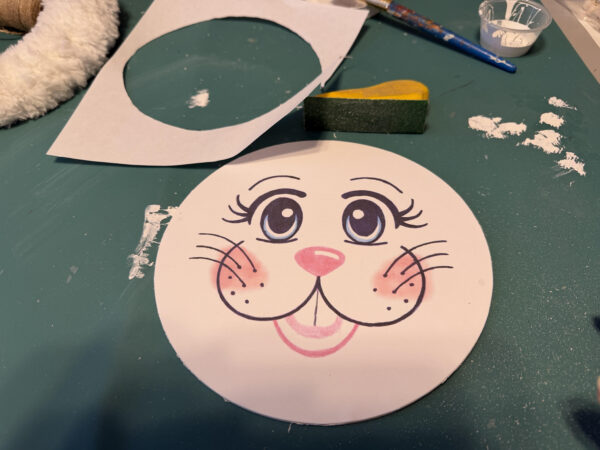
Bunny Face and Bunny Foot printout
- 1- wire bunny head wreath frame from Hobby Lobby
- 2- 14″ round wire wreath frames from Dollar Tree
- 1- 15″ piece from a 1×6
- 2- 4″ pieces of a 3/8 dowel
- 1- 2″ piece from a 3/8 dowel
- 1-10″ coco liner from Dollar Tree
- 6- 4″ white zip ties
- 8- 8″ white zip ties
- 1- 10″ wood circle
- 1- 8″ circle
- Polyester Fiberfill
Yarn of your choice. I used yarn bee fur the love yarn from Hobby Lobby and I used 3 skeins but they no longer carry this yarn so I went to Michael’s and purchased fluffy chenille yarn by loops & threads and I only need 2 skeins.
Fabric of choice for inside the ears. I used a sheet of confetti glitter (2415818) sold with the felt in Hobby Lobby. For the second bunny I am going to use pink felt.
- 2- 20″ pieces of 16 gauge jewelry wire. You can use whatever wire you like but this wire is very easy to bend.
- Piece of cardboard for the feet
- White craft paint
- Craft paint to closely match the color of your yarn
- Mod Podge
- Drill and a 3/8 drill bit
- Sandpaper
- Waverly antiquing wax
- Papertowel
- Paintbrushes
- Scissors
- Hot glue gun and glue sticks
- Gorilla Clear grip adhesive
- Ruler
- Pencile
- Wire Cutters
- Items to dress up your bunny such as a bow, flowers, etc.
Wrapping the frames with yarn
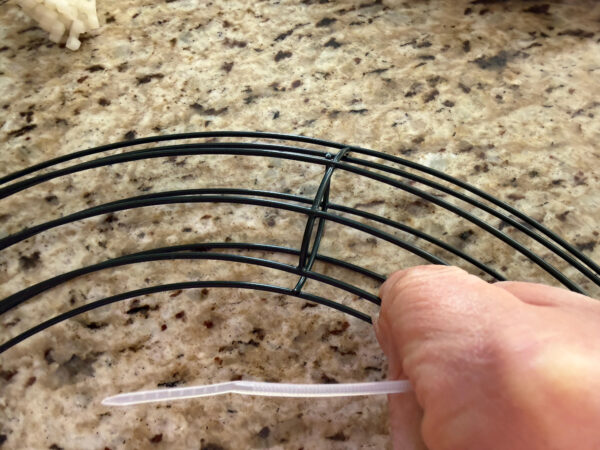
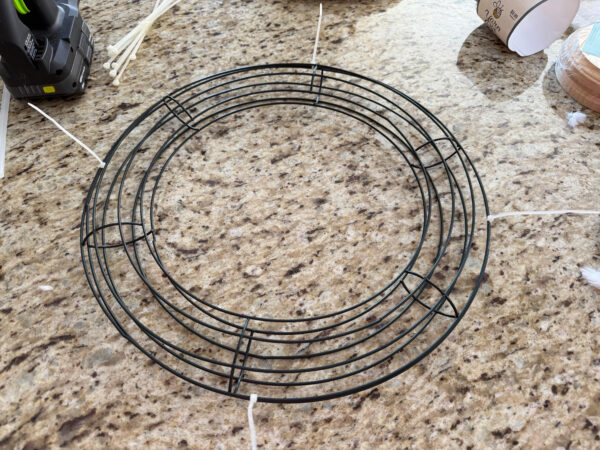
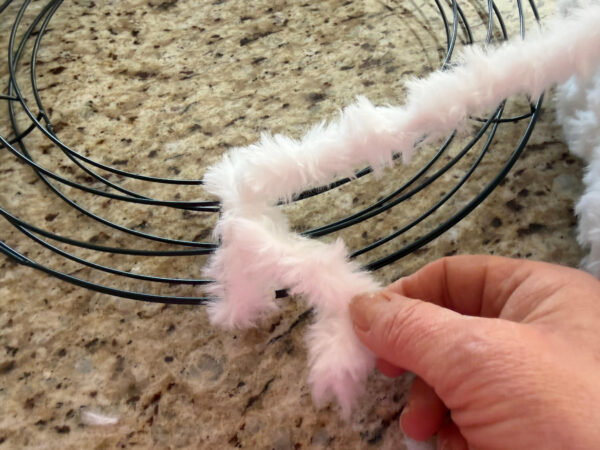
Place the backsides of the two 14″ round wire wreath frames together linning up the crossbars. Using four 4″ zip ties zip tie the frames together, one zip tie on all four sides, cut off excess.
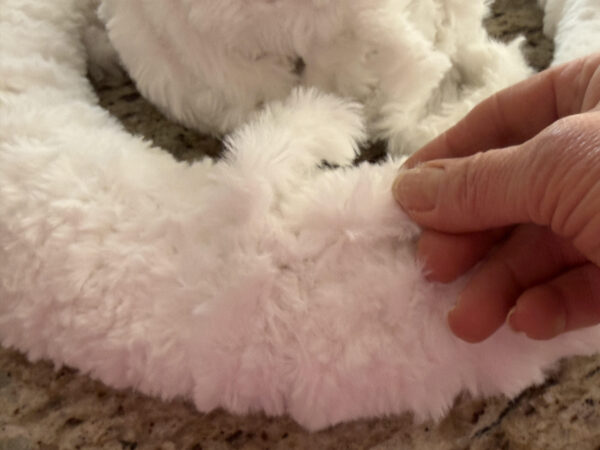
Next take the end of your yarn and tie a knot around one side of the frame, leave a little tail at the end of the yarn so you can tie the two ends together when you are done wrapping. Wrap the yarn all around the frame pushing the yarn down as you wrap so it is nice and full.
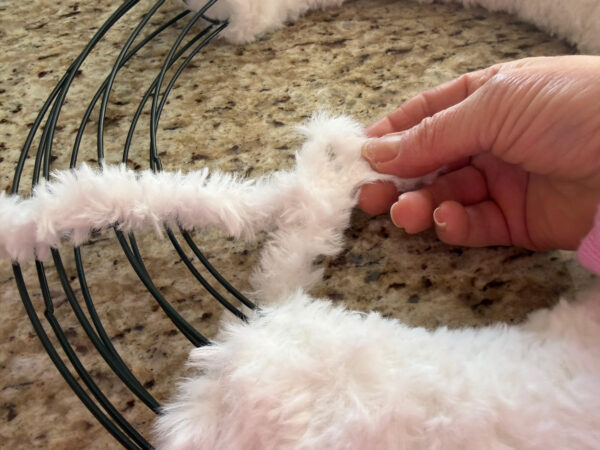
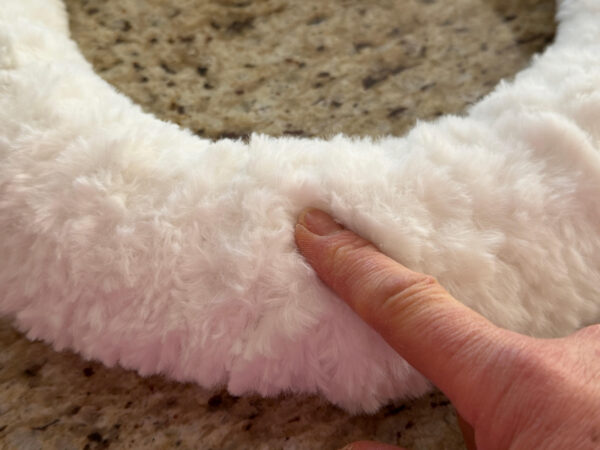
Once you have wrapped the wreath frame cut off excess yarn leaving a small amount to tie the two ends of yarn into a knot.Tuck the extra yarn ends down into the frame.
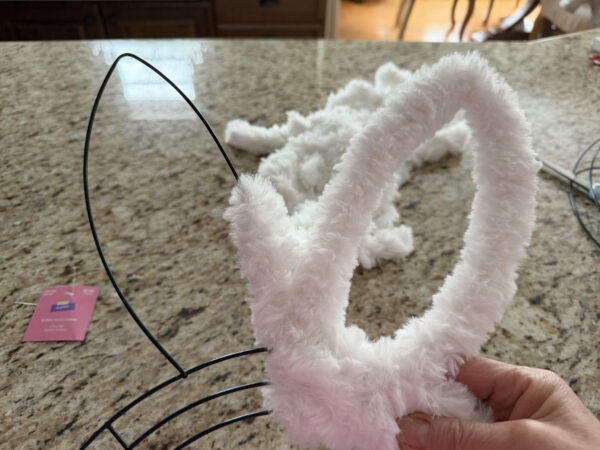
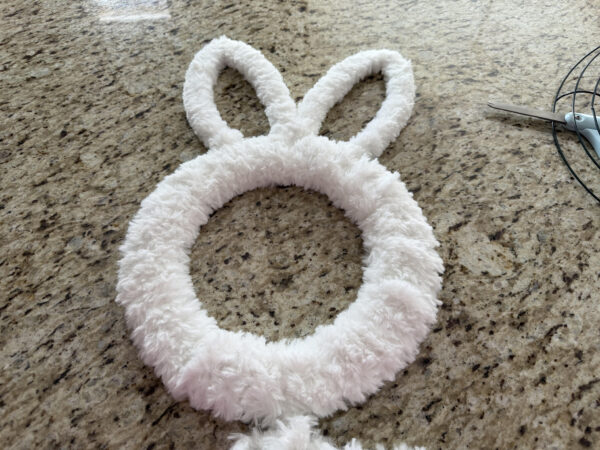
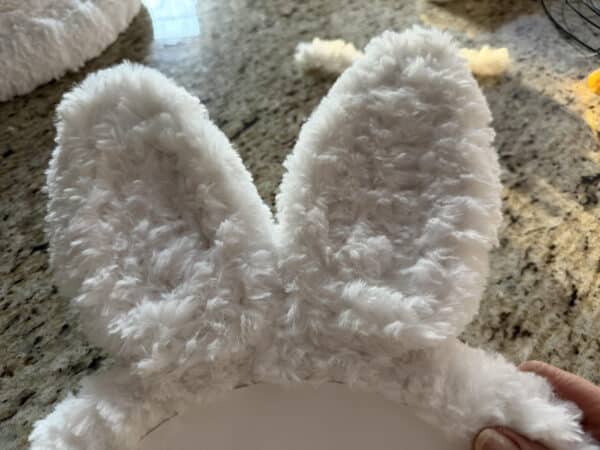
Next you are going to wrap the bunny wire head wreath frame the same way. Tie a knot around the frame and wrap the head including the ears. When wrapping the ears you may need to wrap around the space between the ear again to get to the other side of the ear. After I got one of the ears wrapped with yarn I pulled the two ears apart a little so they are not so close together.If you are not using a chunky yarn you may want to wrap the yarn around the head a second time, I did when I used the fur the momment yarn but when I used the fluffy chenille yarn I only wrapped the head once. After wrapping the bunny head tie the ends in a knot just like you did with the round frame and push excess into the wrapped yarn.

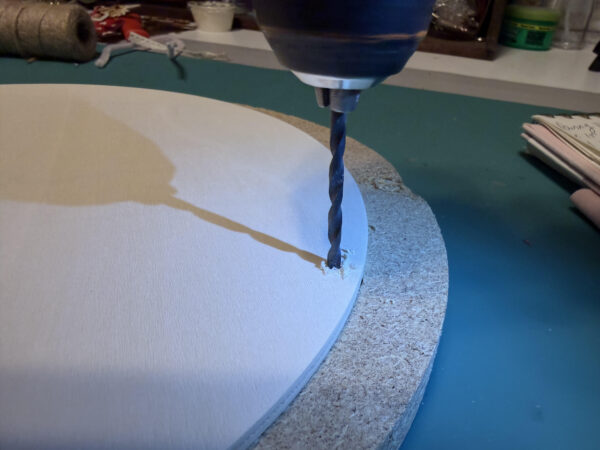
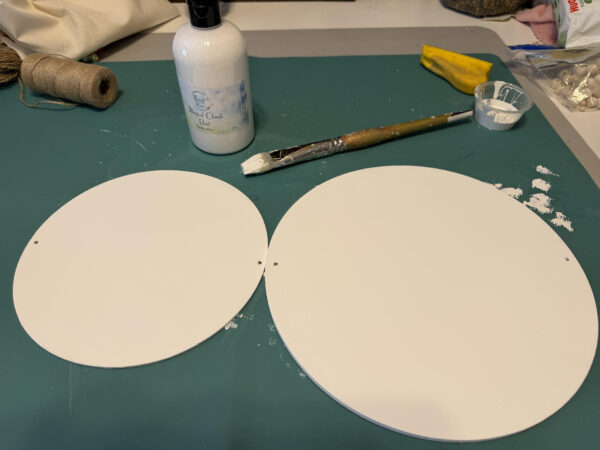
Preparing the wood circles
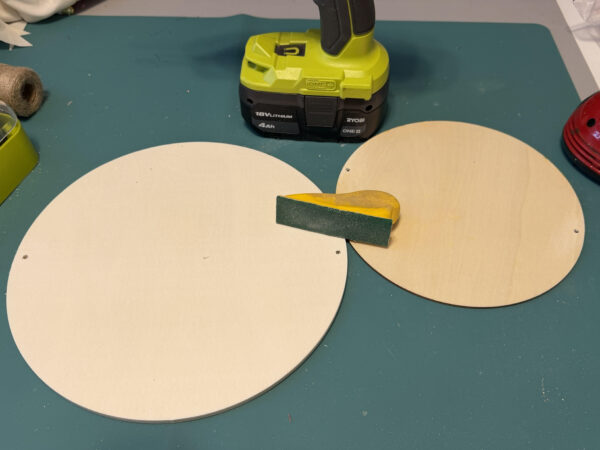
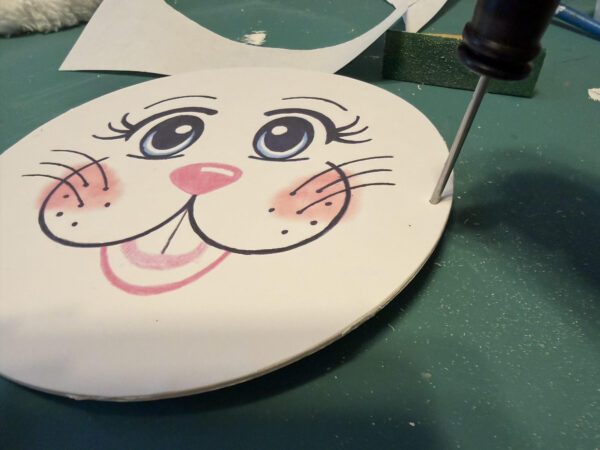
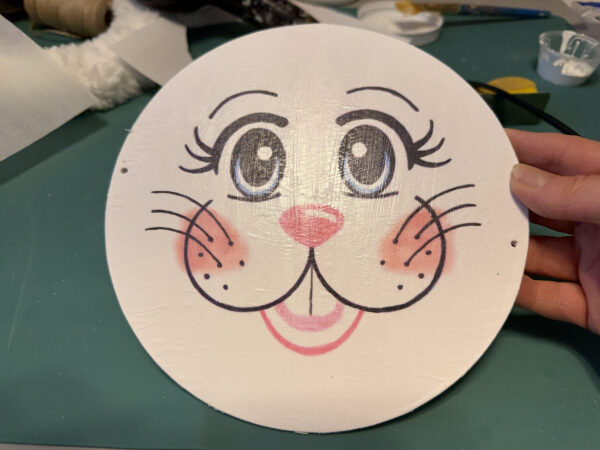
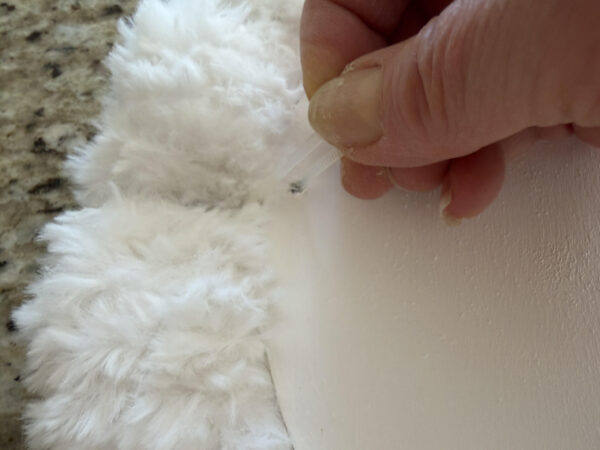
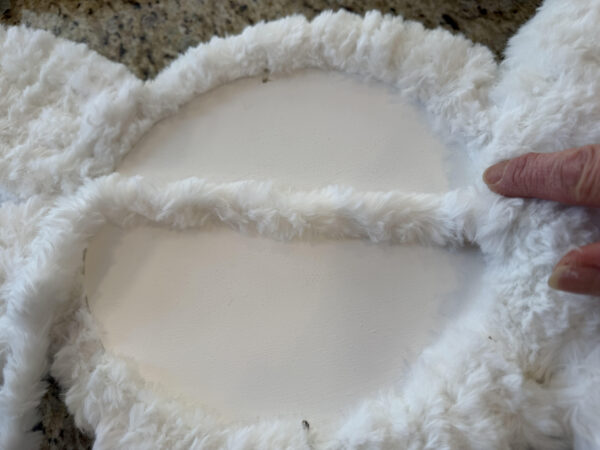
Start by drilling a hole on two sides of the 8″ and 10″ circles, as shown in the photo’s. I forgot to put a size for the drill bit but you just need to use a drill bit big enough to make a hole big enough to put the 4″ zip through. Give the holes a light sanding.
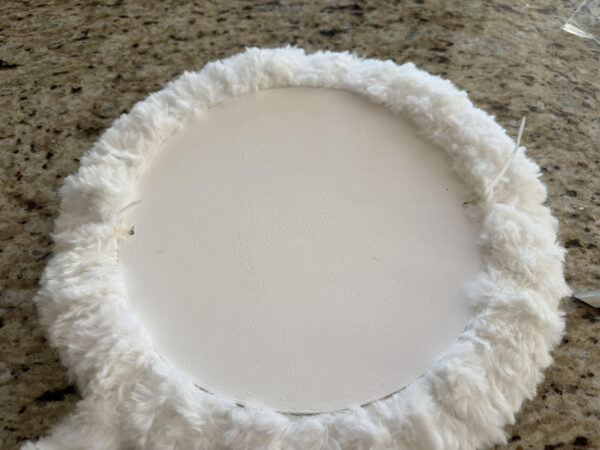
Paint two coats of white craft paint to one side of the 8″ circle. Paint the other side with a color craft paint to match your yarn color as closely as possible. Paint one side of the 10″ circle with the same color craft paint you used to match your yarn. You do not need to paint the other side of the 10″ circle because you will not see it.
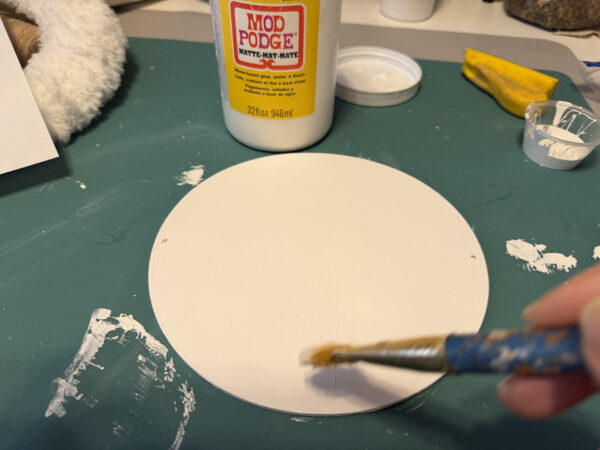
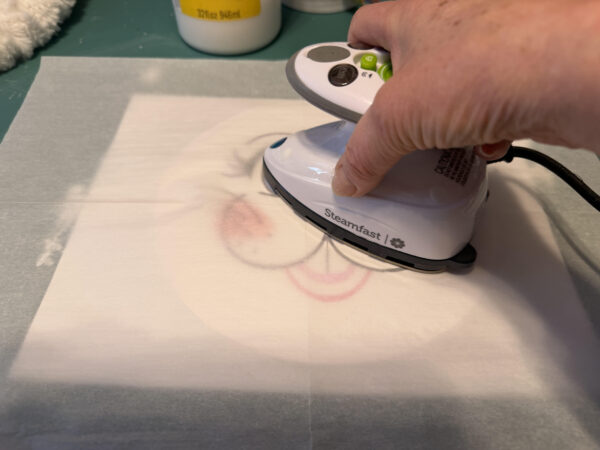
Print out the bunny face. Apply mod podge to the white side of the 8″ circle then center the bunny face on the circle and smooth out. I let my mod podge dry then centered the bunny face onto the circle, then I placed a piece of parchment paper over the face and ironed, this will activate the mod podge and adhere the bunny face to the circle. Sand off the excess paper around the wood circle.
Use an awl tool or something pointy to poke through where the holes are drilled. I applied a coat of mod podge over the bunny face but it did bubble on me so I dried the mod podge with a hair dryer then used the parchment paper and iron over the face again to get out the bubbles
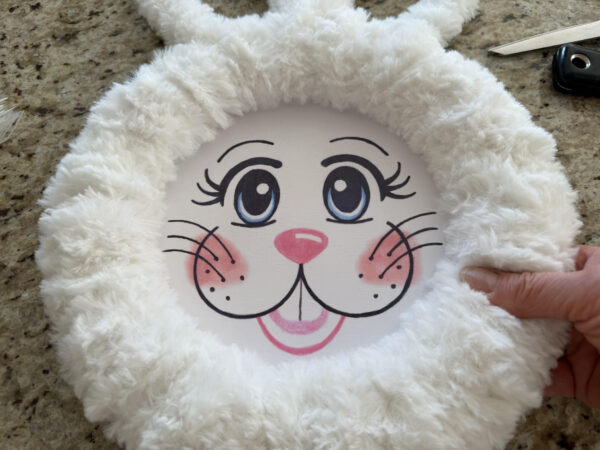
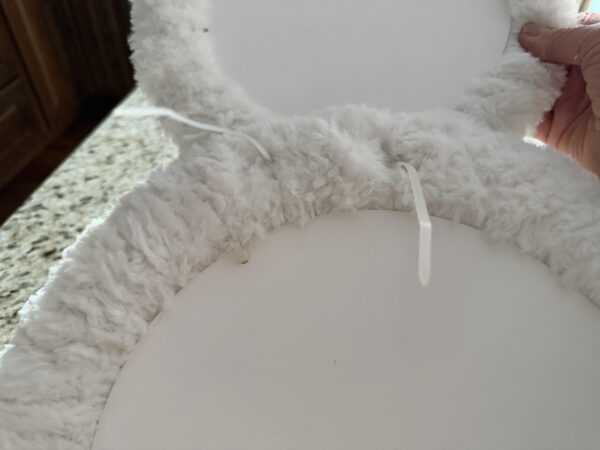
Attaching the face to the head
Place the bunny face under the bunny head making sure it is centered. Turn the bunny head over, using a 4″ zip tie feed a end around the inner wire of the frame then feed through the hole of the head and zip tie. Do not pull the zip tie all the way tight yet. Repeat this step to the other side of the bunny head. Turn the head over and make sure your face is still centered then pull the zip ties tight and trim off the excess.
Making and attaching the belly for the bunny
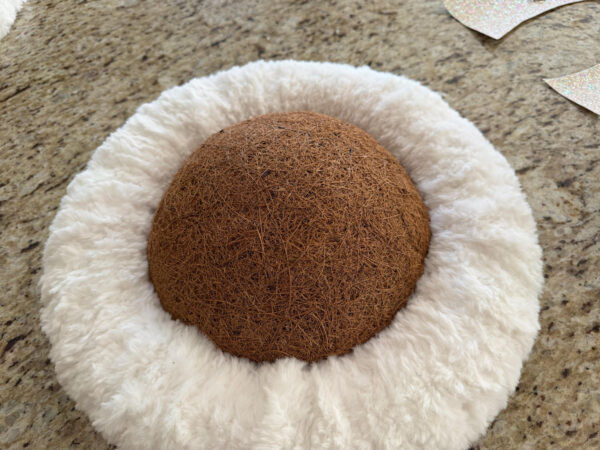
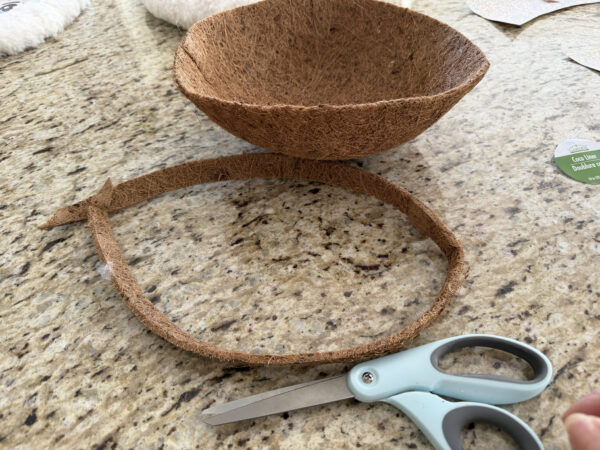
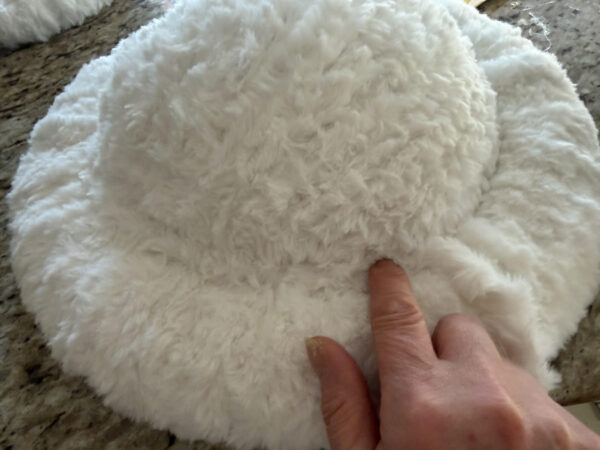
To form the belly take the coco liner and place down in the center of the round wreath form. Depending on what yarn you are using you may want to trim down the belly. The bunny I used the fur the moment yarn on I wanted to trip the belly but the bunny I used the fluffy chunky chenille yarn on I did not to trim the belly. You can push the coco liner to the back of the wreath until you have the size belly you would like then flip the wreath form over and see how much of the coco liner you need to trim off. Remove the coco liner and using a pair of scissors, trim the liner.
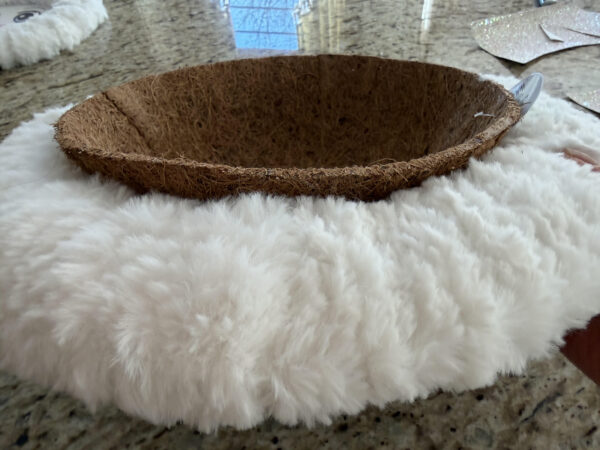
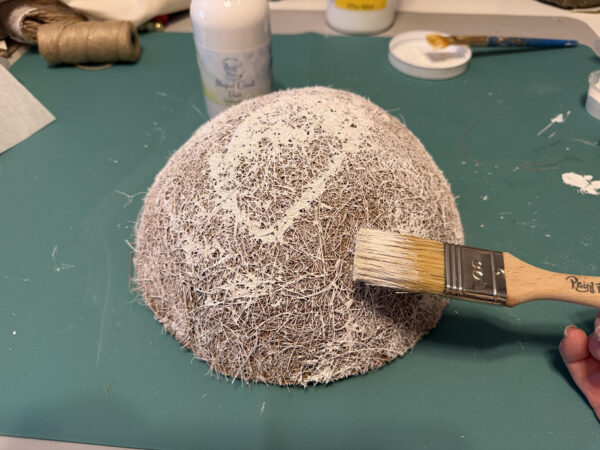
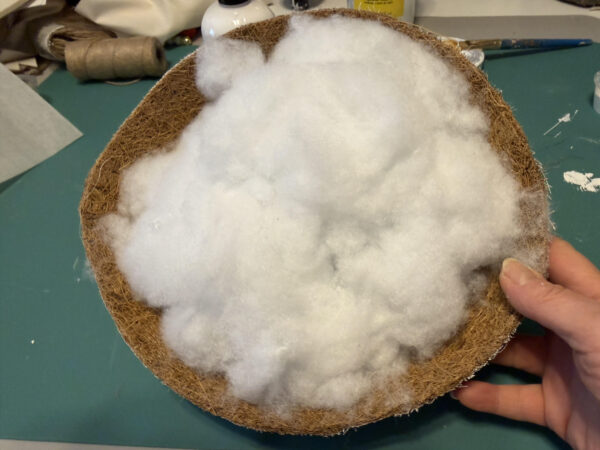
Next give the outside of the coco liner a quick coat of craft paint to match your yarn. I did this just in case you see any of the liner through the yarn after we cover it. I only gave it a quick coat I didn’t make sure the whole liner was totally covered. Fill the inside of the coco liner with polyester fiberfill.
Place the coco liner back in the center of the round wreath form.Next take the 10″ circle and place onto the back of the wreath form, make sure your painted side is facing out. Using two 4″ zip ties attach the wood circle to the fram just as you attached the wood circle to the head.

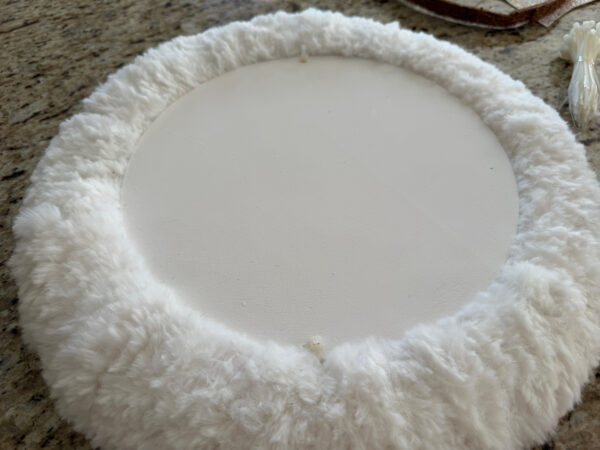
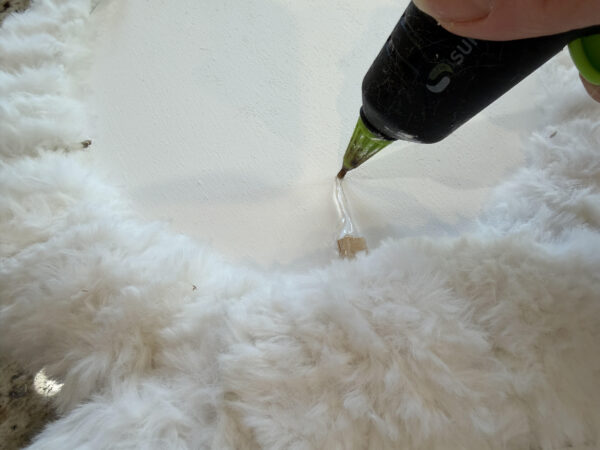
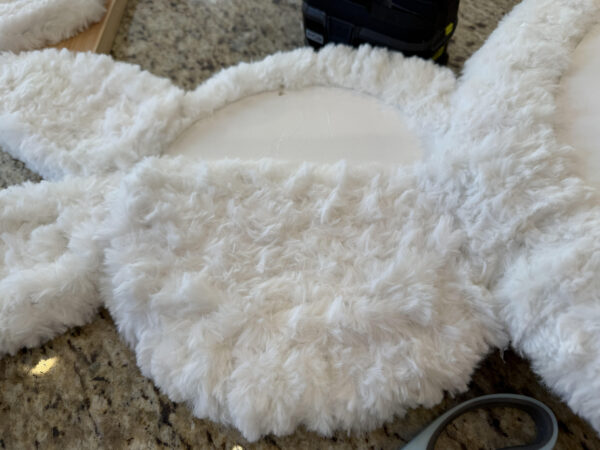
Add a line of hot glue going up the side of the coco liner then glue down the yarn, keep adding hot glue and yarn up and down the coco liner until the whole liner is covered. Trim off excess yarn.
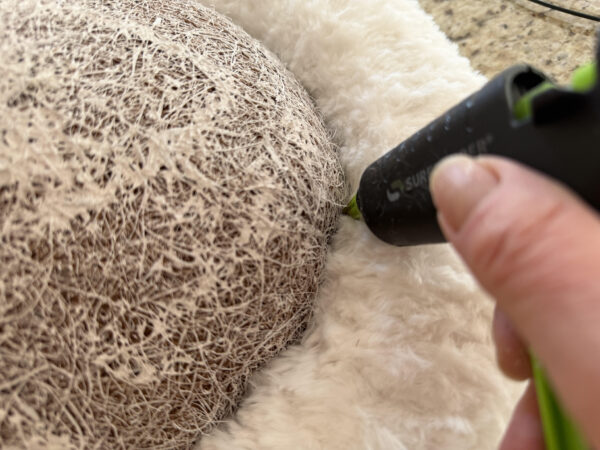
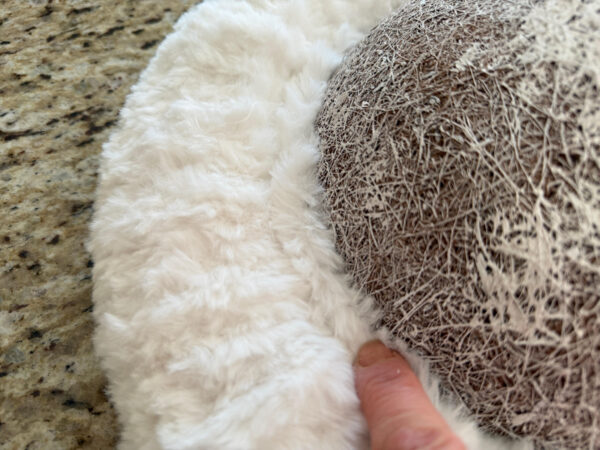
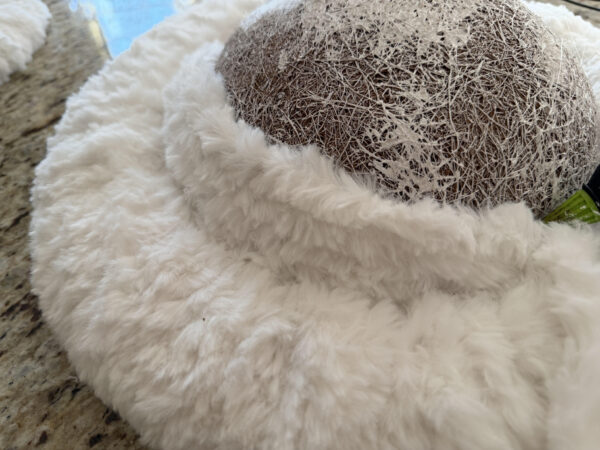
After you have the whole liner covered you are now going to add one or two rows of yarn between the liner and the wreath frame. Add some hot glue between the coco liner and frame then glue down the yarn continue around until you like the look of the belly/body.
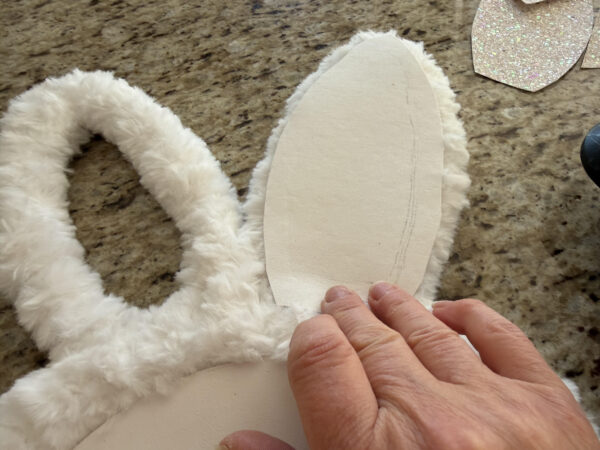
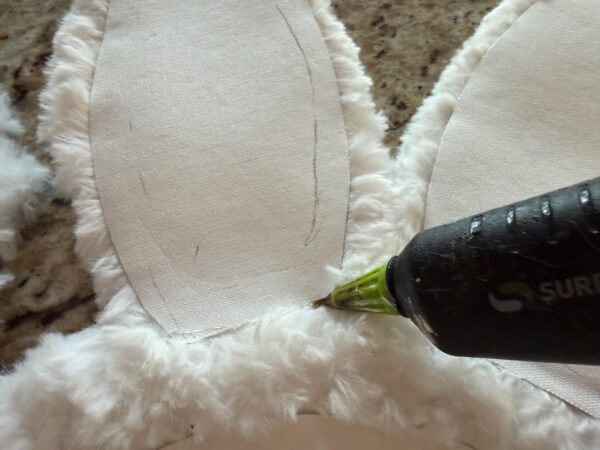
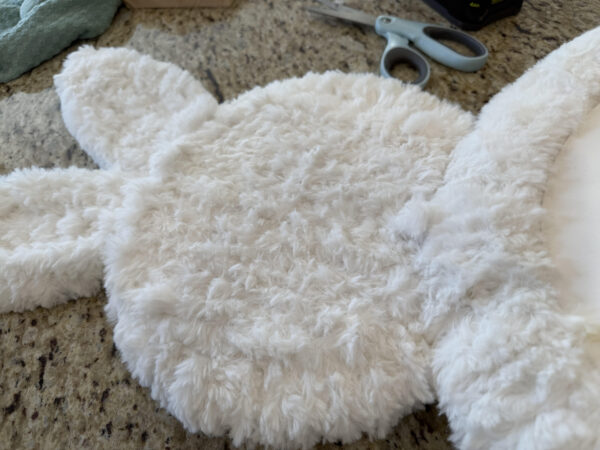
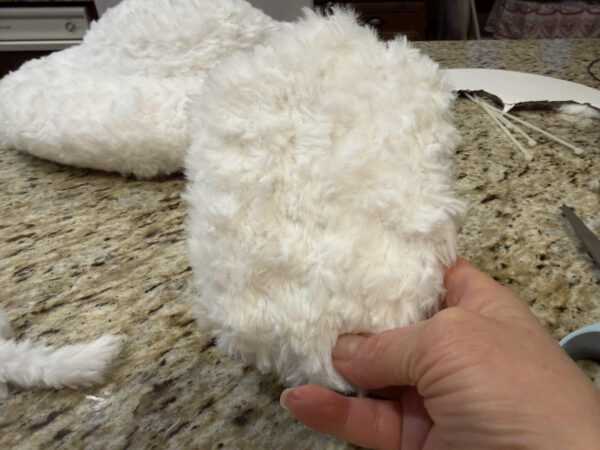
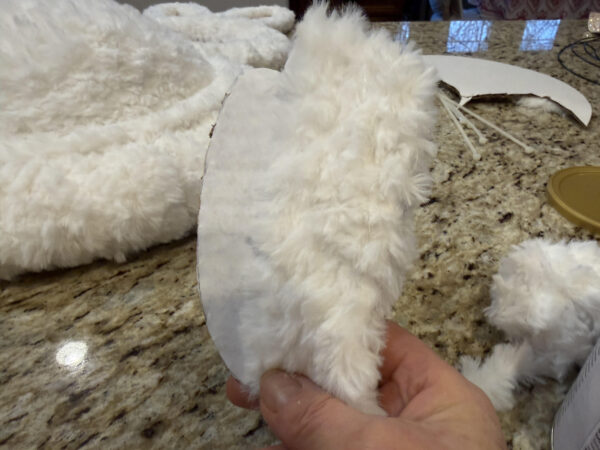
Adding fabric to the inside of the ears
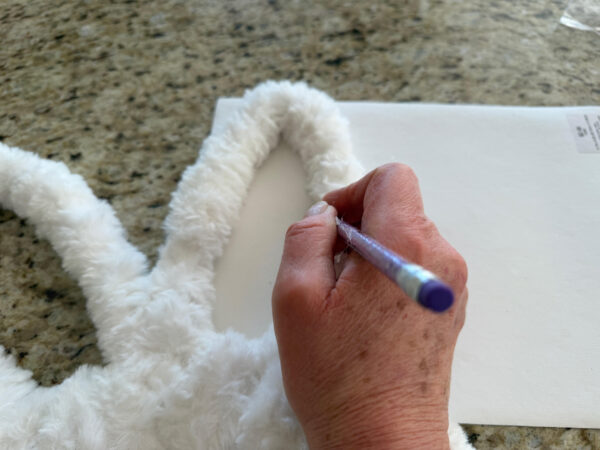
Lay your felt or fabric of choice down place the ears onto the fabric then trace the inside of the ears onto the fabric. Cut out bigger then what you traced because you need the extra fabric to glue to the back of the ear.
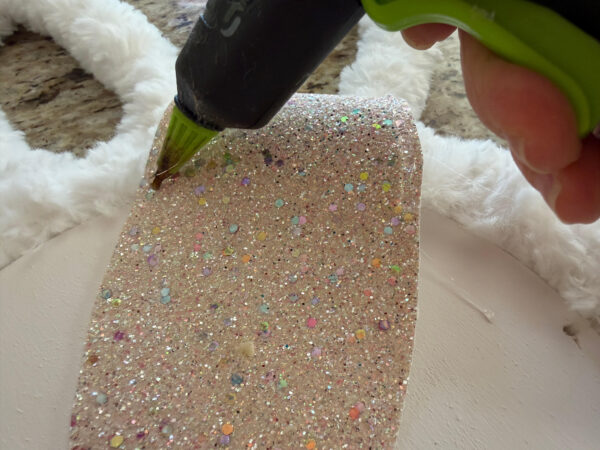
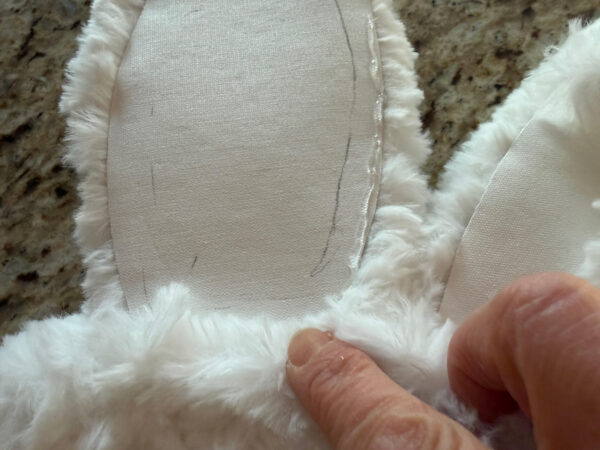
Add hot glue across the front bottom of the hear and glue onto the back of the ear. Next keep adding hot glue up the sides of the ear and glueing into place. Repeat this step to the second ear.
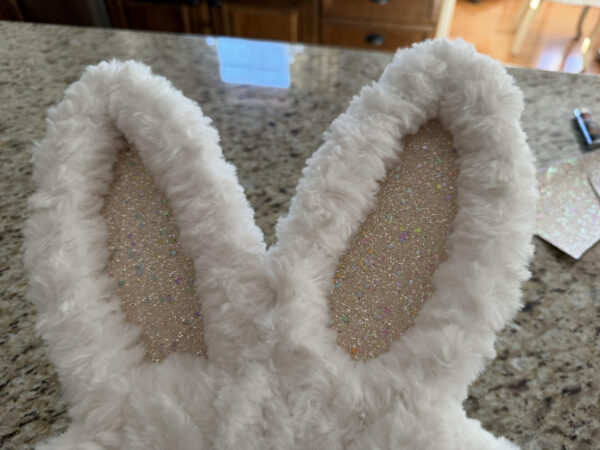
adding fabric to inside of ears continued
Attaching the head to the body
Place the bottom of the head over the top of the body making sure it is centered. Using four 8″ zip ties you are going to attach the head to the body. Take two zip ties and feed them through the bottom of the head and then through the body, make sure the zip ties are around one of the metal rings of the head and the body. Attach the zip ties pulling tight then cutting off the excess.
Next take the second two 8″ zip ties and feed one on each side of the head and through the body. Pull zip ties tight and cut off excess.


Covering the backside with yarn
This step is optional but I wanted the back of my bunny covered with the yarn. To cover the ears add hot glue to the bottom of the ear and glue down the yarn next add hot glue up the side of the ear and glue down the yarn, you are going to continue adding hot glue and yarn up and down the back of the ear until the ear is completely covered. Repeat these steps to the second ear.
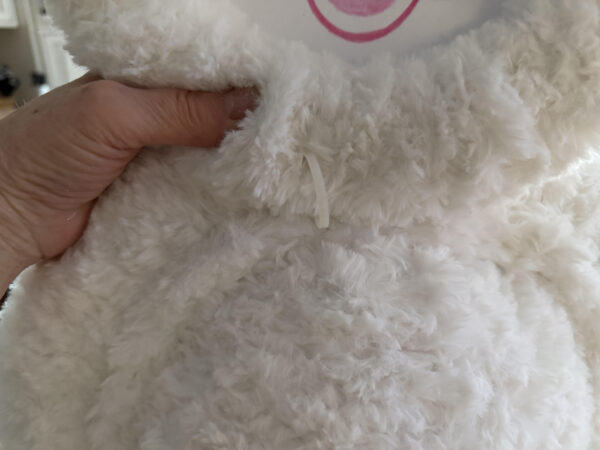
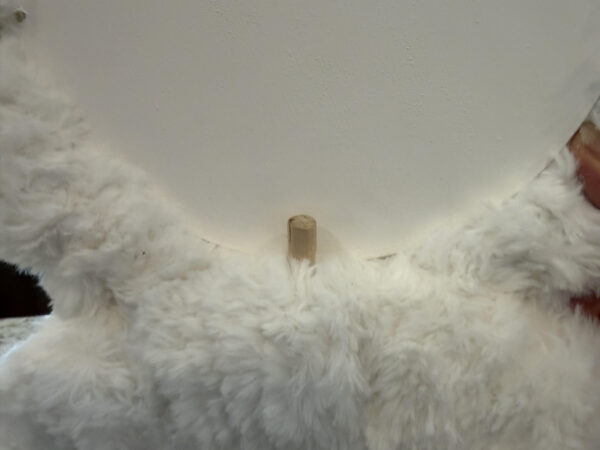
Before we cover the back of the head, take the 2″ piece of dowel and insert it down into the back of the middle of the head as shown in the photo below.
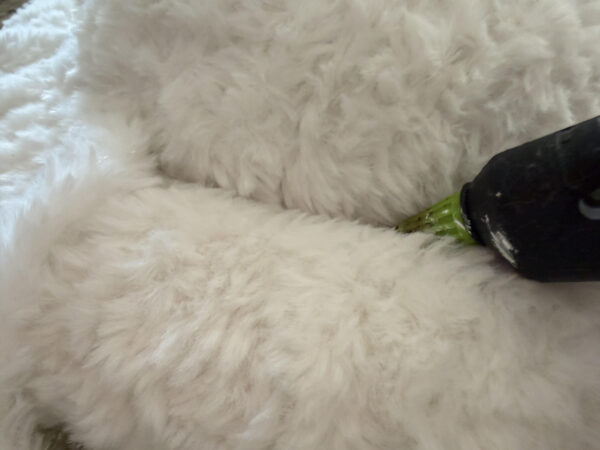
Next apply hot glue over the dowel and up the middle of the yarn then glue down yarn. You are going to keep adding hot glue and yarn up and down one side of the head until it is covered. Next you are going to add a line of hot glue down the middle of the other side then glue down yarn and continue going up and down with hot glue and yarn until covered.
You are going to cover the body the same way as the head by starting with a line of hot glue up the middle and attaching the yarn then working your way up and down one side. Repeat this step to the other side of the body. Sorry I forgot to take photos of this part but it is just like covering the back of the head.
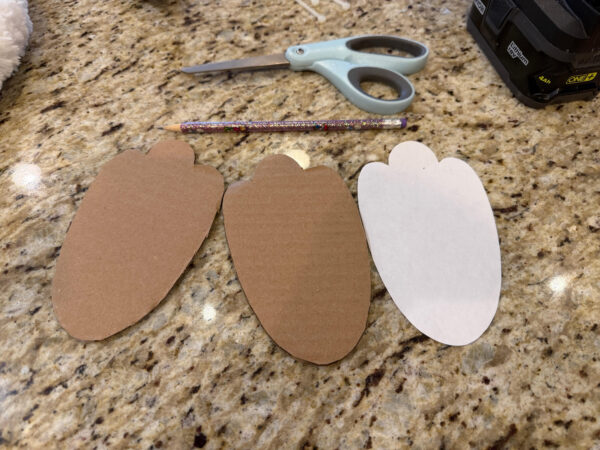
Making and wrapping the feet
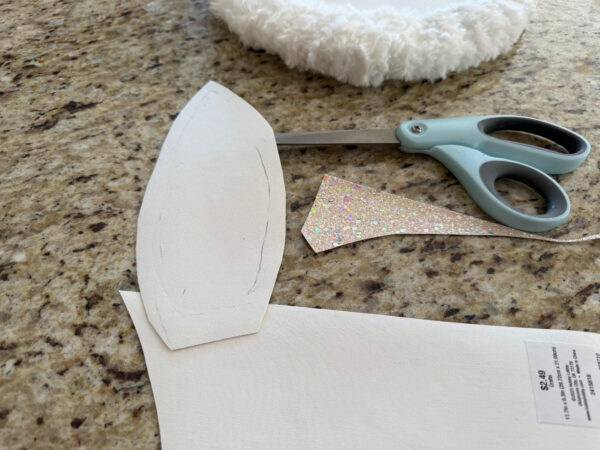
Using the foot pattern trace and cut out two feet from cardboard.
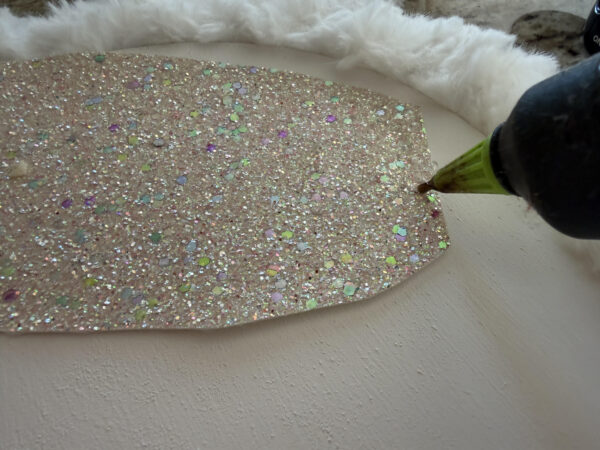
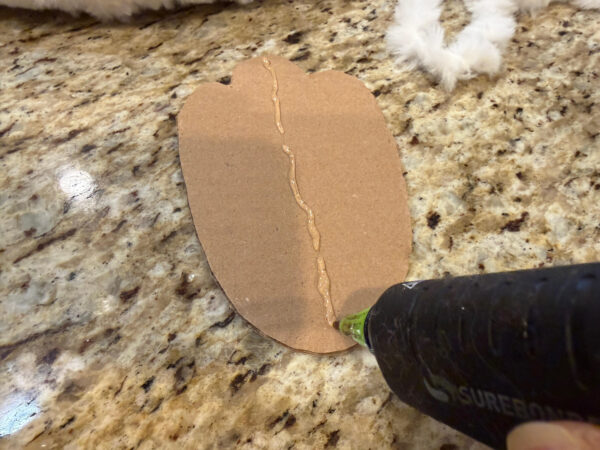
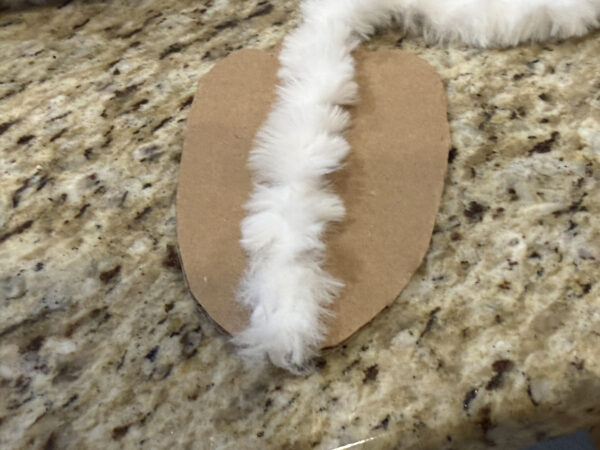
To wrap the feet with yarn add a line of hot glue down the middle of one side of a foot, attach the yarn at the bottom of the foot bringing it up to the top. Turn the foot over, add a line of hot glue down the middle of the foot and attach the yarn. You are going to keep adding hot glue and yarn until one half of the foot is covered then you are going to start in the middle again and cover the other half of the foot. Repeat these steps to the second foot. Set them aside for now.
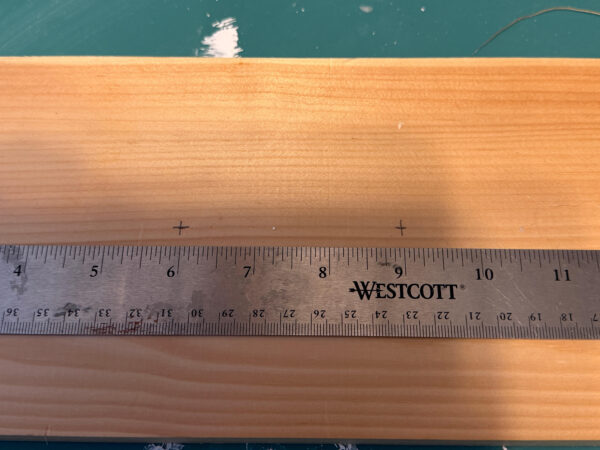
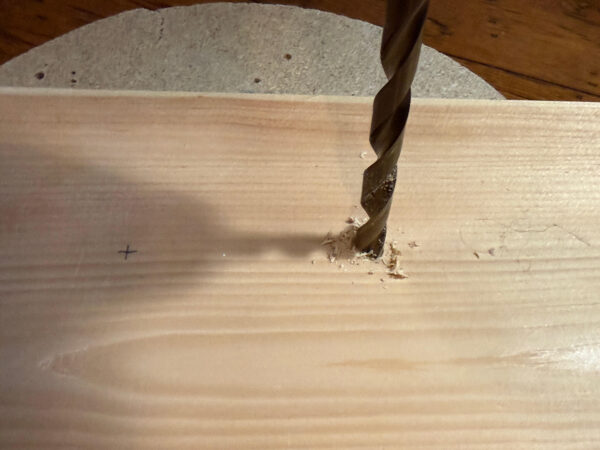
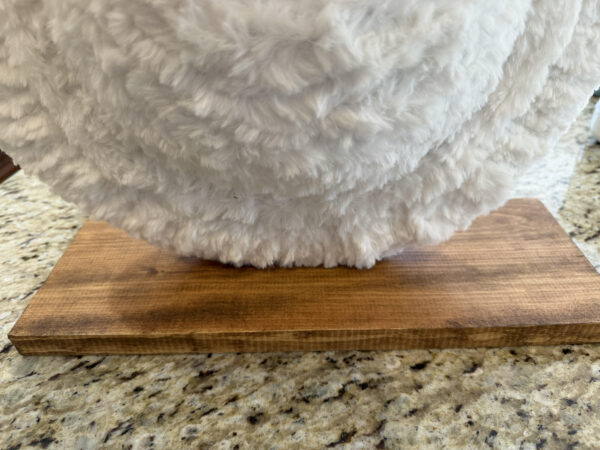
Making the base and attaching the bunny
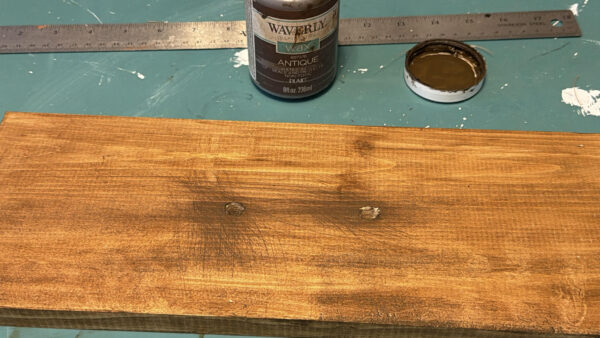
Take the 15″ 1×6 piece of wood and using a ruler you want to find the center vertically then make a mark 6″ and 9″ in from the left side. Using a drill and a 3/8 drill bit drill your hole all the way through the wood.
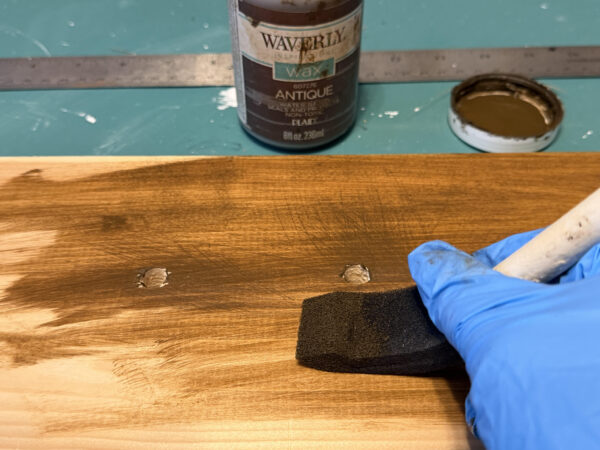
Give the wood a light sanding over the holes on both sides. Apply the Waverly antiquing wax over the entire piece of wood then wipe off excess with a paper towel.
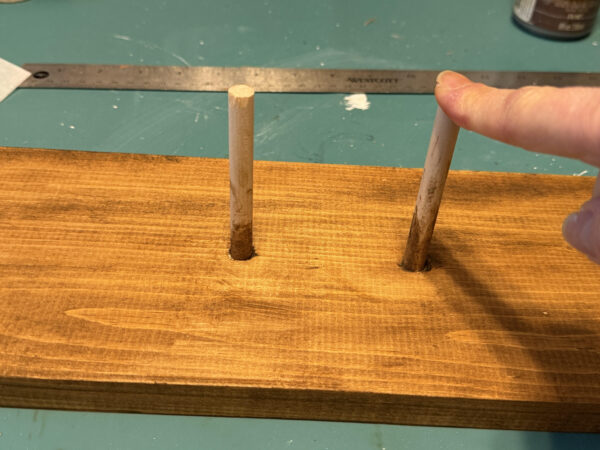
Insert the two 4″ dowels into the holes. The dowels should fit tight if you feel they are not tight you can add a little gorilla clear grip adhesive to them.
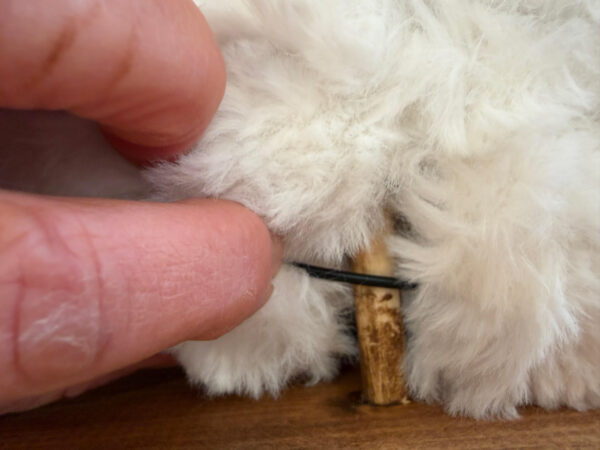
Next you want to slide the dowels up into the center of your bunny. It is hard to take a photo of this part but the dowels went over the outer ring and under the second ring.
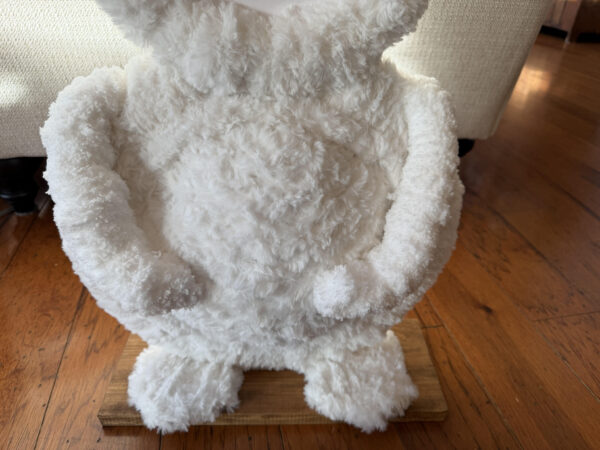
Adding the feet
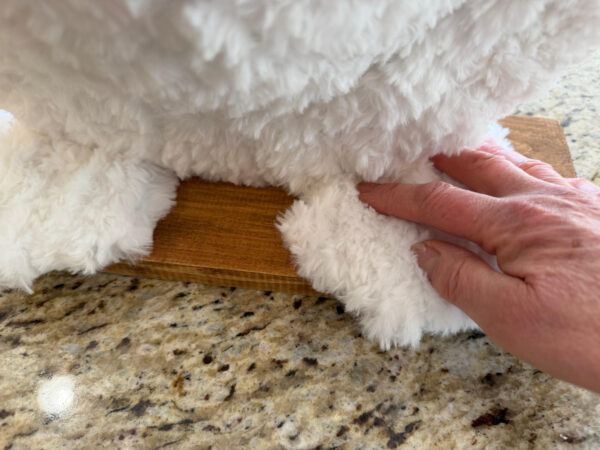
Place each foot under the bunny getting them the way you like them. My back of the feet went to the back of the board because I did not want them to hang over too much.
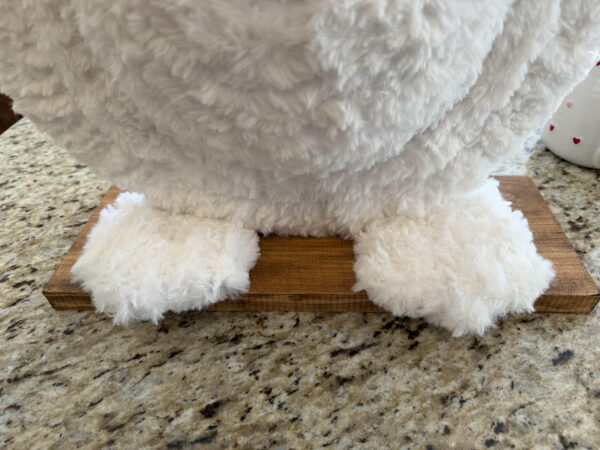
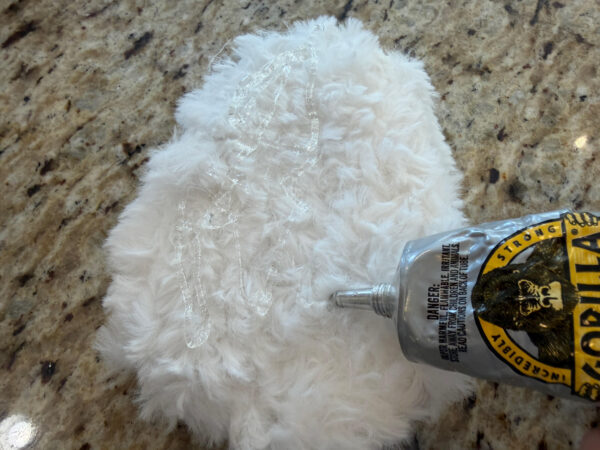
Next remove one foot at a time add gorilla clear grip adhesive to the bottom part of the foot that will be on the wood then slide the foot back under the body. Repeat these steps to the second foot.
Making and attaching the arms
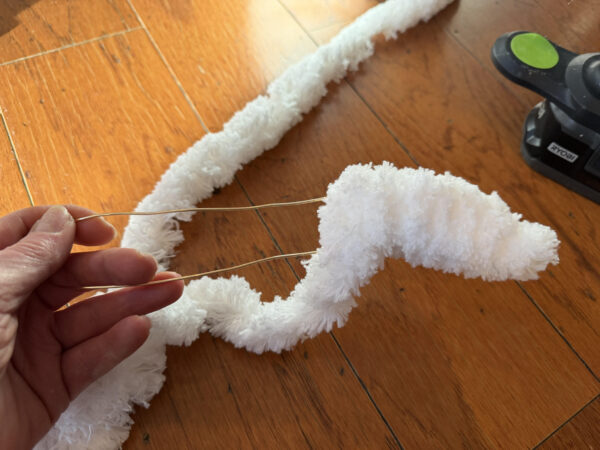
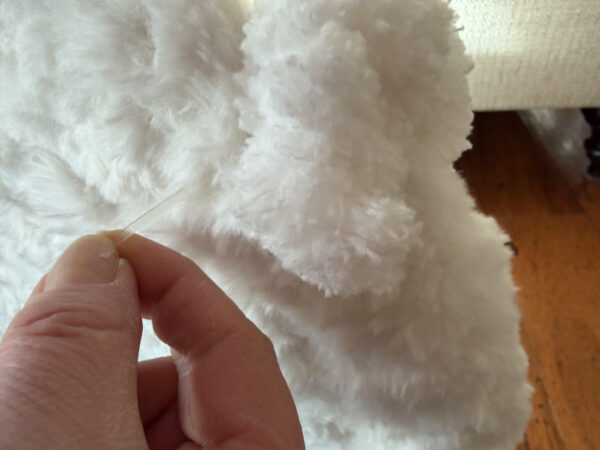
Cut a 20″ piece of the 16 gauge jewelry wire, bend in half and twist the ends together, you may need a pair of needle nose pliers to do this. You will need to fix the wire to form the arm after twisting the ends. Repeat these steps for a second arm.
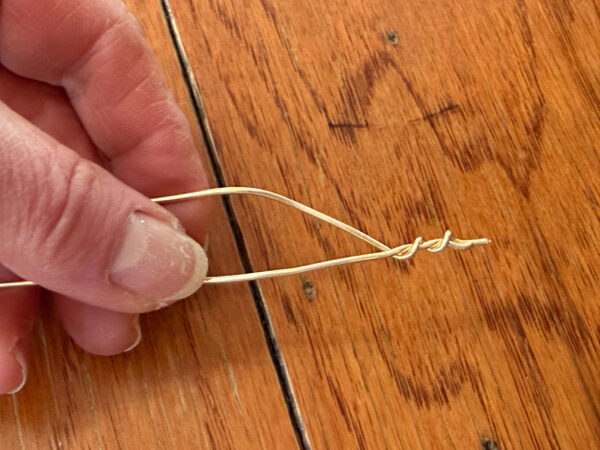
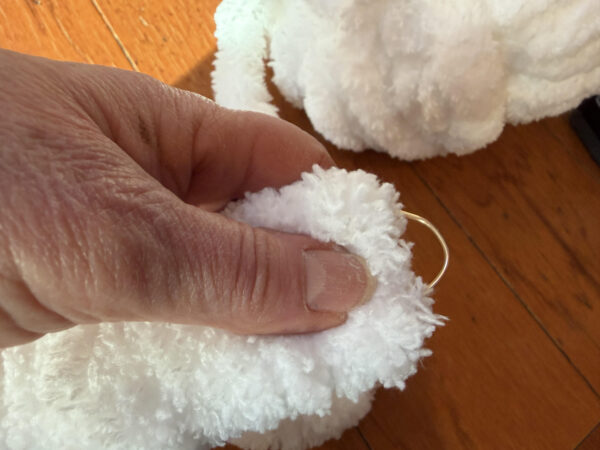
Put the end of the yarn through the middle of the arm under the twisted ends and tie a knot. You want to leave a little extra on the end piece when you tie the knot. Add hot glue to the twisted part then wrap the end piece of yarn around it.
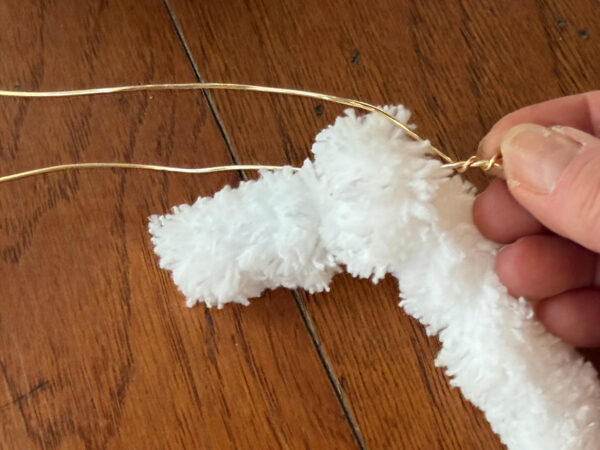
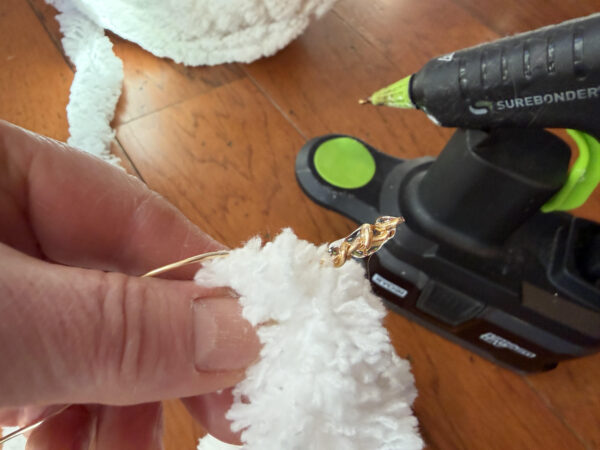
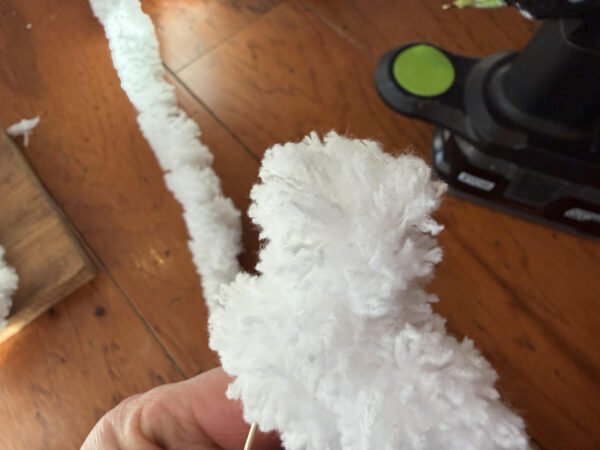
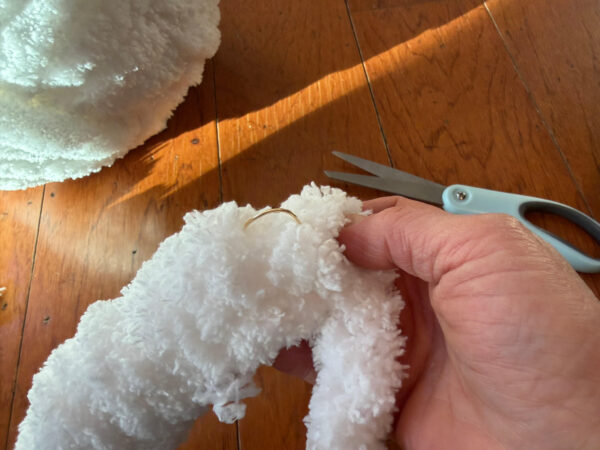
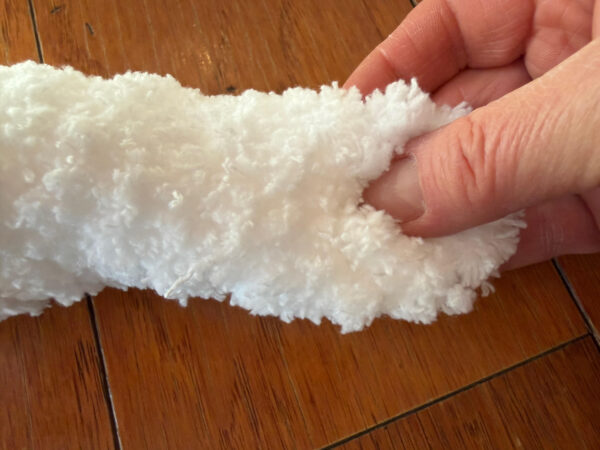
Now you are going to wrap the yarn around the arm pushing the yarn towards the end as you go. You may need to pull the two sides of wire apart on the way down because they seem to push together as you wrap. Continue wrapping until you reach the bottom then cut the yarn leaving about two inches or so. Wrap the yarn through the arm and around the curved wire, continue wrapping until the wire is covered then hot glue the end of yarn down pushing it into the yarn. Repeat these and the above steps to the second arm.
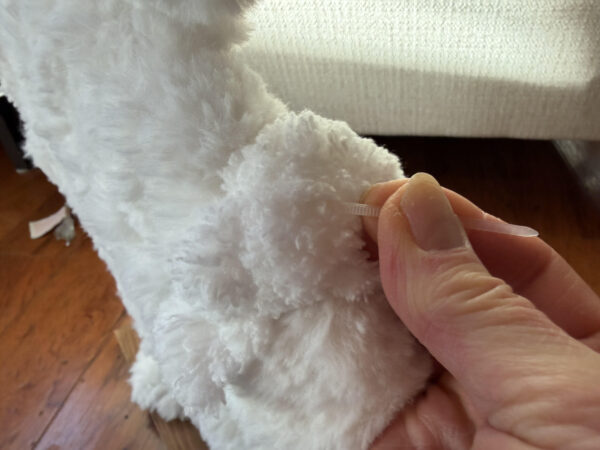
Place one arm on the bunny where you think it looks good, making sure the twisted end of the arm is at the top, then bend about two inches of the arm behind the bunny. Repeat this step to the second arm. Feed the end of a 8″ zip tie through the back and middle of the arm then through the body bring the end up over to the back. Zip tie tight. Repeat these steps to the second arm.
Your bunny is now ready to add accessories. For my bunny I cut the center out of a doily then wrapped around her neck and stitched the ends together. I also added a clip bow to her ear and gave her a bouquet of flowers to hold. You can bend her arms to hold anything you would like. I think for my second bunny I am going to make him a boy by adding a bow tie and maybe have him hold a basket of eggs. I hope you enjoy making this free standing yarn wrapped bunny!