Home Decor
Home Decor Cross Wall Art
Feb
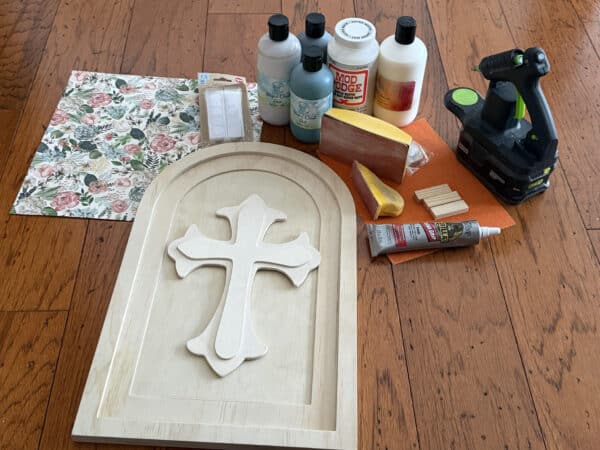
Materials I Used
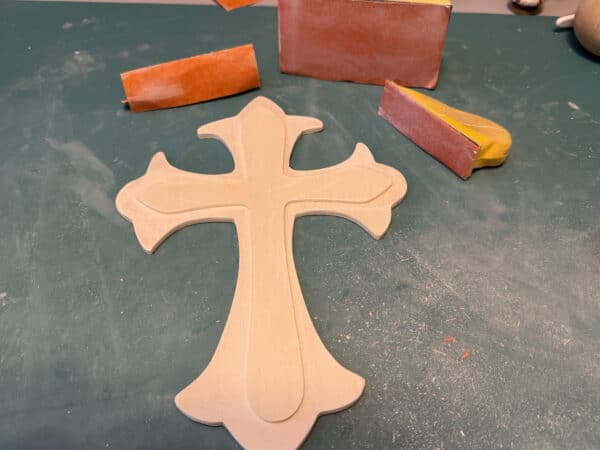
- 1 Large layered arch sign 11.25″x18″x.59″ from Michael’s #10758832
- 1 11″ wood craft cross from Walmart
- 3 Tumbling tower blocks, Dollar Tree
- Sand Paper
- Craft paint of your choice, I used Sugared glass chalk paint by paint pixie
- White and black craft paint I used Saltwater taffy and Mudd pie by Paint Pixie
- Sealer if you are using chalk paint, I used Meltdown by Paint Pixie.
- Mod Podge
- Paintbrushes
- Scrapbook paper
- Gorilla Clear Grip Adhesive
- Hot glue gun and glue stick
- A flower and greenery of choice
- 1 string of 20 timer fairy lights, I will post my Amazon affiliate link below for the lights.
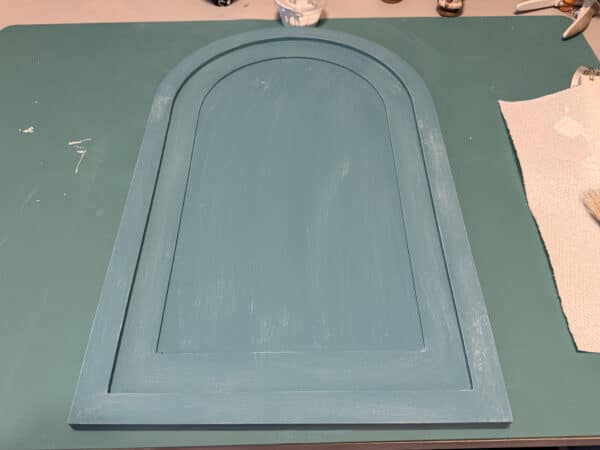
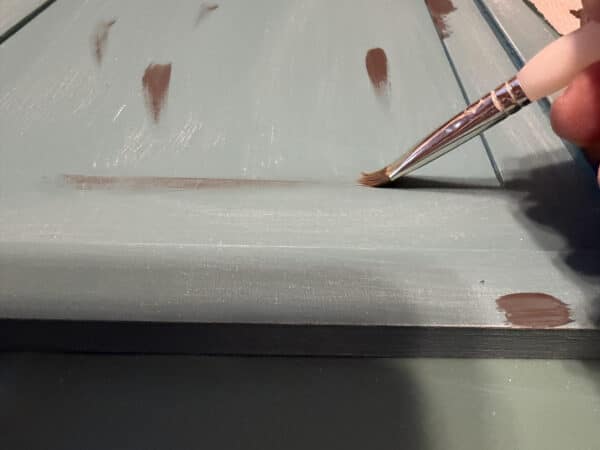
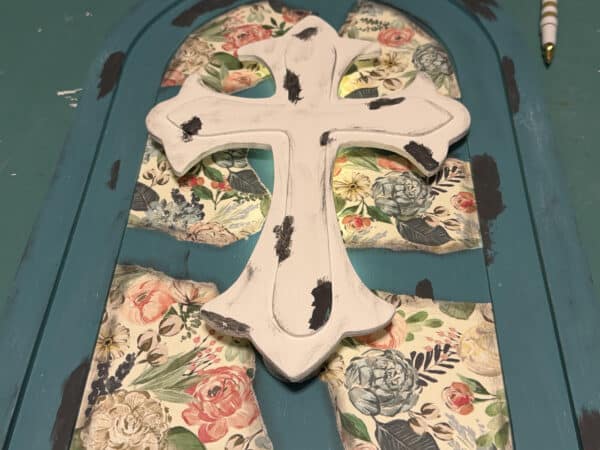
Painting Arch & Cross


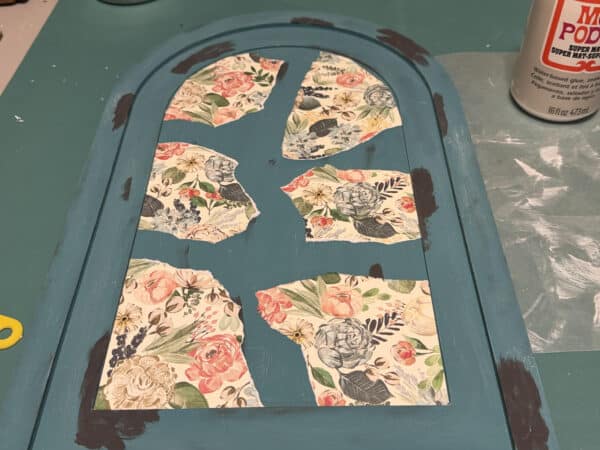
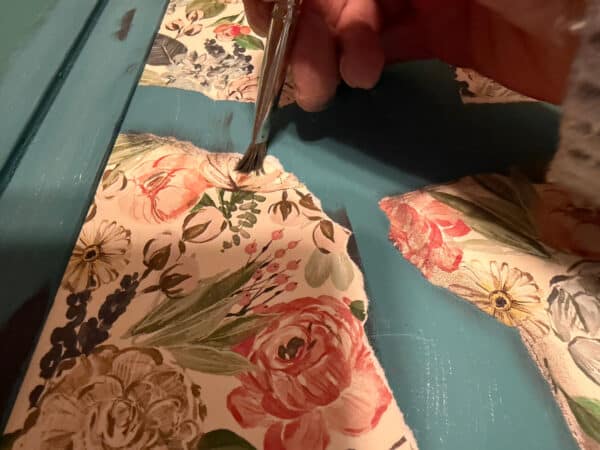
Adding The Scrapbook Paper


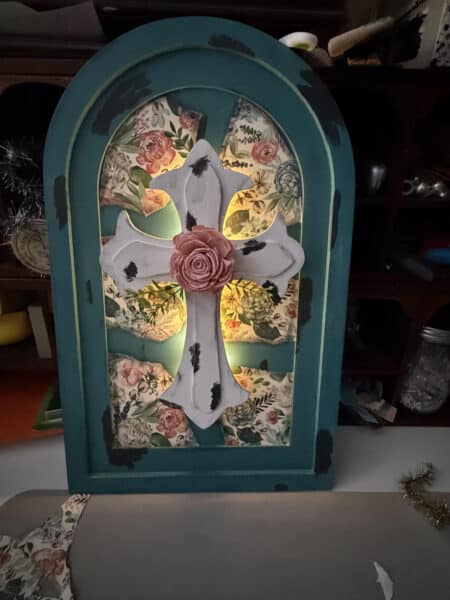
Attaching the cross and adding lights
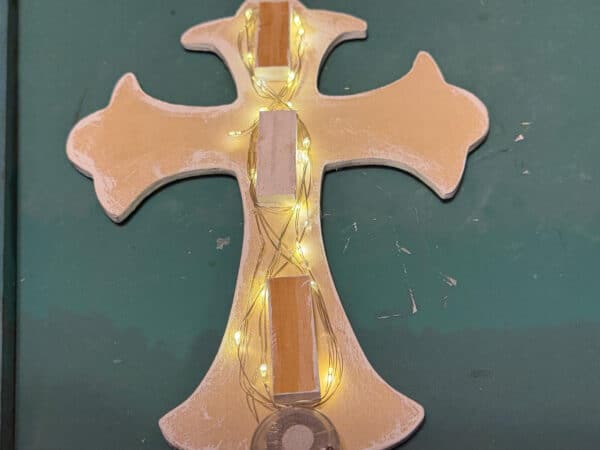
Place the 3 tumbling blocks onto the back of the cross then position the light’s battery section at the bottom of the cross to ensure sufficient room. You may need to rearrange the blocks to make room
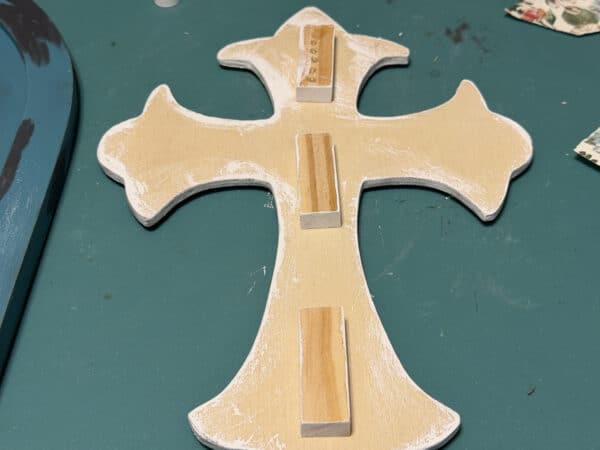

Add gorilla clear grip adhesive to both ends of the block then add hot glue to the middle of the block and glue it down to the cross. Initially, I only used the gorilla adhesive on the back of the block but I didn’t want to wait for the adhesive to set so I decided to use both adhesive and hot glue. The photo below only shows the addition of adhesive.Repeat this step to the two remaining blocks.

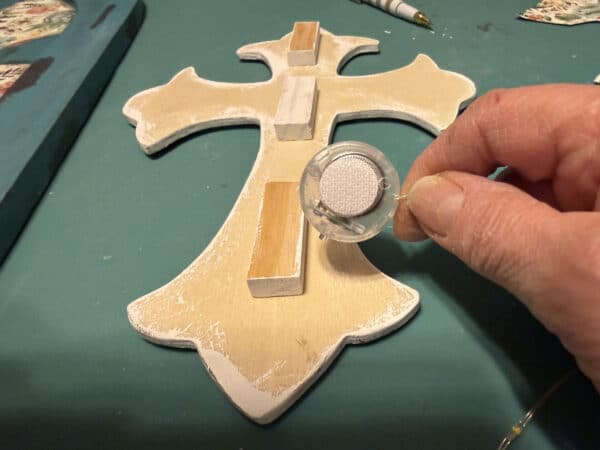
Add a set of round Velcro dots to the back of the battery pack and attach them to the bottom of the cross. Next start wrapping the fairy lights around the blocks. Wrap the lights in different ways—up and down—to distribute them across the blocks instead of having them clustered in just a few spots.You will need to add hot glue in areas to hold down the lights so they don’t come undone. When you reach the end of the lights wrap the end around the other light strands.

o attach the cross to the arch, apply Gorilla Clear Grip adhesive to both ends of all three blocks then add hot glue in the center. Center the cross onto the arch and attach it.
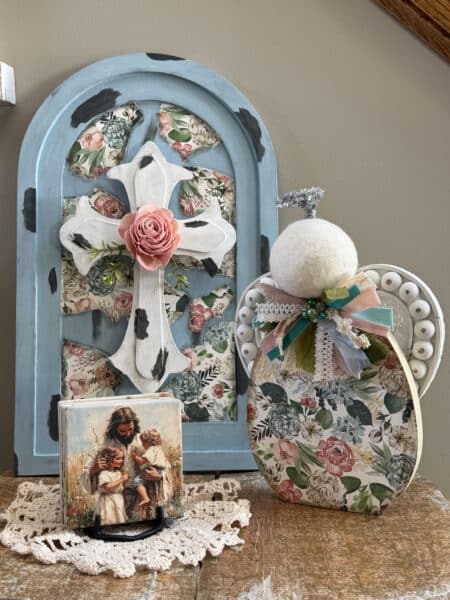
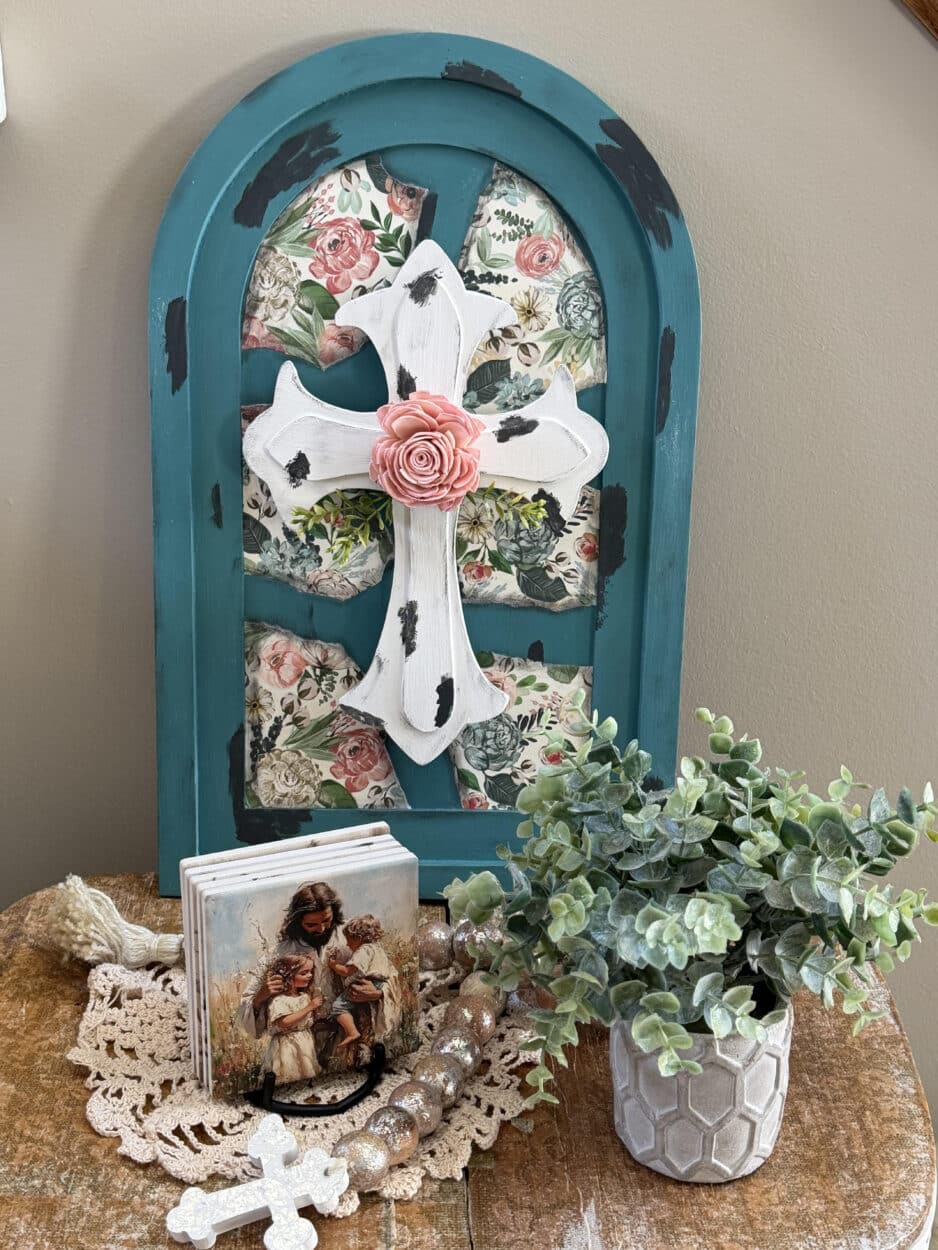
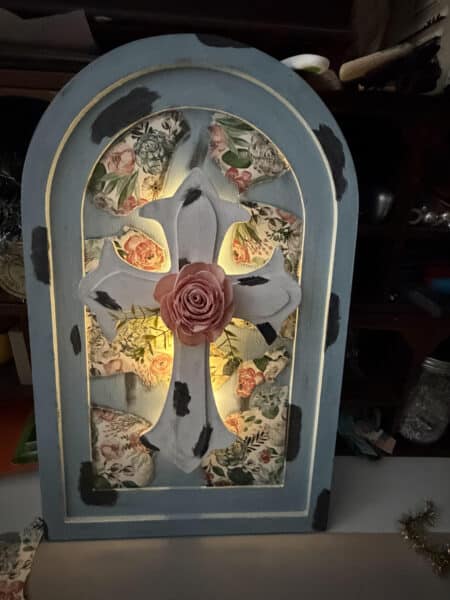
Hot glue the greenery and flower in the center of the cross. You are now finished! You can add a hanger to the back if you would like to hang it. I use the picture command strips to hang mine on a wall because I avoid putting nail holes in the walls unless necessary.