Easter, Home Decor
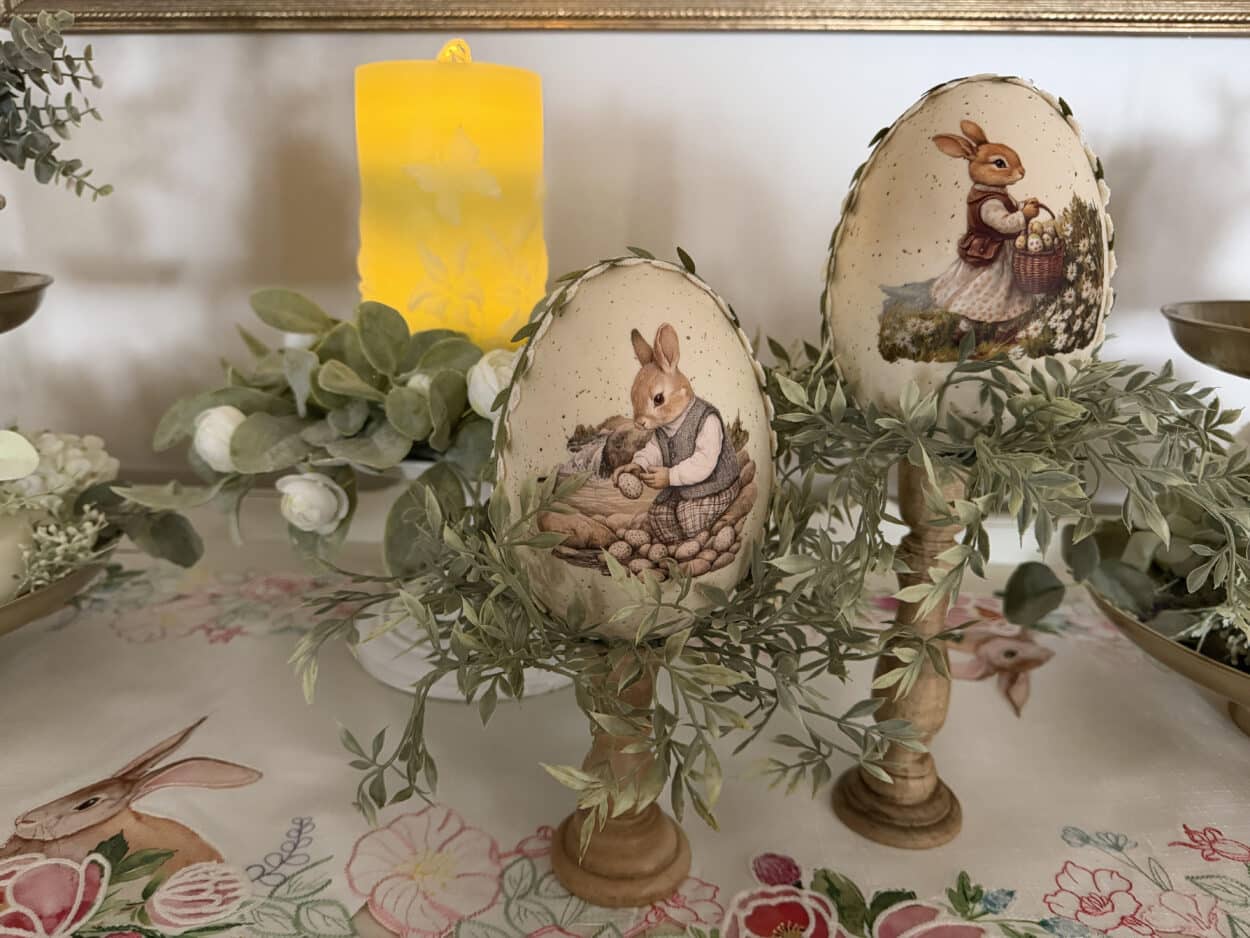
Pedestal Bunny Eggs
17
Mar
Mar
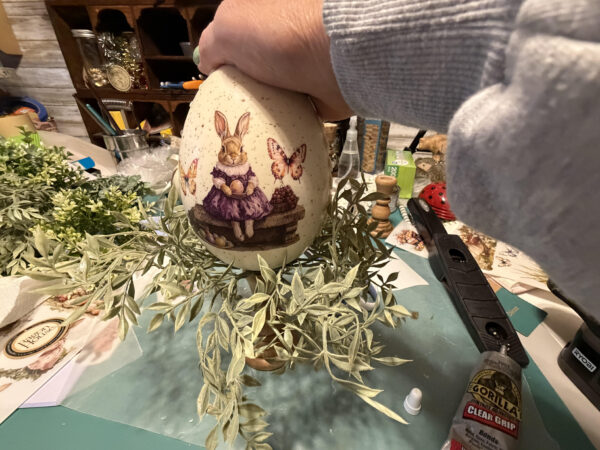
Spring is just around the corner and I love decorating with bunnies! I found foam ornament eggs at Walmart that I definitely wanted to turn into something for Spring.
I decided to use my rub-on bunny transfers from Amazon. I will post my affiliate link below in case you would like to use these adorable bunny transfers for this craft.
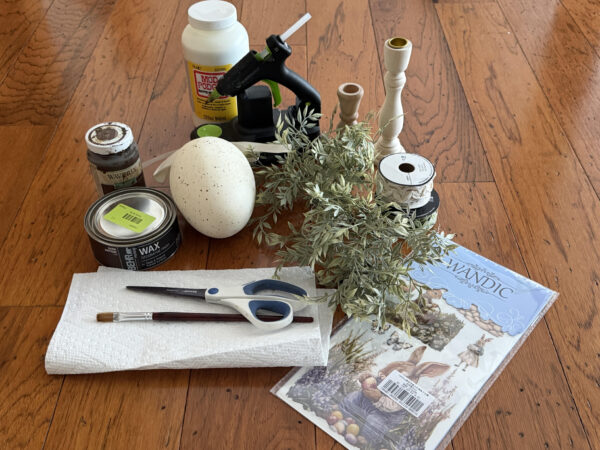
Supplies I Used
- Foam ornament egg from Walmart
- Bunny rub on transfers from Amazon
- 7″ and 4″ unfinished wooden candlesticks
- Two 1″ mini candle rings. The ones I used were called mini fiscus candle rings
- Mod Podge
- Behr dark wax or Waverly Antiquing Wax
- Hot glue gun and glue sticks
- Gorilla clear grip adhesive
- Ribbons or your choice
- Paintbrush
- Paper towels
- Scissors
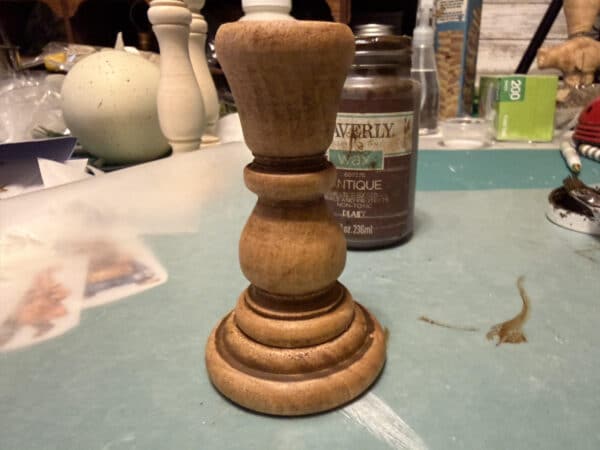
Staining the candlesticks
First see if your candlesticks need any sanding. My 4″ candlestick, which I had in my craft stash and the 7″ one I purchased from Hobby Lobby. If you are using the candlestick from Hobby Lobby, you will have to remove the metal taper holder, just use a putty knife to lift and remove it.
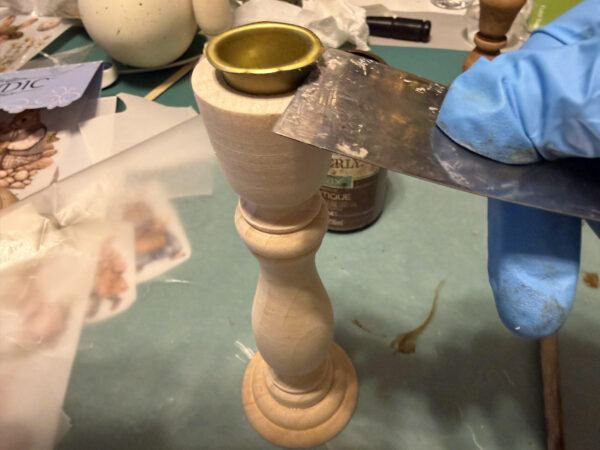
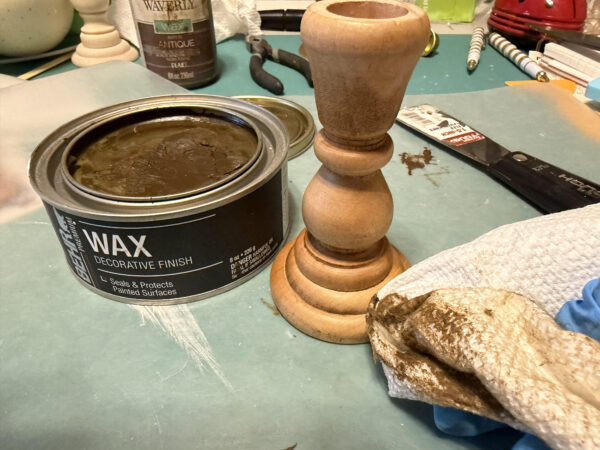
If you are using the Waverly antiquing wax, apply it with a brush and then wipe off the excess with a paper towel. I worked in sections.

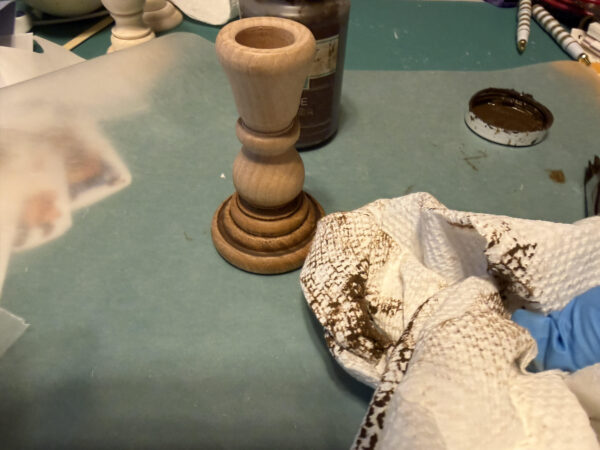
If you are using the Behr dark wax, apply it with a paper towel.
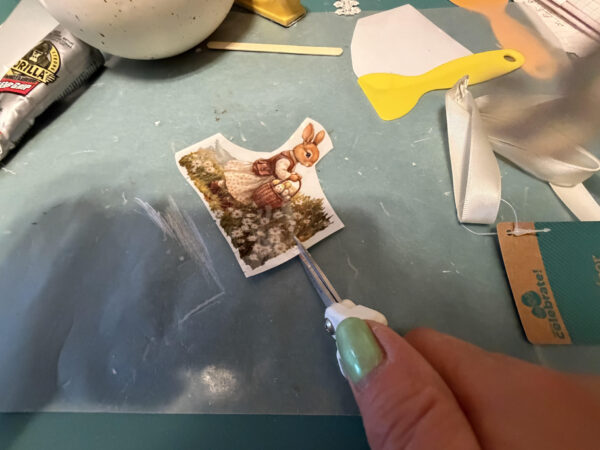
Adding bunny decal and ribbon
Cut out the transfers you will be adding to your eggs. Make a few shallow cuts at the bottom and sides of each decal. Do not make the cuts deep, see photos below. The cuts will help you apply the decal more easily.

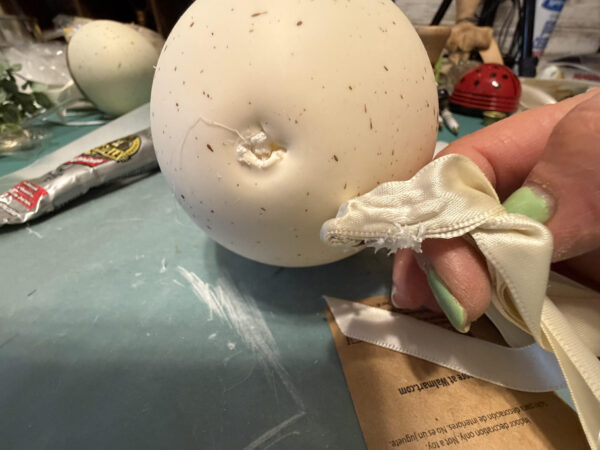
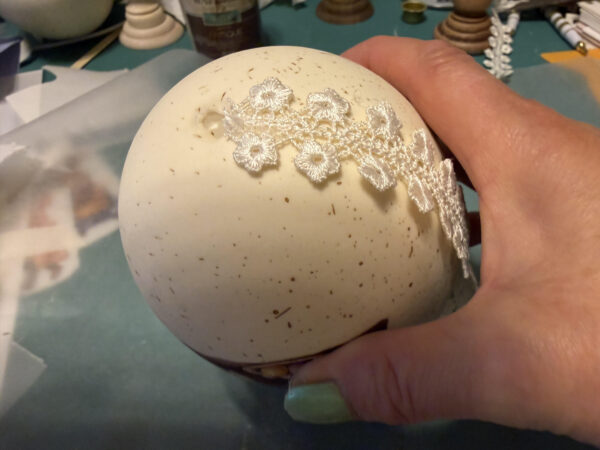
Carefully use your hands to remove the ribbon from the egg.
Remove the backing, center the decal over one side of the egg, and then place the decal onto the egg. Lightly stick only the center of the decal to the egg. Start applying the decal at the bottom, do not move up until the top film comes away from the egg. This will help the decal lie flat as you move upward. It is hard to explain but work on one section of the decal at a time until the top layer lifts away from the decal. If an area of the decal does not lie flat, make a small cut in the decal; this will help it lie flat.


I added the ribbon to ensure my decal on the opposite side is centered. Add a small line of hot glue to the center of your ribbon then attach it to one side of the hole at the bottom of the egg.

Work in small sections around the egg. When you reach the bottom cut the ribbon and attach the end.

After adding the first ribbon I felt it needed something else so I added a leaf ribbon I purchased from Hobby Lobby. To add a second ribbon repeat the steps for adding the first ribbon, attaching the second ribbon to the center of the first. Sorry I forgot to take photos of this step.
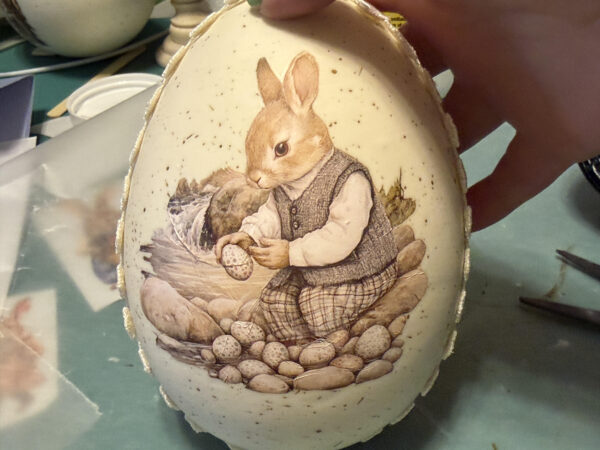
Next apply the second decal to the opposite side of the egg following the steps used for the first decal.
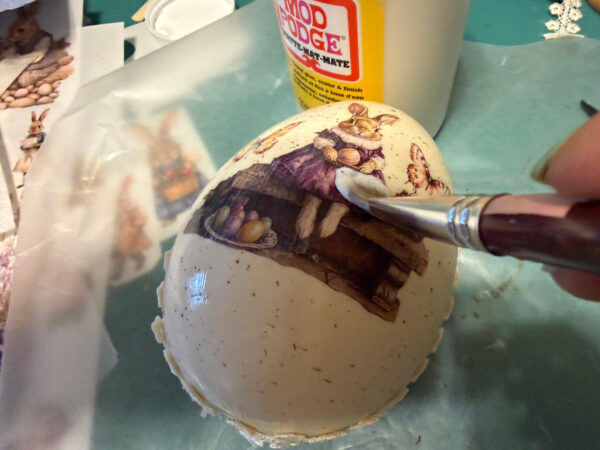
Apply a thin coat of Mod Podge over one side of the egg and let it dry. You can use a hairdryer to speed up the drying. This will seal the decal onto the egg. Repeat on the other side of the egg.
Attaching the eggs to the candlesticks
Apply gorilla clear grip adhesive to the top of the candlestick leaving two small sections uncovered for hot glue. Add hot glue. Glue on your candle ring. Repeat for the second candlestick. You can use any candlering you would like; just make sure the center ring is 1″ to fit onto the candlestick.


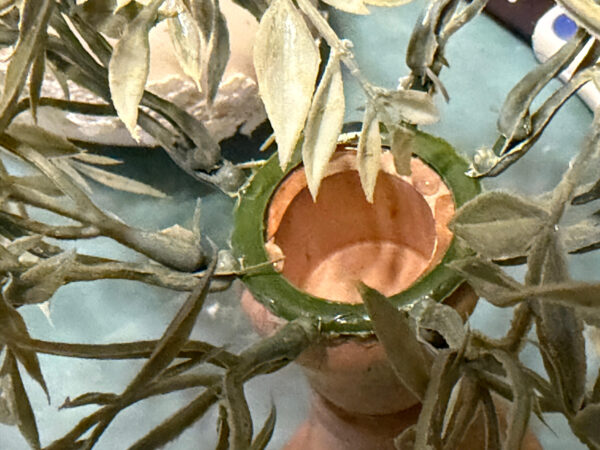
Apply Gorilla Clear Grip adhesive to sections around the center of the candle ring, leaving sections for hot glue. Add hot glue to the undiscovered areas, then glue on the egg. Hold the egg until the hot glue sets.

Here is my Amazon link for the bunny transfers. I receive a small commission if you order from this link.https://www.amazon.com/
The pedestal bunny eggs are not finished! I hope you enjoy making them. I applied decals to both sides of the eggs so you wouldn’t see a plain side if they are used on a table.You can see the two sides of my pedestal bunny eggs in the photos below.

