Christmas, Home Decor, Uncategorized
Tomato Cage Angel
28
Oct
Oct
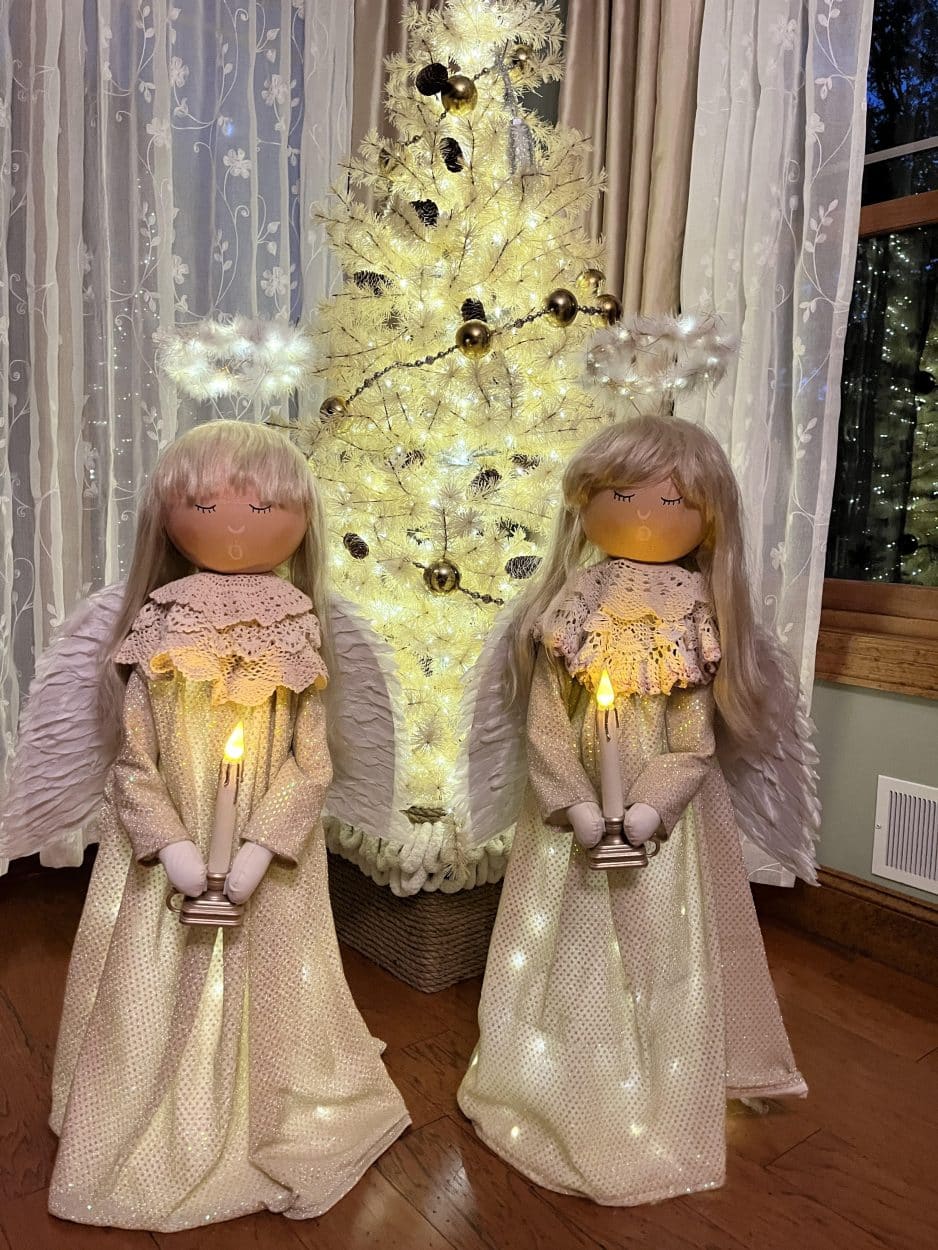
TOMATO CAGE ANGEL

If you follow me on Facebook you know I love creating things from a tomato cage! I have made a bunny, Fall tree, and a witch out of a tomato cage so far. When I made this angel I used fabric to make her dress but one of my followers suggested using a little girls dress, wish I thought of that lol. In this blog I give directions on using fabric but if you would like you could use a little girls dress.
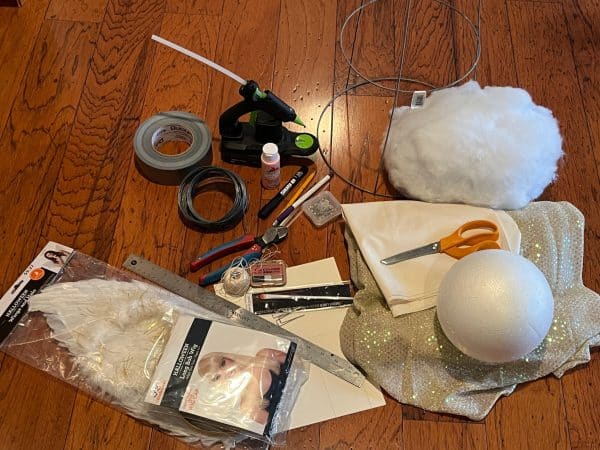
Materials I Used
- Pattern for arms
- 33″ Tomato Cage
- 7″ Smooth foam ball
- Halloween long bob Wig (I got mine at Walmart)
- Halloween Wing & Halo set (I got mine at Walmart)
- 60″ wide x 31″ long fabric of your choice for dress
- 2 Pieces of 8″ wide x 16″ long matching fabric for sleeves
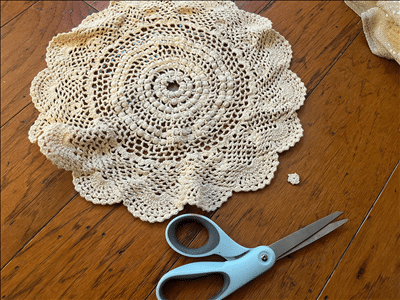
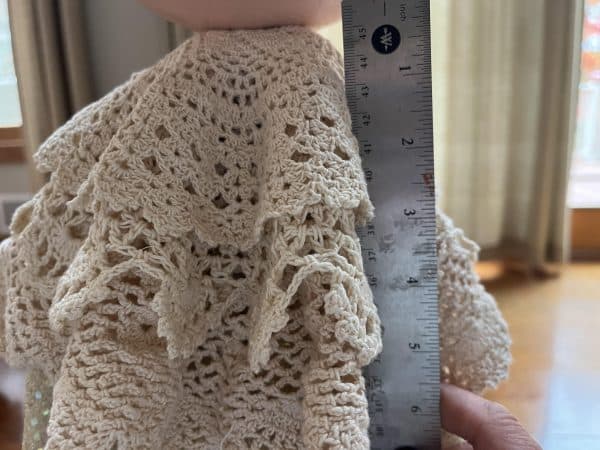
- 3 Doilies 14″, 12″, and a 9″ for her collar. This is optional you can also you a decorative ribbon trim.
- Muslin for making arms
- Polyester Fiberfill
- Sewing machineMeasuring Tape Ruler
- Sewing Pins
- 16 gauge wire
- 7 U shaped floral pins3 8″ Zip ties
- Duck Tape
- DMC Quilting thread and needle.The color doesn’t matter because it will be under the collar of the dress.
- Wire Cutters
- Pencil
- Fabric marking pen
- Scissors
- Hot glue gun and glue sticks
- Craft paint in colors Flesh, Cameo Pink, and black
- Fine tip paint brushes
- Blush for cheeks
- Velcro
- Timer Taper candle
- Set of 100 battery operated timer fairy lights
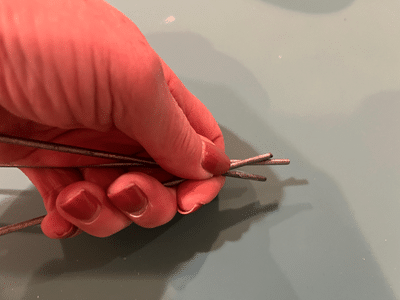
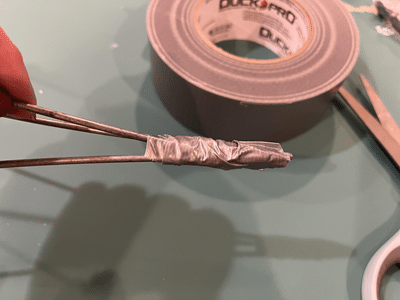
Step 1
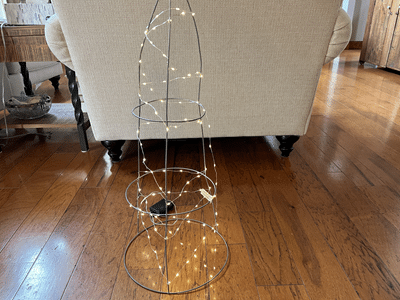
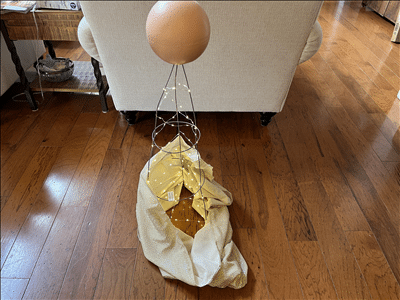
The first thing you need to do is print and cut out the arm pattern. To prepare the tomato cage for the angel hold the three top ends of the tomato cage together and wrap them together with duck tape. Next wrap the fairy lights around the tomato cage.
Step 2
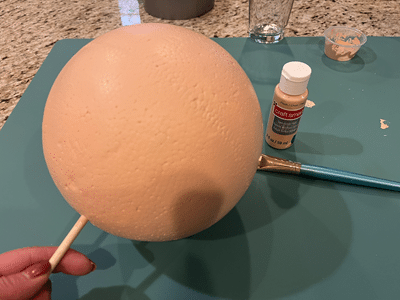
Using flesh colored craft paint paint the 7″ smooth foam ball. I found the easiest way to paint the ball was to insert a thin dowel into the bottom of the ball so you can hold the dowel while painting. Place the dowel into a glass or container so the ball can dry. I gave the foam ball three coats of paint.
Step 3
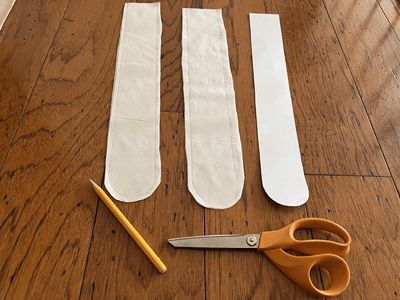
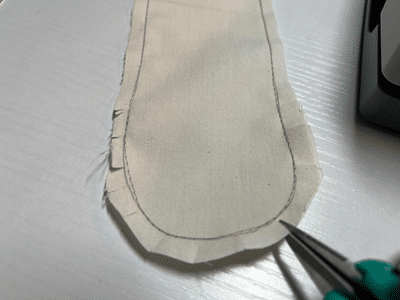
Trace two arms on a double layer of muslin. Cut the arms out about a 1/4″ from your trace line then on a sewing machine sew up your arms on the trace lines leaving the top open. Snip around the curve part of the arm to avoid puckering. Turn right side out and stuff with polyfill up to about a 1″ from the opening.
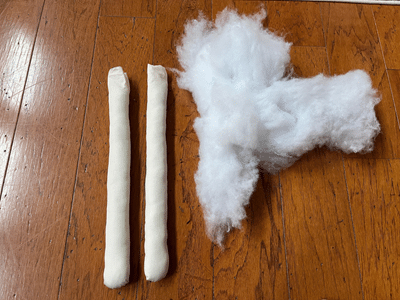
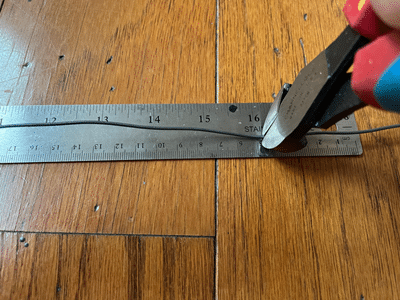
Measure and cut 2 pieces of 16 gauge wire 16 inches long. Insert one wire into each arm, you will need to work the wire down into the middle of the stuffing.Leave about a 1″ of the wire sticking out the top of the arm.
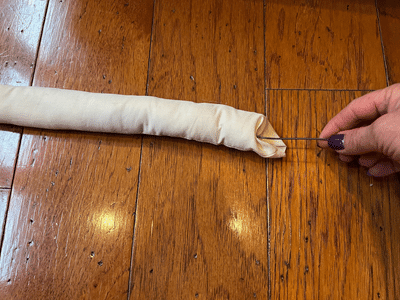
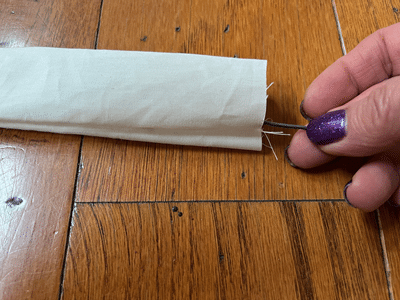
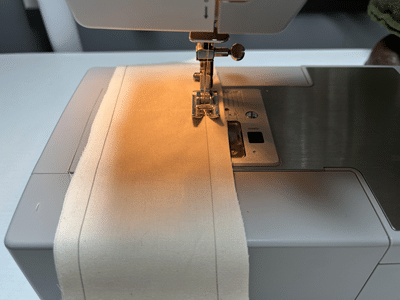
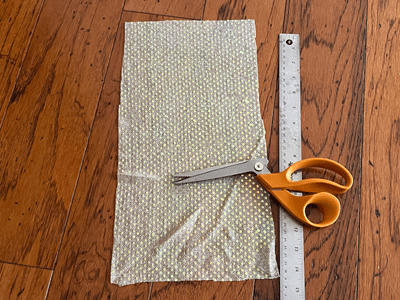
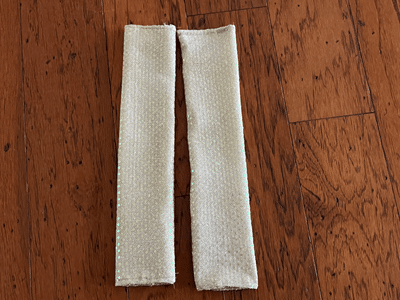
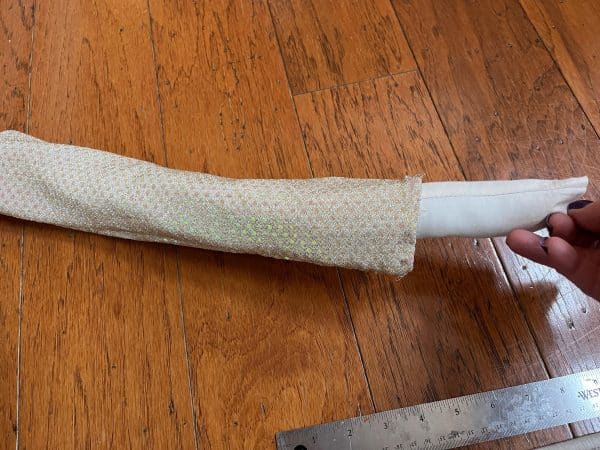
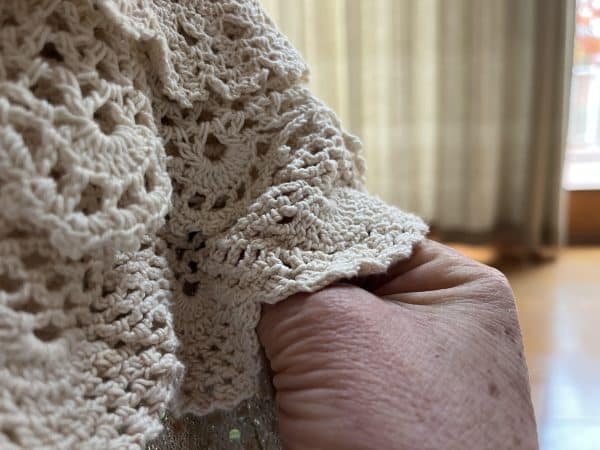
To make the sleeves for the arms measure and cut two pieces of fabric 16″ long by 8″ wide. Pin about a 1/2″ hem across one of the 8″ ends of each piece of fabric. You can also add a lace trim at this time if you would like lace around the sleeves. Sew the hem then fold pin together the long sides of fabric with print facing inside and sew together. I am sorry I forgot to take photos of this step but if you are a sewer I am sure you understand what I am saying. Repeat this step to the second piece of fabric. Turn right side out and you should now have a sleeve.
Step 4
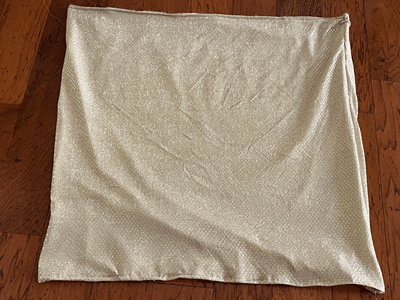
Let’s make the dress! For the dress you are going to take your 60″ wide by 31″ long piece of fabric and pin a hem about 1/2″ to one of the 60″ sides, this is going to be the bottom of the dress, sew your hem. Next fold your two 31″ sides of fabric with print facing inward and pin together. Sew about 1/2″ in from the end, turn right side out. Sorry I forgot photos again of doing this part.
Let’s make the dress! For the dress you are going to take your 60″ wide by 31″ long piece of fabric and pin a hem about 1/2″ to one of the 60″ sides, this is going to be the bottom of the dress, sew your hem. Next fold your two 31″ sides of fabric with print facing inward and pin together. Sew about 1/2″ in from the end, turn right side out. Sorry I forgot photos again of doing this part.
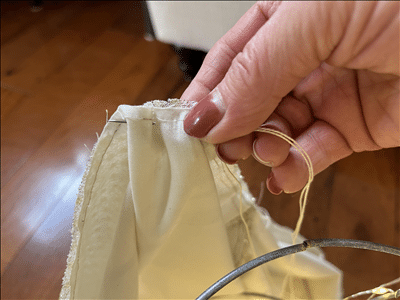
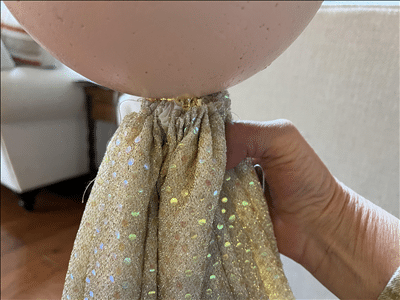
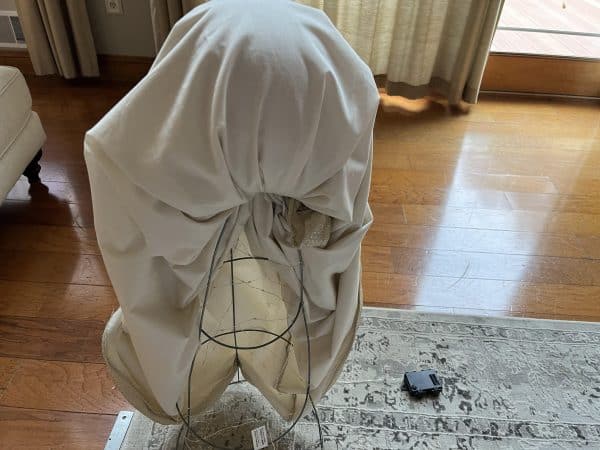
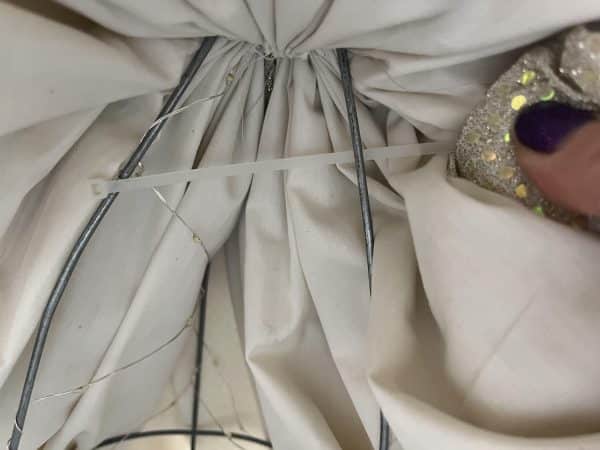
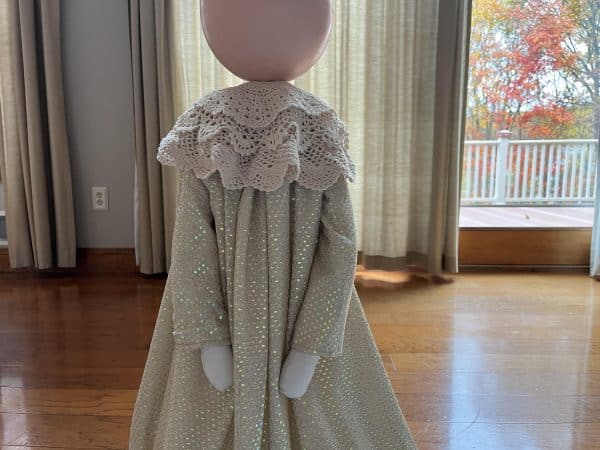
Take the foam ball head and push down onto the top of the tomato cage next slide the dress over your tomato cage. Pull the dress up to the top under the head then using DMC quilters thread and a needle do a gathering stitch around the top of the dress, pull tight and knot off. You can also do your gathering stitch before sliding the dress over the tomato cage then slide over and pull tight and knot off. For extra support of holding the dress around the tomato cage I zip tied the dress around the neck area using a 8″ zip tie.

Make sure you have two of the vertical bars of the tomato cage facing the front and one vertical bar in the back, this is important for attaching the arms!
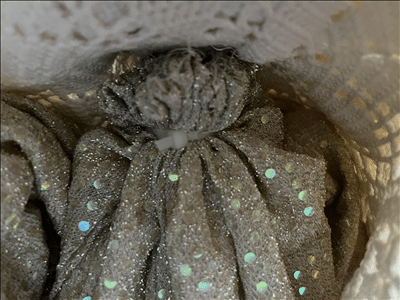
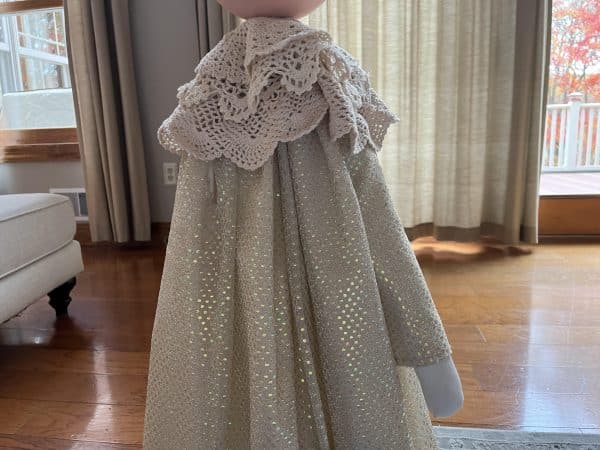
You are now going to add the three doilies. To add the doilies you are going to have to cut a very small section out of the middle of each doily so they will slide over the neck of the tomato cage. Remove the head and slide the 14″ doily on then 12″ doily and finally the 9″ doily.
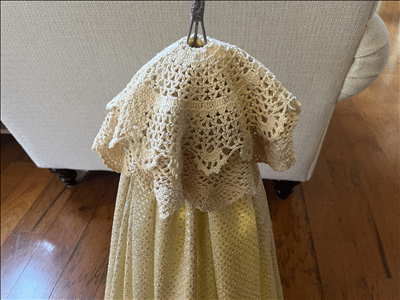
Put the head back on the lift the front of the doilies up to the head then place a u shaped floral pin under the doilies close to the bottom of the head and push in. This will hold the doilies close to the head. Repeat this step to the two sides and the back of the doilies.
Step 5
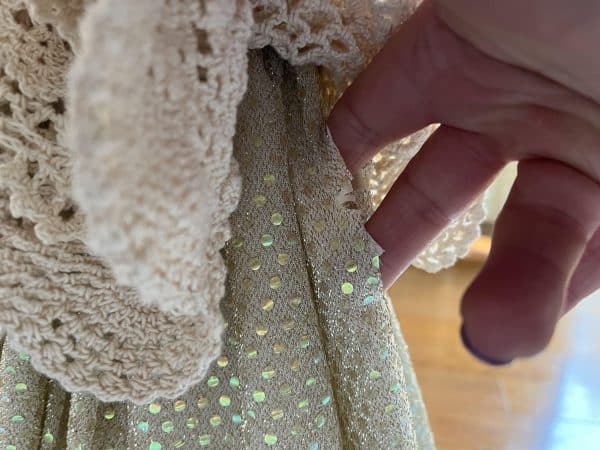
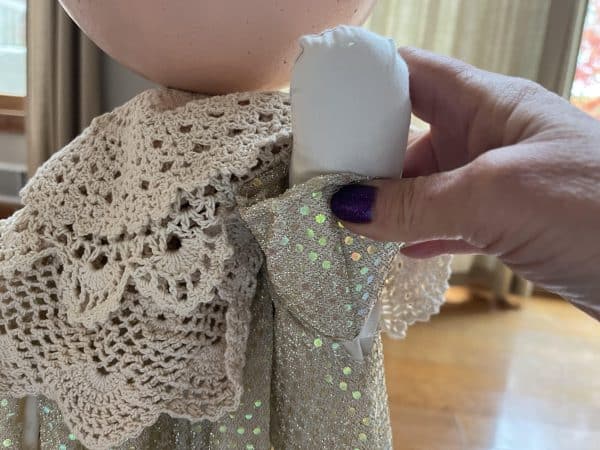
Slide each arm into a sleeve. On one side of the head measure down about 4″ from the bottom of the head and pinch the fabric on the side of the angel, this is where you are going to cut a hole in the fabric for the arm, holding the fabric use scissors to cut a small hole for the arm. Next cut the hole a little bigger then see if the arm will fit through the hole, keep making the hole a little bigger until the arm will fit through.
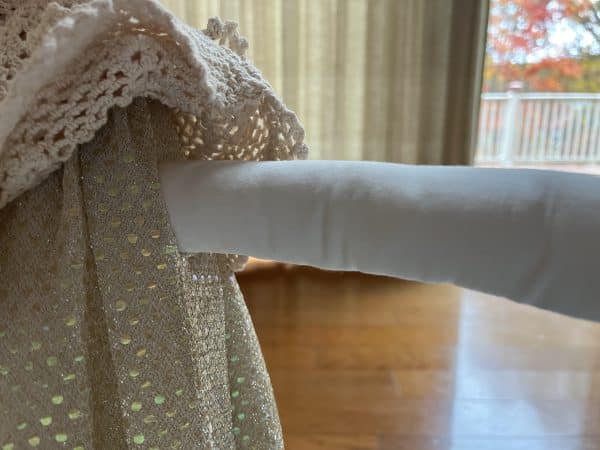
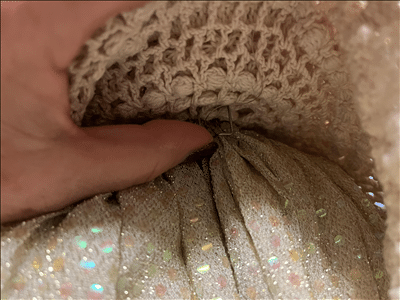
Next from under the dress slide the hand of the arm first through the hole and continue sliding the arm through until the top of the arm is underneath the neck. Now lift the bottom of the dress over her head and gather the fabric around the wire at the top of the arm and using a 8″ zip tie attach to the vertical wire of the tomato cage pulling zip tie tight. Repeat these steps to the other side of the angel.

Step 6
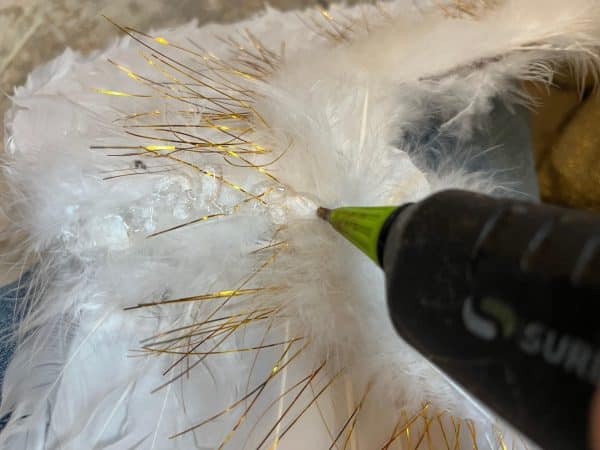
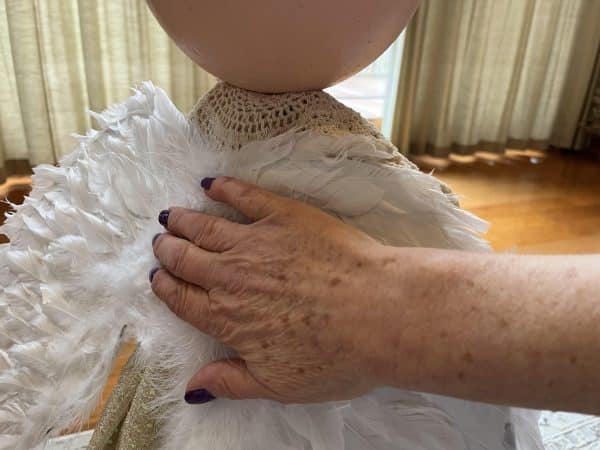
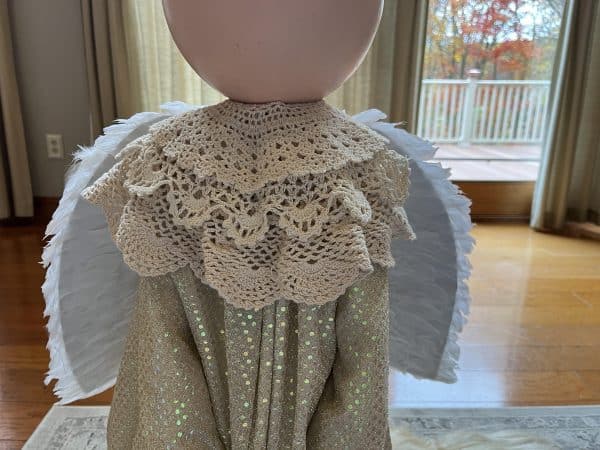
Hold the wings on the back of the angel to decide when they should be attached. Add hot glue to the center of the wings and glue to the back of the angel.
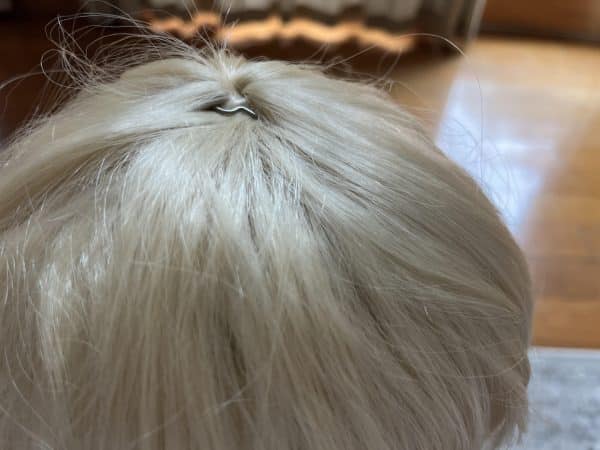
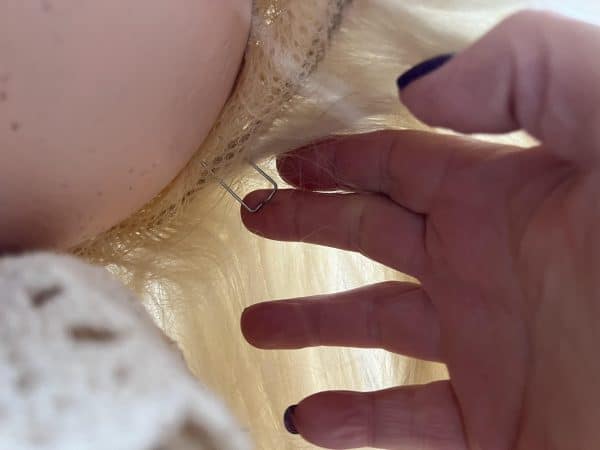
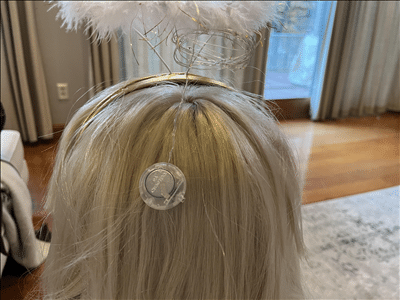
Place the wig unto the head then lift up some of her hair at the top and attach the wig to the foam ball using a u shaped floral pin. I did not like how you see the netting on the sides so I folded the netting back and used a u shaped floral pin to hold it up under the hair. I repeated this step to the other side.
Step 7
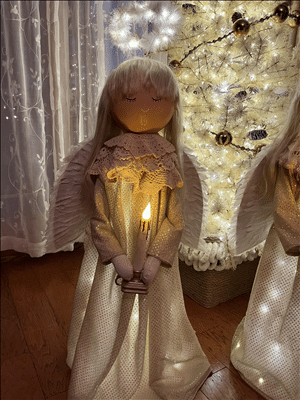
In the pattern I added a drawing of how I did the face. Using a pencil lightly draw on your face. For the eyes I used a black Posca pen to make the eyes over the pencil marks. Using Cameo pink craft paint and a fine tip paintbrush paint the nose and mouth. I used a blush from Dollar Tree to give her rosy cheeks.

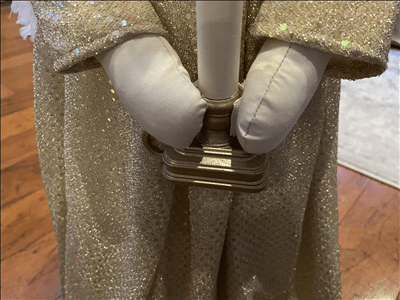
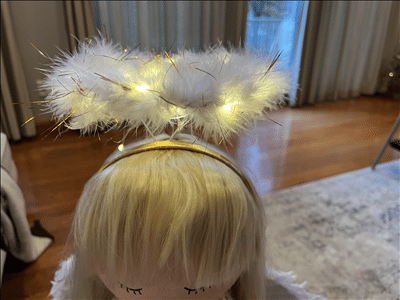
Place her halo onto her head. I added a candle from Dollar Tree to her hands. Cut two small pieces of velcro and place onto each side of the candle then velcro to her hands.
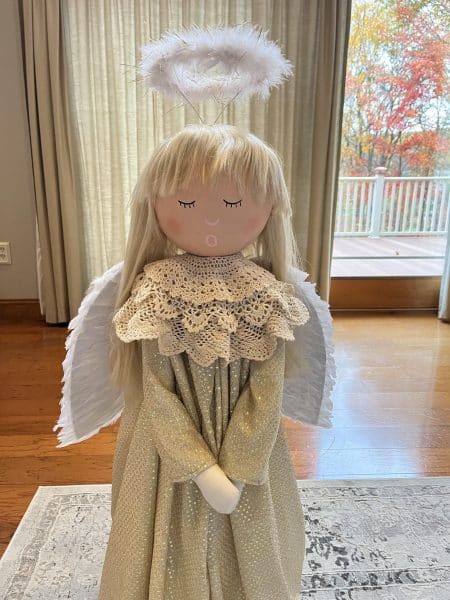

After finishing her I decided to add a set of 20 battery operated timer fairy lights to her halo. You can find these fairy lights on my recommended products page. Just wrap the fairy lights around the halo making sure the battery pack is behind her head.
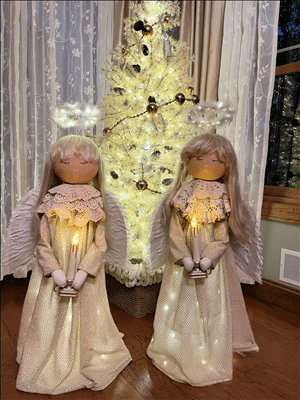
Your angel is now finished! I hope you enjoy making her! She is not just for the holidays she can stay out all year, who doesn’t need an angel in their life everyday!
The angels are beautiful Sherry! Awesome creation!
I will be makeing them ,I love them