Easter, Home Decor
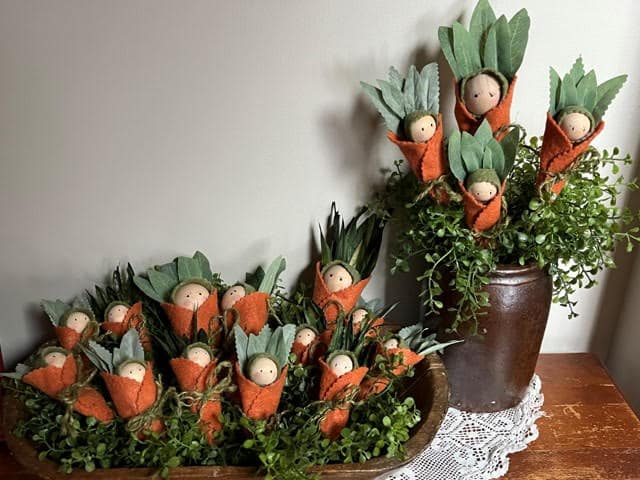
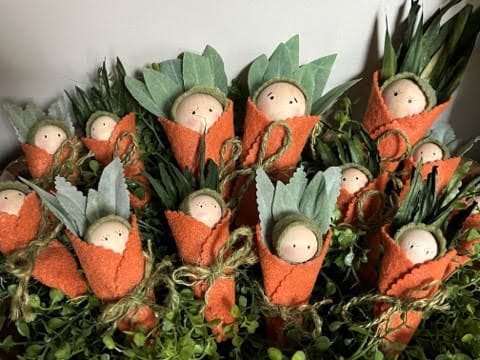
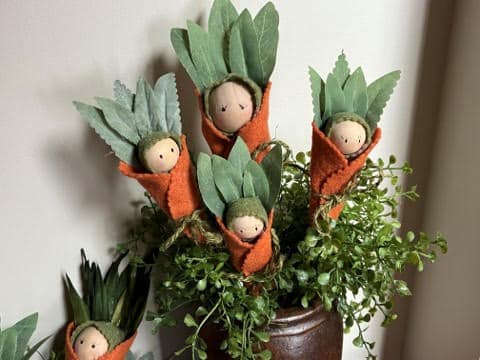
Baby Carrot Family
Mar
It is almost the middle of March and Spring is just 8 days away but it sure doesn’t feel like it due to the snow we still getting here in Northeastern PA. I just love Spring and Easter, the colors are just so warm and beautiful. I am just loving this baby carrot family I made. At first I just made all the little babies then I said to my son they needed a mom and dad lol so I made two larger size. During my live showing how to make this baby bunny family it occurred to me that they would also make an awesome baby carrot pick so during my live we created these adorable baby bunny picks.
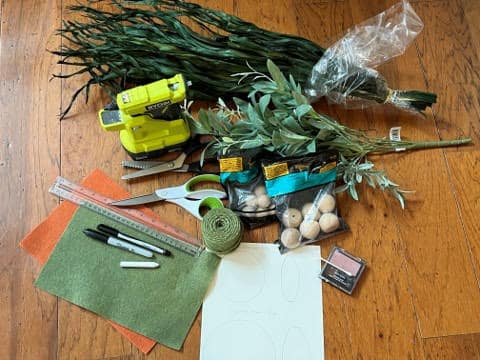
Materials I used
Baby Carrot Family Pattern
Pumpkin Orange Felt, Hobby Lobby
Olive Green Felt, Hobby Lobby
1” Ball Knob, Hobby Lobby Item# 165811. You will need 1 ball knob for each baby carrot.
1 ½” Ball Knob, Hobby Lobby Item#165837. You will need 1 ball knob for each mom and dad carrot.
Leaves of your choice
Green Jute Twine
Piece of chalk for tracing
Fine tip black sharpie
Blush and Q-Tip
Scissors
Pinking Shears
Ruler or Measuring tape
12” Wooden Skewer for making the baby carrot pick
Hot glue gun and glue sticks

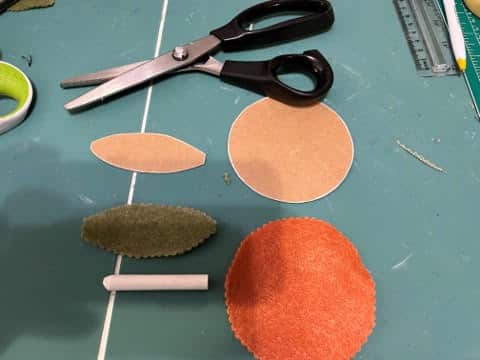
Step 1
Print and cut out the pattern pieces. Trace and cut out one circle for each baby , mom or dad carrot using pinking shears.
Trace and cut out one head cover piece for each baby, mom or dad carrot using pinking shears.
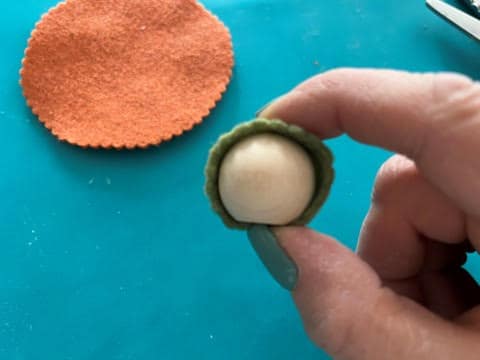
Step 2
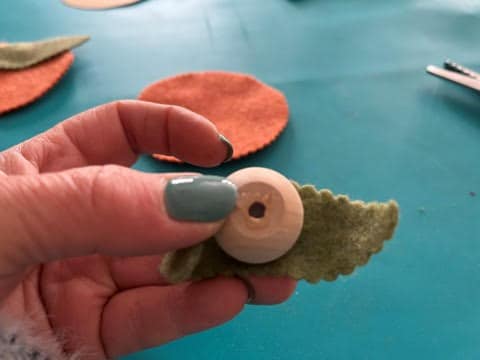
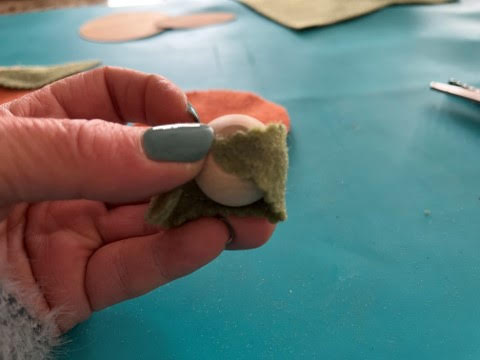
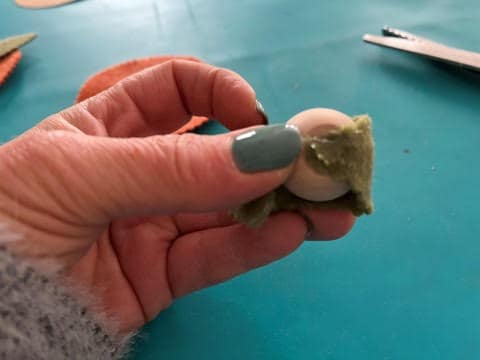
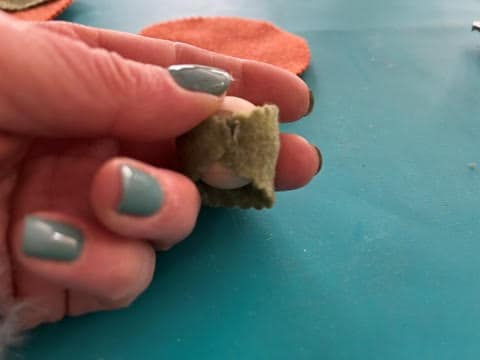
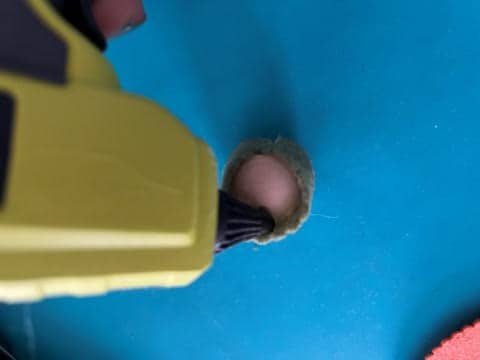
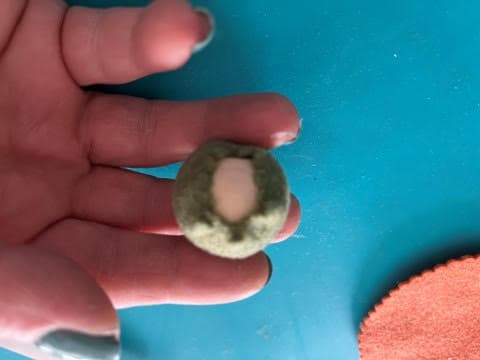
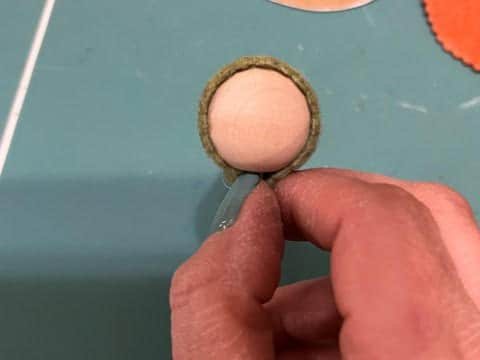
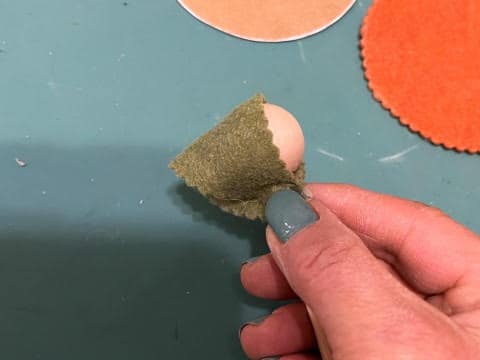
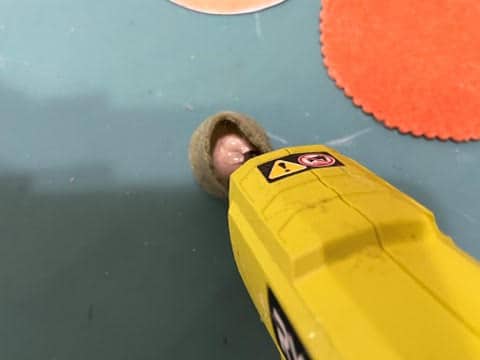
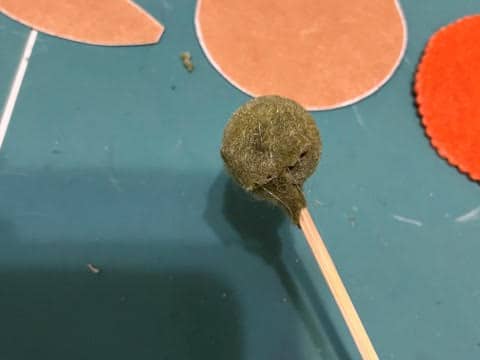
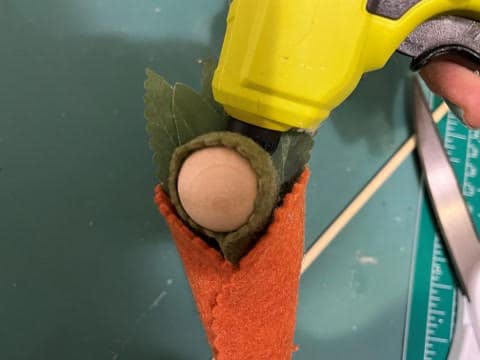
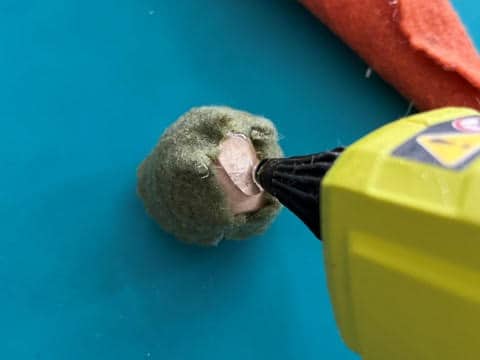
Take the head cover and wrap around the ball knob, the ends should be on the flat bottom part of the ball knob as shown in the photo below. It will look like a bonnet on the ball knob. Hold the head cover on the ball knob at the top of the ball then lift the two ends add a small dab of hot glue on the bottom of the ball knob then glue down one end next pull the unglued end tight to make sure the head cover is tight around the ball knob, add a dab of hot glue at the bottom of the ball knob and glue down the second end. Add hot glue to the extra felt at the back of the head and glue down.

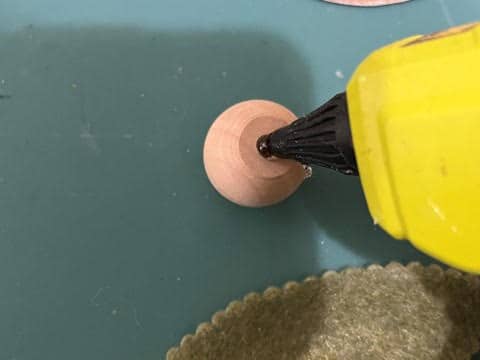
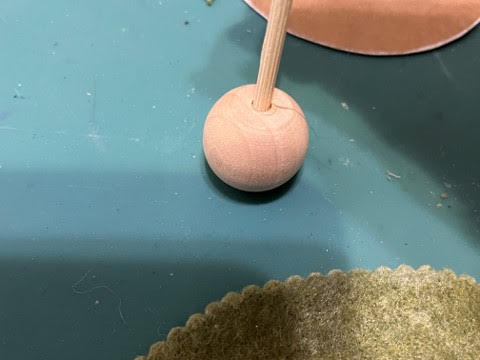
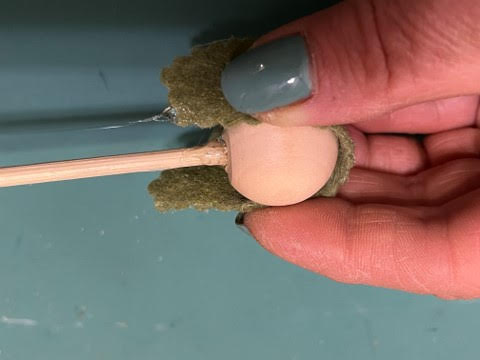
If you want to make the baby carrot pick add a drop of hot glue into the hole at the bottom of the ball knob then insert the wooden skewer stick. Wrap the head cover around the ball knob as shown in the photo below. Holding the head cover at the sides of the ball knob add hot glue around the wood skewer and glue the ends of the head cover around the wood skewer making sure you pull them tight. Add hot glue to the extra felt at the back of the head and glue down.
Step 3
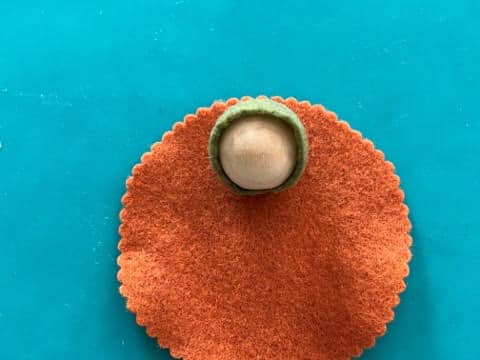
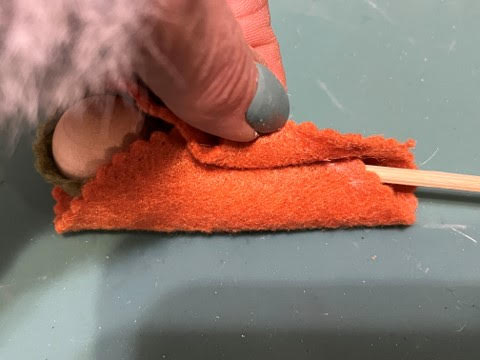
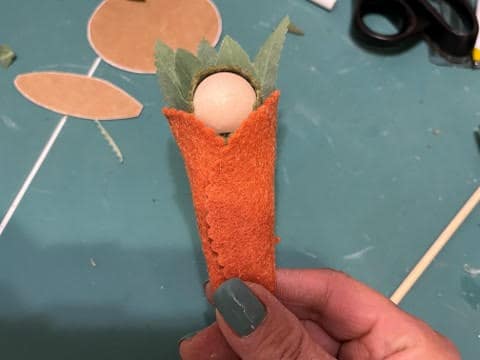
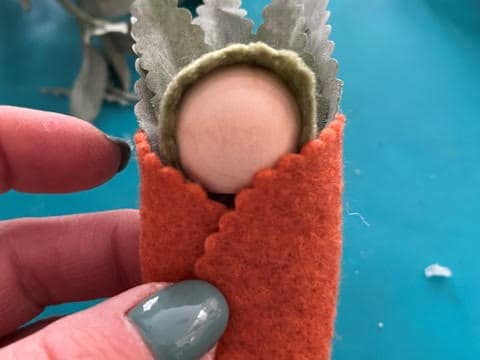
The following steps are the same for the baby bunny family with or without the wooden skewer stick. Lay your carrot head onto the orange felt circle, in the center about ¼’ to ½” down from the top. Fold over the sides as if your are swaddling a baby. It should look like a waffle cone. You want the bottom of the knob ball to be covered by the orange felt. Once you have the look you like lift up a small part of the top layer of orange felt add a small dab of hot glue towards the bottom and glue down.
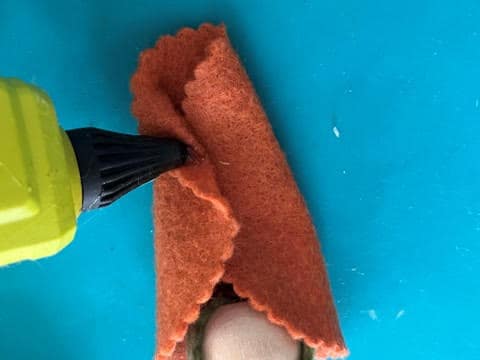
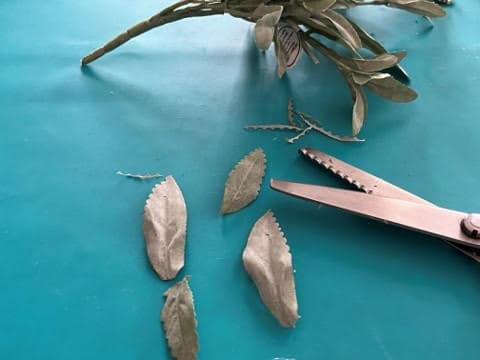
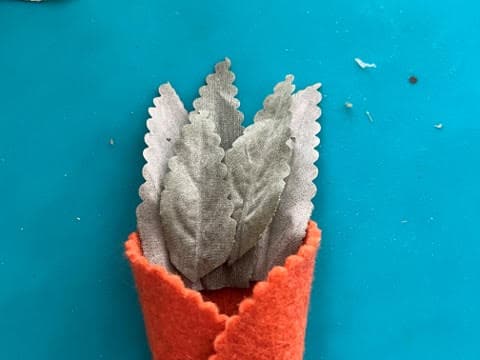
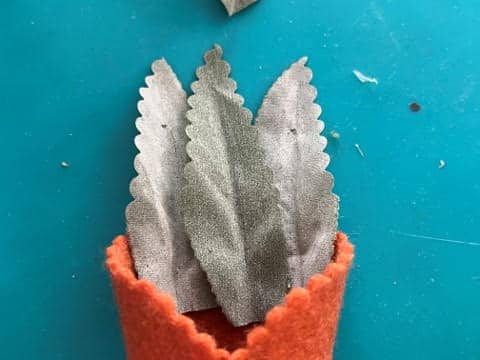
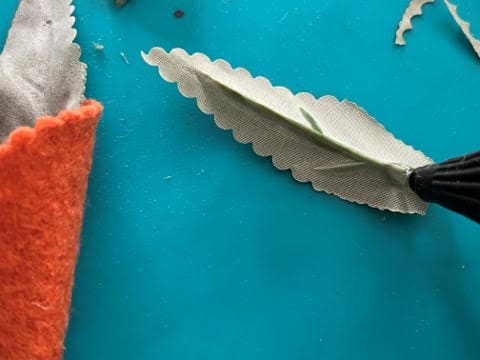
Remove the head from the orange felt. Lay your leaves inside the orange felt down about a ½” or so down from the top, (see photo’s below), to see how many leaves you are going to want to use and how you are going to want them. Once you have decided how many and the way you are going to want them remove the leaves and add a line of hot glue inside the orange felt cone and glue your leaves into the cone. If you are adding two layers of leaves you can add hot glue to each leave on the top layer and glue down. If you want you can trim some of the sides of your leaves with pinking shears.
Step 4
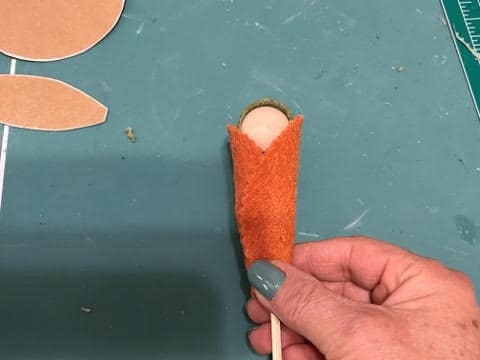
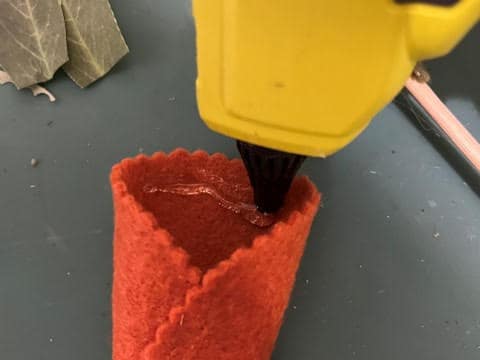
If you are making the carrot family picks reinsert the head back into the orange cone and position into place. Add hot glue behind the head and glue down in place on top of the leaves. I forgot to take a photo of the next step but fold back the rest of the top layer of orange felt add hot glue and glue down.
If you are not making the pick add hot glue to the back of the head and glue in place in the cone on top of the leaves. I forgot to take a photo of the next step but fold back the rest of the top layer of orange felt add hot glue and glue down.
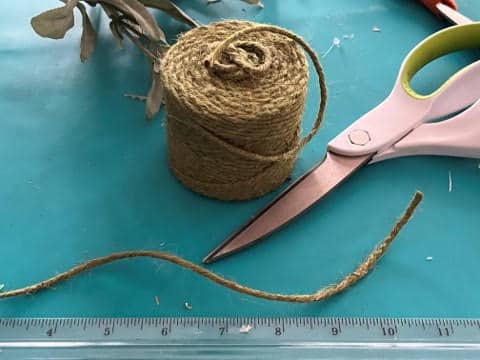
For the baby carrot cut a 12” piece of green jute twine, tie around the carrot making a bow. For the mom and dad carrot cut a 15” piece of green jute twine, tie around carrot making a bow.

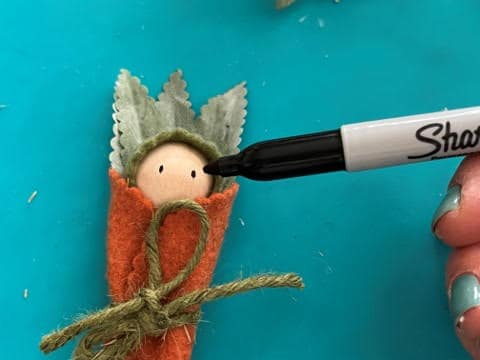
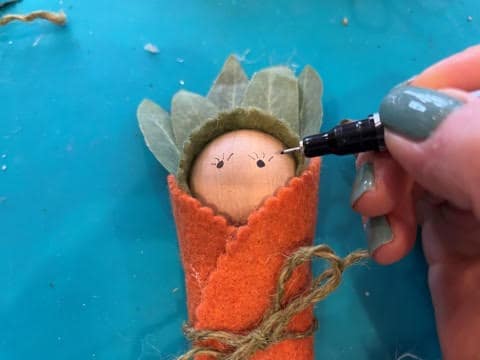
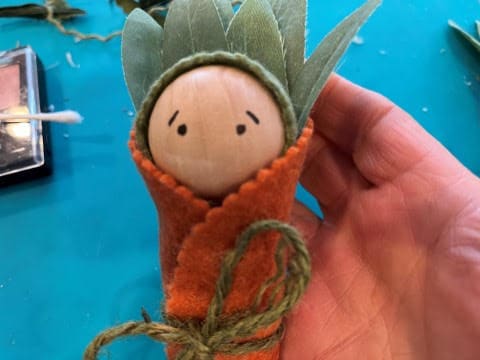
Using a fine tip black sharpie marker make two dots for eyes. If you want the carrot to be the dad add a slanted line over each eye, for the mom use a fine black sharpie pen and draw on eyelashes. For the baby carrots just leave the two black dots for the eyes.
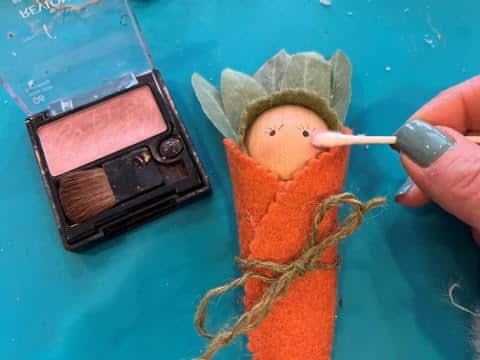
Add some rosy checks using blush and a Q-Tip.
You are now finished making this adorable baby carrot family I hope you enjoy making them. These little cuties would be a wonderful gift for family and friends.
OMG! I LOVE YOUR IDEAS