Easter, Home Decor
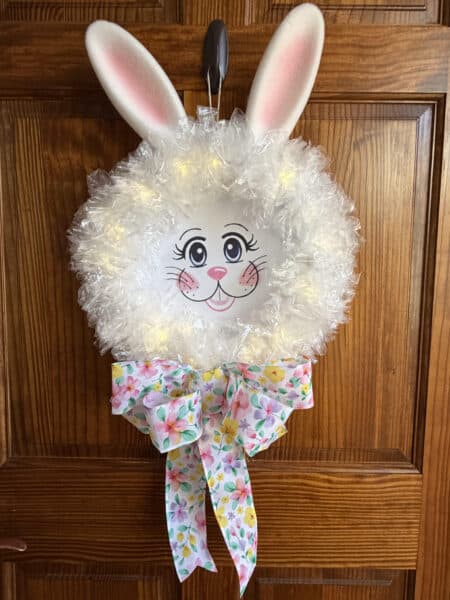
Bunny Baggie Wreath
08
Mar
Mar
I remember making a baggie wreath in school as a child; it took me a few minutes to remember how to make it. I made a baggie wreath at Christmas that turned out just adorable. When I was shopping at Walmart, I found flocked bunny ears. One of my followers suggested I make a baggie wreath bunny and I think he turned out just adorable.
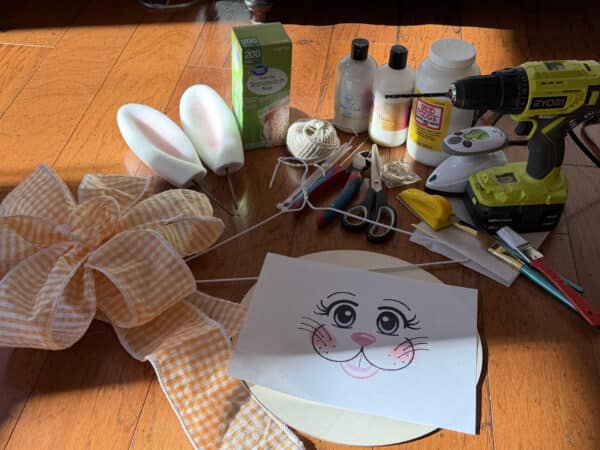
Materials I Used
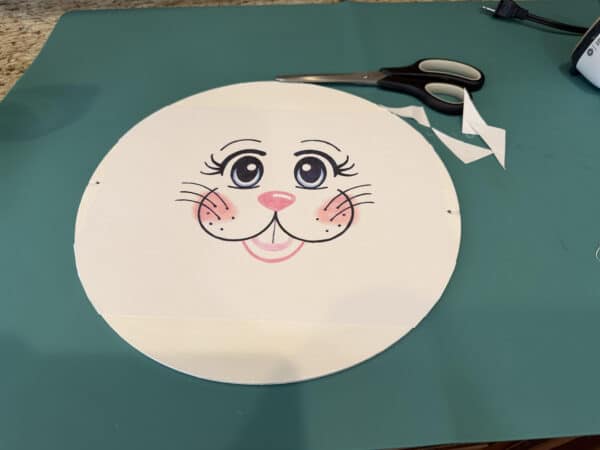
Bunny Face Printout
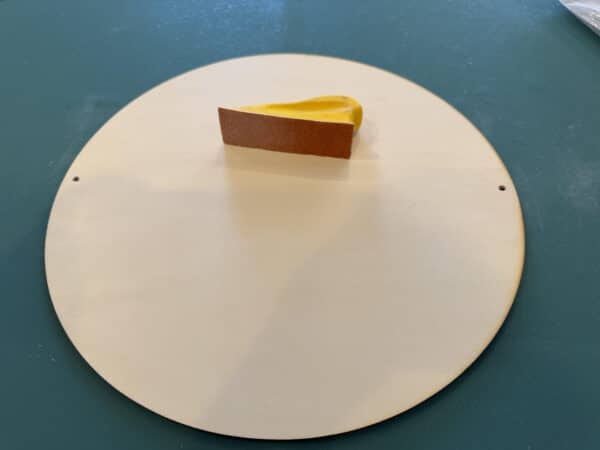
- 12″ wood round
- Set of flocked bunny floral picks, Walmart
- 1 box of 200 fold over sandwich bags, Walmart
- Wire Hanger
- Bow of your choice
- String of 20 battery operated timer lights, Amazon
- Four 8″ zip ties
- Drill and a 3/16 drill bit
- Piece of cream jute long enough to make a hanger
- White craft paint
- Mod Podge
- Iron
- Piece of parchment paper
- Sandpaper
- Paintbrushes
- Scissors
- Wire Cutters
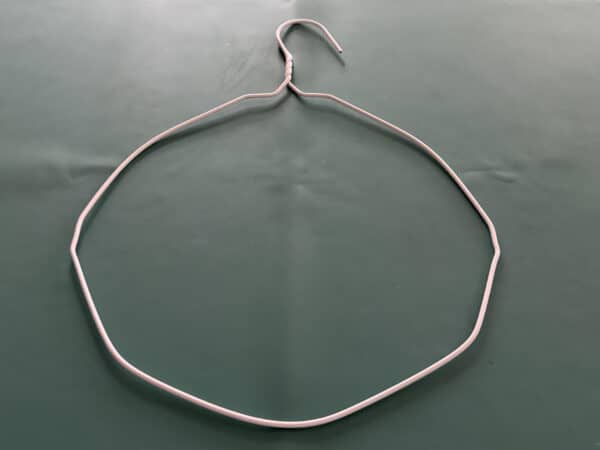
Making the wreath
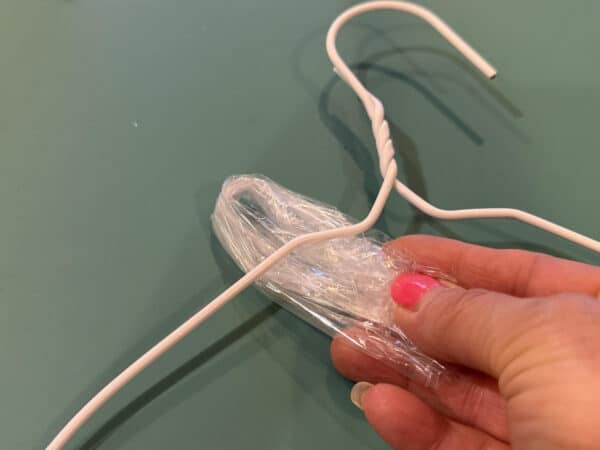
Start by forming the wire hanger into a circle.
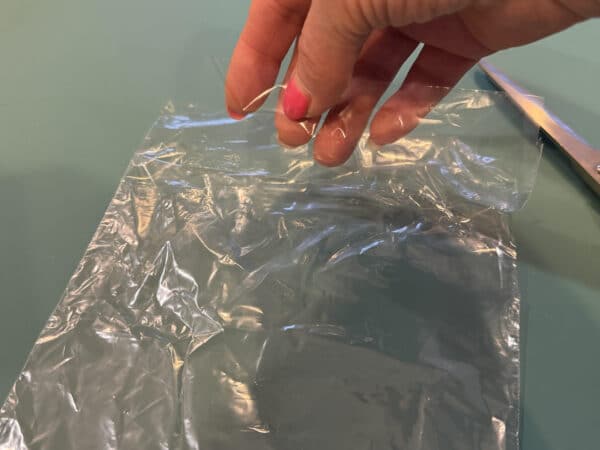
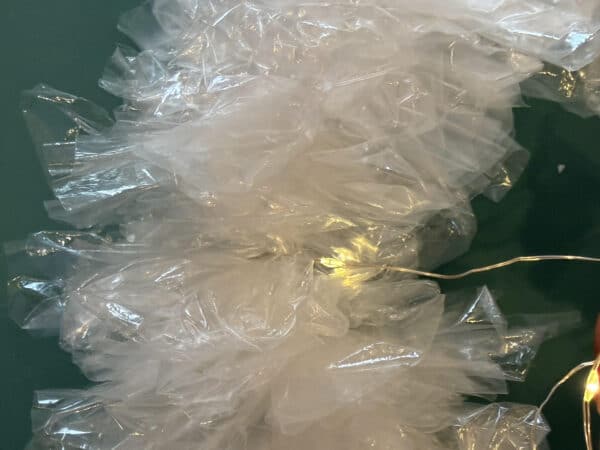
To prepare the sandwich bags for the wreath, cut the two sides of the baggie’s fold-over flap. I used 120 baggies for my wreath but you can cut 100 first to see how many more you think you will need.

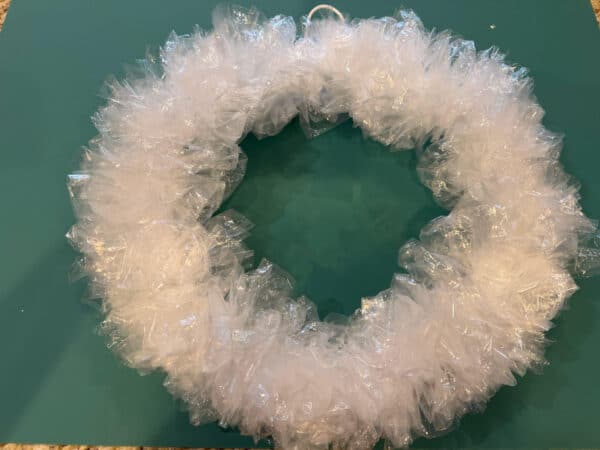
To attach the baggies to the wreath, gather the long sides of one baggie and fold it in half. Place the loop part of the baggie under the hanger then put the two ends through the loop and pull tight. This is a slip knot. Work your way around the hanger until completely covered, pushing the baggies close together as you go.


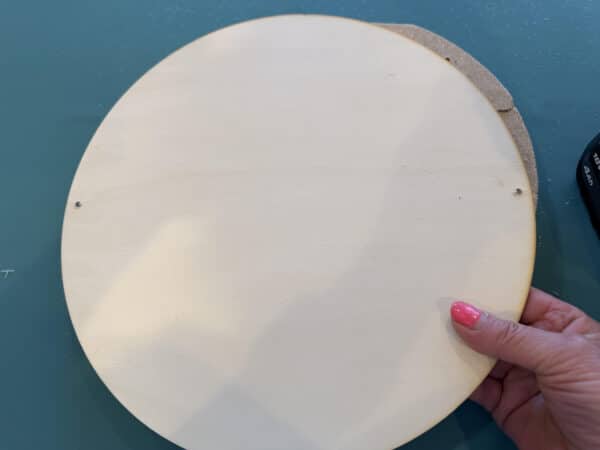
Preparing the wood round
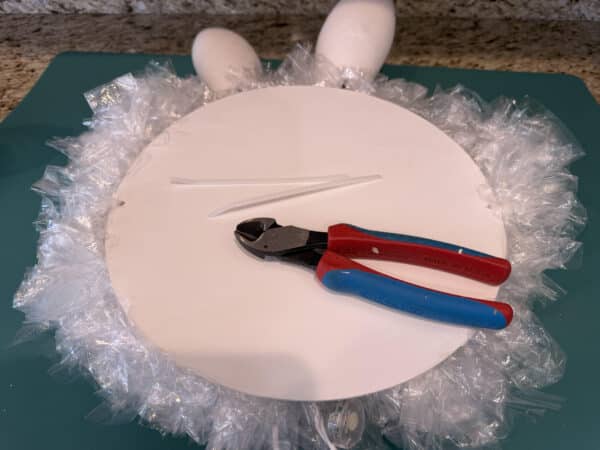
Using a drill and a 3/16 drill bit drill a hole on the right and left sides of the wood round. See the photo below.

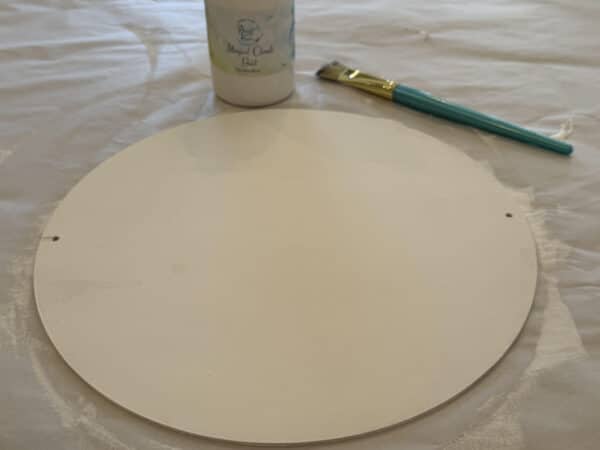
Lightly sand the drill holes.
Paint all sides of the wooden circle with white craft paint, and let it dry.
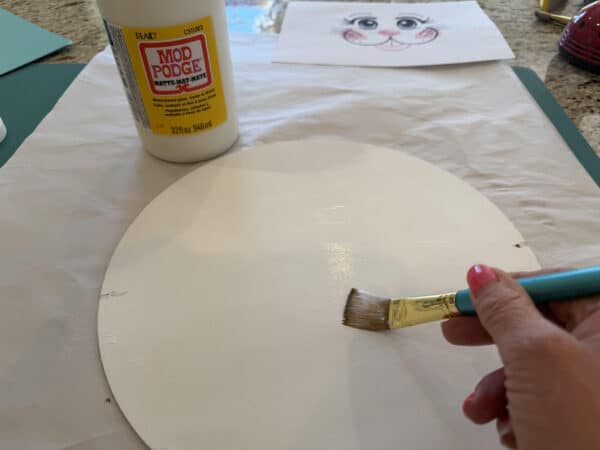
Apply one coat of Mod Podge to one side of the wooden circle and let it dry.
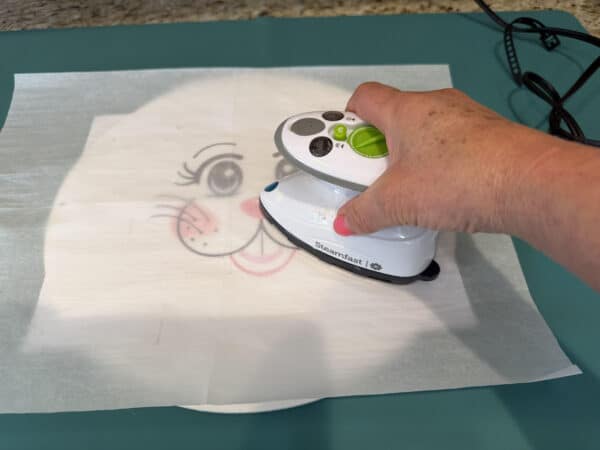
Print out the bunny face. Place the bunny face onto the center of the wooden circle, then position the wreath so the hanger’s hook is at the bottom of the wooden circle. The hook is where you will add the bow. Center the bunny face in the wreath. Sorry I forgot to take a picture of this step. Remove the wreath, cover the bunny face with a piece of parchment paper, and then iron.

Using scissors trim off excess paper.
Adding the lights and ears
Wrap the battery part of the lights around the hook of the wreath then start wrapping the lights around the wreath between the baggies.

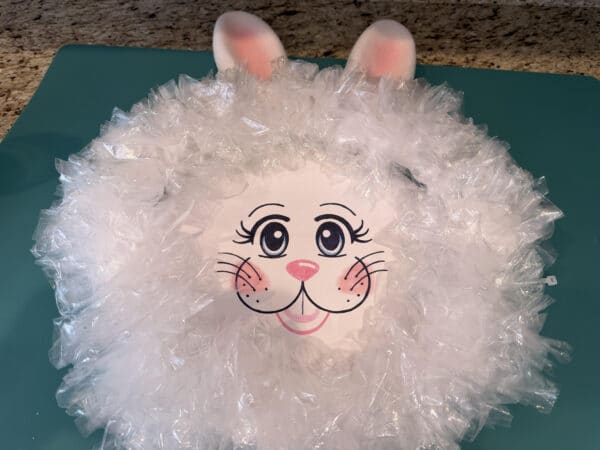
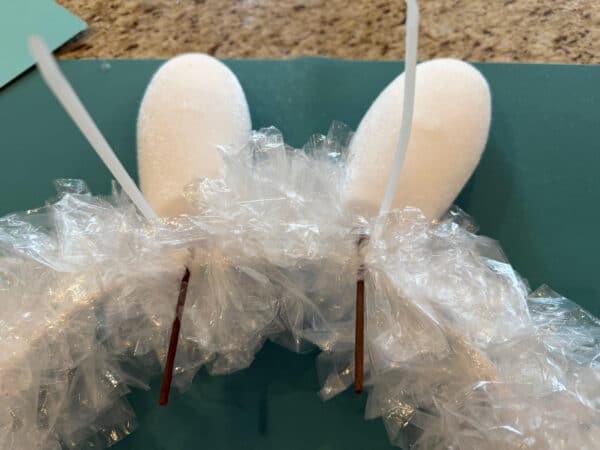
Place the wreath ontop of the bunny face making sure it is centered with the hook at the bottom. Slide the bunny ears under the wreath placing them where you think they look best.
Take a 8″ zip tie and slide it under the wreath form then bring it around the ear wire and zip tie them together. Do not pull the zip tie tightly yet. You are probably going to have to reset the second ear in place. Zip the ear to the wreath.

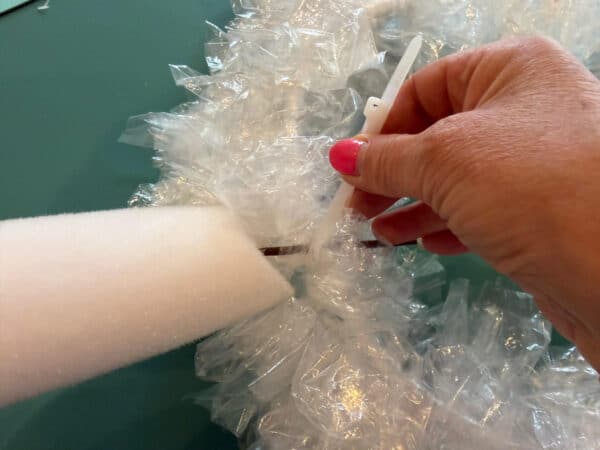

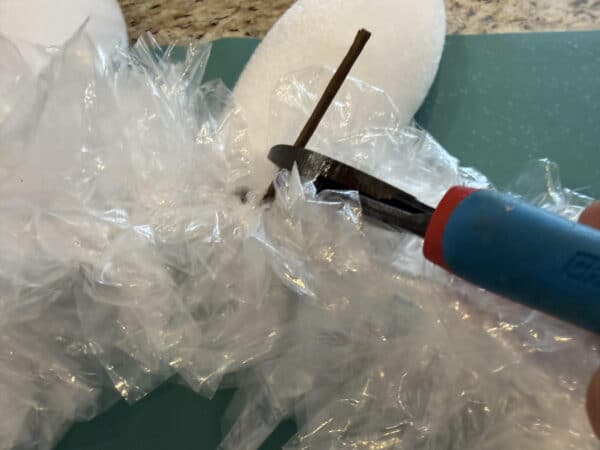
Cut off excess zip ties. Bend the ear wires up, and use wire cutters to trim the excess wire.

Attaching the bunny face to the wreath
Feed a 8″ zip tie through each hole of the bunny head.
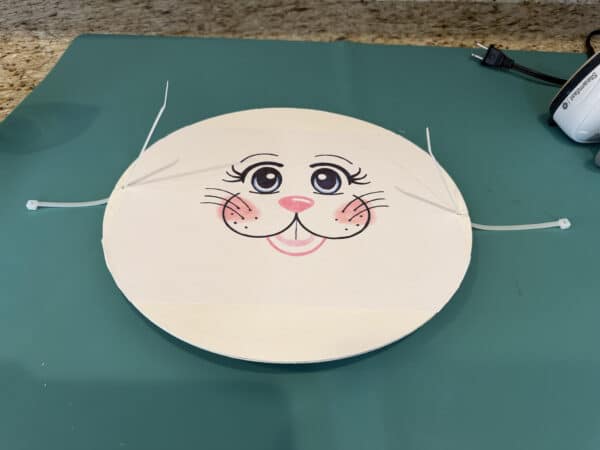
Center the wreath over the bunny head, ensuring one end of each zip tie is on the inside of the wreath. Bring the inside end of the zip tie around to the back and secure it. Do not pull the zip tie tightly yet.


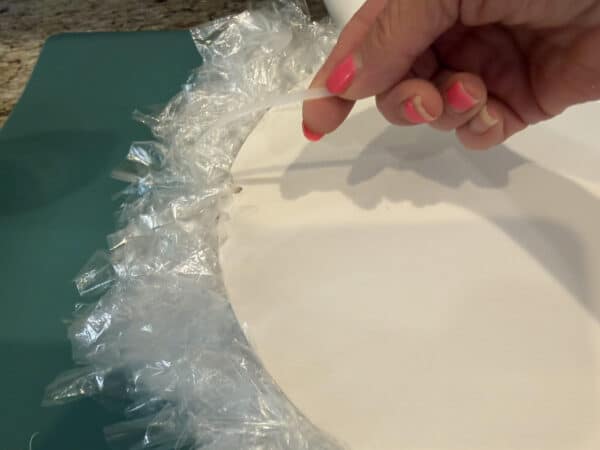
Check the bunny face to ensure it is still centered then attach the second zip tie. Recheck the bunny face, ensuring it is centered. Then pull the zip ties tight and cut off the excess.

Adding the hanger and bow
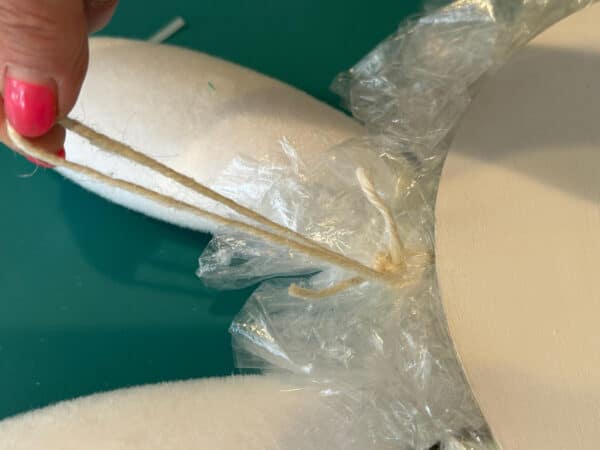
Cut a piece of cream jute twine to the length you want your hanger to be. Tie the ends together. Slide the hanger under the wreath form in the center of the ears and make a slip knot.


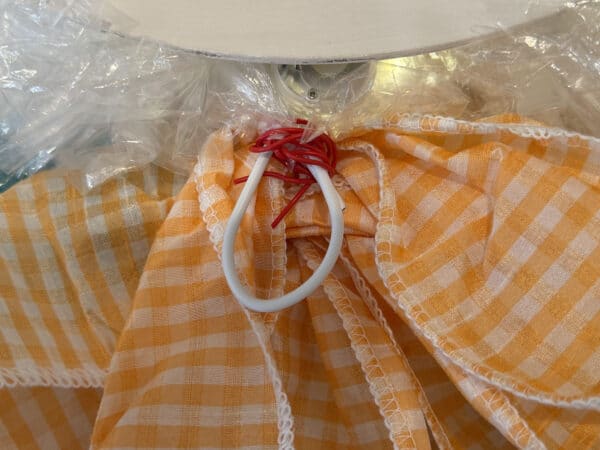
First, slightly squeeze the hook closed.Attach the bow by wrapping and twisting the wire tightly around the very top of the hook, just under the wreath.

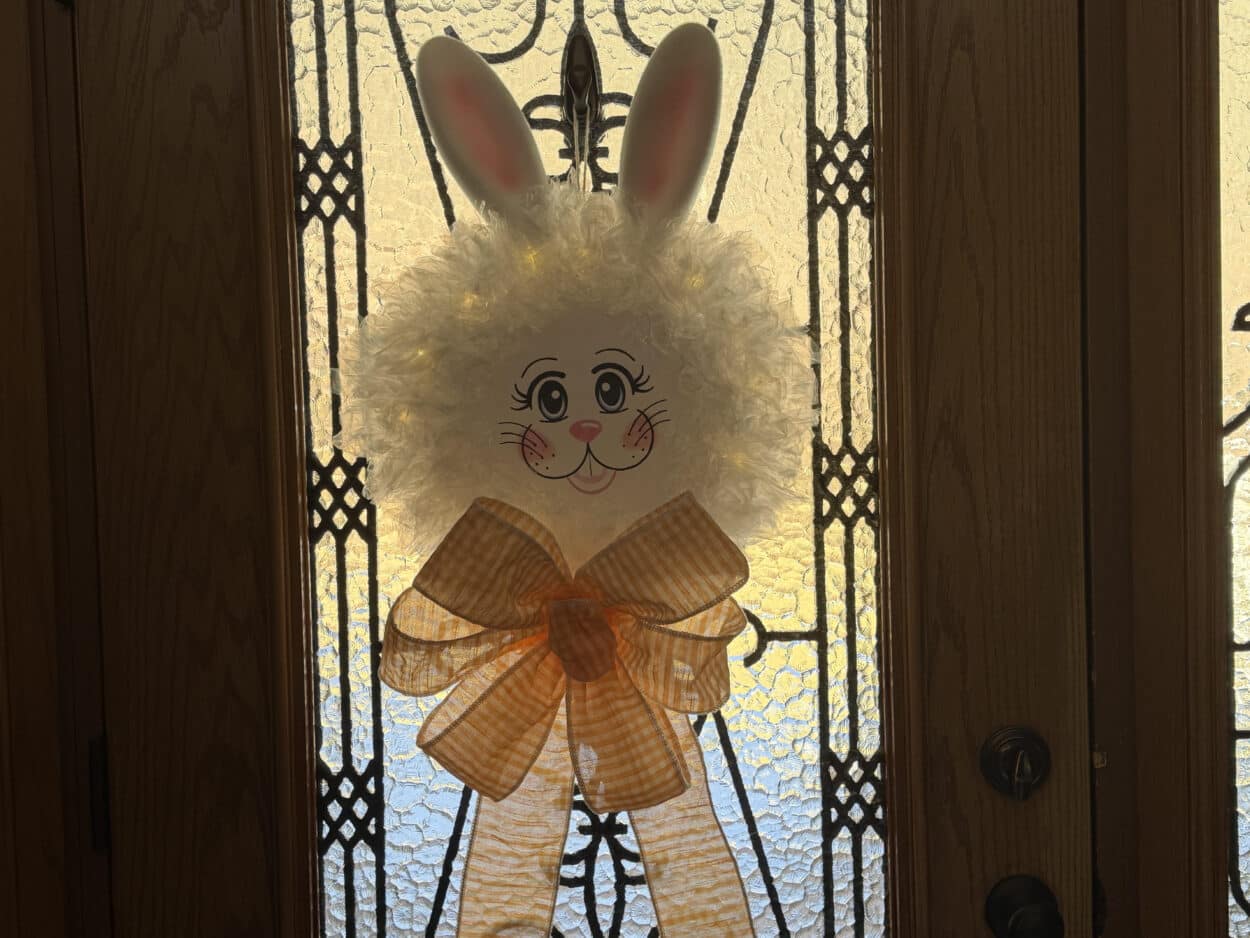
I hope you give this bunny baggie wreath a try! It is so fun to make. Use your imagination and see what else you can make using the baggie wreath. I purchased the orange check bow from Home Goods but I made the floral bow for the second bunny baggie wreath I made.