Dollar Tree, Fall, Home Decor, Thanksgiving
DIY Dollar Tree Turkey Centerpiece

Aug
I was in Dollar Tree looking at their Halloween and Fall Decorations when I spottedwooden turkey ornaments and a wooden turkey that I thought was a napkin holder I thought how cute are these for Thanksgiving I knew I could turn them into something super cute so I bought them.After finishing what I thought was a napkin holder I looked at it and finally noticed that it was not a napkin holder because it had a wood box in the center, I really need to pay more attention to what I am buying haha, so I made him a centerpiece I am guessing that is what he was meant to be used for.I think this turkey came out super cute and he looks adorable on my Fall table setting.
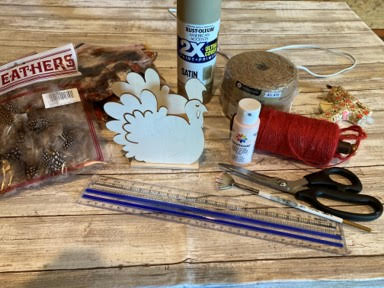
Here is a list of what you will need:
- Unfinished Wooden Turkey (Dollar Tree)
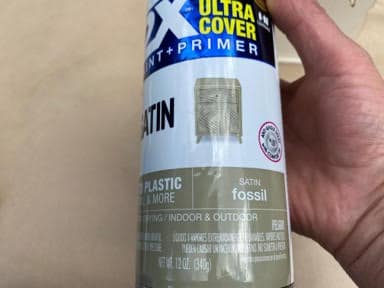
- Rust-Oleum Spray Paint in Satin Fossil
- Light Pink Craft Paint
- Paintbrush
- 4 ply Jute (Walmart)
- Red Jute or Yarn
- Feathers (Hobby Lobby)
- 2 Small Black Beads
- Hot Glue Gun and Glue Sticks
- Scissors
- Ruler
- Fall Flowers
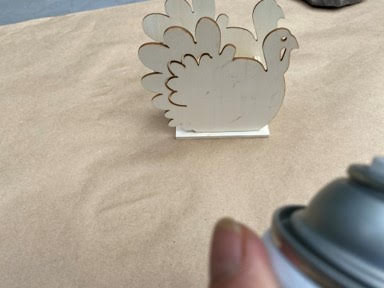
Paint The Turkey
The First thing you will need to do is take your turkey outside and paint him, I used a spray paint by Rust-Oleum in the color Satin Fossil the color choice is yours and you do not have to use spray paint you can use a craft paint if you prefer, I gave him two coats both the inside and outside.
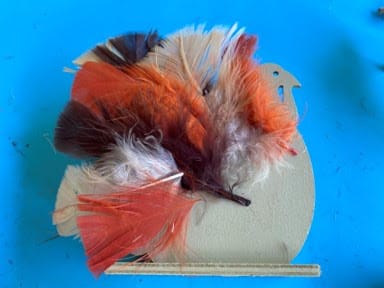
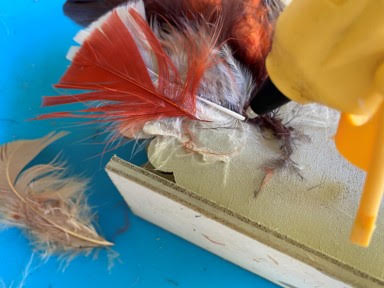
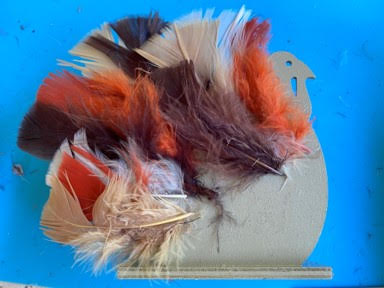
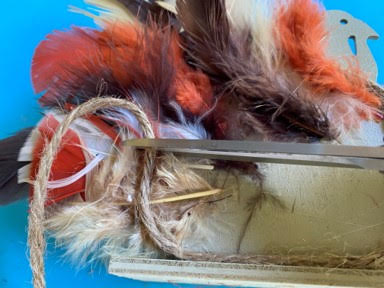
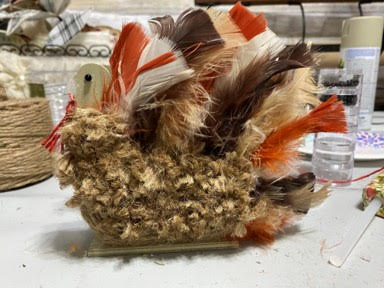
Adding The Feathers
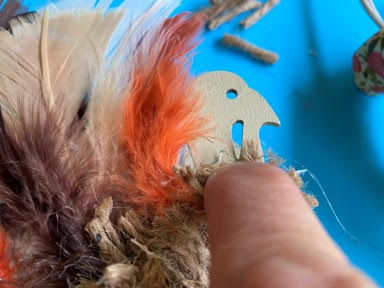
I purchased my feathers at Hobby Lobby I just love the colors of them they just screamed Fall to me. Start by laying out a row of feathers onto the outer wood feather area so you can see how you would like the colors and sizes to be, I used the larger feathers in the center and smaller feathers at the ends , next remove the feathers and add a small amount of hot glue and glue down your first feather continue to glue the rest of your feathers to the turkey. After you have your first row glued on pick feathers for the second row, I like to use the small feathers with all the fluff at the bottom of the feather, glue on your second row of feathers. Repeat this step to the other side of the turkey.
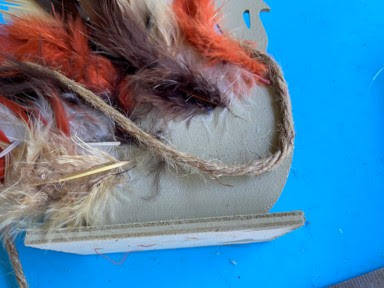
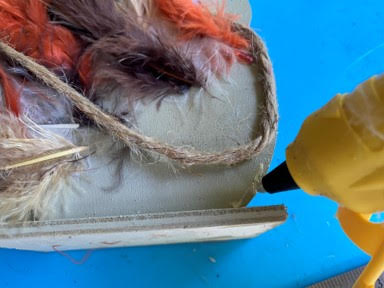
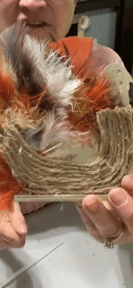
Adding The Jute
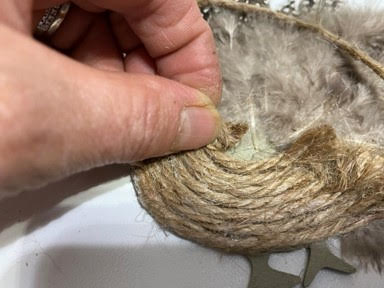
You are going to start by adding a line of hot glue at the edge just under his neck and down his breast to the bottom then taking your skein of jute start just below the neck and glue down your jute, next add a line of hot glue across the bottom of the turkey and continue gluing down your jute now you are going to glue the jute up in a curve towards the feathers you are going to need to decide how far up into the feathers you are going to want to go then cute your jute from the skein (the end of the jute will be fluffed out when we are done) add your line of hot glue and glue down the jute , you are not going to glue down the end into the feathers we are going to fluff the ends of the jute when we are done adding all the rows. You are going to add seven more rows of jute the same way you added the first one, you are going to turn your turkey over and repeat these steps to the other side of the turkey. Sorry about some of the photo’s I missed taking some photo’s for the blog so I had use screen shots.
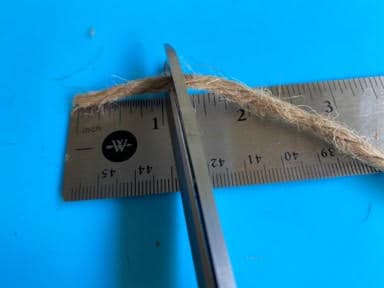
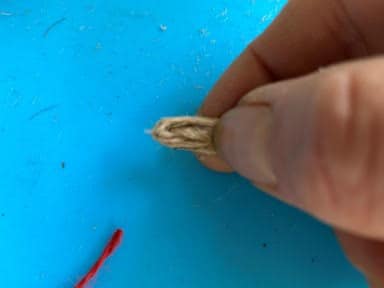
After you have finished gluing your eight rows of jute you are now going to cut a whole bunch of 1” pieces of jute I used around 90 pieces for each side of the turkey. Now that you have your pieces of jute cut you are going to take one of your pieces fold it in half add a drop of hot glue to the folded end then glue it just above your last row of jute, I started in the middle then worked my way to the left and right until I reach the end of each side, continue gluing your pieces until you have the first row completed. Next start your second row just above the first continue gluing and adding rows until you have the bottom feather quills covered. After you have worked your way up and covered the bottoms of the feathers you can decide if you would like to add more rows towards the bottom of the turkey and also more pieces towards the breast of the turkey, I added more that is totally up to you. Now you will need to add a few pieces under the beginning pieces of your jute that are right under his neck this will give him a more fluffy neck. Now that you have glued your 1” pieces on fluff up all the ends of the jute with your fingers. Now turn your turkey over and repeat these steps to the other side of the turkey.
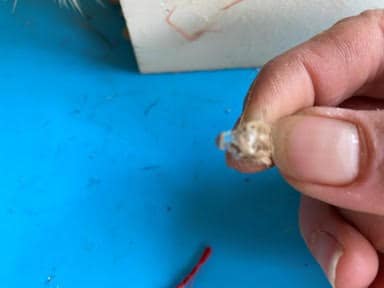
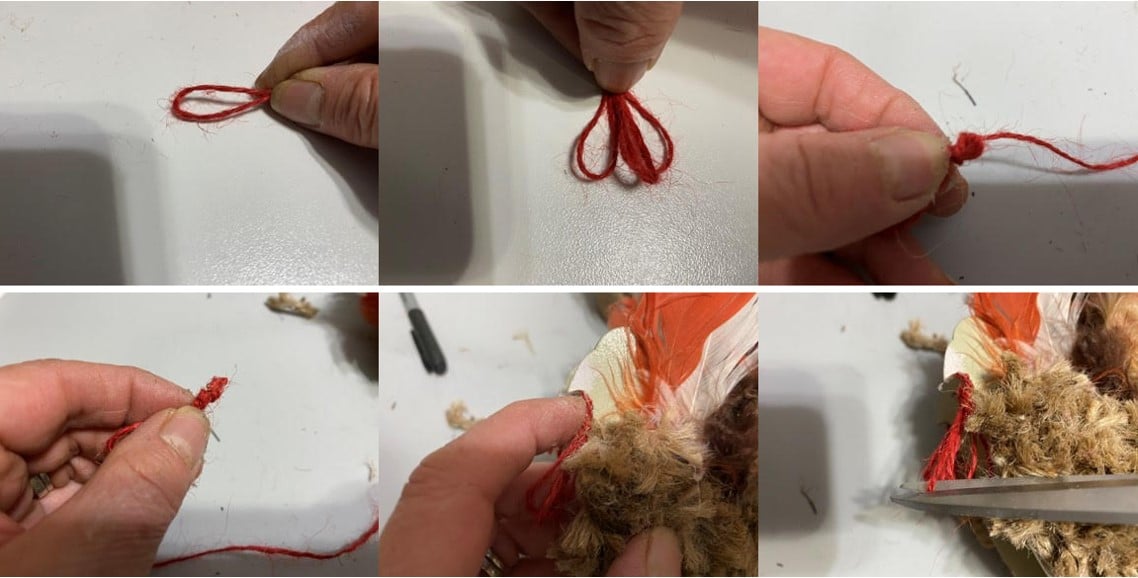
To add the snoods (I call it a gobbler hah) under the turkeys neck take your red jute or yarn and make about a 1” hoop then make two more hoops you want three 1” on the bottom wrap the jute or yarn around the top (not the end with the three hoops) to secure then cut the jute or yarn next add a small dab of hot glue to the end you just cut and glue to the turkey right under his beak then cut the three loops in the center so you end up with straight pieces.
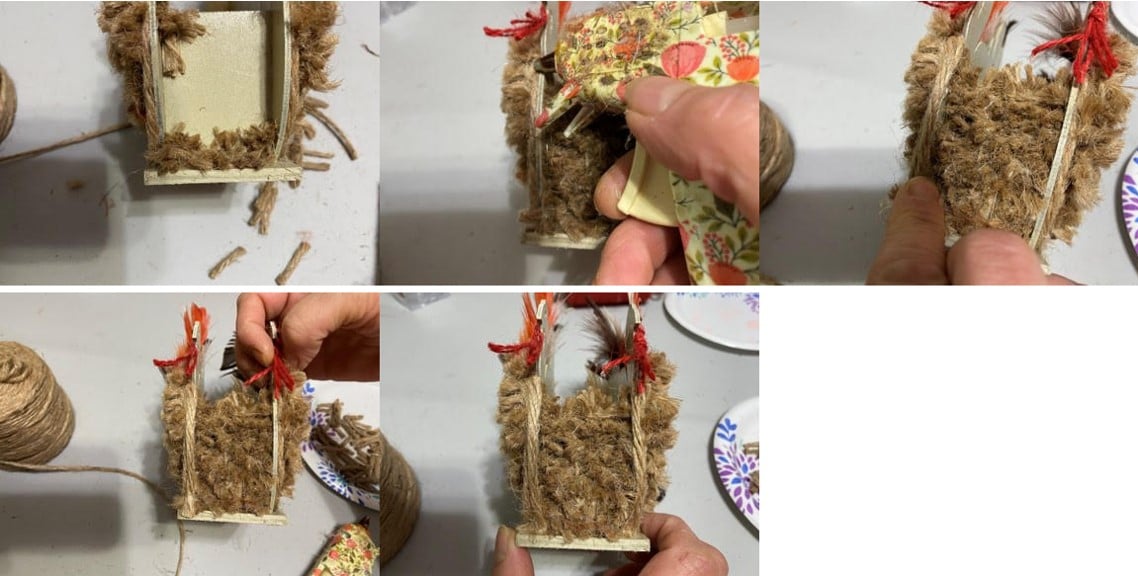
Next you will need to cut about fifty 1” pieces of jute, we are going to cover the breast section in-between the two sides of the turkey. Take one piece of your 1” jute and bend in half add a dab of hot glue on the fold side and glue at the bottom left of the breast keep adding pieces of jute across until you come to the end of the row then continue working your way up row by row until you reach the top of the breast. After you have the breast area all full fluff the ends of the jute, next add a line of hot glue to the rim on the left side of the area you just filled in with your jute, and glue a piece of jute from top to the bottom, cut from the skein repeat this step to the right side rim.
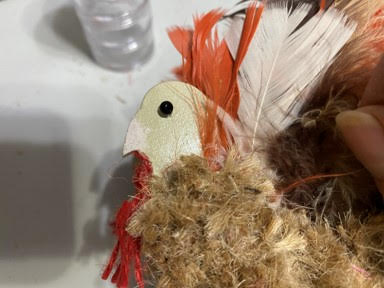
Finishing The Face
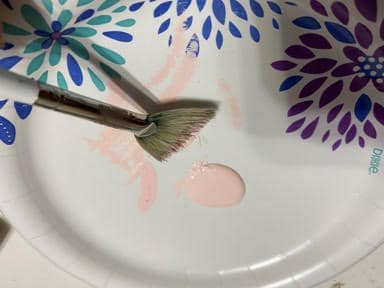
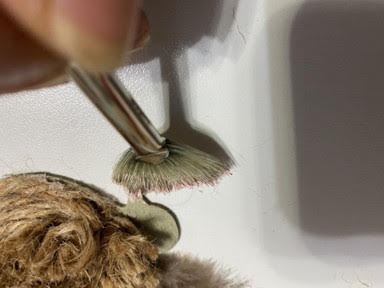
Take a paintbrush and dab the tip into your light pink craft paint and light paint both sides of the each turkeys beak. Next add a small drop of hot glue to the eye hole and glue on your small black bead, on the other turkey there is no hole for the eye so decide where you want the eye and add a small drop of hot glue and glue on the small black bead. All that is left to do is add your fall flowers.
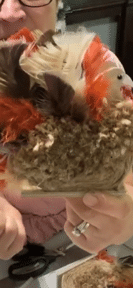
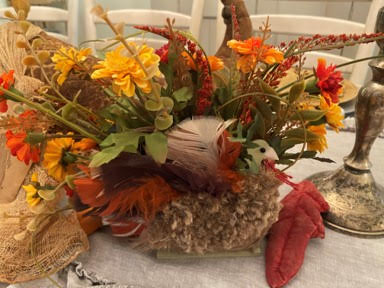
Your turkey centerpiece is now complete I hope you enjoyed making him, I am glad he turned out not to be a napkin holder I am really loving him as a centerpiece.
Great job!
I love it I’m making some for friends ❤️🦃
Love! Love! Love!!!
I couldnt find him, but did find the flat ones. Im going to give them a try. Thanks so much for sharing your wonderful talent. God Bless you and family…
I love this turkey it is very well done. Now I have to go look for a turkey at the dollar store😂