Fall, Home Decor, Thanksgiving
DIY Turkey Taper Candle Holder

Aug
If you have Thanksgiving dinner at your home you are going to want to make these adorable turkey taper candle holders to display on your dinner table. Your family will want to take them home so you better make a few extra lol. If you go to a family member’s or a friends for Thanksgiving dinner how wonderful would it be to give one to the host of the dinner. These adorable turkey taper holders are so simple to make, all you need is a Styrofoam ball, fabric and feathers.
Materials You Will Need:
- 3.8” Styrofoam Ball (for the small turkey)
- 5.6” Styrofoam Ball (for the large turkey)
- Camel Teddy Fleece Fabric (Hobby Lobby)
- Scrap Piece of Red Fabric
- Feathers of Choice
- 10mm Animal Eyes for The Small Turkey (Hobby Lobby)
- 15mm Animal Eyes for The Large Turkey (Hobby Lobby)
- Yellow Sculpey Clay
- Toothpick
- Skewer or something you can poke holes into the turkey with
- 10 ½” Dinner Plate (small turkey)
- Sharp Knife
- Drill and ¾” Spade Drill Bit
- Piece of White Chalk
- Sewing Needle and Heavy Coat Thread
- Scissors
- Hot Glue Gun and Glue Sticks
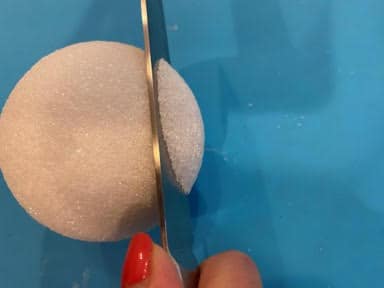
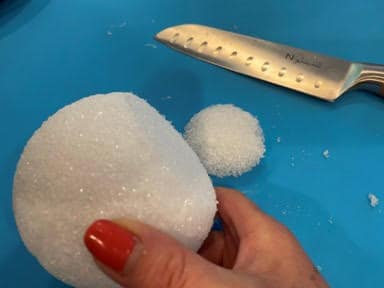
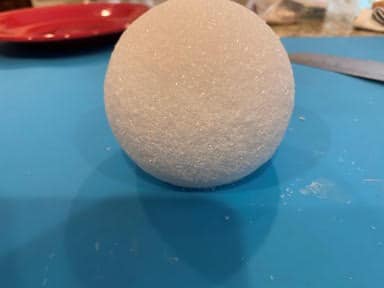
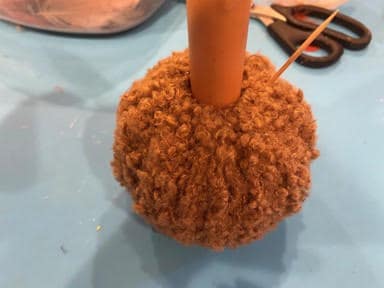
Preparing The Styrofoam Ball
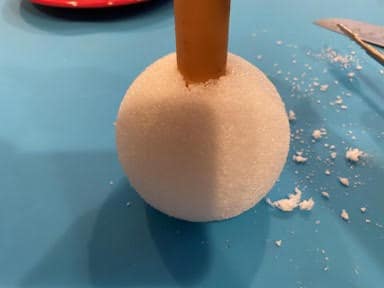
The first thing you will need to do is make the styrofoam ball sit flat. Using a sharp knife cut off a piece of the Styrofoam ball on one end, you do not need to cut off a lot, see the photo below. Check to see if it will sit flat. Next you are going to use a drill and a ¾” spade drill bit to make the hole for the taper candle. In the top center of the Styrofoam ball drill down about a 1” then place the taper candle in to see if the hole is deep enough for the taper. Drill a little more if needed and recheck with the taper candle. If you do not want to use a drill you could trace a quarter in the top center and cut out the hole with a knife. The above steps are the same if you are making the small or large turkey.

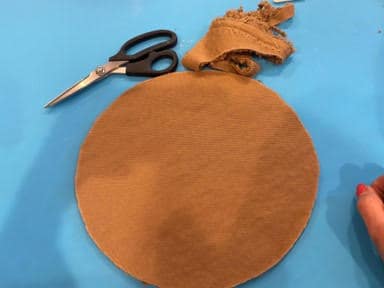
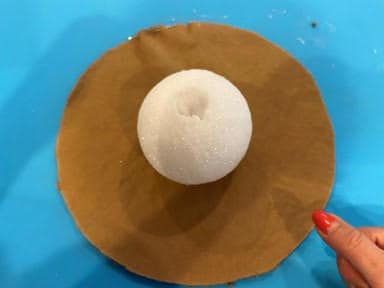
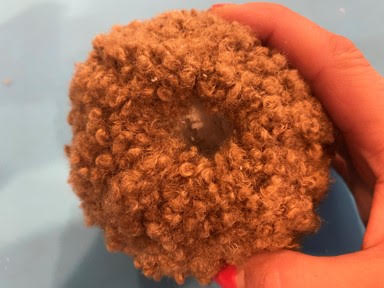
Covering With Fabric
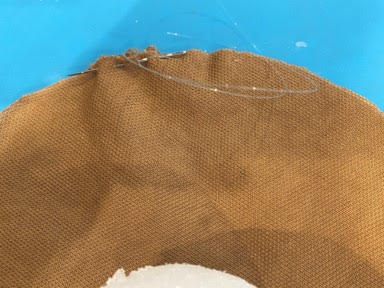
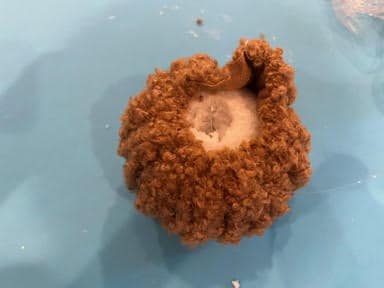
Lay a 10 ½” dinner plate facing down onto the backside of the teddy fleece fabric. Trace with a piece of chalk and cut out. With the back of your fabric circle facing up place your Styrofoam ball in the center of the fabric. Make sure the candle hole is facing up. Take your needle and heavy coat thread and do a running stitch around the edge of the fabric, pulling the thread slightly as you go. Once you have gone all around the fabric pull the thread tight. Your fabric is still going to be a little loose around the taper candle opening so do another stitch around this time just stick your needle and thread through a few of the stitches you have already made, you do not have to do one stitch at a time. Once you have gone around for the second time pull your thread tight again then tie a double knot and trim. If you are making the large turkey you need your fabric circle to be 15 ½”. All other directions are the same for the large turkey.

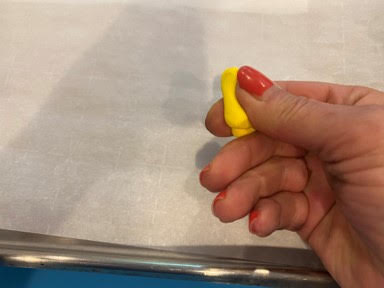
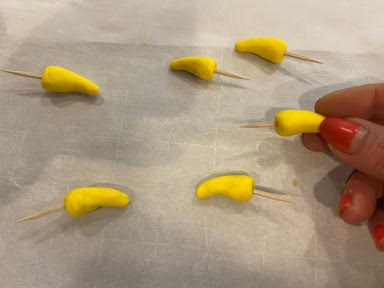
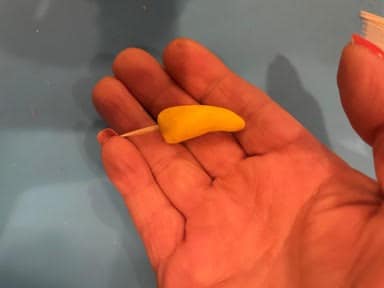
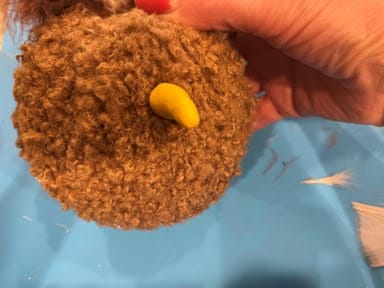
Making The Beak
To make the beak take a piece of yellow Sculpey and work it with your fingers to get it soft then roll it in your hands. Now hold the roll of clay stand upwards on a flat surface and lightly push down to make the bottom fatter. Form a beak to your liking. Insert a toothpick in the bottom up into the beak. Bake according to directions. I did not like how bright the beak looked so I rubbed a little of the Waverly antiquing wax the beak. I will leave this step up to you. If you are making the larger turkey you will need to make the beak bigger.
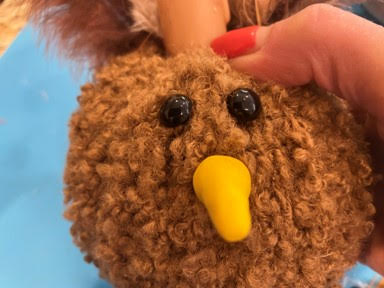
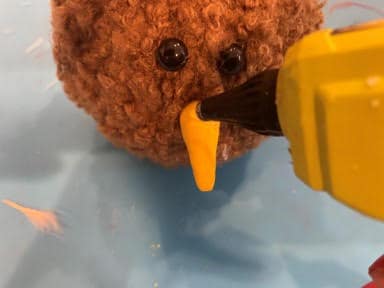
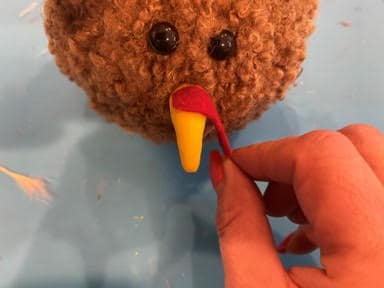
Adding The Eyes and Beak
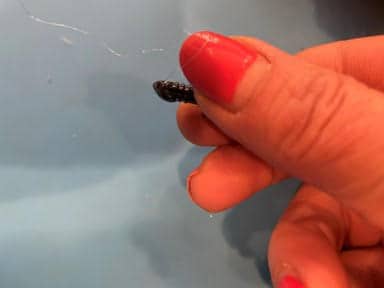
First stick the beak where you think it should be then stick in the 10mm eyes for the small turkey and the 15mm eyes for the large turkey. If they look good to you remove one eye at a time add a little hot glue to the end then stick the eye back in. Repeat to the other eye. If your beak is in nice and tight just leave it but if it seems a little loose remove the beak add a little hot glue to the toothpick then stick the beak back in. For the little red gobbler part at least that is what I call it but I guess the proper word is the snood. Take your little piece of red scrap fabric and cut out a gobbler. I made mine rounded at the top and bottom then straight and a little narrow in the center. Add a drop of hot glue on the top of the beak and glue on the gobbler (snood).
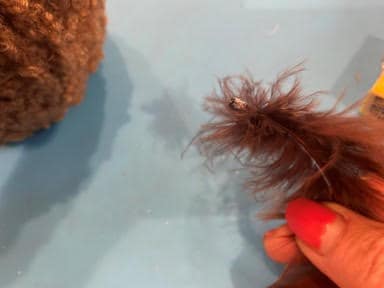
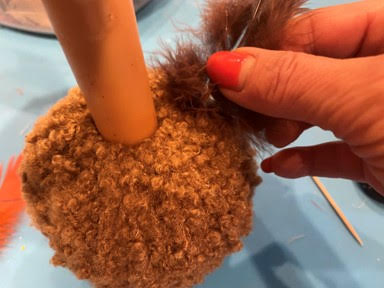
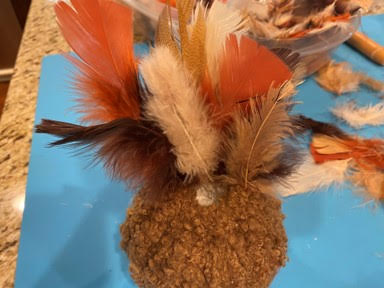
Adding The Feathers
You are going to start adding feathers around the back of the hole for the taper. Poke a hole with a skewer add a little hot glue to the end of the feather then insert into the hole you just made. Continue poking holes and gluing in feathers. You can go around to the sides of the taper hole and far back as you would like. Just keep adding feathers until you achieve the look you are looking for. On the big Turkey I wanted some bigger feathers towards the back, I was able to find some taller feathers in the Dollar Tree in the floral section.
I hope you decide to make these adorable turkey taper candle holders to add to your Thanksgiving décor.
Adorable!!!!
Thank you
Loved your turkeys, finally made one. The eyes seemed to be the most difficult for me with the type of material I used. I used a chenille poodle material …which I ordered for $4.00 a meter.
I am so glad you made him.
So so cute!
Thank you so much
They are awesome.
Thank You so much!
They are so cute.
Thank you so much!