Easter, Home Decor, Spring
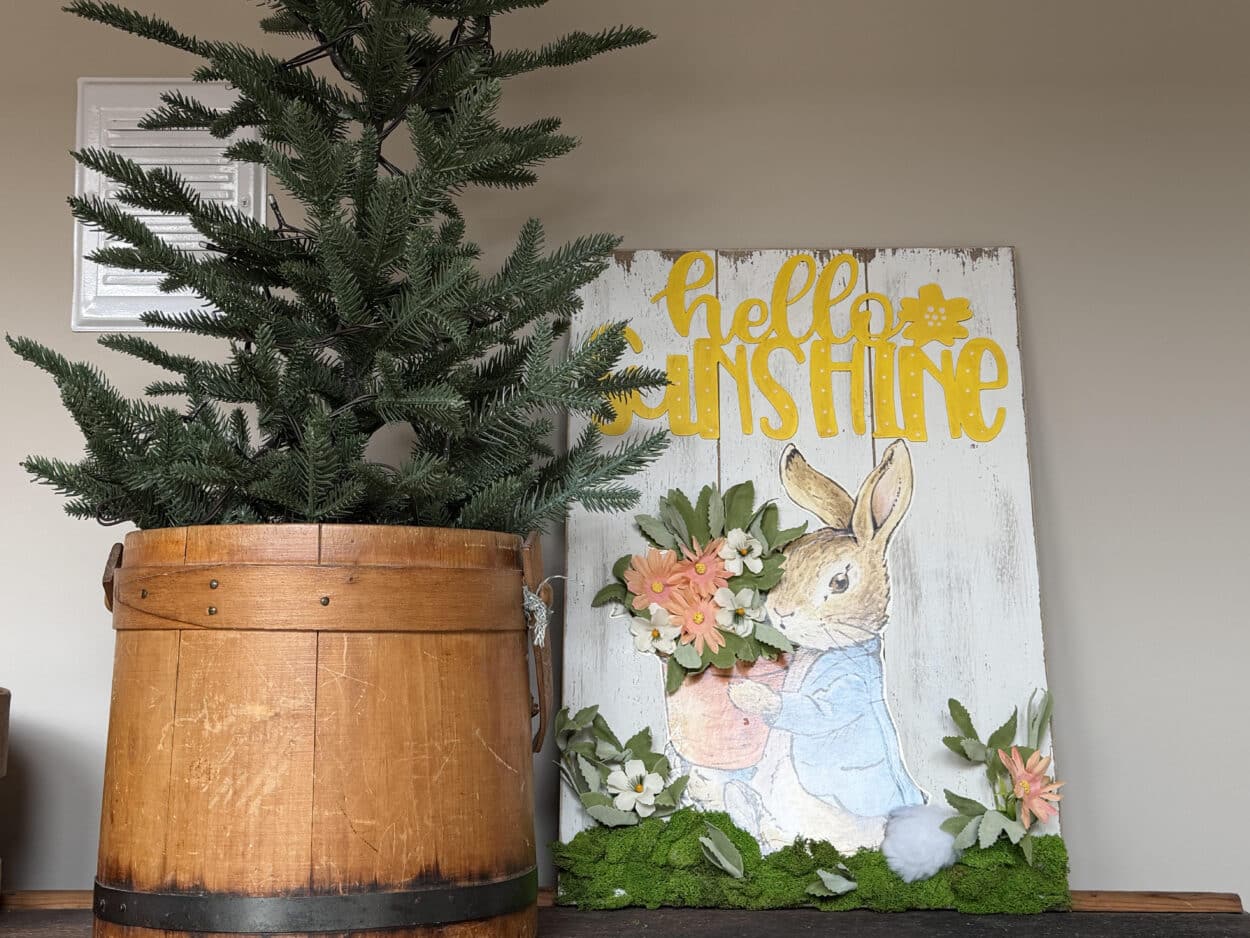
Hello Sunshine Bunny Sign
03
Mar
Mar

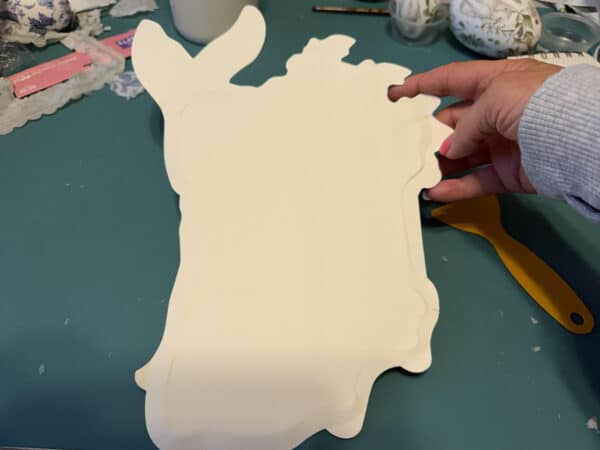
If follow me on Facebook you know I am always keeping my eyes out for items I can craft with. While at TJ Maxx, I spotted these cute bunny paper plates. As soon as I saw them, I knew I had to use it in a craft. I am a hoarder of craft supplies, lol. So, I dug through my stash for a board I could use this rabbit on and found one I purchased on clearance at Hobby Lobby. It was perfect; all I had to do was remove the galvanized cross, and I was ready to start my project!
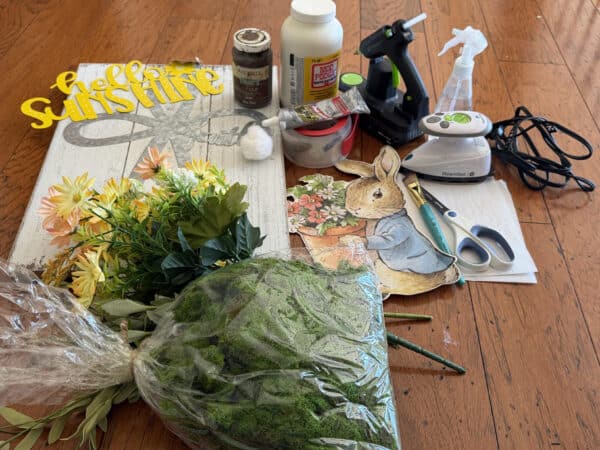
Materials I Used
-
13″x19″ wood sign or any wood that will fit your paper plate
-
12″x5.7 Metal hello sunshine sign. I bought this sign a year or two ago from Hobby Lobby. You can use any sign you would like. Dollar Tree usually sells Spring galvanized signs.
-
Bunny paper plate. I found this bunny paper plate at TJMaxx
-
Packing Tape
-
Iron
-
Parchment Paper
-
Spray bottle with water
-
Mod Podge
-
Gorilla Clear Grip adhesive
-
Waverly antiquing wax
-
2″ white pom pom
-
Moss
-
Artificial flowers & leaves
-
Paintbrushes
-
Hot glue gun and glue sticks
-
Scissors

Preparing the paper plate
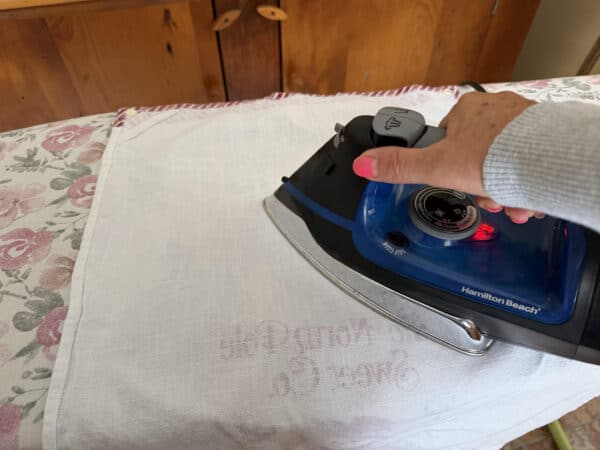
The paper plate is too thick to attach with mod podge so we need to remove the heavy layer from the back and also remove the crease around the plate. First, set your iron to a steam setting, lay down the paper plate and cover it with fabric like a dish towel. Iron the paper plate then turn it over and iron again. You will still see some of the crease until you remove the back layer and iron again this is in the next step.


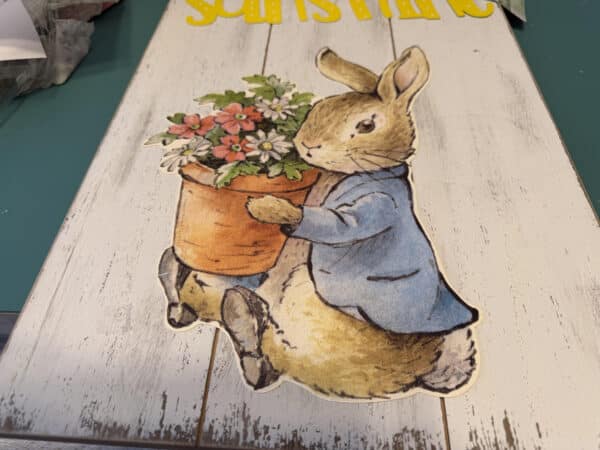
Next run a piece of packing tape down the back of the bunny plate and press down with your fingers or a plastic scraper. I used a tool that came with my rub-on transfers. I usually start at one side and work my way across. Pull back the tape; this should remove the heavy layer from the back of the plate. Continue working across the plate until you have removed the heavy layer.


Lightly spray the back of the plate with water then cover and iron. This should flatten the crease.

Attaching the plate to the board
Place the hello sunshine sign, or whatever sign you are using onto the board then place the bunny where you think it looks best. You want space at the bottom to add the moss. Apply a generous amount of Mod Podge to the back of the plate and let dry.
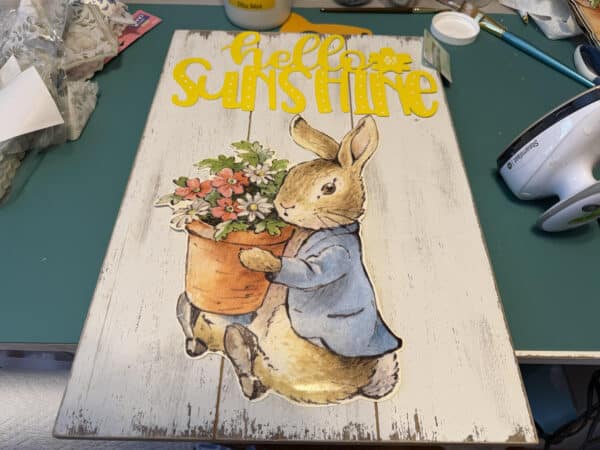
Once the mod podge is dry, place the plate back onto the board, cover it with a piece of parchment paper and iron. Do not use steam this time; just use high heat.

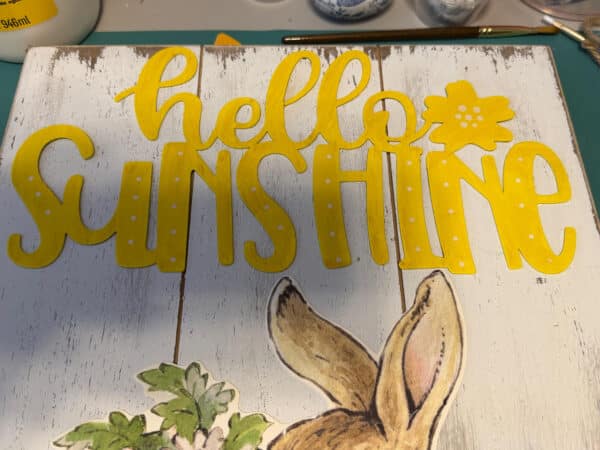
Preparing and attaching the hello sunshine
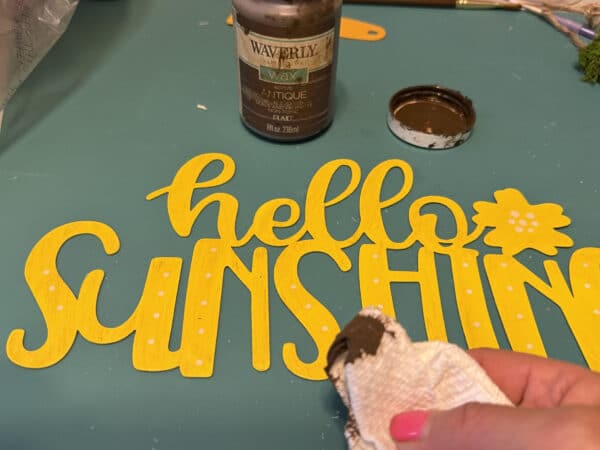
The hello sunshine sign came already painted but I did not like how bright it was so using a paper towel, I applied some Waverly antiquing wax and wiped it off until I got the look I wanted. If you are using an unpainted sign you may want to paint or stain it depending on the material.
Apply Gorilla Clear Grip adhesive to the back of your sign. You can also leave a small area uncovered to apply hot glue for an instant grip. Glue the sign onto the board.

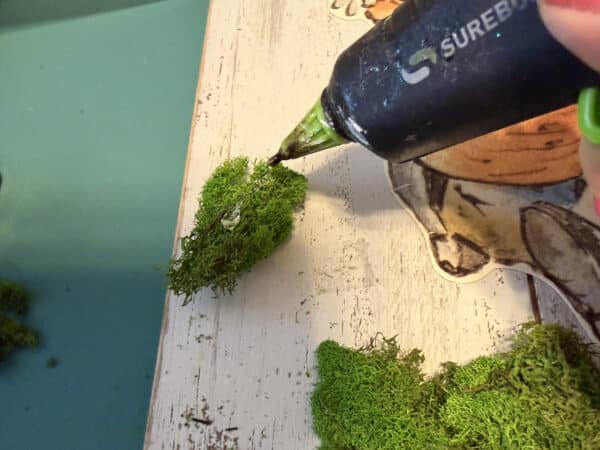
Attaching the moss and flowers
Arrange the moss at the bottom of the board as you like. Remove one piece at a time, apply hot glue to the back and glue it back in place. Continue until all the moss is attached.

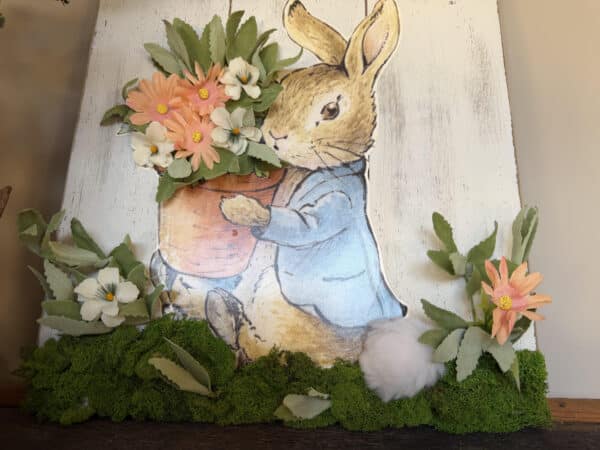
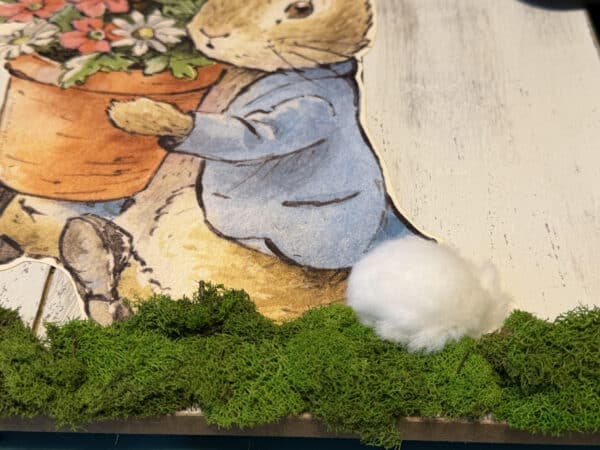
Use scissors to cut the 2″ white pom pom in half. Apply hot glue to the back of one half and glue it down over the bunny tail on the plate.

Time to add the flowers to the flower pot! I purchased the flowers I used at Walmart. You will just need the flower heads to place over the flowers on the plate. To make them lay flat on the plate cut the stem part from the back of the flower then add hot glue to the back and secure the flower to the plate. Add six flowers.


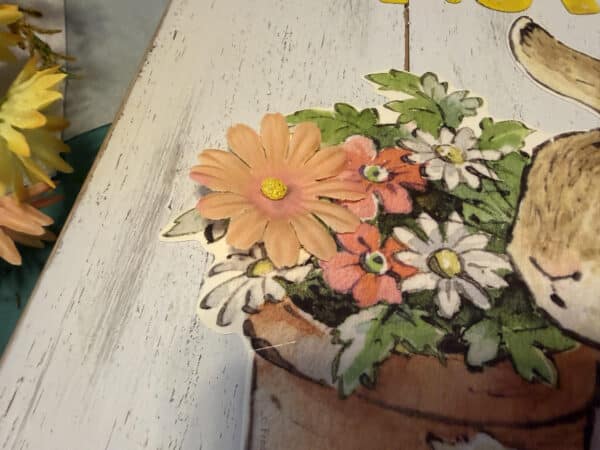
Attach your chosen leaves by applying hot glue to the bottom of each leaf and securing it in place. Continue adding leaves until you achieve the look you like.
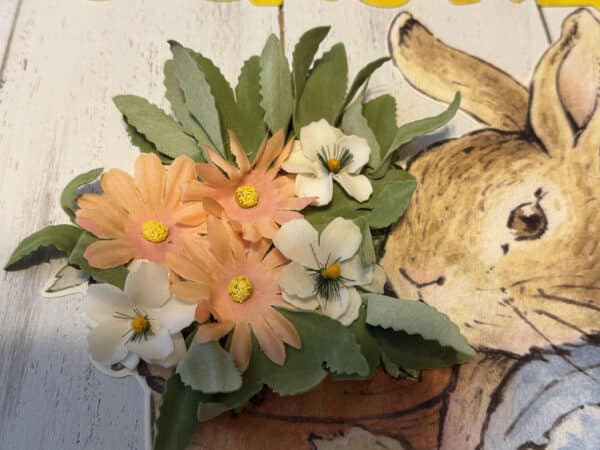
I also added some leaves and flowers into the moss at the bottom. Leave some of the stem on the flowers and leaves to glue them into the moss. Just add hot glue to the bottom of the stems and glue them in place.