Easter, Home Decor, Outdoors
DIY Canning Jar Ring Chick
Mar
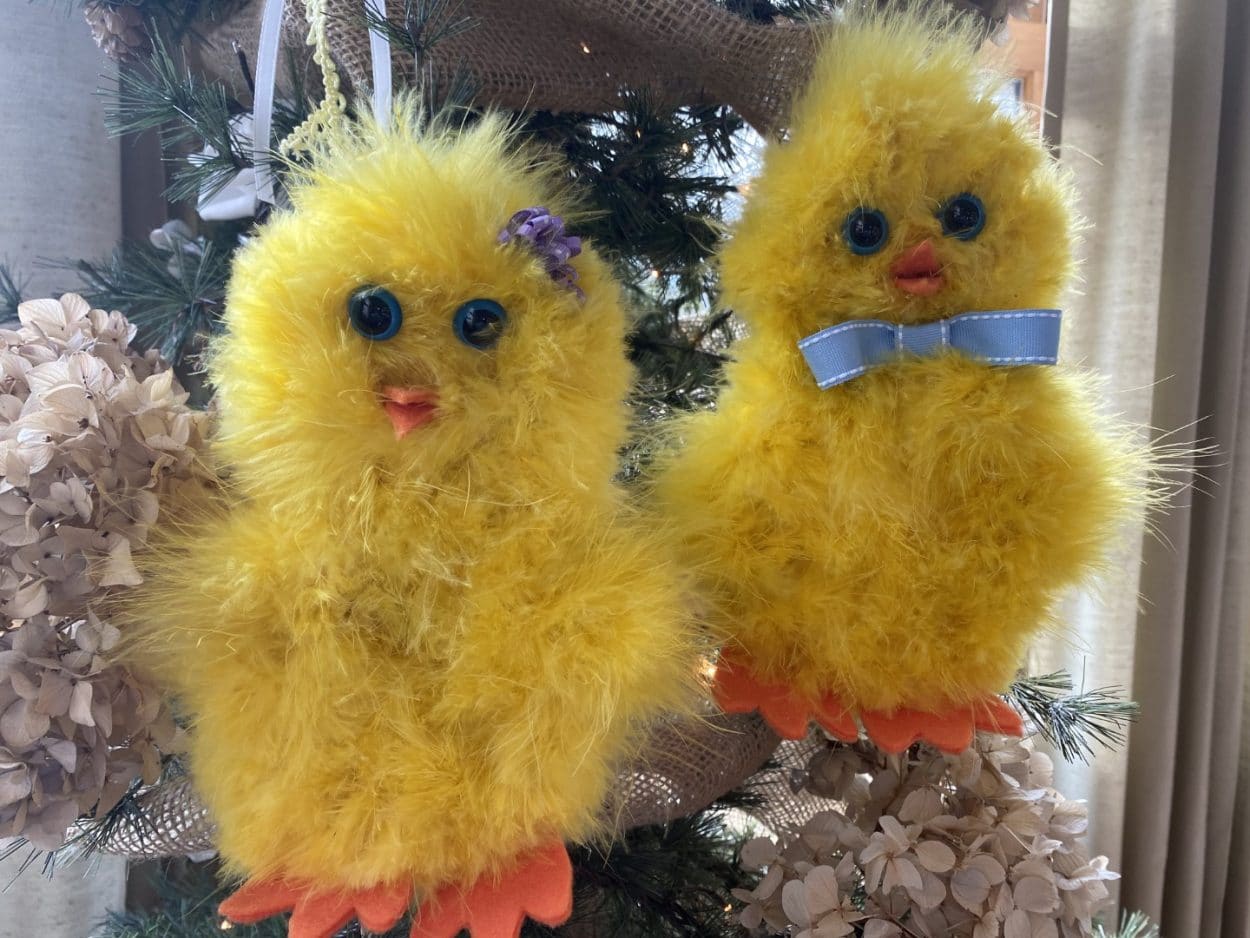
If you have been following The Crafty Decorator you know we have been making a few different chicks and I have to say these might be one of my favorite. Look how adorable they are. These adorable chicks are so simple to make and look just adorable on my tree. The supply list below is the materials needed for one chick, if you can not find the canning jar rings in the store I found them on Amazon. You can find which ones I ordered on my recommended products page.
Here is a list of what you will need:
- Chick Feet Pattern
- 1 Regular canning jar ring
- 1 Wide Mouth canning jar ring
- 2 15mm blue animal eyes (Hobby Lobby)
- Orange Felt
- 1 or 2 Yellow Boa’s depending how tight you wrap the rings (Hobby Lobby)
- 1 8” Zip Tie
- 1 2” wood circle or cardboard circle
- Ribbon or bow
- Fishing Line and Needle
- Scissors
- Wire cutters
- Hot Glue Gun and Glue Sticks
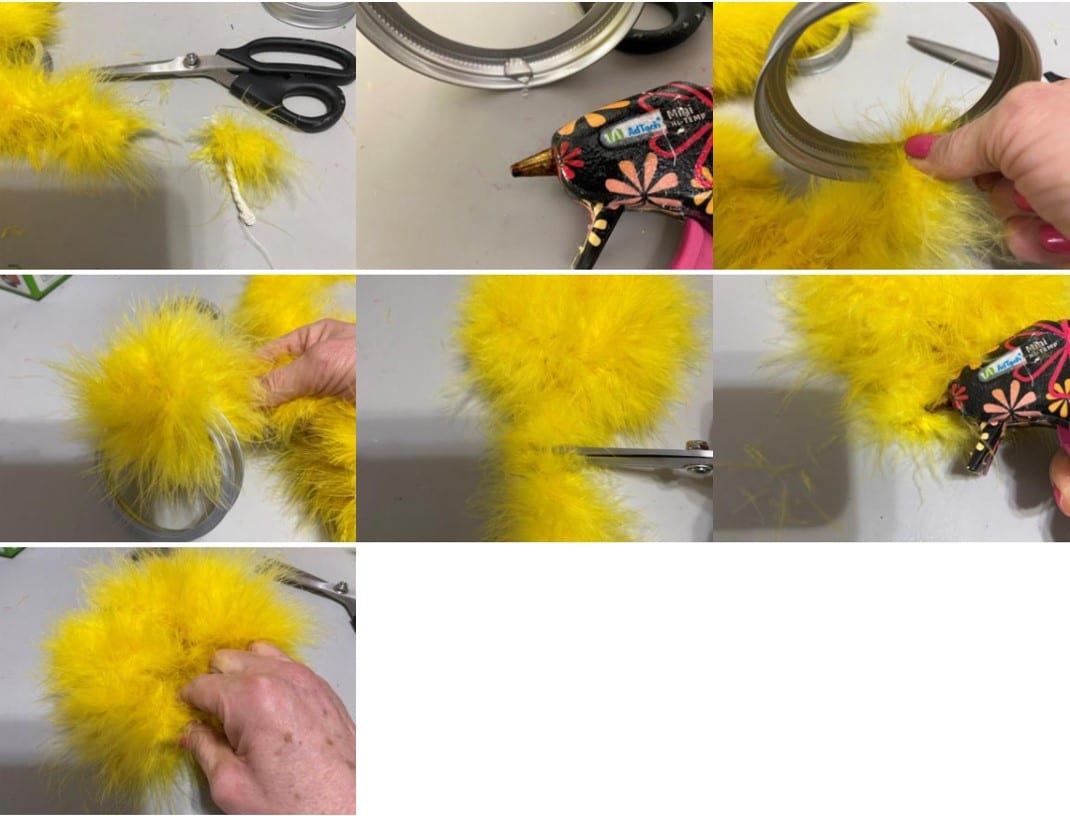
Covering the Canning Jar Rings
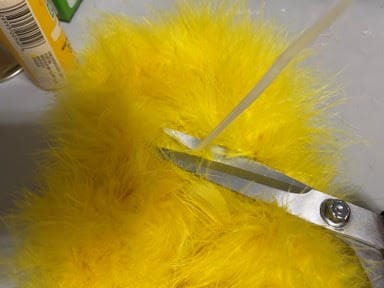
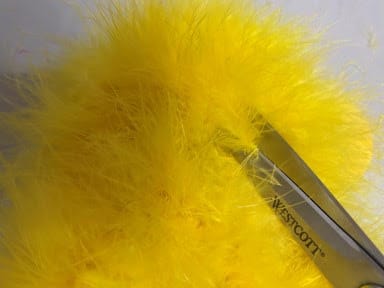
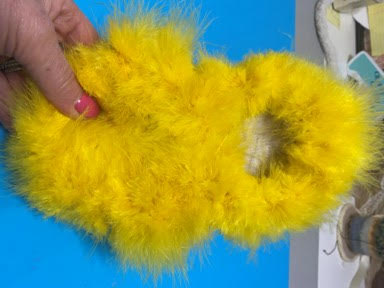
Start by cutting off the rope end of the boa. Add a drop of hot glue to the inside back of the wide mouth ring and glue down the end of the boa. Wrap the boa around the hole ring, you can wrap as close as you would like you just done want to see the ring in-between the boa wraps. When you have the ring covered cut the boa add a drop of hot glue inside the back of the ring and glue down. Repeat this step to the regular canning jar ring. Depending how close you wrap you might need more then one boa. You will need a piece left over to cover the face.
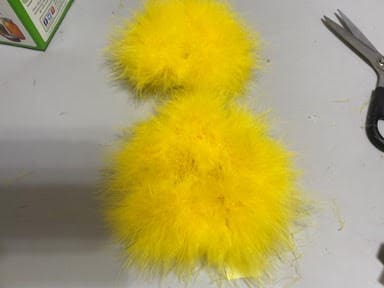
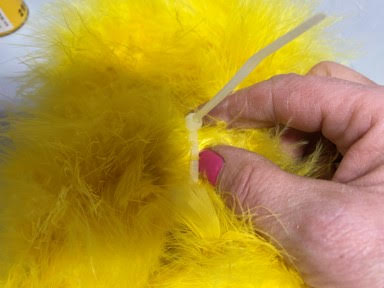
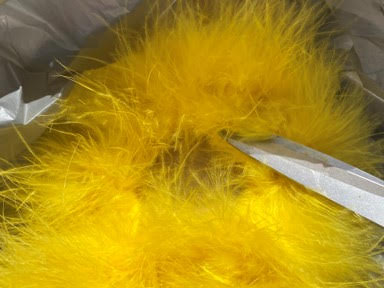
After you have both rings wrapped make sure the fronts of both rings are facing up then using a 8” zip tie attach the rings together in the middle. Cut off the excess zip tie.
Adding the Face
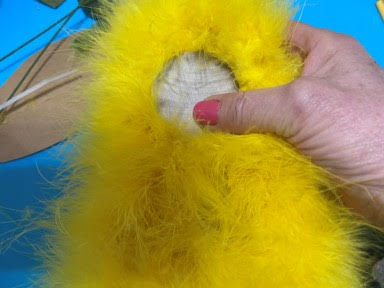
Take your 2” circle place in the opening of the head and push lightly into the opening. Using scissor trim the boa so you can see the wood circle. This is going to be the face of the chick
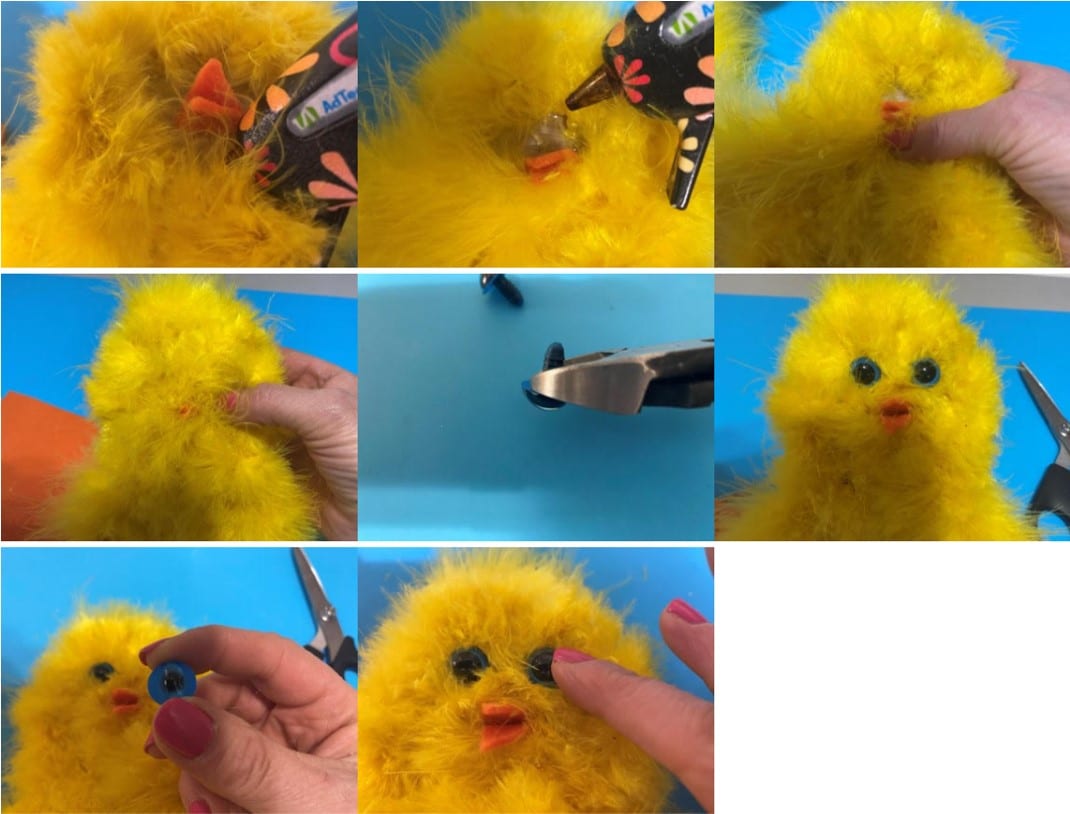
Next take a small piece of orange felt fold in half and cut a triangle out on the fold, you will end up with a double triangle. Cut the triangle the size you think you will want the beak to be do not cut it to small you are better a little to big you can cut down to size. You are going to be covering some of the beak with the boa that is why you don’t want it to small. Hold the beak on the face to check the size. Trim down if you think it is to big. Add a small drop of hot glue at the inside of the fold and glue the closed. Add hot glue to the bottom of the beak and glue to the face.
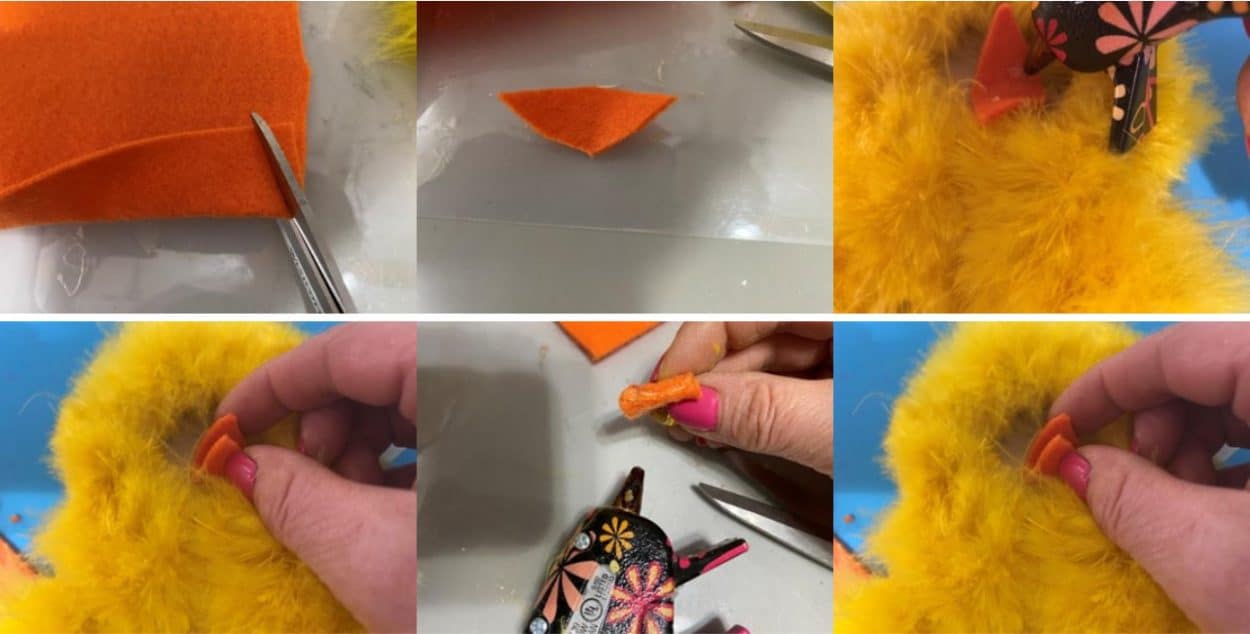
Next add hot glue all around the outer edge of the circle this will hold the circle in place. Add hot glue on top of the face and around the beak then add a piece of boa to cover the face. Trim the boa on the face once again so you can see the beak and so you will be able to add the eyes. Using wire cutters cut the backs off the two eyes. Lay the eyes onto the face to see the placement. Pick up one eye add hot glue to the back then glue in place. Repeat this step to the second eye.
Forming the Wings
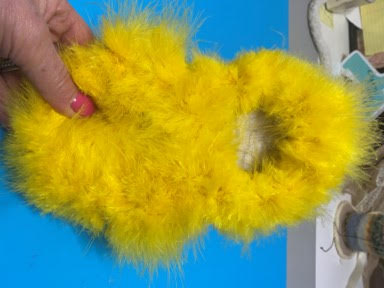
The chick is looking like a fur ball right now so we are going to give him a haircut. Using scissors you are going to trim the chick. Trim the boa leaving some of the boa at the top of the head and on either side of the body to form the wings. Do not trim off to much in the middle of the body you don’t want to be able to see the opening in the ring.
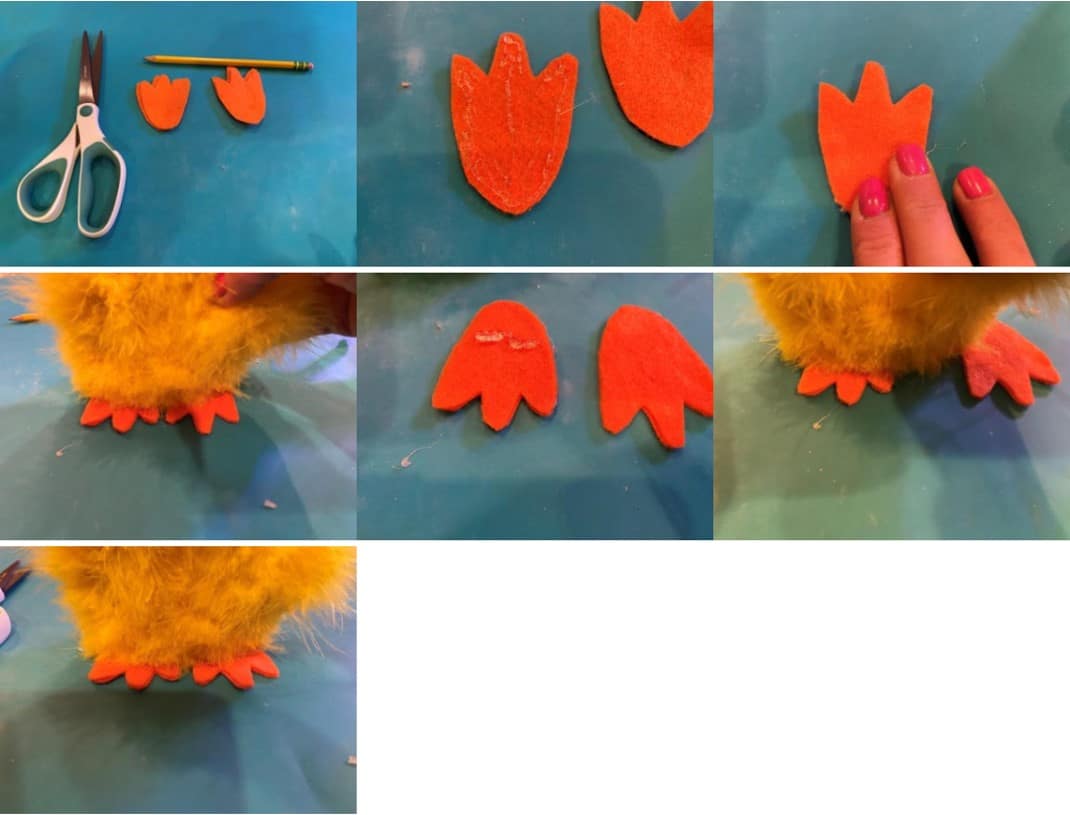
Making and Adding the Feet
The first thing you will need to do is print and cut out the chick feet pattern. Trace and cut out two feet on a double layer of orange felt. You will have four feet pieces. Lay down one foot piece add hot glue all around the edge of the foot and down the middle. Glue another foot piece on top. Repeat this step with the other two foot pieces. Hold the chick on top of the feet to see the placement add hot glue to one foot and glue into place. Repeat this step with the other foot. Check the feet to see if you need to add any more hot glue to hold in place.
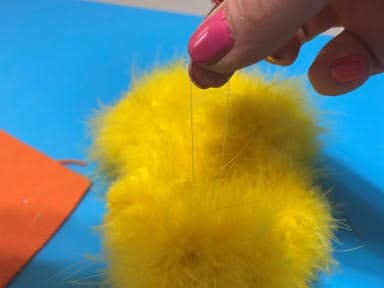
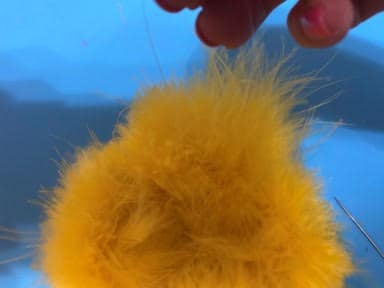
Adding the Hanger
Thread a needle with fishing line then go under the boa on the back of head. Make a loop and tie a double knot. You now have your hanger.
I hope you enjoy making this adorable chick. They just look adorable hanging on my Easter tree.
So…so…cute love it. Thank you for sharing what the Lord has blessed you with such a amazing talent.
I just love all your crafts. This one is so cute. I have all the supplies except for the Canning jar lids. As soon as I can get them I will post my finish craft. It might be a while.
Thank you for being so kind, generous and patient with all of us.
Regards,
Sharon
You are such a wonderful crafter I enjoy watching you.Thanks for all your time you give us.
My goodness, these little chicks make me smile. So very cute and creative!