Home Decor, Thrifty Makeovers
DIY Dinnerware Caddy Makeover
May
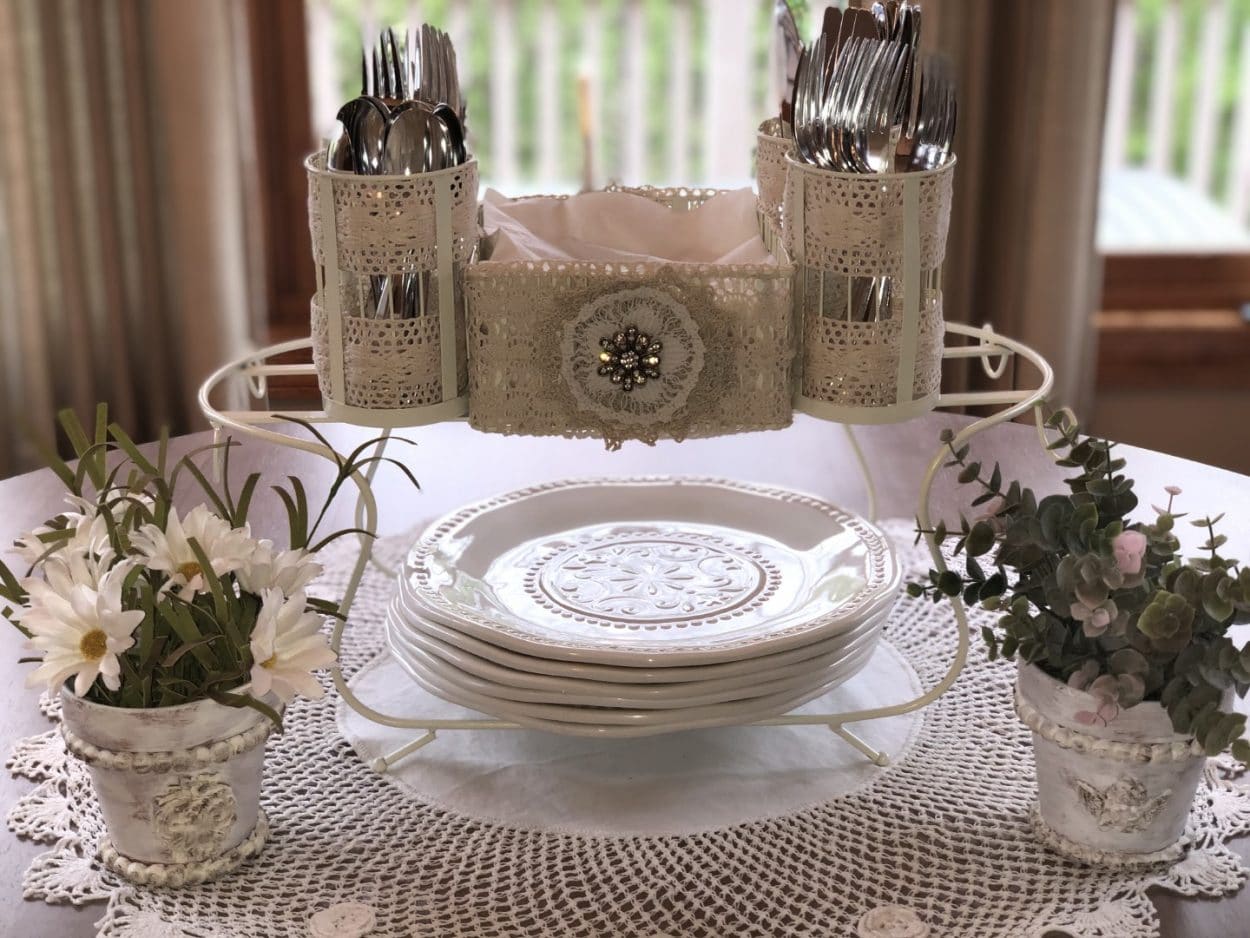
If you are new to my page every Thursday I post one of my thrift store finds that I make over or turn into something totally different that I can use in my home or yard.While I was shopping in our local Goodwill I came upon a dinnerware caddy that was not to pretty but I thought it would be good to have when we cook out and eat on our deck it was only $2.99 and I knew I could transform it into a dinnerware caddy I would love to use.I am in love with how it came out so much that I will definitely use this at holiday time.
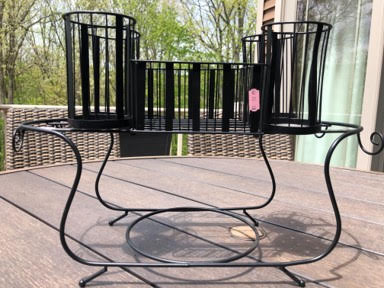
Here is what the dinnerware caddy looked like before my transformation, not to pretty to say the least.
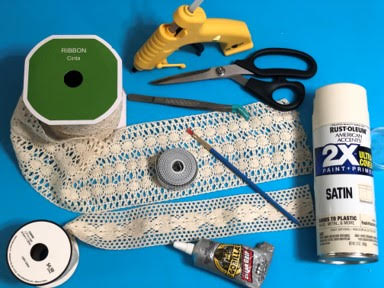
Here is a list of what you will need:
- Spray Paint in a cream color
- 4” Ribbon from Walmart
- 1 ¾” Ribbon from Hobby Lobby
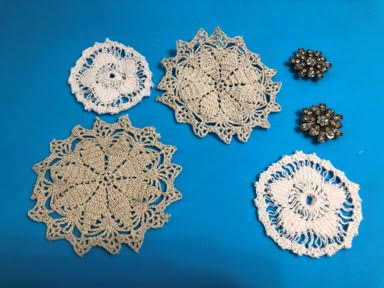
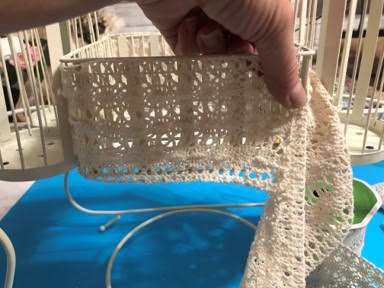
- 4 small doilies
- 2 Rhinestone Flowers
- Scissors
- Measuring Tape
- Hot Glue Gun and Glue Sticks
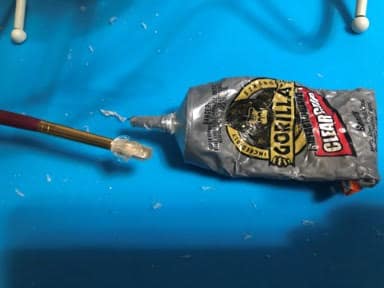
- Gorilla Clear Grip Glue
- Paintbrush
- Craft Tweezers
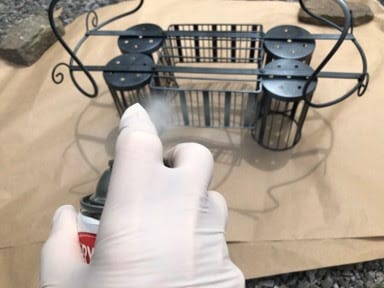
Painting the Caddy
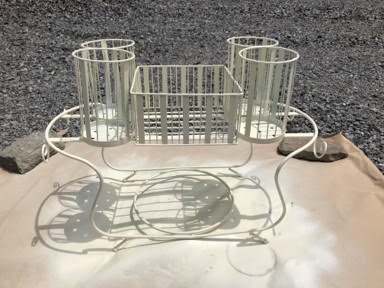
The first thing I did was give the caddy a paint and washing and let it dry next I went outside and using Krylon colormaster paint & primer spray paint in the color Modern White I gave it a few coats of paint to make sure the black was completely covered.
Adding the Ribbon
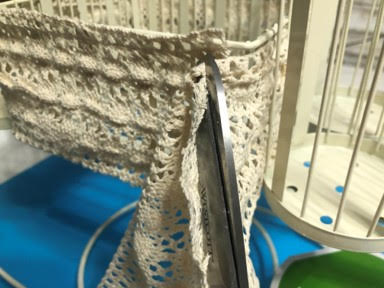
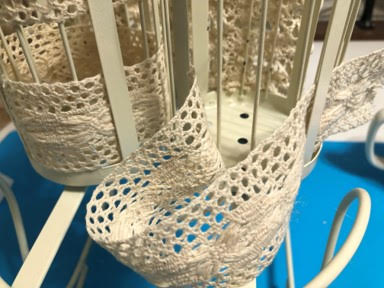
It just so happen I had a 4” wide ribbon which was the perfect size to cover the sides of the napkin holder, I wrapped the spool of ribbon around the outside of the napkin holder then I added a line of hot glue to the wider spoke and attached one end of the ribbon, next I cut the other end of the ribbon long enough to be glued onto the same spoke then I added a line of hot glue on top of the ribbon that I just attached and attached the other end of the ribbon. Once I finished attaching the ribbon I decided to add hot glue to the top and bottom rims of the two outer sides and attach the top and bottom of the ribbon to them so it wouldn’t slide up or down the napkin holder.
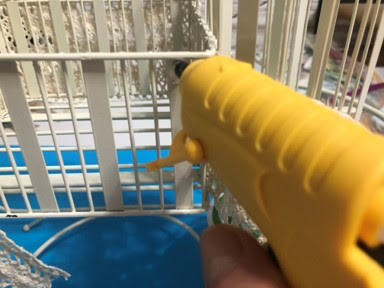
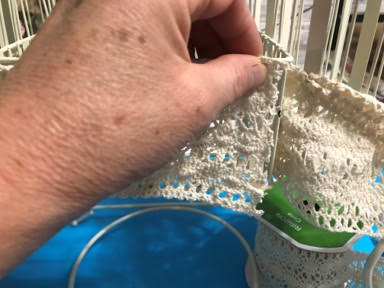
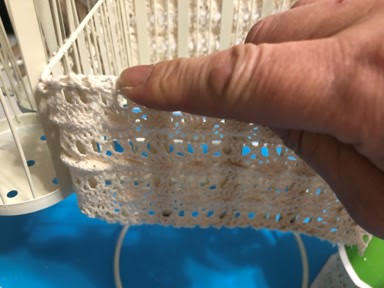
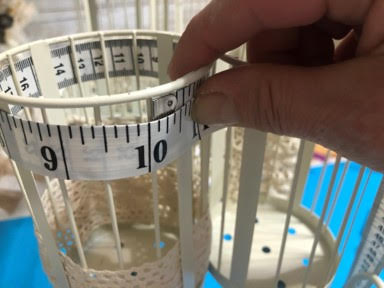
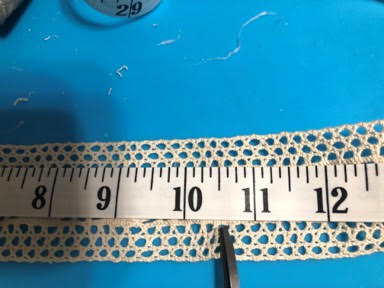
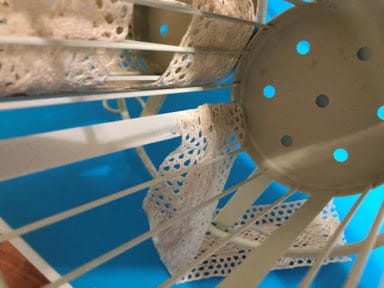
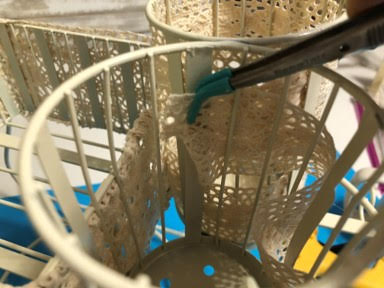
When I went to use the same ribbon on the utensil holders I thought it was just to much, after going through my ribbons I found one that was 1 3/4 inches wide and would look great with the ribbon I just used. The first step I did was to use my tape measure and measured around one of the utensil holders to see what length ribbon I would need I cut 8 pieces of the ribbon 10 ½ inches long, next I added a line of hot glue to the bottom inside of one of the wider spokes and attached one end of the ribbon then I wrapped the ribbon around the outside of the smaller spokes and behind the wider spoke adding Gorilla Clear Grip glue because I couldn’t get the hot glue gun in between the spokes, I continued around until I came to the napkin holder then I had to use my craft tweezers to feed the ribbon between the napkin holder and the utensil holder when I reached the other end of the ribbon I added hot glue on top of the attached ribbon and attached my other end. After I attached the ribbon to the bottom I attached another ribbon to the top the same way I did the bottom except I didn’t need to use the craft tweezers for the top, I repeated both steps to the other three utensil holders.
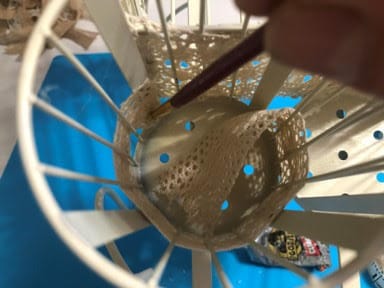
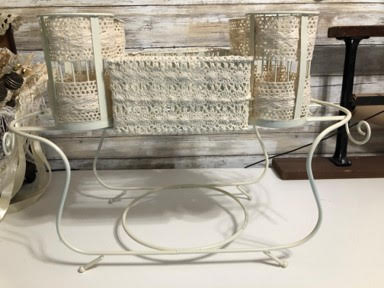
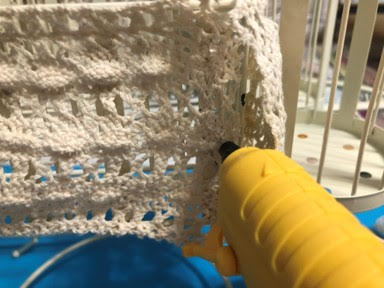
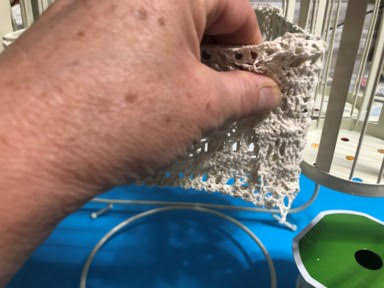
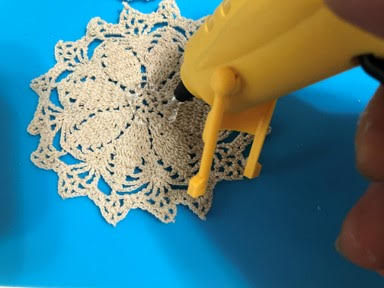
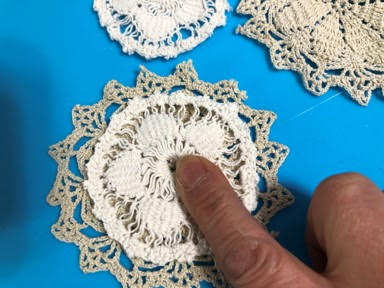
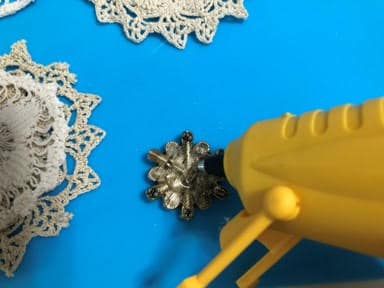
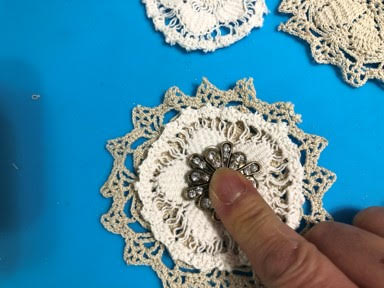
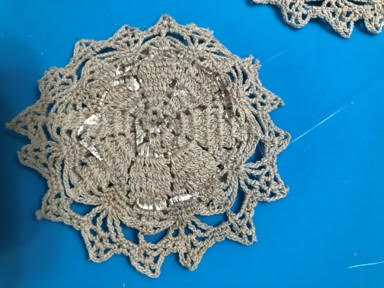
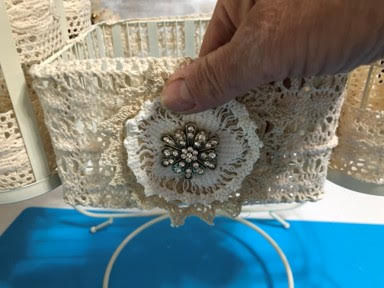
Adding the Doilies
I just love adding doilies to my projects and I knew I wanted to add them to the dinnerware caddy. I used two different size doilies I started by adding hot glue to the middle of the larger doily then attaching the smaller doily on top next I added hot glue to the bottom of the rhinestone flower and attached to the middle of the small doily, I then turned the doily over and applied hot glue to the back and attached the doily in the center of one of the sides of the napkin holder I repeated these steps with the other two doilies and rhinestone flower and attached to the opposite side of the napkin holder. I hope this will inspire you to use your imagination when you are looking at second hand items, they can be transformed into things of beauty.
Wow, Sherry love, love, love this. Hope I can find something similar at the thrift stores. Cant wait to make. Thanks for such GREAT blog instructions.
Love this . Looks great
Love this like one myself