Dollar Tree, Home Decor, Outdoors
DIY Dollar Tree Plant Stand

May
I wanted two plant stands for my ferns on my front porch and I remembered how I made the Dollar Tree chandelier for my porch using the Dollar Tree plastic fences so I thought I would give a planter a try. I just love how it turned out and it was so simple to make.
Materials I Used:
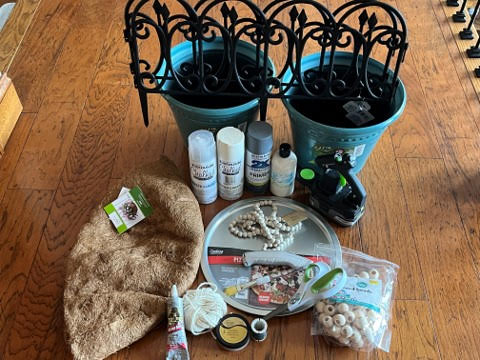
- Two pieces of plastic fencing from the Dollar Tree
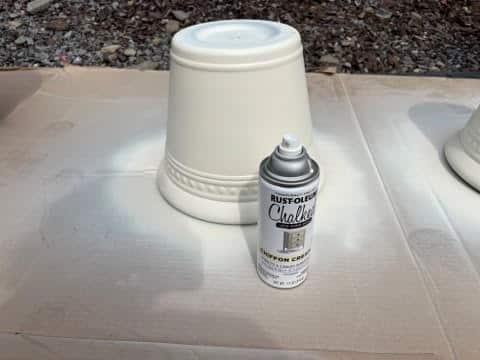
- Two 12” wide x 9” high embossed Tuscan planters from Dollar Tree plus, sku# 380394
- One pizza pan from the Dollar Tree
- 16” coco liner Walmart
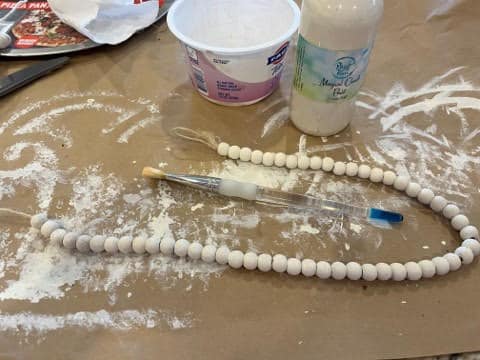
- Wood bead strand from Dollar Tree
- 59 wood beads, 20mm
- Rust-Oleum 2X Primer
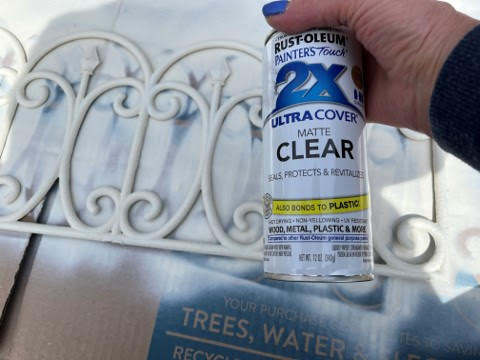
- Rust-Oleum 2X Matte clear sealer
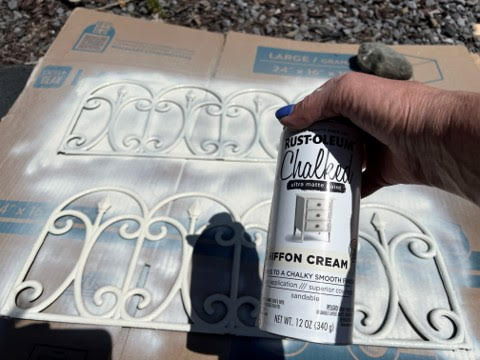
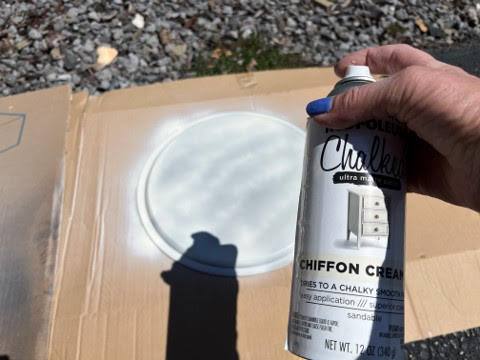
- Rust-Oleum spray chalk paint in your choice of color I used Chiffon Cream
- A chalk paint for the beads to match your spray paint
- Utility Knife
- Scissors
- Needle Nose Pliers
- Paintbrush
- Cream or regular jute twine
- Thin wire I used a jewelry wire
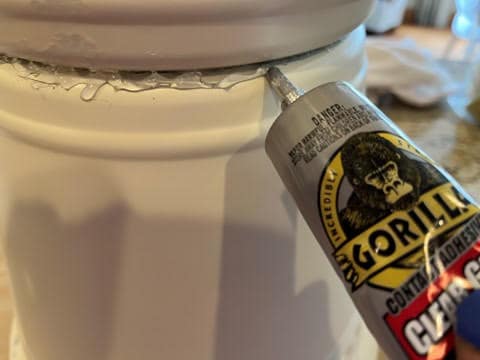
- Gorilla Clear Grip adhesive
- Metallic Luster Gold Rush
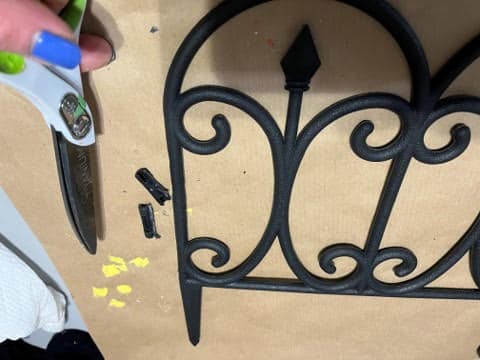
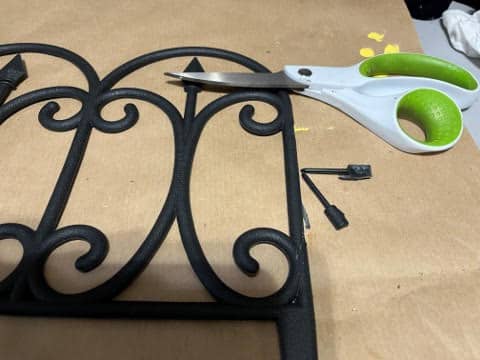
Preparing the fence pieces for painting
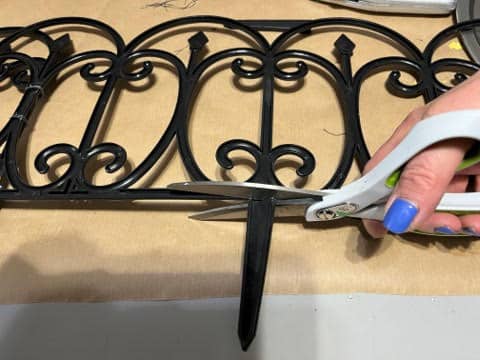
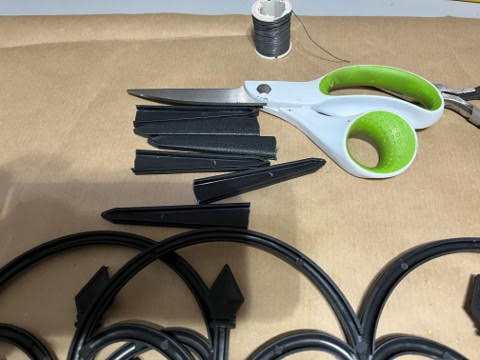
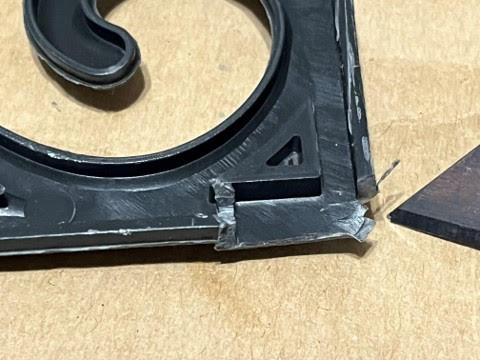
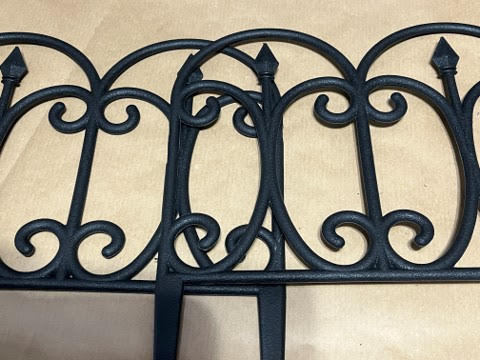
Using Scissors cut the two fence attachment pieces on each side of the fence. Repeat to the second fence. For the first plant stand I made I used the scissors to cut off the spikes of the fence but I found it better to use the utility knife it had a less chance of the fence cracking. You can use either method to cut off all the spikes of both pieces of fences.
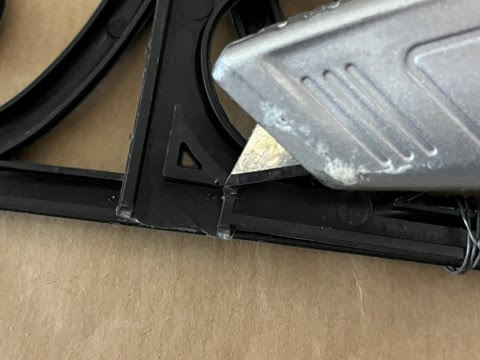
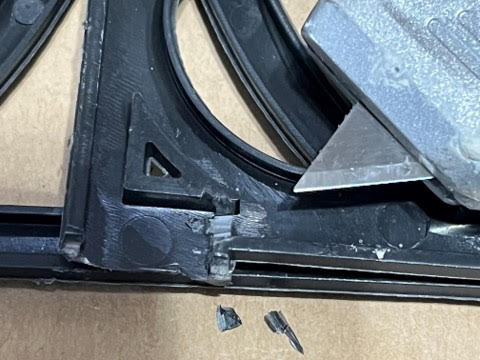
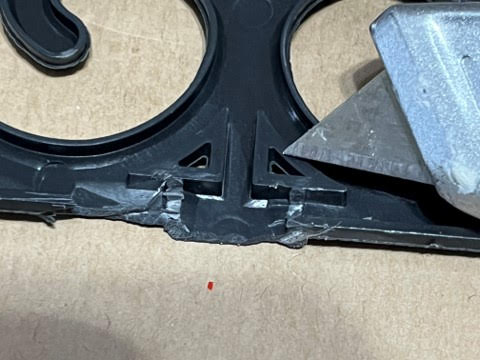
Next if you look at the bottom inside of the fence you will see little divider pieces that stop the bottom from being a open run across the bottom you will need to remove these pieces so you will be able to roll the fence pieces around the pizza pan. Using the utility knife cut down both sides of the little pieces then cut out. Remove all the little divider pieces across the bottom of both pieces of fence along with the little divider pieces on the ends of either side of the fence.
Painting All The Pieces
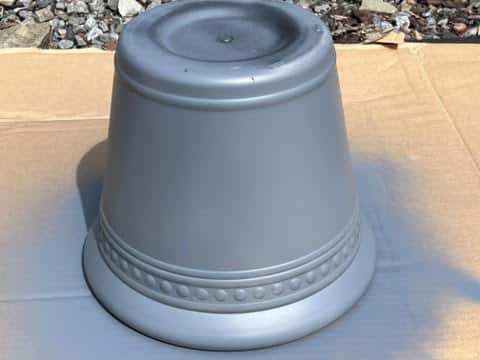
In a well ventilated area spray paint the two planters with the primer let dry. Next you are going to paint all the pieces 2 fence pieces, pizza pan, and the two planters with the spray paint of your choice. It will take about 3 or 4 coats to cover each piece. You will need to spray paint both sides of the pizza pan and the 2 pieces of fence. Flip over the planters a spray paint making sure they are fully covered.
After all your pieces are painted and dried you will need to spray all the pieces with the sealer. I gave all the pieces two coats of sealer.
Attaching the two post together
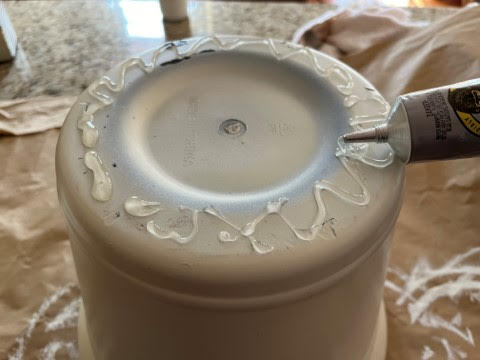
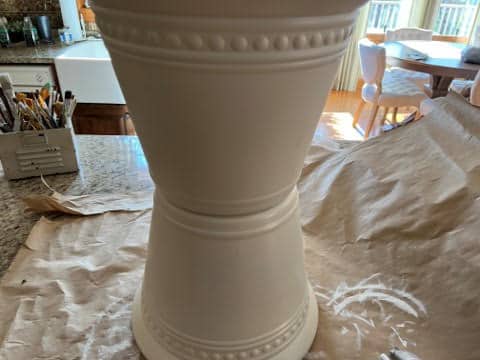
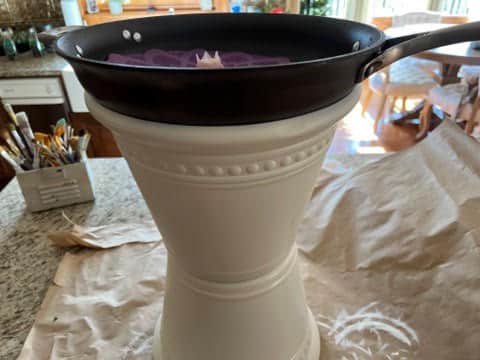
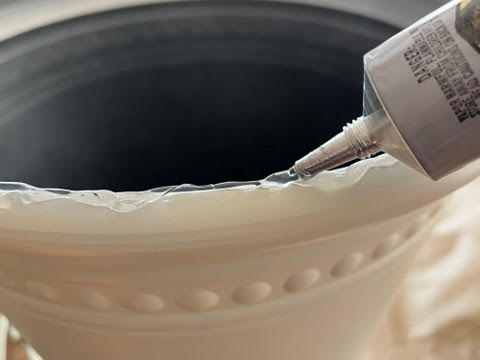
Place one pot with the bottom facing up then add gorilla clear grip adhesive around the bottom of the pot. Wait a minute or two then place the second pot on top so the two bottoms of the pots are glued together. I placed a heavy frying pan on top of the pots to help glue them together. Let the pots set a half hour or so before attaching the pizza pan to the pots.
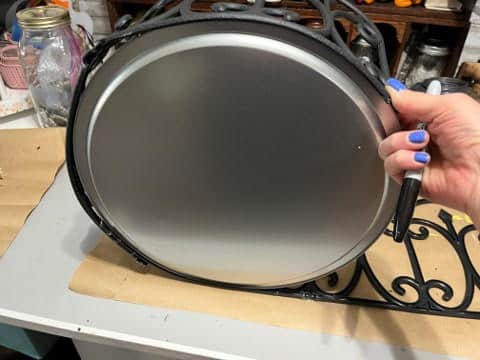
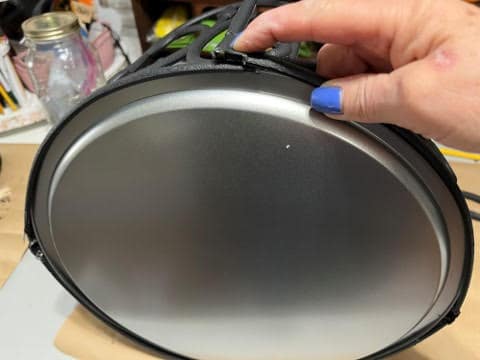
Attaching the fence pieces to the pizza pan
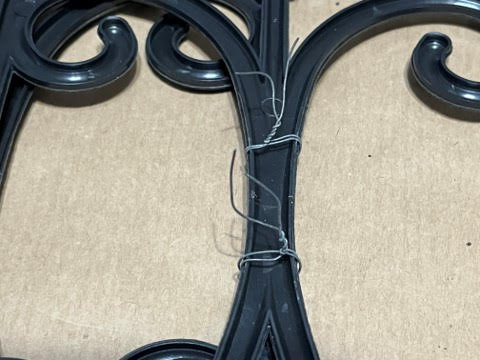
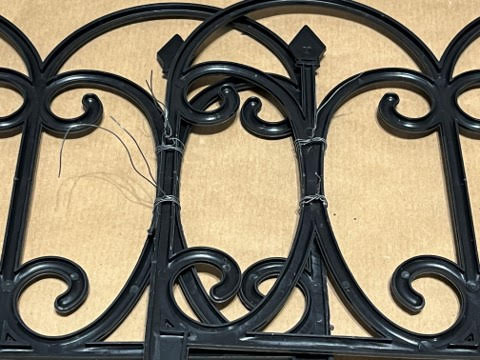
My photos are taken before I painted my pieces but I found that it is easier to paint all the pieces before putting the plant stand together. Lay down one fence piece facing up then take your second fence piece and lay the end of the fence on top of the first picket of the other fence piece. Now you are going to wat to wire them together. Wire the top fence end to the bottom fence then wire where the bottom fence end meets the top fence piece. Wire the bottom of the fences together. You want the wire ends to be at the backside of the fence, you may also want to twist the wires with a pair of needle nose pliers to make sure they are nice and tight. Bend you fences around to see where you think you may also need to wire them together. Some suggested using 4” zip ties instead of wire and you can but make sure you use the wire at the bottom because you need the pizza pan to be able to fit in the bottom.

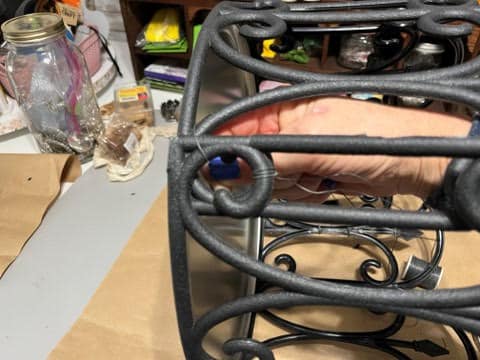
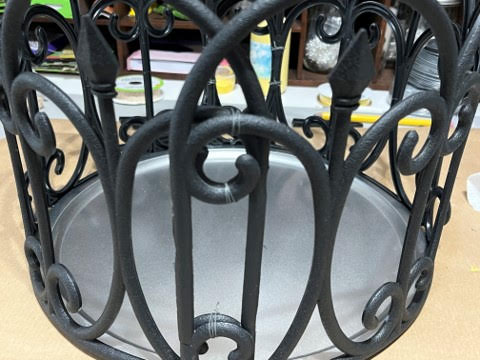
Next place your pizza pan in the bottom groove in the middle of the fences. Next bring both ends of the fences around the pizza pan making sure the pizza pan stays in the grove. Wire the pieces together, I wired at the bottom and top then I wired where I felt I needed more wire. You can now cover the wire with some matching chalk or acrylic paint.

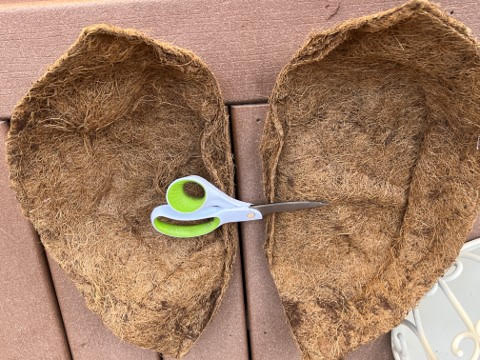
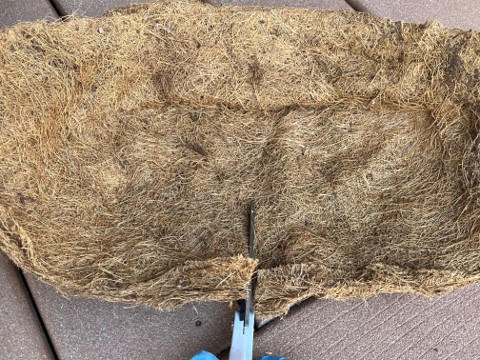
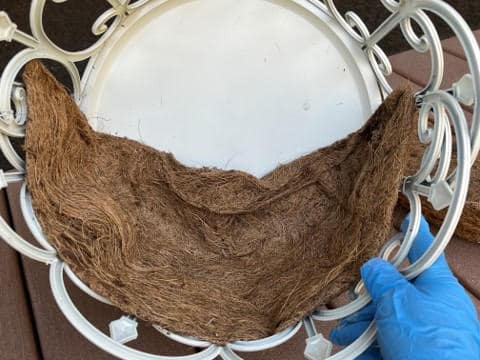
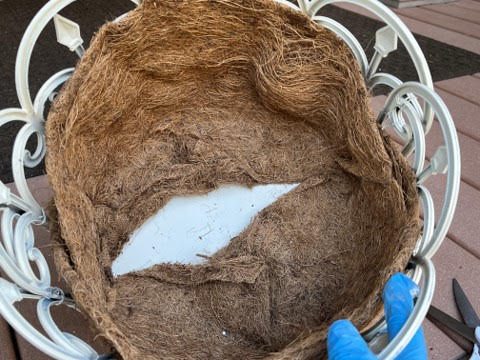
To add the coco liner you will need to cut the coco liner in half then cut each half piece about half way up in the center (see photos below). Place one piece inside working the bottom of the coco liner flat then repeat with the second piece of coco liner.
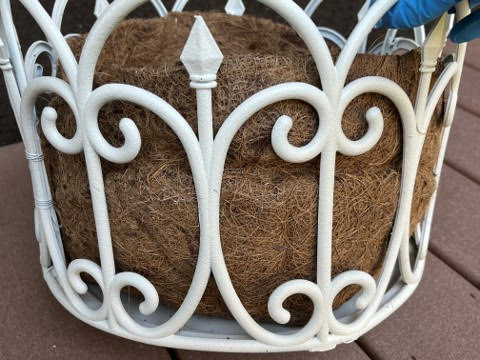
Attaching the basket section to the base
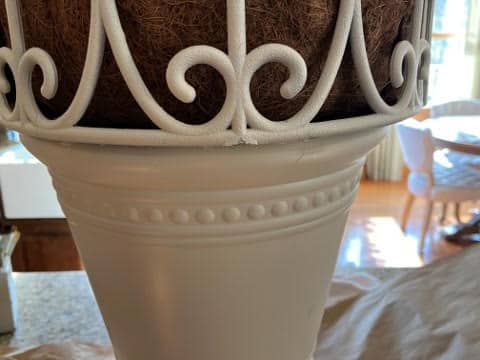
To attach the fence basket piece to the pot base you are going to add gorilla clear grip adhesive around the top of the pot and let set for a minute or two then place the basket on top of the pot making sure your pizza pan is centered on the pot. Place something heavy into the basket to help the adhesive adhere. I placed a heavy pot into my basket. You are going to let this set for a hour or two. While this is setting you can work on your beads.
Preparing and attaching the beads
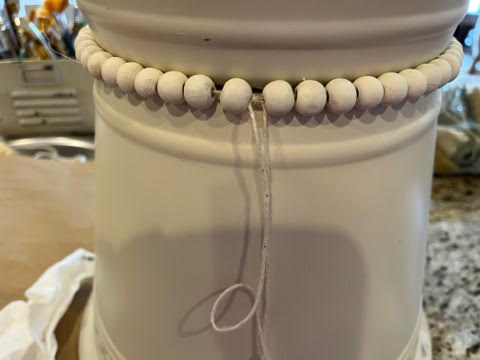
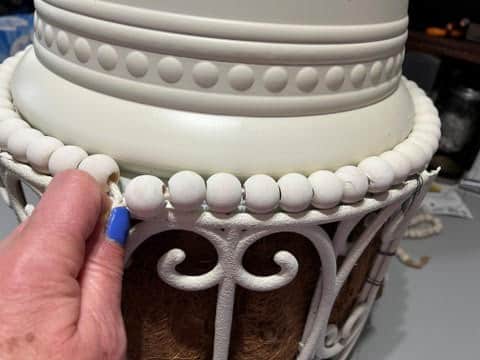
Take the Dollar Tree strand of wooden beads and wrap around the center of the two pots to see how long you will need the bead garland to be. Count how many beads you will need, I needed 55 beads, cut the garland making sure you leave enough twine on both ends to be able to tie them together. If you can not find the wood bead garland you can string your own beads on a piece of jute twine. I believe the wooden beads are a ¼”. Remove unneeded wood beads. Next you will need to paint the beads I leave mine on the twine to paint them. You could paint them any color you like I choose to use a chalk paint to match the color I have painted my pots. Next add a small piece of scotch tape to the end of jute twine and string on your 59 20mm beads. Paint the wooden beads again I painted them right on the twine but you can paint them before you string them if you would like. I am sorry I forgot to take photos of stringing and painting the 20mm wooden beads.
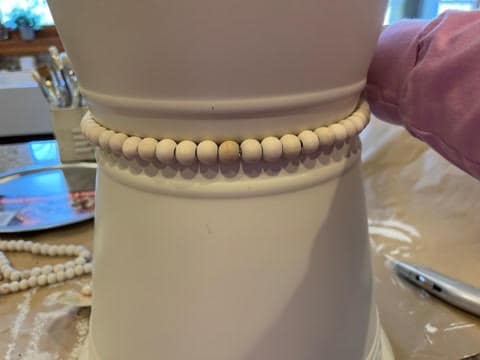
After you have let your plant stand set for the hour or two you are now going to attach the beads. Add gorilla clear grip adhesive around the center of the two pots let set for a minute or two then wrap the smaller bead garland around pull it tight then tie the jute ends. I tied to knots to make sure it was tight and secure. Cut off any excess twine.
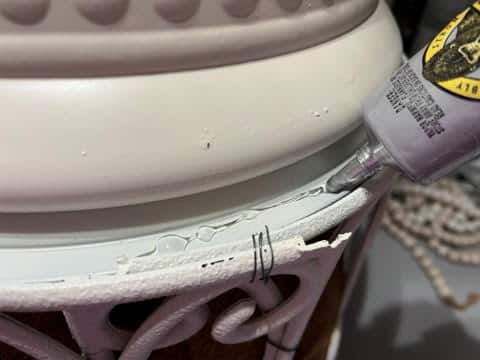
To attach the larger string of beads you are to flip your planter over then add gorilla clear grip adhesive onto the bottom of the pizza pan all the way around and let set for a minute or two. Place your strand of beads on top of the pizza pan all the way around. Press down on the beads to make sure they are all setting on the pizza pan. Gently pull the strand tight and tie closed. I did two knots to make sure it was tight then press down on the beads again to make sure they are still touching the bottom of the pizza pan. Let the planter sit for about an hour or two before turning over to add the accent color.
Adding the accent color
Once you have let the planter set for a hour or two turn the planter over and make sure all the beads are secure. Now you can add your accent color. This step is optional you may want to leave your planter as is but I wanted to accent mine with some gold so I used metallic luster in the color gold rush. I just lightly added the gold to the fence, wooden beads, and the raised parts of the pots. You can add any color accent you would like. If you are using a paint for the accent color I would dry brush the paint on.
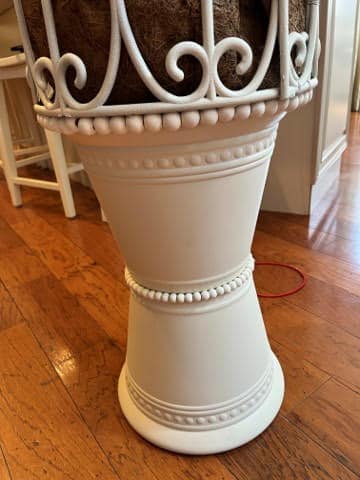
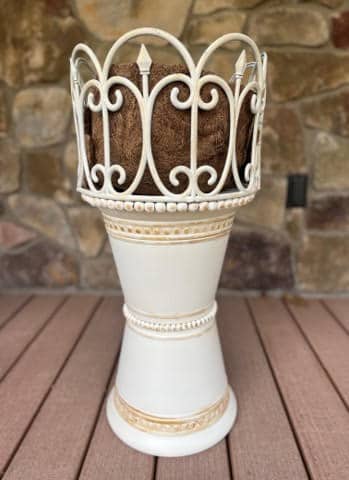
Your planter is now ready to add a planted flower or fern! I am just loving how they look on my porch filled with ferns. If you are afraid your planter will blow over I suggest getting a smaller pot fill it with gravel and place it under the bottom of the plant stand or if you would like to use the planter in the garden I would drill a hole in the center bottom of each pot and in the center of the pizza pan before painting and assembling the planter then you can place a metal rod down the center of the planter into the ground to keep the planter from falling over. I hope you give this planter a try it really does turn out beautiful!
