Easter, Home Decor, Spring
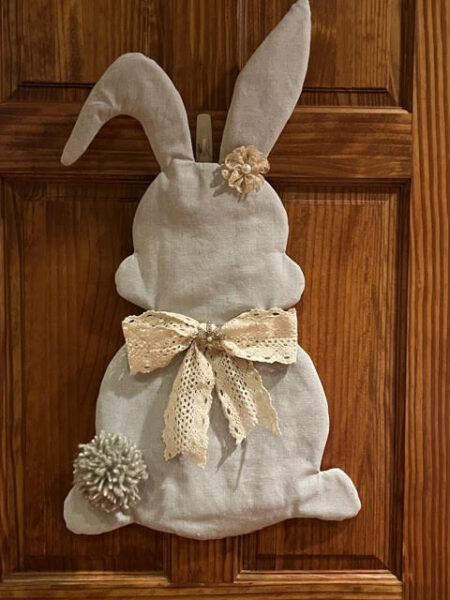
DIY Fabric Bunny Door Hanger

Mar
I have been making a lot of cute bunnies and chicks using table runners and one day I was shopping Amazon and came across a tablecloth that had 3 larger black and white buffalo check bunnies in the center and I knew I had to order and try to make bunny door hangers out of them. Well I have to tell you they came out adorable and my followers wanted me to try and make a pattern for them so they can make them any color they wanted. So I have come up with the following pattern and I just love how my bunny came out. I hope you will give this bunny door hanger a try, I think you will love it and be making them for family and friends.
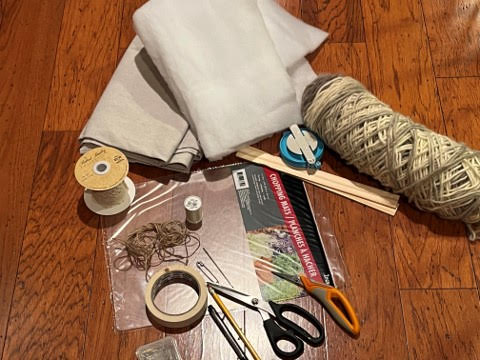
Materials you will need:
- 2 Pieces of 34” long x 20” wide fabric of your choice
- 1 Piece of 34” long x 20” wide batting
- Plastic Chopping matt from Dollar Tree
- Two 1 gallon paint sticks
- Embellishments of choice
- Yarn of choice for tail
- 3 3/8” Clover pom pom maker
- Sewing Machine
- Sewing Pins
- Jute twine & Needle
- Thread & needle to match fabric
- Scissors
- Masking Tape
- Pencil
- Sharpie marker
- Large safety pin
- Scotch Tape
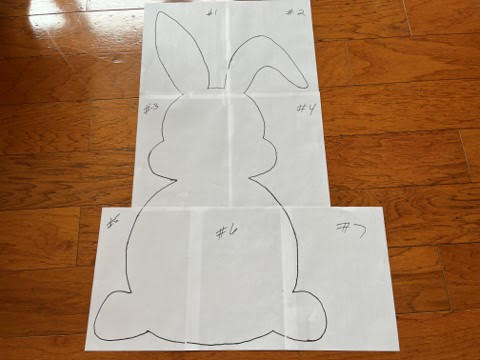
Printing & Taping The Pattern Pieces
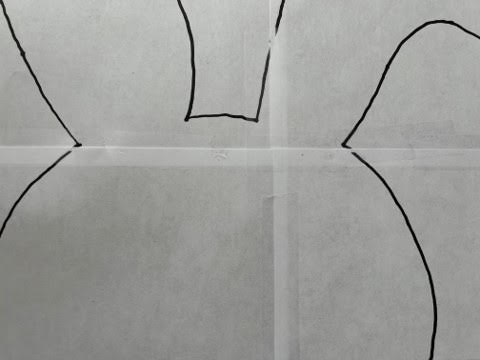
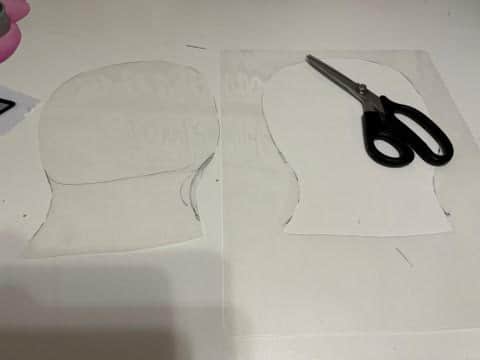
The first thing you will need to do is print out the pattern, there are 7 pages to this pattern. Now lay down and line up the lines on piece one and two. Tape the pieces together. Now lay piece three on top of piece 1 lining up the lines then tape together. Repeat this step with piece 4 placing it on top of piece 2. Next place piece 5 on top of piece 3 lining up the lines and taping together. Take piece 6 and line up with the lines on piece 5 then tape together. Lastly take piece 7 line up the lines with piece 6 and piece 4 then tape together. Your pattern should look like the photo below. Once all your pieces are taped together cut out the pattern.
Preparing The Bunny For Sewing
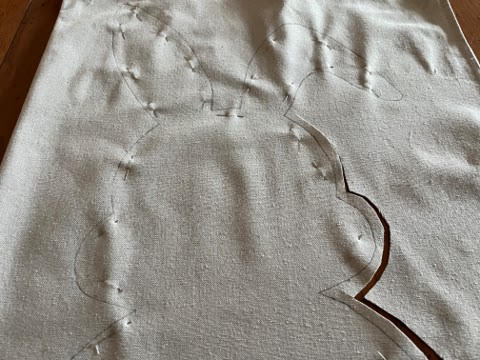
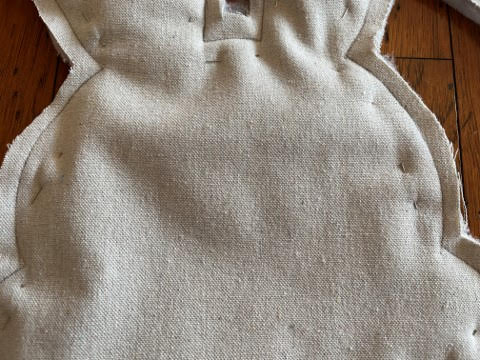
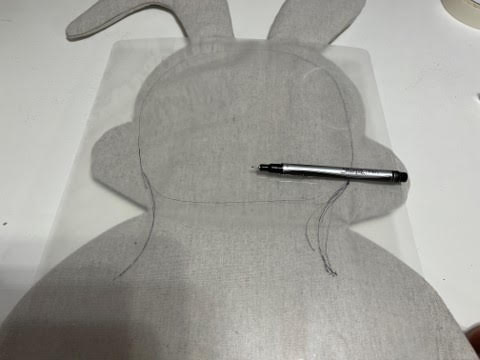
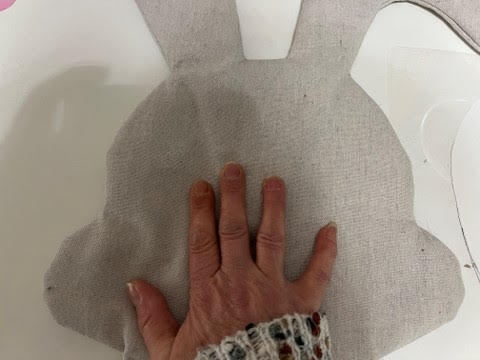
Lay your two pieces of 34” x 20” pieces of fabric on top of each other. If you are using a print fabric you want your prints facing the inside and the back facing you. Lay your pattern on top of your fabric and trace the pattern onto your fabric.
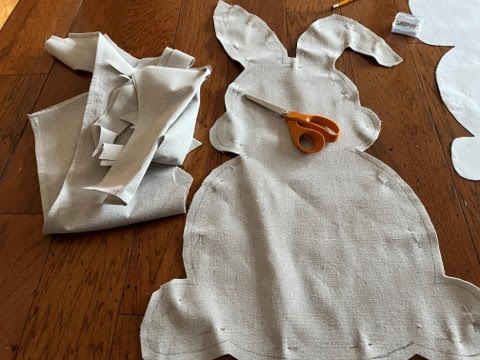
Next using sewing pins pin your two pieces of fabric together on the insides of your trace line. Cut out the bunny about a ¼” or so away from your trace line.

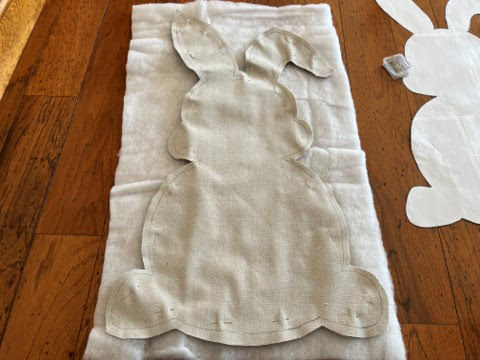
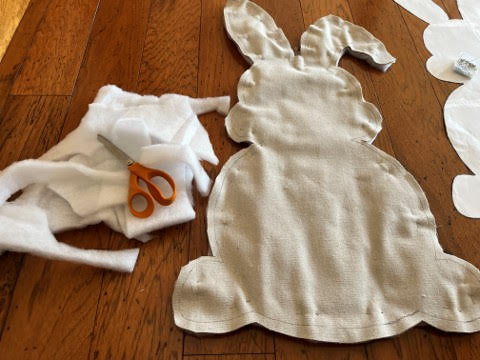
Now lay down your 34” x 20” piece of batting then with the trace line facing up place the bunny on top of the batting. Pin the bunny to the batting using the sewing pins you already have pined in the bunny. Cut the batting around the bunny.
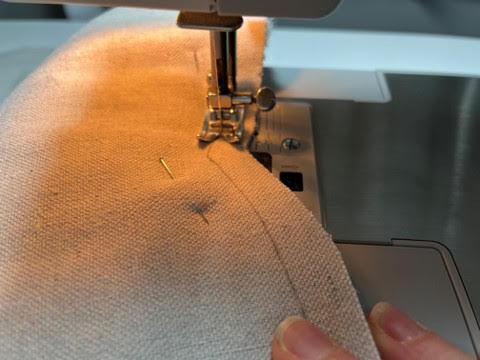
Sewing The Bunny
Using a sewing machine you are going to sew up the bunny using the trace line as your sew line. Make sure you leave the bottom middle between the feet unsewn for turning the bunny.
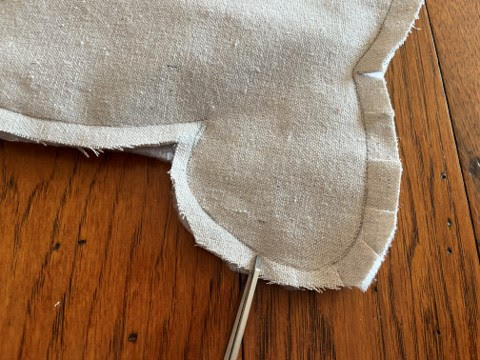
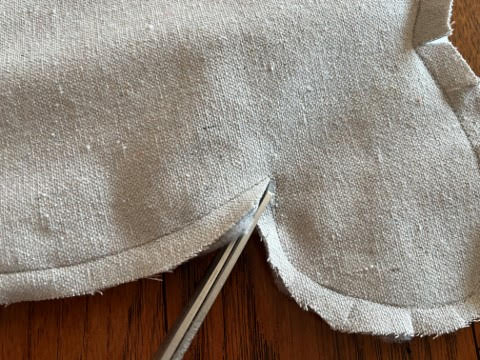
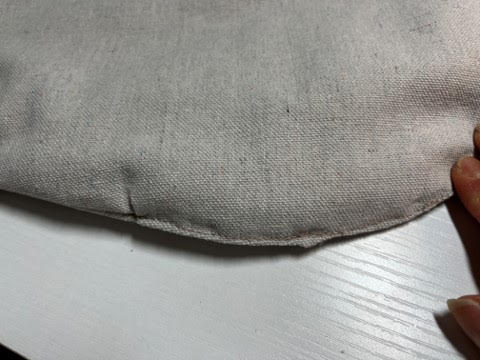
After you have the bunny sewn remove the sewing pins then take a pair of sharp scissors and make small cuts around all curves making sure you do not cut the thread line, this will help with the puckering of the fabric when you turn it right side out.
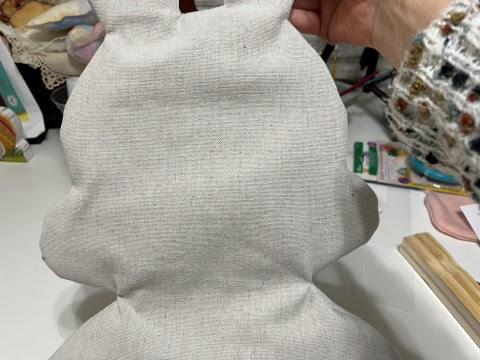
Turn your bunny right side out.
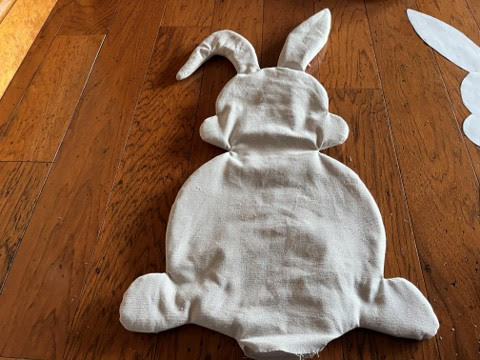
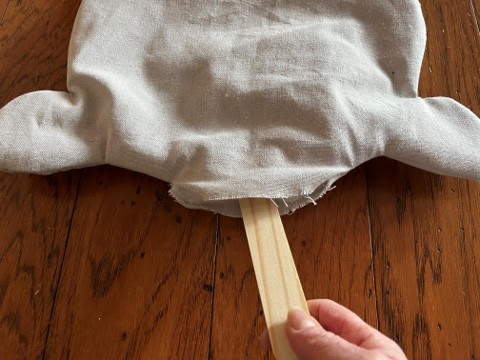
Stabilizing The Ears and Head
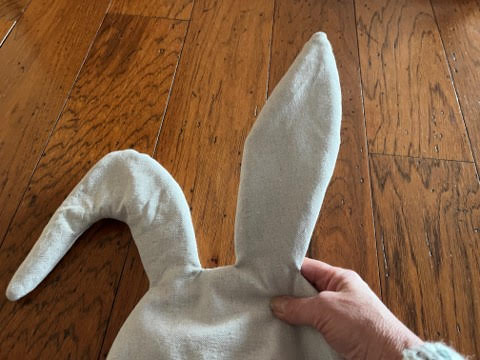
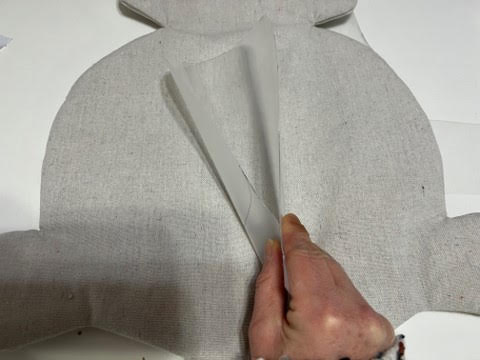
Now take one of the 1 gallon paint sticks insert it into the bottom of the between one layer of fabric ad the batting bringing it up into one of the ears. Repeat this step with the second paint stick into the second ear.
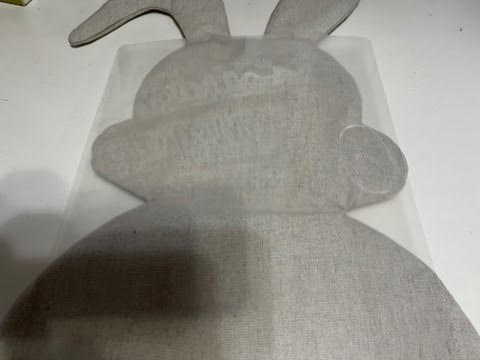
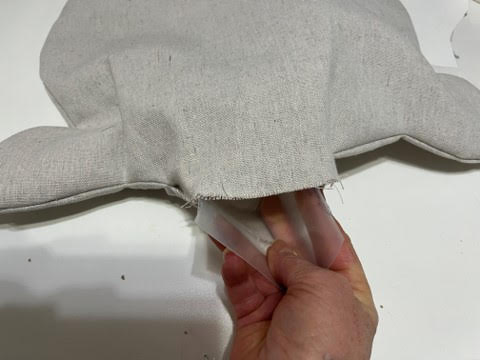
Now lay down the bunny on a flat surface then place the plastic chopping matt on top of the bunny head. Using a sharpie marker roughly draw a round the head and down the neck onto the plastic matt, cut out. Now fold your plastic head piece in half insert into the bottom of the body between the same layers you did the paint sticks. Bring the plastic head piece up into the head under the paint sticks. If the mat does not lay nice and flat you may need to take it back out and trim it around the head and neck parts. Once you have the plastic matt laying flat and under the paint sticks you are going to take one piece of masking tape at a time and go up into the bunny and tape down the paint sticks to the plastic matt. Continue taping down until you feel they are secure.

Sewing Closed And Adding The Hanger
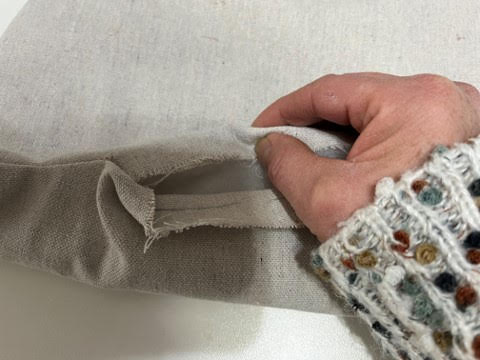
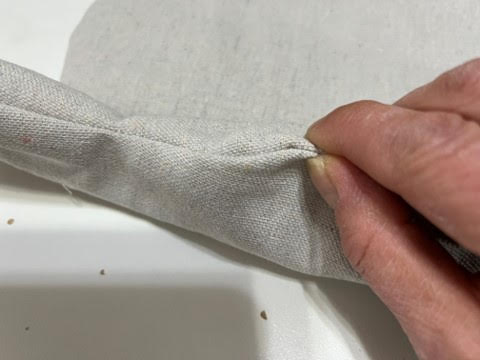
Now that you have the ears and neck sturdy it is time to sew the bottom of the bunny closed. At the bottom opening fold over one layer of fabric and the batting inward then fold over the second layer of fabric inward now pin closed all the way across using your sewing pins. Now that you have the opening pined closed sew up the opening on your sewing machine. Sew closed close to the edge. Remove sewing pins.


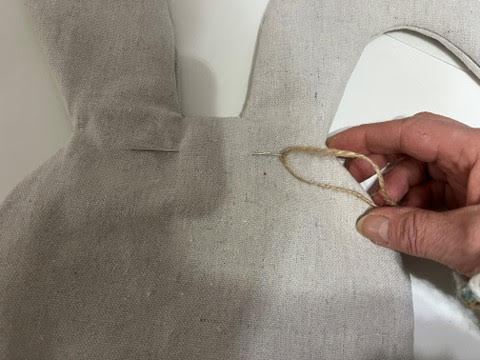
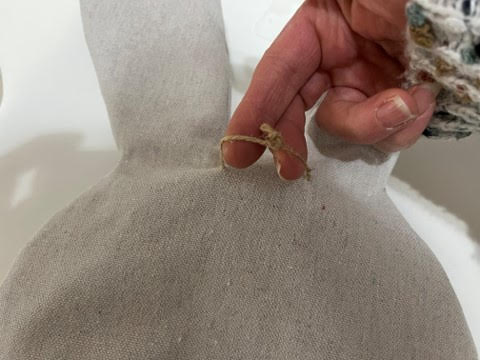
To add the hanger cut a 6” piece of thin jute twine then thread through a large eye needle. With the back of the bunny facing upwards (the back of the bunny is the side that you have the paint sticks and the plastic matt) about 1” or so below the middle of the ears insert the needle and thread through the jute twine. Remove the needle make a loop with the two ends of twine. Decide how long you want your loop tie a double knot and trim off excess.
Adding The Embellishments
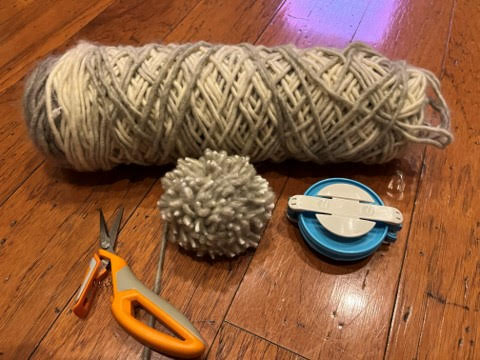
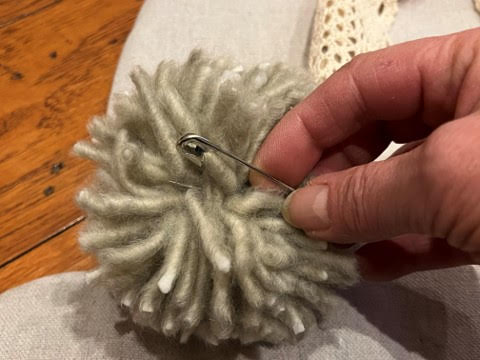
You can add any embellishments you would like. I made my bunny a girl bunny so I made a crochet ribbon added a pin in the center then using matching thread and a needle I tacked my ribbon onto the bunny. You can hot glue your embellishments on if you would like but I didn’t want to make them permanent in case I wanted to change them in the future. I also tacked a lace flower to one ear. Then using yarn and a 3 3/8” clover pom pom maker I made a tall for my bunny. I attached the tail using a large safety pin but again you can hot glue it on if you would like.
You bunny is now complete and ready to hang on your front door! I hope you enjoyed making the bunny door hanger.
This bunny is so cute. I would love to make it but I do not have a pattern. Is there a place I can go and get the pattern?
Thank you
Rita Koch
Go to my blogs at https://www.thecraftydecorator.com you can print a pattern from here.
This is the best bunny I have seen this year. The cutest bunny ever.
ita awesome Sherry i love it where are the printed instructions
Go to my blogs at https://www.thecraftydecorator.com