Home Decor
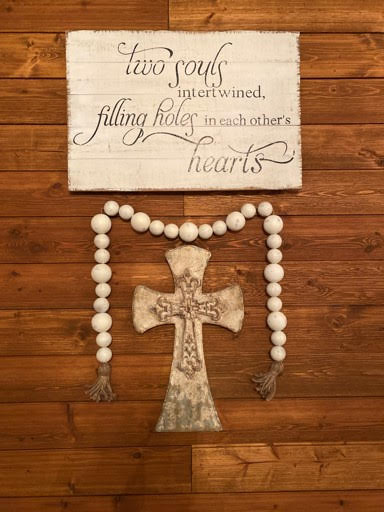
DIY Large Bead Garland
Aug
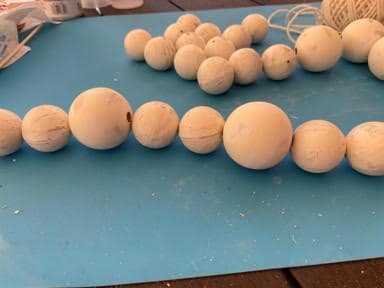
I have seen a large been garland made out clay balls and I just love it but it is expensive and so heavy. I wanted to come up with a way to make one myself using lighter materials. I found a paper mache ball garland at Hobby Lobby and 2” wooden beads in the jewelry section and I new I could use these to make the large bead garland I wanted. I also used the paper mache ball garland to make a beautiful chippy garland for my tree. I just love how this large beaded garland turned out and it was inexpensive and easy.
Materials You Will Need:
- 1 Pkg. Paper Mache Ball Garland (Hobby Lobby)
- 9 – 2” Wooden Beads (Hobby Lobby)
- Rust-Oleum Spray Paint in the Color Heirloom White
- FolkArt Craft Paint in the Color Vintage White
- Waverly White Chalk Paint (Walmart)
- 4-Ply Jute (Walmart)
- Thin Jute Twine (Dollar Tree)
- Large Eye Needle to Fit The Jute Twine Through (Not to thick)
- Painters Tape
- Paint Brush
- Scissors
- 220 Grit Sandpaper
Painting The Paper Mache Ball Garland and Wood Beads
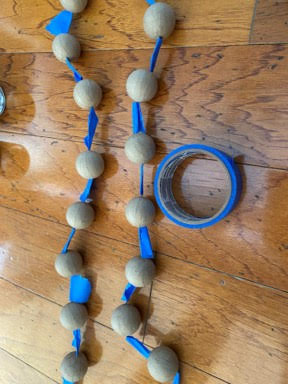
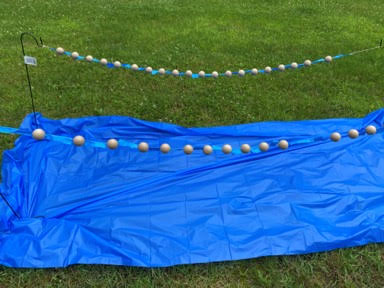
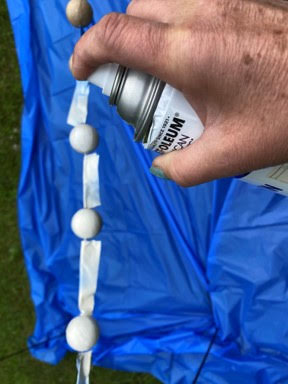
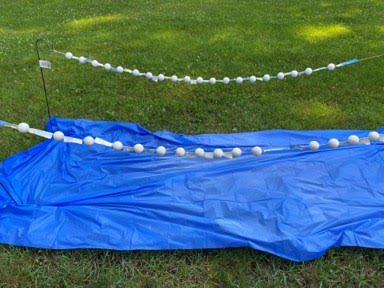
The easiest way I found to paint the paper mache garland was to cover the jute twine in-between each ball with painters tape. I took the garland outside laid a plastic table cloth out in the yard then I used two plant hooks from the Dollar Tree stuck them in the ground and hung the garland on them. You can take the balls off the twine and paint each one individually if you would like but I found this really simple. Paint the balls with two coats of the rust-oleum heirloom white paint making sure you get all the balls covered and letting dry in-between coats.
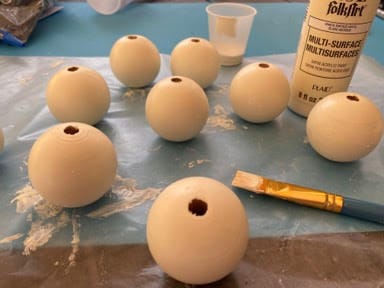
While your garland is drying you can paint your wood beads. Paint nine wood 2” wood beads with Waverly white chalk paint. You can do one or two coats that is up to you. Let dry then paint them two coats of the vintage white craft paint, letting dry in-between coats.
Sanding The Beads and Paper Mache Balls.
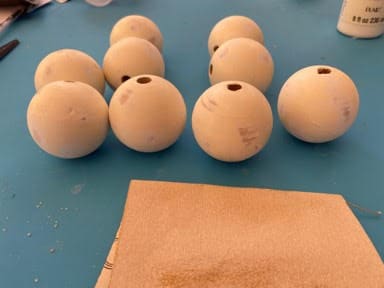
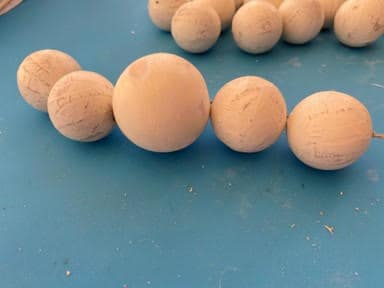
Once your beads and garland are dry remove the painters tape from the garland. Remove the paper mache balls from the garland. Using 220 grit sandpaper sand all the paper mache balls and wood beads to give them a worn chippy look.
Assembling The Bead Garland
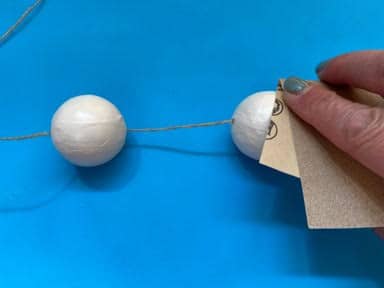
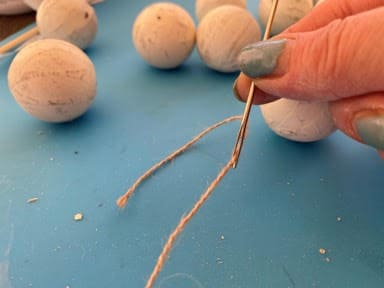
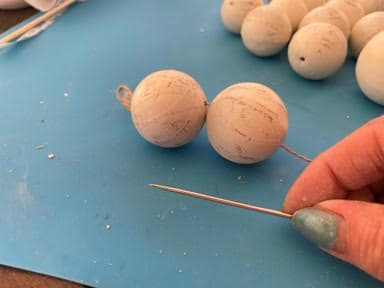
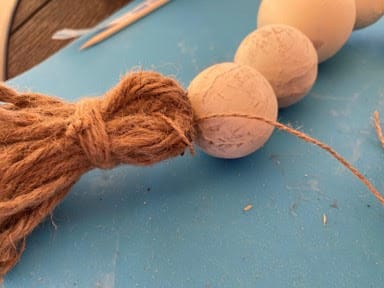
Thread your jute twine from your garland through a large eye needle. Now you are going to start adding the balls. Start by putting the needle with the jute twine through the holes of a paper mache ball. Slide the ball down towards the end of the twine you want to leave about 12” of twine at the end. Next add another paper mache ball then a wood bead, slid them down to the first paper mache ball. Continue adding the paper mache balls and wood beads in this order to the garland until you have all 20 paper mache balls and 9 wood beads on the garland.

Making And Adding The Jute Tassels
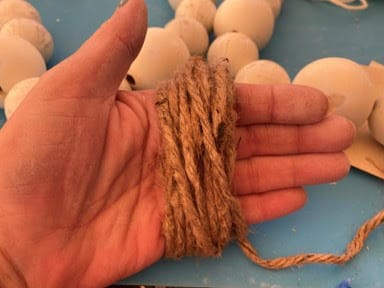
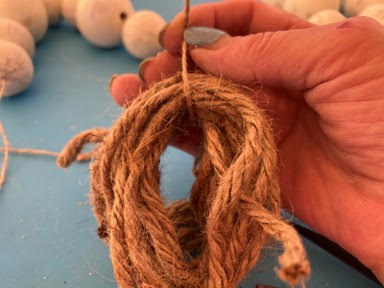
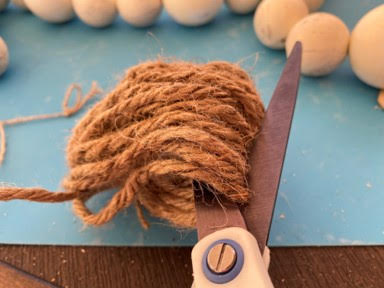
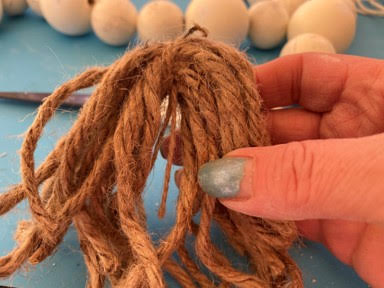
Starting with the end of the 4ply jute facing downwards in the palm of your hand wrap the jute twine around you hand 20 times then cut making sure your second end of twine is also facing down. Carefully slide off your hand but still hold it so it doesn’t fall apart next take a 6” piece of the thin twine slid it under and through the top of your wrapped twine then tie a double knot. Trim off excess. Pull down on the bottom of the wrapped twine and cut in the middle. You now should have a straight piece with your thinner tied jute in the center.
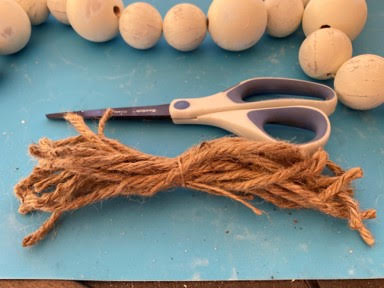
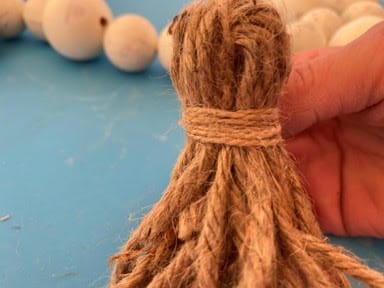
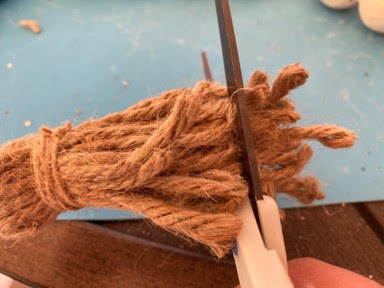
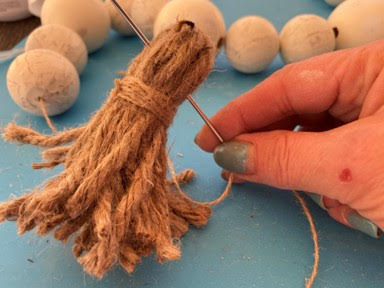
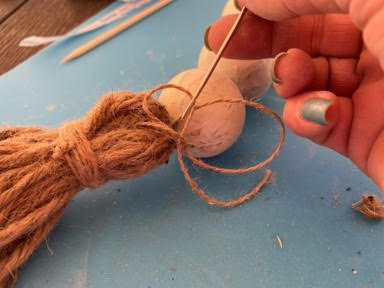
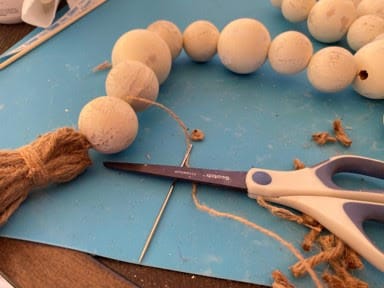
Next fold the gathered jute twine in half with your twin knot facing the inside. Take a 24” piece of the thinner twine and holding one end of the twine with your start wrapping the twine around the folded jute about an inch from the top. You want to end where the end you were holding down is then tie a double knot. Trim off excess. Next trim the bottom of the tassel so it is somewhat even. Thread the one end of your garland with the needle then feed the needle and jute through the middle of the opening of the tassel then pull the tassel tight to the paper mache ball and tie a double knot, trim off excess. Repeat the above steps to make and attach another tassel to the other end of the garland.
I hope you love this garland as much as I do and make one to use as part of your home décor. What a beautiful Christmas gift this would be for a family member or friend.