Flowers, Home Decor, Spring
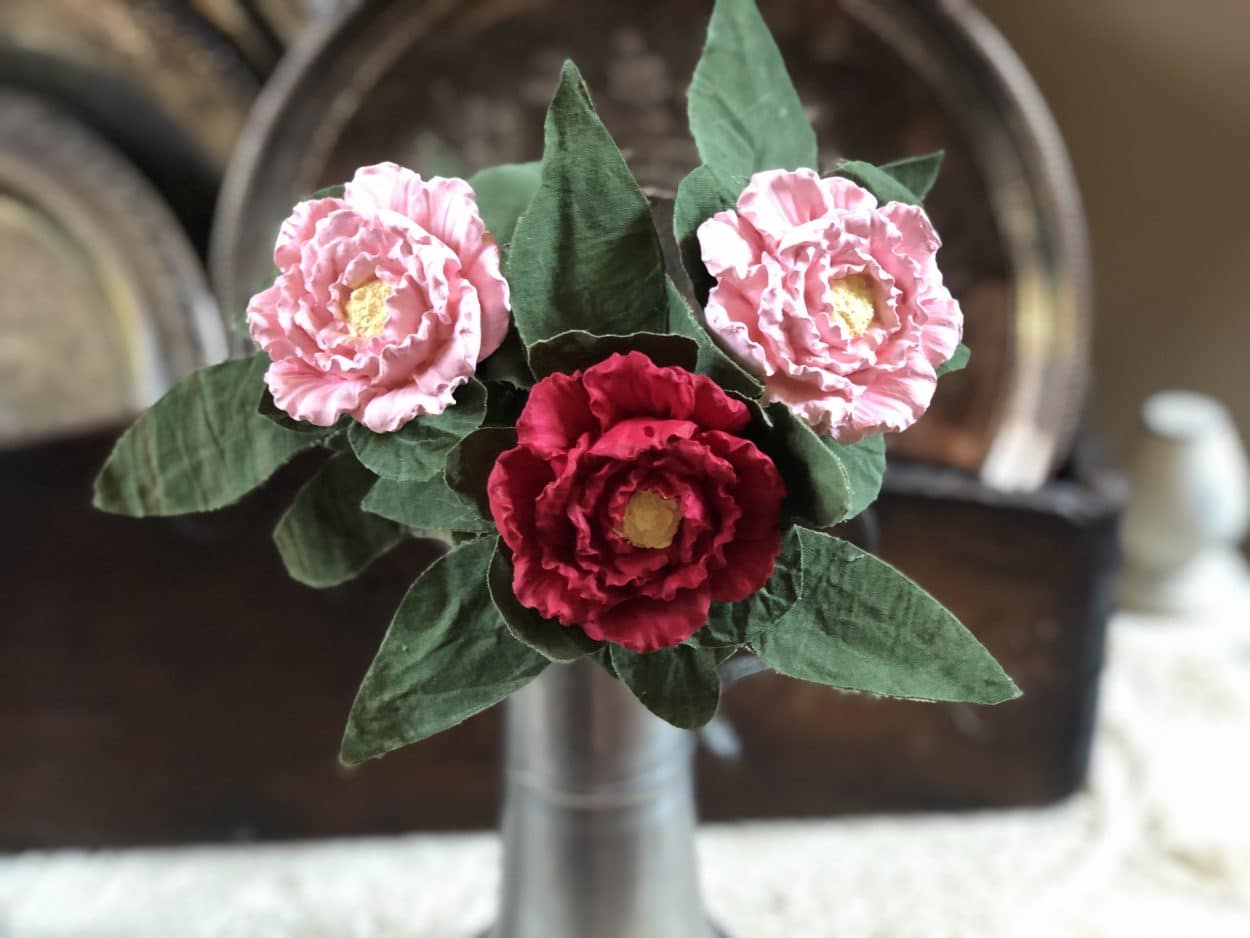
DIY Peony Flower
May
Have you ever tried using silicone molds to make your own craft embellishments?I have been using silicone molds for a while now and I came across 3D flower molds I knew I just had to try them and I am amazed how beautiful the flowers turn out.If you love creating your own flowers you are going to love making these peonies, they are so easy to make and they look unbelievably real.
Here is a list of what you will need:
- Peony Leaf Pattern
- Silicone Peony Mold (you can find the link under my recommended products)
- Plaster Of Paris
- 1/3 Measuring Cup
- 1 Tablespoon
- Glass Measuring Cup
- Craft Stick For Mixing
- Cold Water
- Muslin or Green Fabric
- Craft Paints
- Paintbrushes
- Scissors
- Chalk For Tracing
- Hot Glue Gun and Glue Sticks
- Green Floral Tape
- Green Floral Wire
- 16 Gauge Wire
- Wire Cutters
- Spray Craft Sealer
Coffee Stain Mixture Recipe:
- 2 Cups Water
- 1/2 Cup Instant Coffee
- 2 Tablespoons Vanilla
- 2 Teaspoons Ground Cinnamon
- 1 Teaspoon Ground Nutmeg
Bring the water to a simmer then add the remaining ingredients and stir, remove from stove and let cool down.
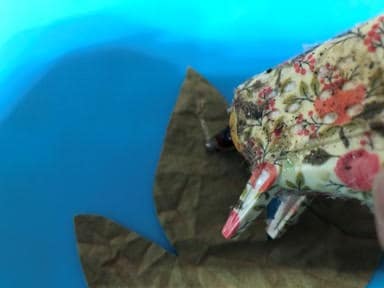
Painting and Staining Fabric
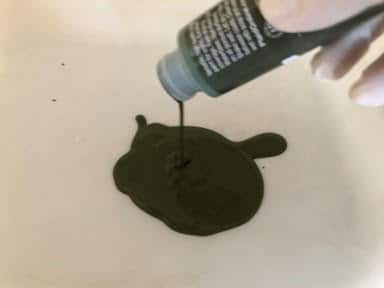
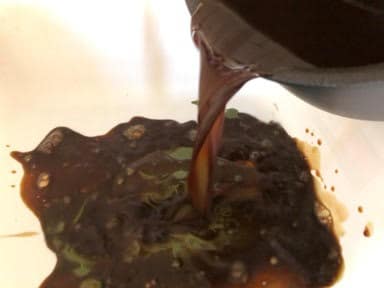
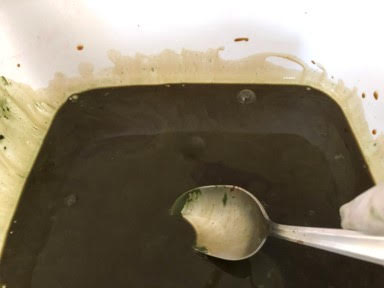
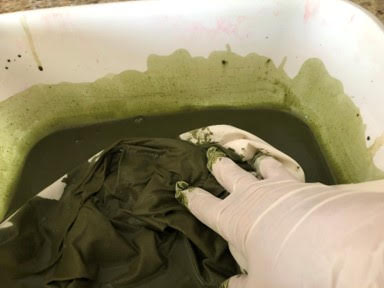
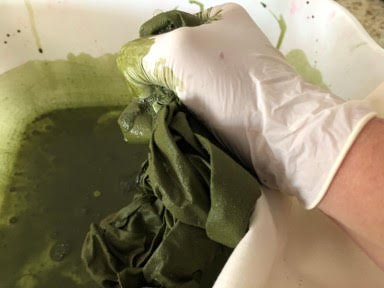
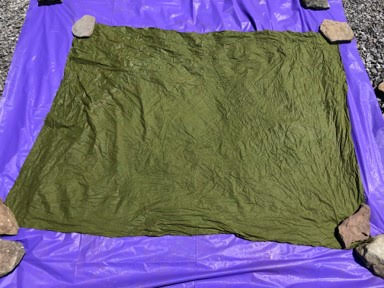
If you would like to color your own fabric as I did you will need muslin, green craft paint, I used the color English Ivy Green, the coffee stain mixture from above, a basin, and a pair of rubber glove. I choose to color my own fabric because I love the look of it but you can certainly use green fabric. The first thing I did was make my coffee stain next I poured a 2oz. bottle of English Ivy Green craft paint into my basin and about a cup of the coffee stain, keep stirring until all the paint is mixed with the coffee, you can add more coffee if you want the color to be darker. The next step is to put on your rubber gloves and submerge your muslin into your mixture, I used a yard of muslin, keep ringing out your fabric and rearranging until the muslin is totally colored once your fabric is colored lay out in the sun to dry.
Making the Peony Flower
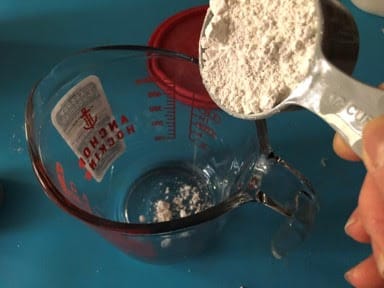
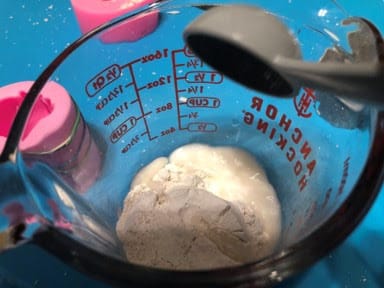
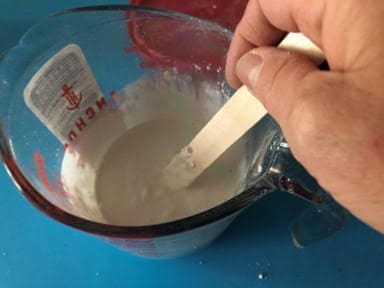
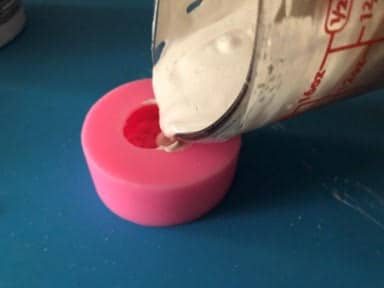
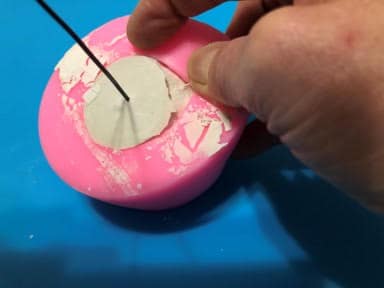
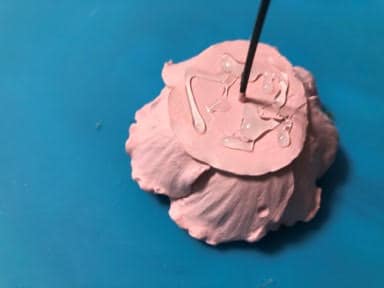
To make the Peony flower you will start by mixing 1/3 cup Plaster of Paris and 2 ½ Tablespoons of cold water, I use a glass measuring cup to mix in because it is easier to pour into the mold, stir with your craft stick until smooth and it is the consistency of a pancake batter next pour your mixture into the mold about a ¼ of the way up then tap your mold onto the table to get the air bubbles out continuing filling the mold a ¼ of the way tapping it on the table after each pour until the mold is full, do not overfill the mold you want it just at the top. You can not mix more of the mixture then you are going to use right then because it starts to harden very fast I made the mistake of mixing to much and I thought if I sealed it in a baggie it would be ok for about a half hour well that did not work it was as hard as a rock.
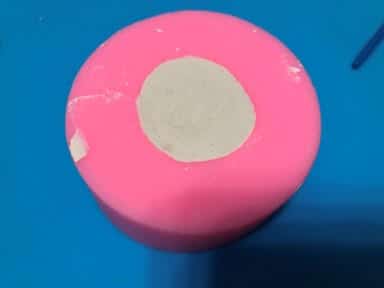
After you have filled your mold you need to let it set about 5 minutes while you are waiting you can cut a 12” piece of the 16 gauge wire this is going tobe your flower stem.After about 5 minutes stick your wire into the middle of the mold, if it will not stand up by itself wait about another 2 minutes and try again do not let the mixture harden without adding your stem.After you have the wire in the mold let it harden for about 30 minutes.
Removing the Flower from the Mold
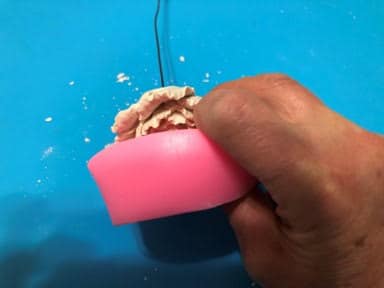
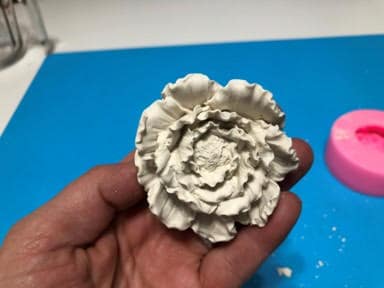
To remove the flower from the mold start by lightly pulling the mold away from the side all the way around then pick up the mold and slowly pull back a side and lightly push up the flower with your thumb work your way around the mold the flower should come out of the mold easily. Once you have removed the flower set aside and let dry for a few hours overnight is best.

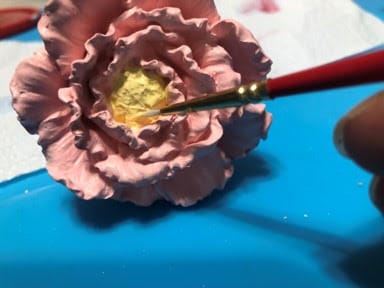
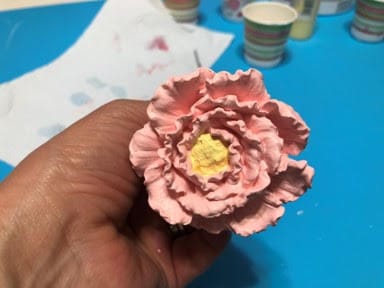
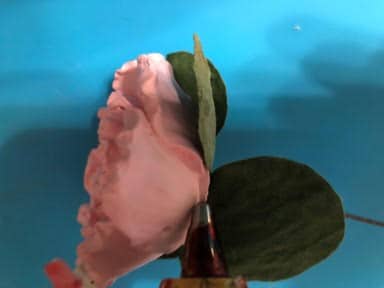
Painting the Flower
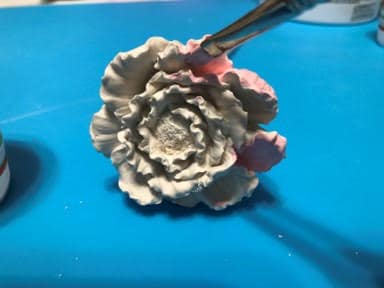
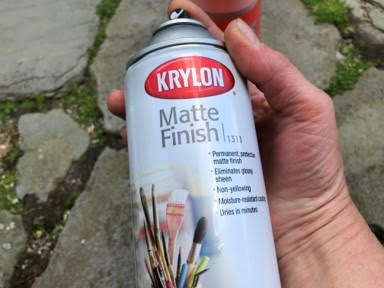
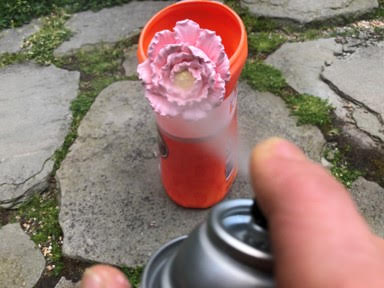
Now that your flower has dried you can start painting, the colors I used to paint my Peonies are Hydrangea Pink and Berry Red, you can paint them any color you wish. I started by using a smaller paintbrush to paint the petals in the center the smaller brush makes it much easier to get between the petals, try not to paint the center we will be painting this yellow later continue painting all the petals, you can switch to a bigger paintbrush as you move away from the center don’t forget to paint the bottom of the flower. Once I had all the petals painted I let the paint dry then using light yellow craft paint and a small paintbrush paint the center of the flower. After the flower has dried I recommend giving it a coat of sealer I used a matte finish sealer by Krylon make sure you use this spray in a well ventilated area I sprayed mine outside.
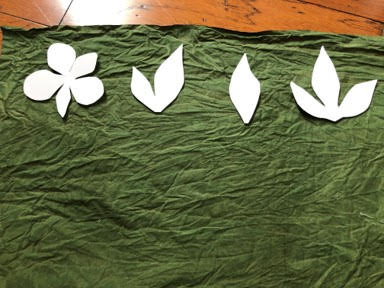
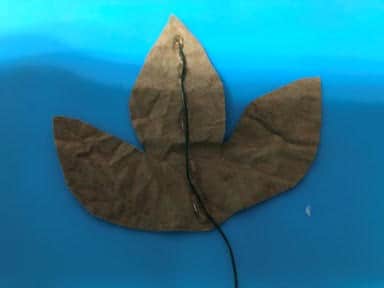
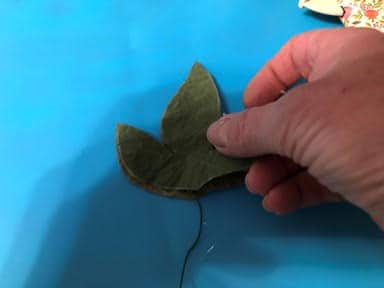
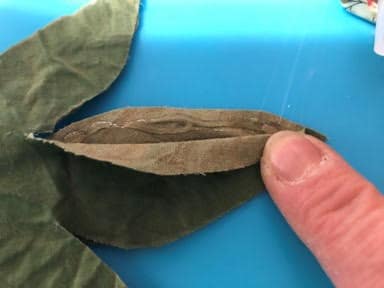
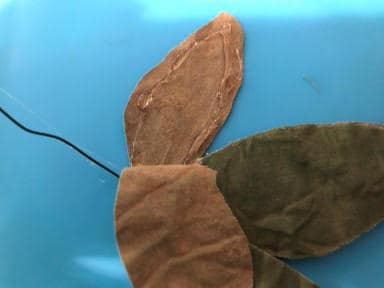
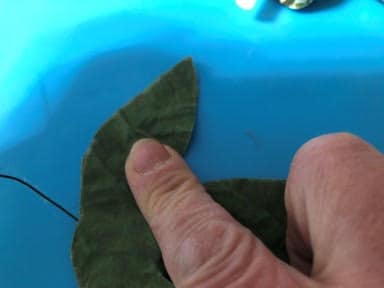
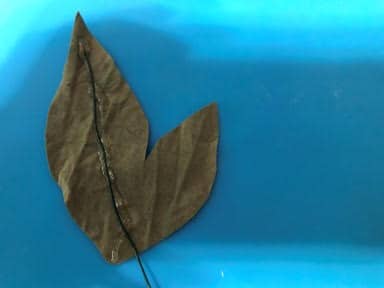
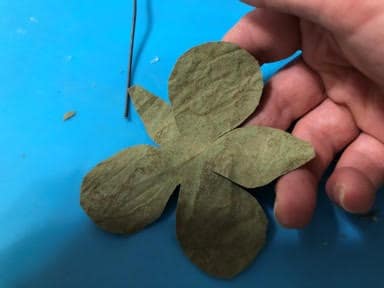
Making the Leaves
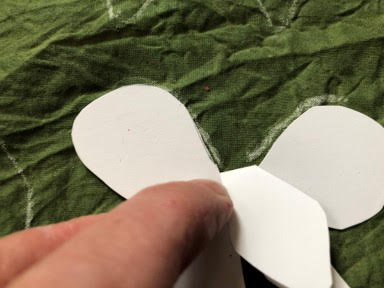
The first thing you need to do is print and cut out the leaves from the pattern, next trace and cut out the leaves from your green fabric, I use a piece of sharpened chalk to trace them, you will need two of the single leaf, double leaf and the triple leaf, you will only need one of the five leaf pattern. Now that you have your leaves cut out take your green floral wire and cut three 6” pieces of wire, you will be only adding wire to the single leaf, double leaf and triple leaf, when tracing the pattern with the five leaves you will need to lift up the thinner two leaves to be able to trace between the leaves. Lay down one of the triple leaf pieces and apply a line of hot glue down the middle leaf, lay your wire on the line of glue then place the other triple leaf on top gluing them together then lift up each side of the leaf add a line of hot glue and glue together. next you will need to glue the side two leaves together by lifting up each leaf and adding a line of got glue around the edge of the bottom leaf and gluing the top leaf to the bottom leaf. For the double leaf repeat this step to the larger leaf and for the single leaf add a line of glue down the middle add the wire and place second leaf on top don’t forget to glue the sides of the leaf together.
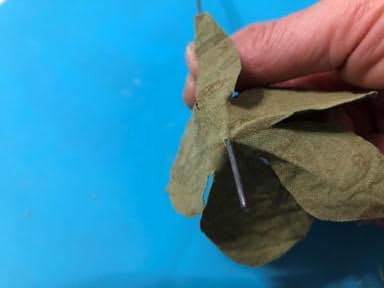
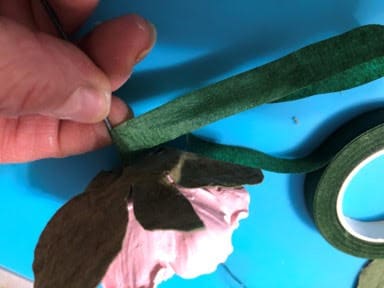
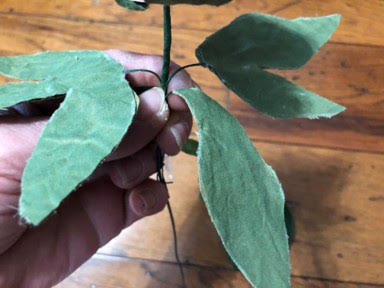
Attaching the Leaves
To attach the leaves to your flower stem you will first attach the piece with the five leaves to the bottom of the peony by poking the stem wire through the middle of the leaf piece then add hot glue to the bottom of the peony and glue your leaf piece to the bottom of the peony, next add a small amount of hot glue around the bottom edge of the peony and lift up each leaf and attach to the bottom rim of the peony. To add the other three leaves arrange them around the peony the way you would like them then twist the wires around the stem wire leave about a ½” at the bottom of the leaf untwisted so you can bend the leaf after adding the floral tape. The last step is to add the floral tape, starting at the base of the peony start wrapping your floral tape around the stem continue wrapping down between and around the leaves until you reach the bottom of the stem. You are finished making your Peony I hope you are in love with it as much as I was.


Those are so pretty where did you get the molds from
Are they top heavy ? I want to make them. They are gorgeous & look so real.!
Thanks so much.