Easter, Home Decor
DIY Sheep (Glued)

Apr
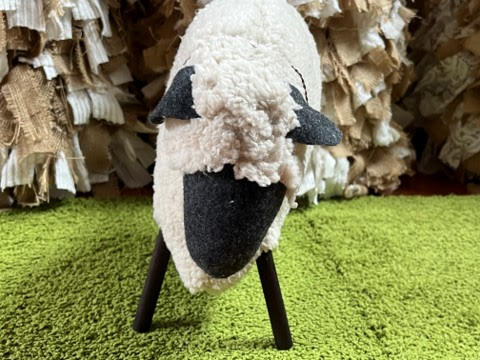
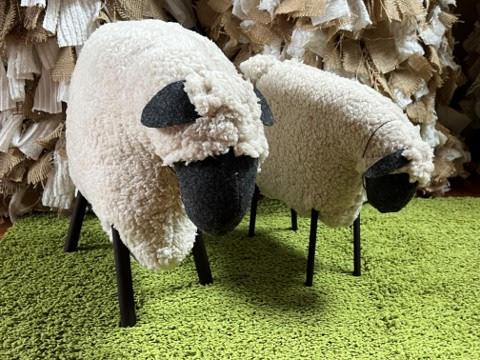
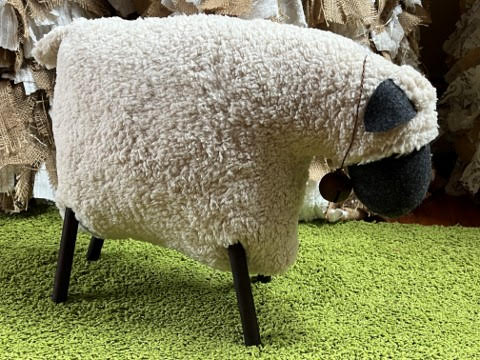
If you love sheep these adorable guys are a must to make and add to your home décor! I recently seen a primitive sheep in a store that I wanted to recreate but needless to say I went in a whole other direction creating a more realistic sheep. I just love how they turned out and the larger sheep is just my favorite. If you are a sewer check out my blog on how to sew the sheep! I would rather sew them but not everyone likes to sew so I always try to also glue my crafts so everyone can enjoy making them.
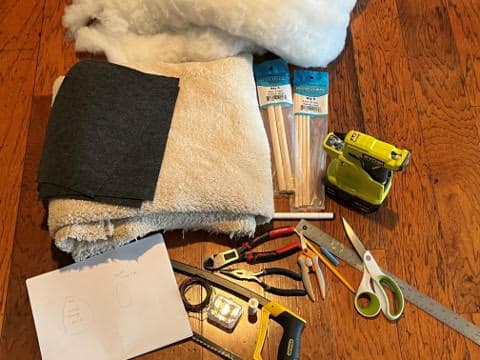
Materials I Used
- Sheep Pattern
- Sherpa Faux Fur Fabric or any fabric you would like to use. For the large sheep you will need a piece of fabric approximately 19” x 12” and for the small sheep you will need a piece of fabric approximately 13” x 10.
- Charcoal or Black Felt ( I used a charcoal color felt)
- Polyester Fiberfill
- Two 5/16 x 12” dowels for the small sheep’s legs
- Two 5/8 x 12” dowels for the large sheep’s legs
- Black craft paint and paintbrush or a black Alcohol marker which I used to paint my legs
- 12” piece of rusty wire and one 20mm rusty bell for small sheep (optional)
- 15” piece of rusty wire and one 30mm rusty bell for the large sheep (optional)
- Sewing pins
- Hot glue gun and glue sticks
- Colored chalk for tracing pattern
- Pencil
- Scissors
- Ruler
- Wire cutters and needle nose pliers if you are adding the rusty wire around the sheep’s neck
- Table saw or hand saw
Tracing and Cutting Out the Pattern
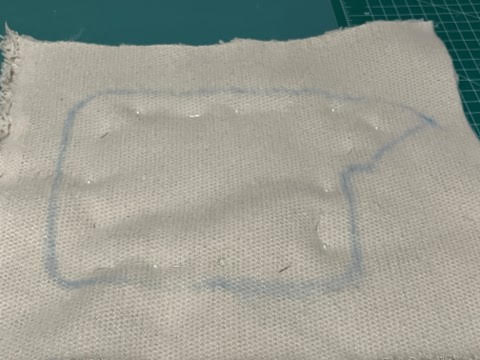
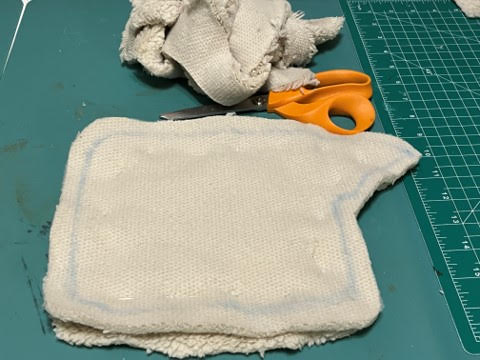
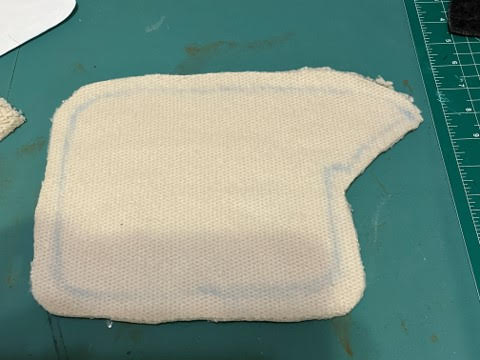
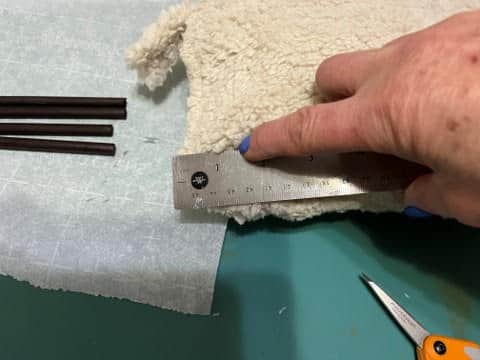
The first thing you will need to do is print and cut out the sheep patterns, there are two pages for the small sheep and 5 pages for the large sheep. For the large sheep’s body there are four pattern pieces that you will need to tape together where indicated on the pattern pieces. All the following directions are the same for the small and large sheep the only difference is the size. Lay your sheep body pattern on a double layer of fabric with the right sides facing in then using a piece of colored chalk trace your body pattern. Pin the two pieces of fabric together then cut out the body about a ½” away from the sew line. Keep your scrap pieces you will be using them later.
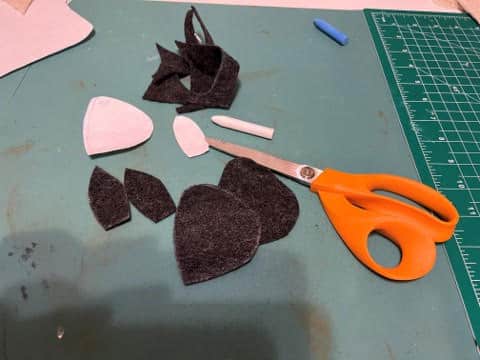
Lay your face and ear pattern pieces onto a double layer of felt then trace with a piece of chalk. Cut out the pattern pieces on the line.
Gluing and Stuffing The Sheep
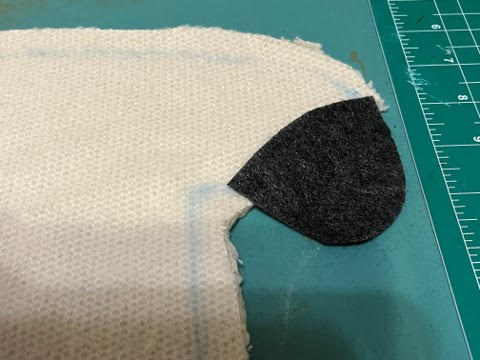
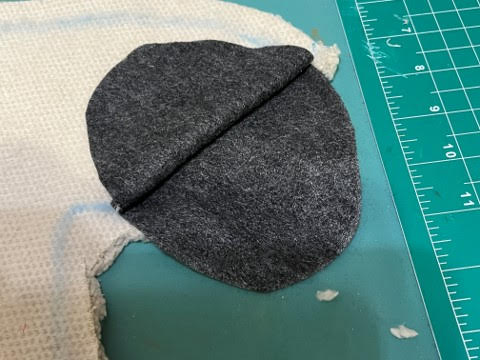
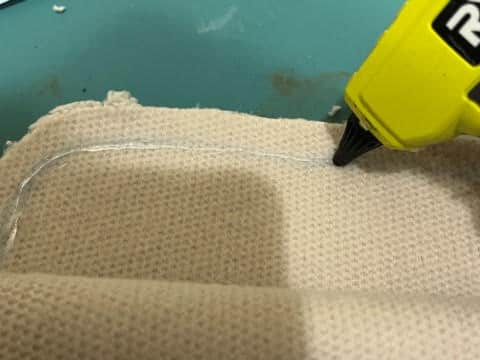
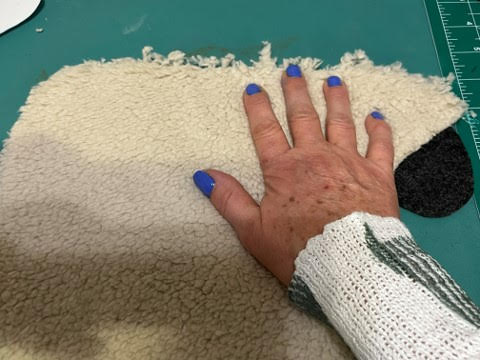
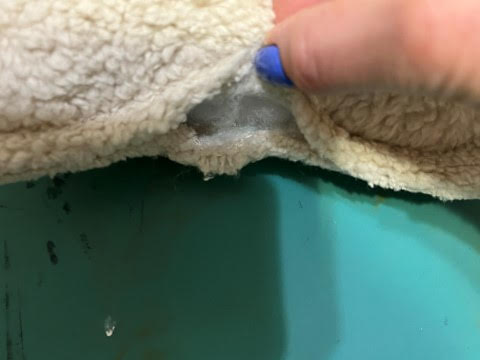
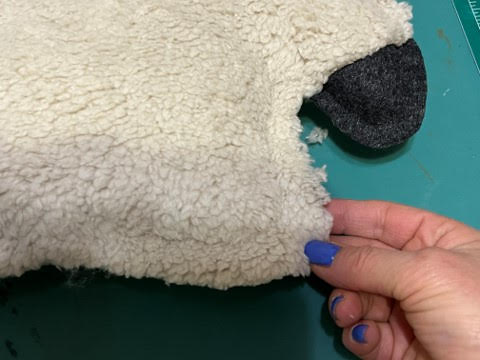
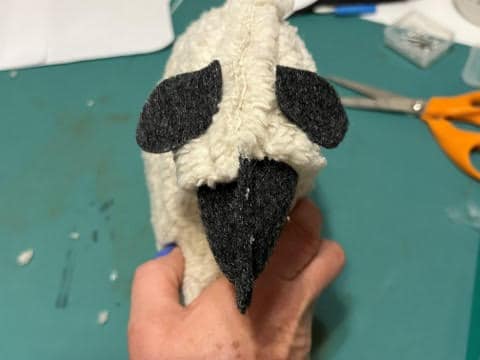
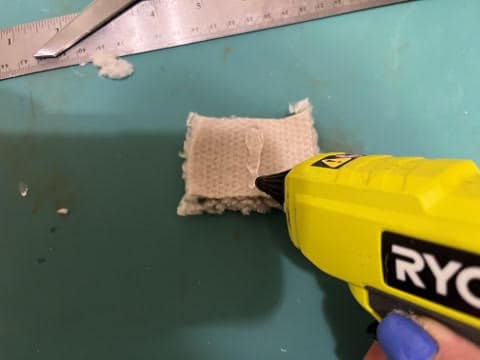
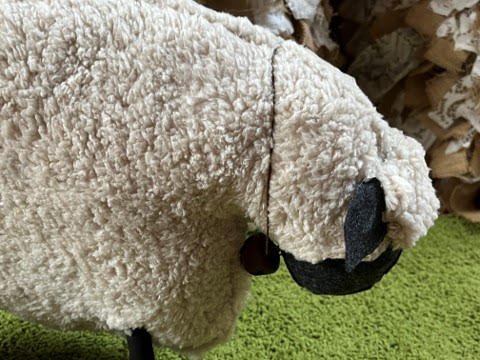
Separate and lay down the sheep body piece with the trace lines facing up. Take one of the face felt pieces and line up onto the body. Remove the felt piece add hot glue on the trace line where the felt face piece is going to go then glue down the felt face piece.
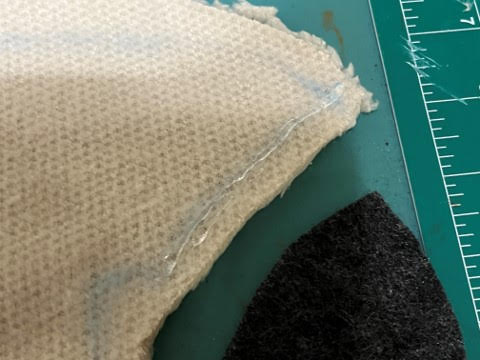
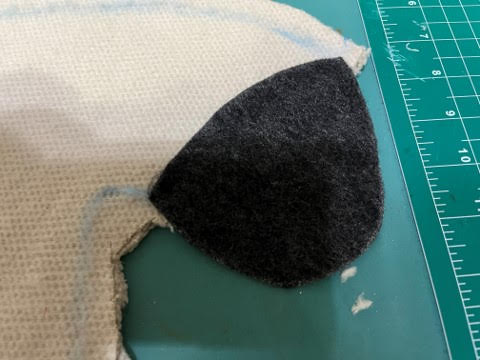
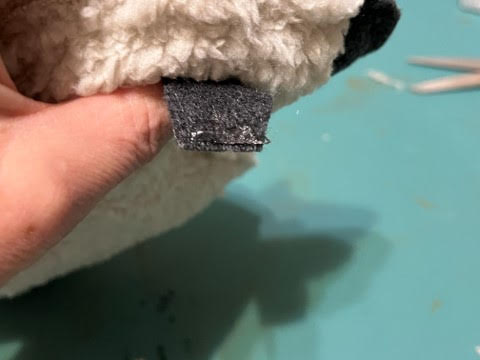
Lay the second felt face piece on top of the first piece you just glued down make sure you line them up. Fold back the face piece add a line of hot glue and glue top piece down (see photo’s below) you do not want to glue across like you did the first piece you are only gluing the section that looks like the snout.
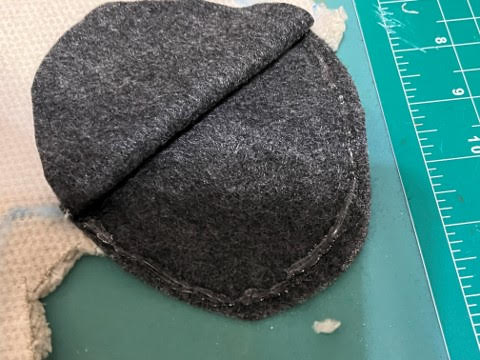
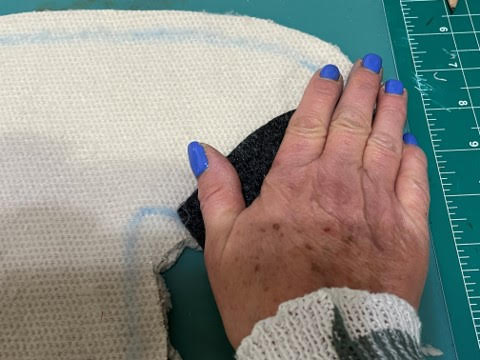
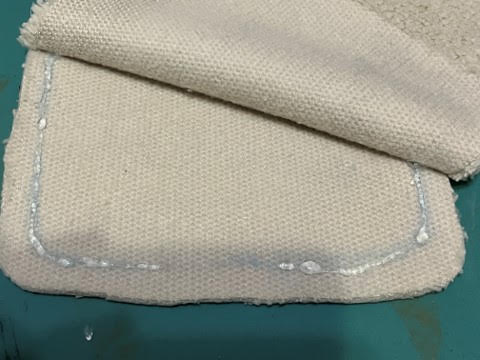
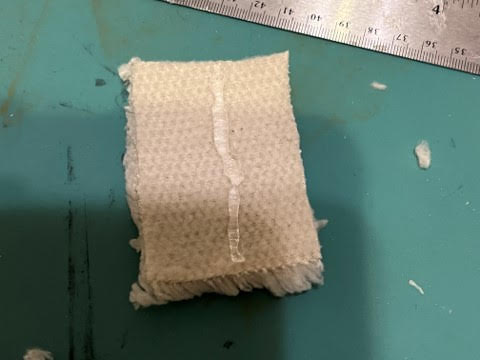
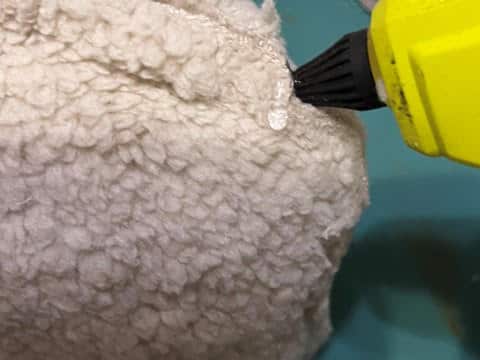
Next lay down your second sheep body piece on top then fold down the top layer add hot glue on the trace line then glue down the top piece. Fold back the bottom of the top layer add hot glue on the trace line leaving about 2” unglued in the middle for stuffing then glue down the top layer.
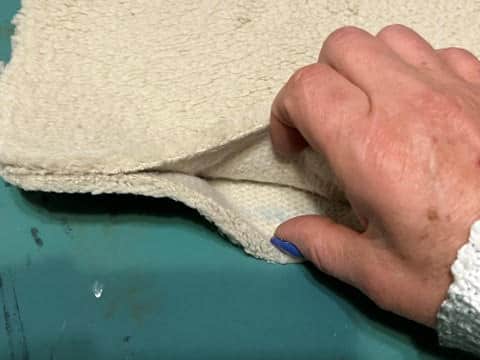
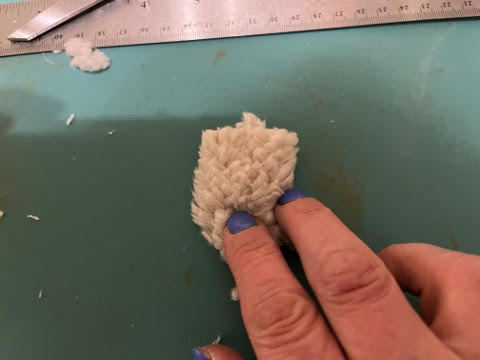
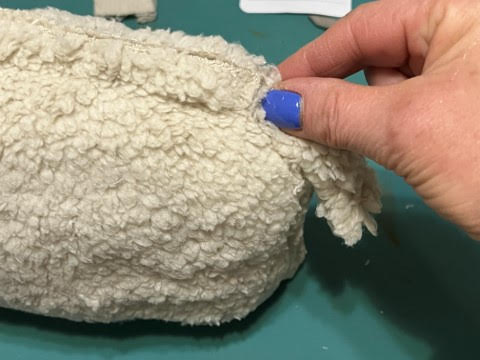
Stuff firmly with polyester fiberfill. Add a line of hot glue to the trace line in your opening then pinch closed.
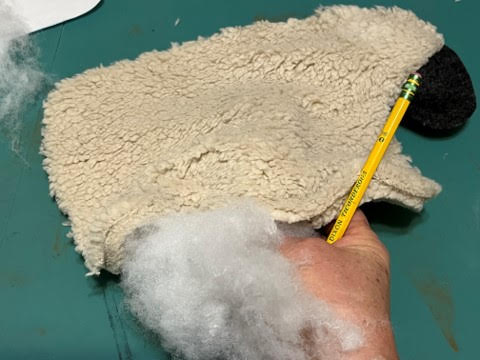
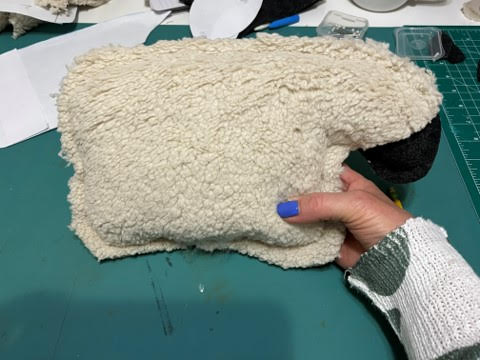
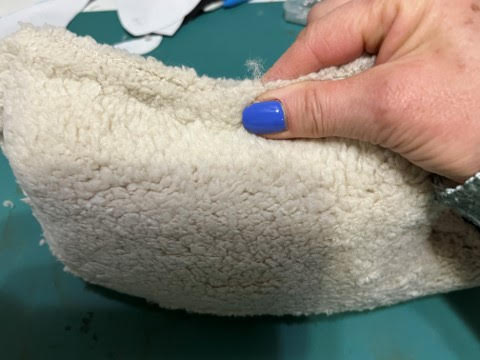
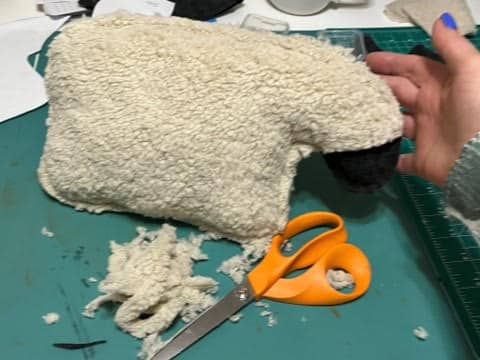
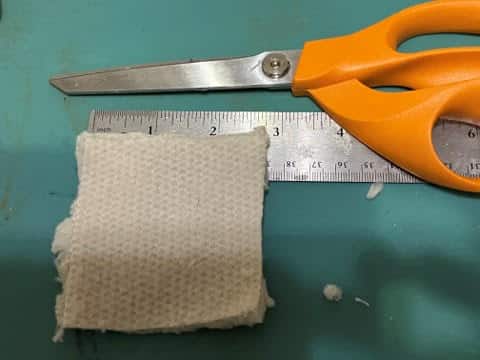
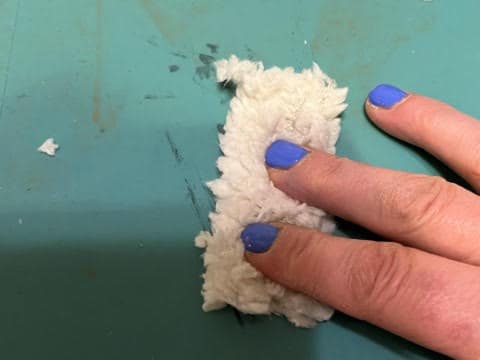
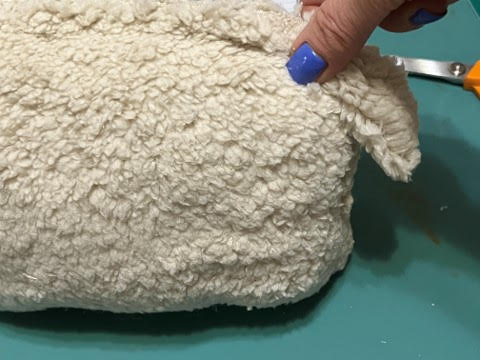
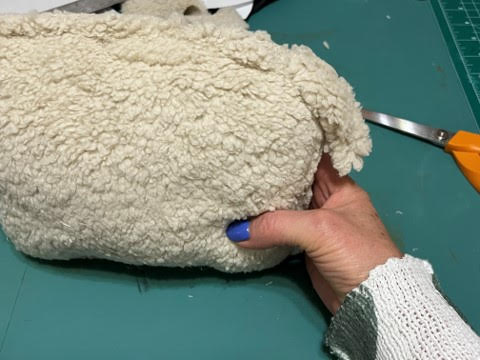
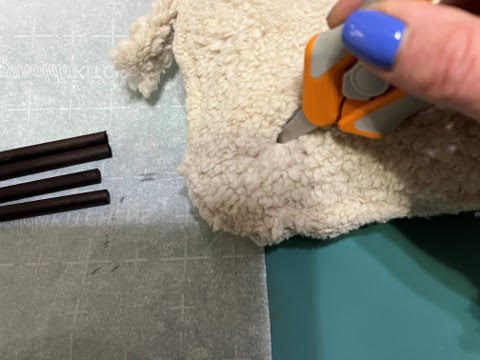
Next using scissors trim around the sheep being careful not to get to close to the glue line!
Attaching the Ears and Tail
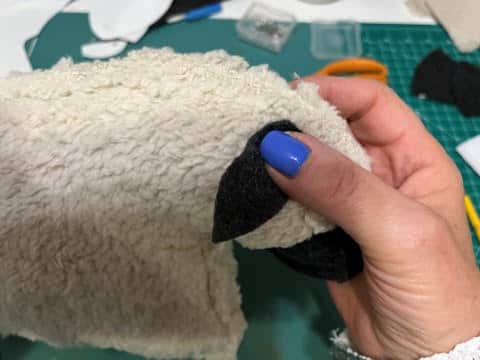
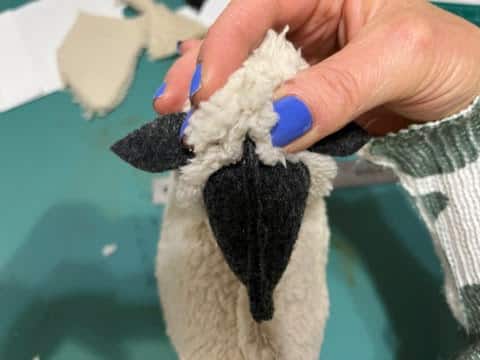
Hold the ears onto the top of the head to decide where you think they look right. Add hot glue to the top of one ear and glue into place. Repeat this step to the second ear.
Next from your scrap pieces of fabric cut a piece of your fabric 2” long x 3” widef for the large sheep and a 2 1/2″ long by 1 1/2″ wide piece for the small sheep. Using a hot glue gun add a line of hot glue down the middle of the width of fabric and fold in both sides gluing them down. Add a line of hot glue between the ears and glue on the fabric piece.
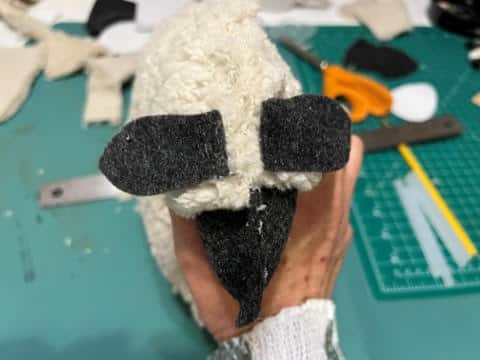
From your scrap pieces of fabric cut another piece of fabric 3” long x 3” high this is going to be the tail for the large sheep and for the small sheep cut a 2 3/4″ long x 2″ high piece for the tail. About a ¼” down from the top add a line of hot glue then fold in the sides. Hold the tail to the back of the lamb to see where it should go then add hot glue to the lamb and glue the tail in place.
Preparing and Attaching the Legs
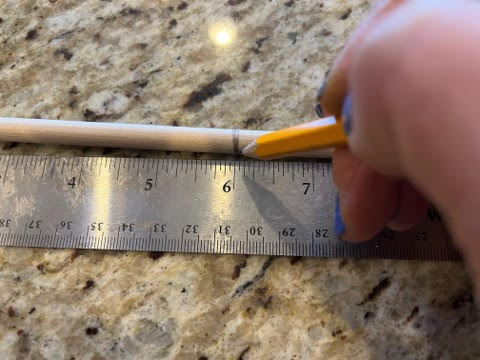
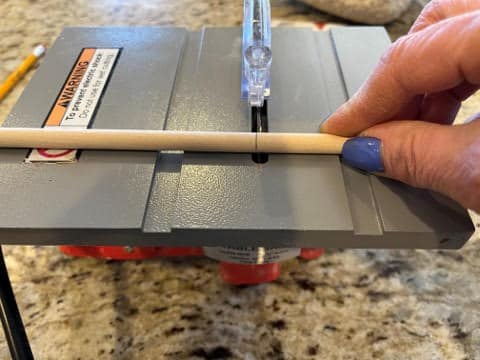
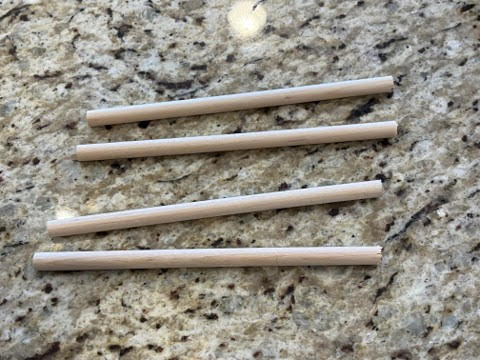
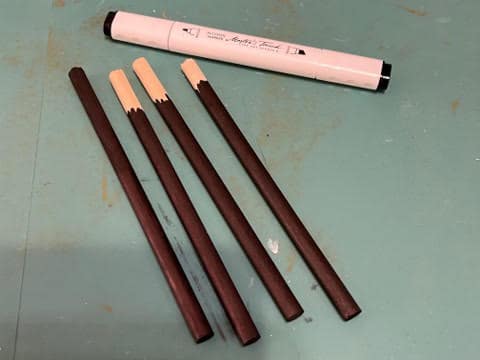
For the small sheep you are going to use he two 5/16 x 12” dowels and for the large sheep your are going to use the two 5/8 x 12” dowels. Using a pencil mark each dowel 6” in the center. Using a saw cut the two dowels now you will have four pieces for the legs. Using black craft paint or a black marker paint your legs. You do not need to paint the whole leg you could leave about 2” unpainted this will be going up into the sheep. When painting the legs make sure the bottom of the legs are the uncut parts.
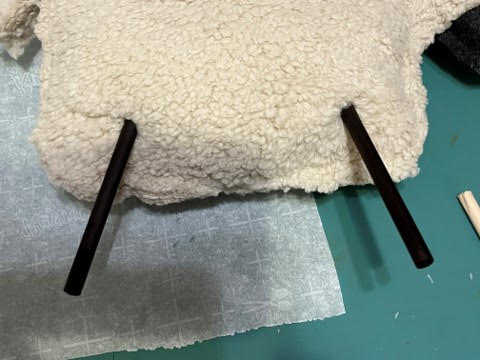
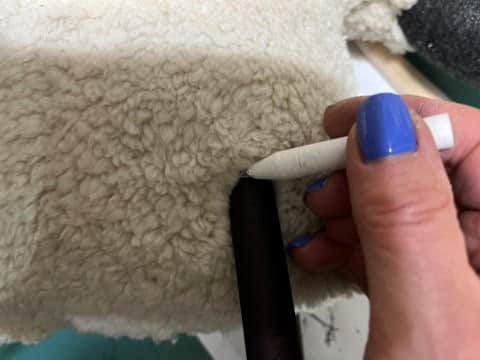
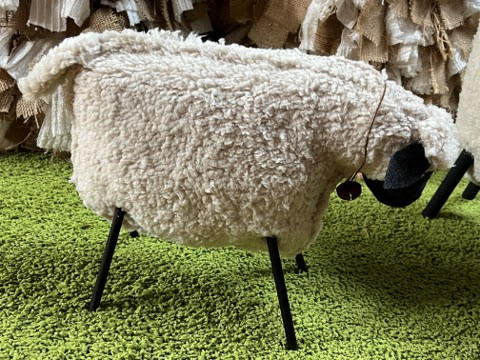
To attach the legs to the small sheep you are going to measure about 1 ½” to 2” from the bottom of the sheep and 1 ½” in from the side then using the point of a small pair of scissors poke a hole into the fabric. Next insert one of the legs at a slant leaving about 3 ½” to 4” out of the sheep. Repeat these steps for the other three legs. Stand your sheep up and check to make sure he is standing properly and make any adjustments as needed. Next using a piece of chalk mark each leg where it is coming out of the sheep body this is so you will know the proper placement when gluing them in. For the large sheep you are going to measure about 2 ½” in and 2 ½” up from the bottom, all other directions are the same as the small sheep.
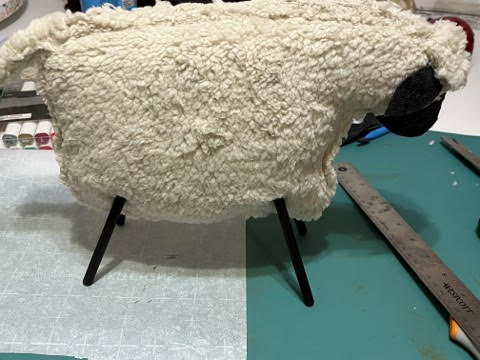
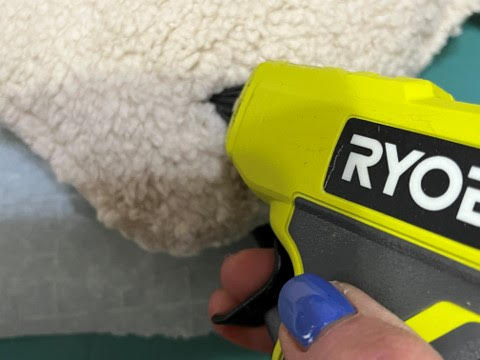
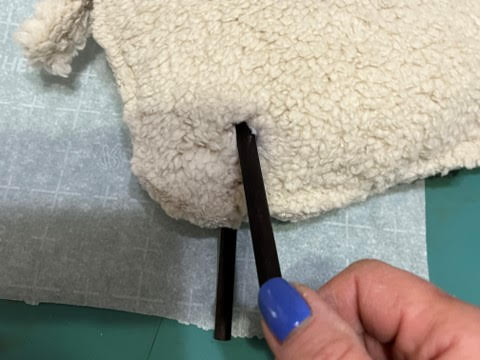
Remove one leg then add hot glue into the hole and replace the leg back into the sheep. Remember you have the chalk mark to tell you how far to push the leg back in. Stand up the sheep again to make sure he is still standing properly. Repeat these steps to the other three legs.

Adding The Collar
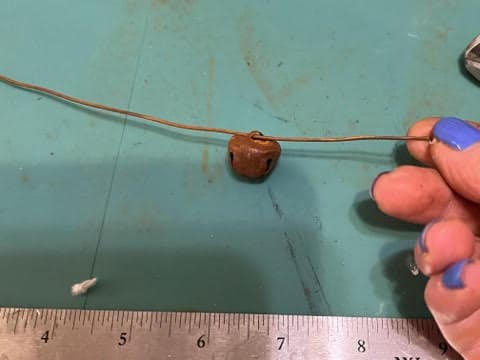
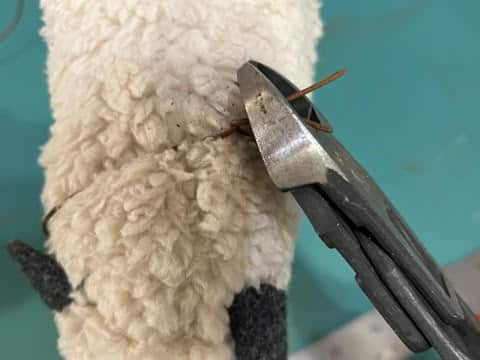
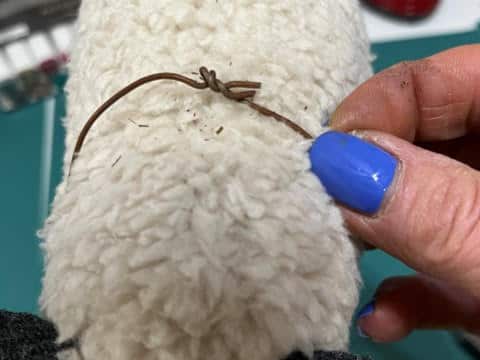
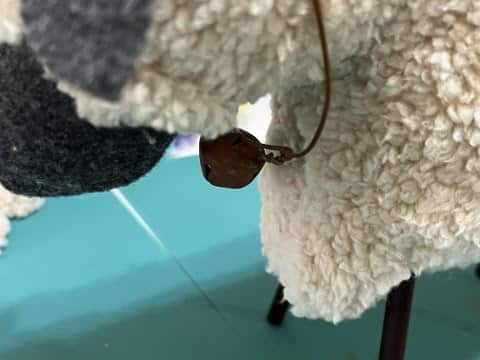
For the small sheep you will need a 10” piece of rusty wire and one 20mm rusty bell. For the large sheep you will need a 15” piece of rusty wire and a 30mm rusty bell. Slide the rusty bell onto the wire then place the wire around the sheep’s neck with the bell hanging under his neck. Twist the ends of the rusty wire together you can use the wire cutters to cut of any excess at the end of the twist. Using a pair of needle nose pliers crimp down the ends of the wire then slide down to the bell.

You are done making your sheep! I hope you enjoyed making him. If you are like me I had to make a whole family lol. These adorable sheep will be so cute displayed in your home and I am sure once your family and friends see them they will be asking you to make them some lol.
Wow , this is so beautiful, I gotta make it, I forgot about it , I am catching up on your blog to see which ones I need to put in my bucket list!