Fall, Halloween, Home Decor, Thanksgiving, Thrifty Makeovers
DIY Vintage Jello Mold Pumpkin
Aug
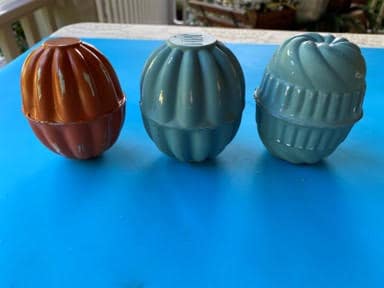
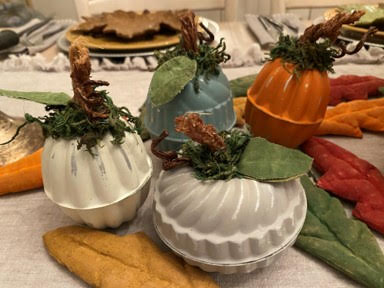
Hello everyone if you have been following The Crafty Decorator you know every Thursday is Thrifty Thursday where I either give a thrift find a totally different use or just decorate my home with the item.I have gotten these vintage jello molds at a church rummage sale and after doing my pumpkin from two bundt pans I decided to turn them into little pumpkins and I just love how they turned out.I like to mix different textures so these are such a cute addition to my fabric pumpkins.
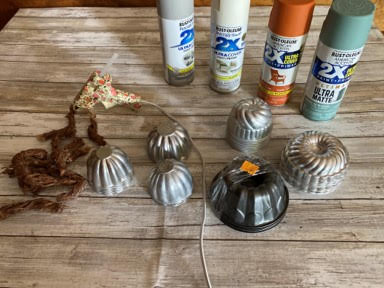
Here is a list of what you will need:
- Vintage Jello Molds
- Rust-Oleum Spray Paints
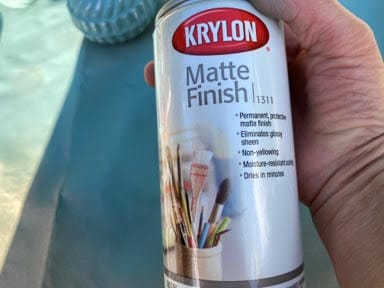
- Krylon Matt Clear Sealer
- Painters Tape
- Sand Paper
- Jute Floral Wire
- Preserved Moss
- Gorilla Contact Adhesive Clear Grip
- Small Sticks or Homemade Pumpkin Stem
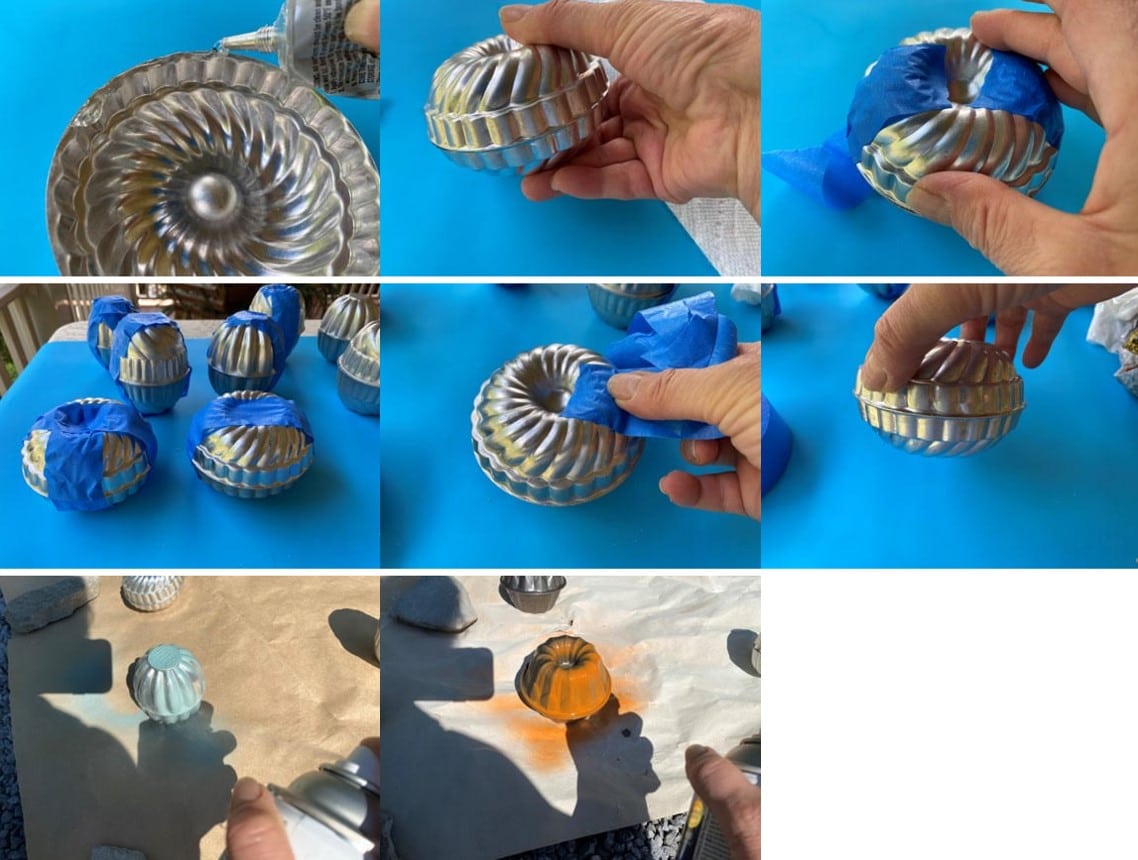
Gluing and Painting The Jello Molds
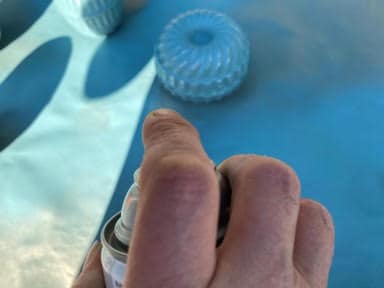
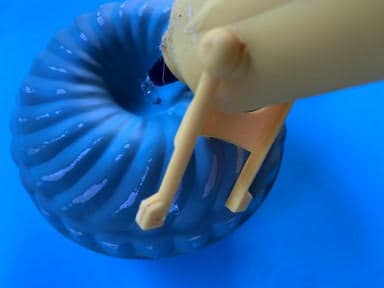
The first thing I always do is give my thrifty items a good washing. After you have your jello molds clean and dry glue two molds that fit together with Gorilla Contact Adhesive Clear Grip, this adhesive is amazing it tacks up in about 10 minutes you still need to let it cure for 24hrs but you can paint the molds after 20 minutes, you are going to add the gorilla adhesive around the bottom edge of one of the molds then attach the second mold, hold them together with painters tape and let them set for about 20 minutes. After about 20 minutes remove the tape and check to make sure they have set up enough to paint, if they are staying together take them outside and spray paint in your choice of colors, it took two coats of paint to give them a good coverage, let them dry in-between coats.
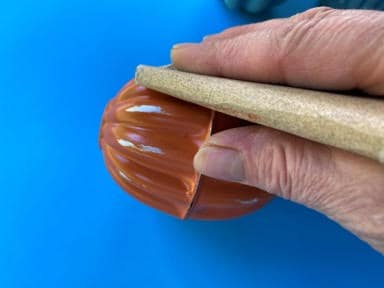
Sanding and Sealing
Now that your pumpkins are dry take a piece of fine grit sandpaper and give them a little sanding, this step is optional but I liked the look of some of the silver showing through. Once you have sanded your pumpkins take them back outside and give them two coats of the Krylon Matt sealer, I always like to seal my painted items to make sure the paint won’t scratch off, let dry in-between coats.
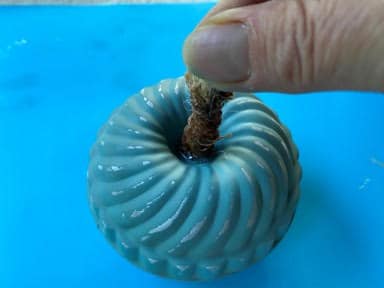
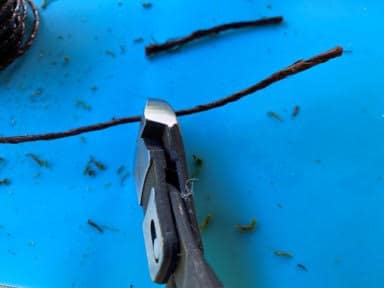
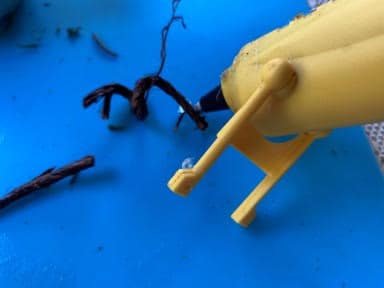
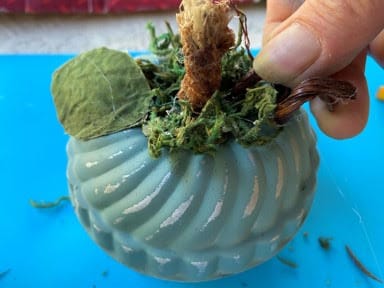
Adding The Stem And Moss
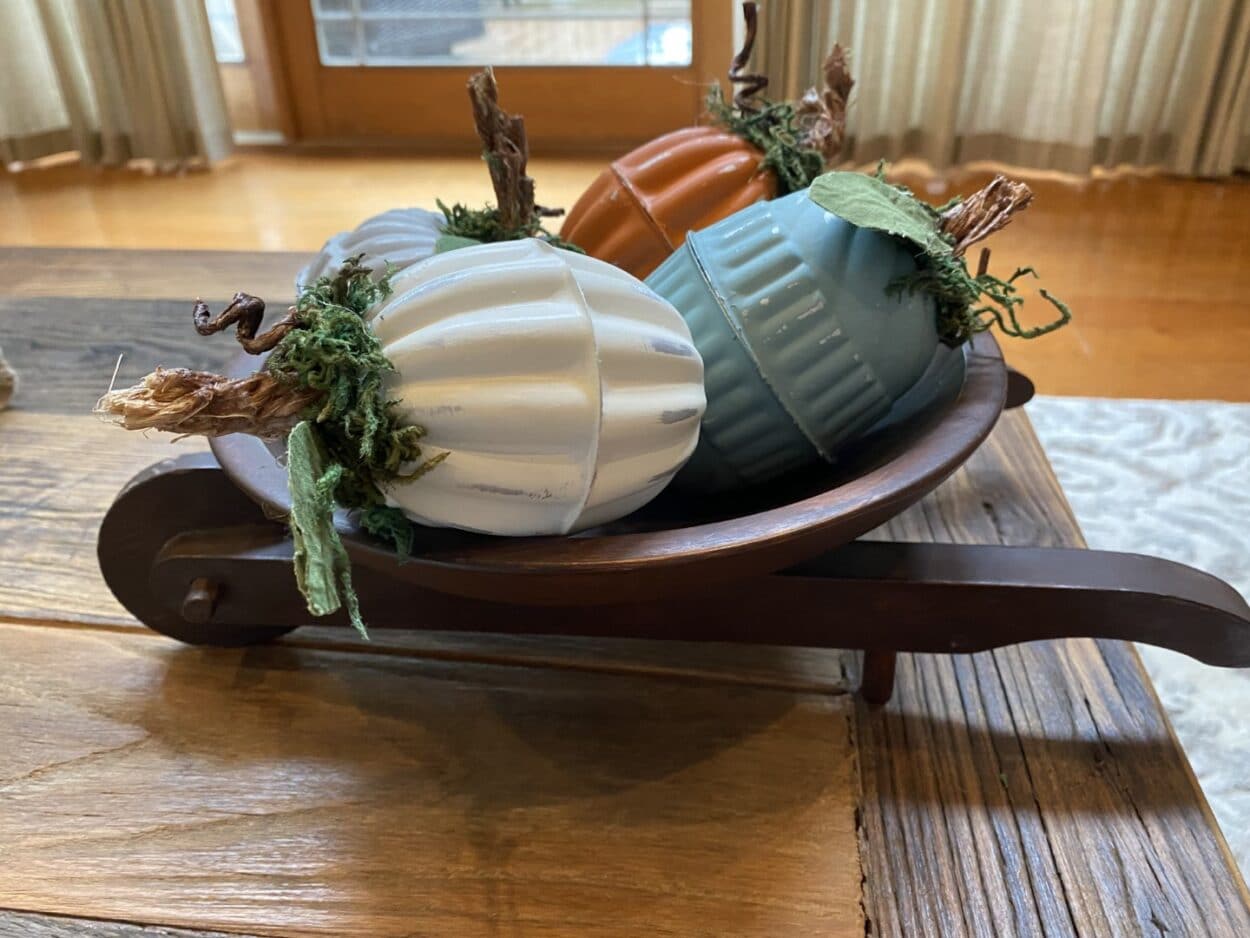
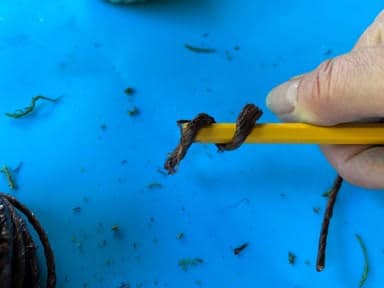
For the stem you can you a small twig from a tree in your yard or you can make a stem from sisal that is up to you, if you would like to make a realistic stem you can see how on my blog DIY Pumpkin Stem. To attach the stem to your pumpkin add a small amount of hot glue to the top of the pumpkin then attach the stem. To add the preserved moss add some hot glue around the stem and glue the moss, I also cut about a 2” piece of jute floral wire and curled it around a pencil added a small of hot glue to the end then glued it into the moss. If you would like to add leaf you can add an artificial one or make your own I just cut two leaves from my coffee and paint stained fabric and hot glued a piece of wire in-between them, I just love the look of the homemade leaf.

Don’t you just love how cute these pumpkins turned out! Next time you are out thrifting and looking for treasures make sure you keep an eye open for vintage jello molds so you can make these adorable pumpkins.
Now if only I could find the molds, I love what you did.
Love these Sherry