Halloween, Home Decor
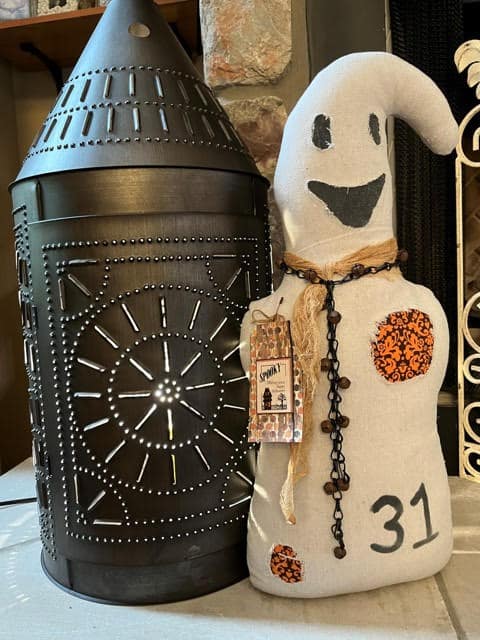
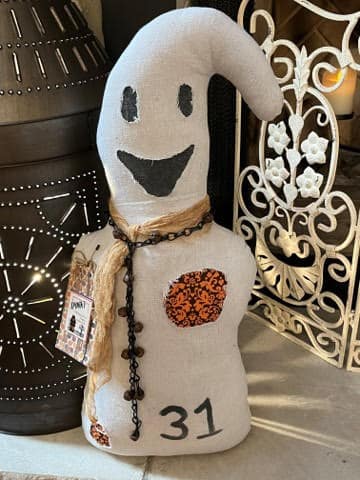
Spooky The Ghost (Sewn)
Jul
I can not believe July is almost over and Fall will be here before we know it! I was shopping in Lancaster and I seen a ghost made by a crafter and I just loved him so I thought I would try my hand at making him and I am just loving how he came out. I decided to name him spooky lol. This blog show you make him using a sewing machine but I am also doing a blog on how to make him using hot glue so if you don’t sew there will be a blog on how to glue him soon.
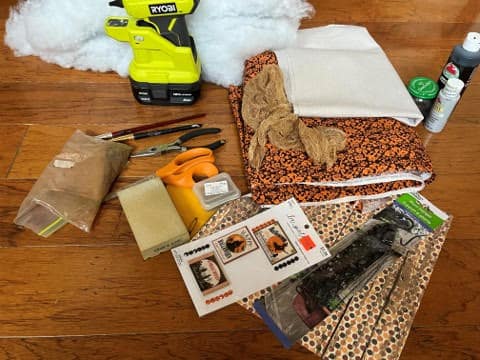
- Spooky the ghost pattern
- A piece of painters drop cloth 35” wide x 30” long
- A piece of fall or Halloween printed fabric
- Polyester fiberfill
- A piece of coffee stained cheesecloth for around his neck
- 1 Dollar Tree black plant hanger
- Fourteen 13mm rusty jingle bells
- Light gray craft paint
- Black craft paint
- Sewing machine
- Sewing pins
- Scissors
- Paintbrushes
- Fine grit sandpaper
- Needle nose pliers
- Hot glue gun and glue sticks (I use Gorilla Hot glue sticks)
- Pencil
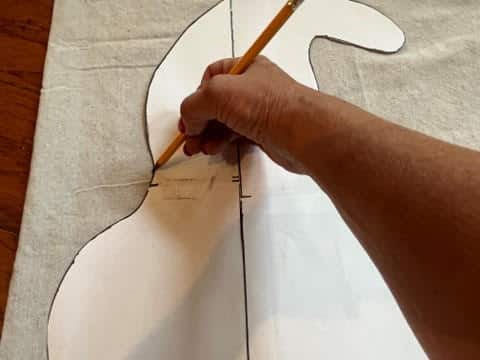
Cutting Out The Ghost
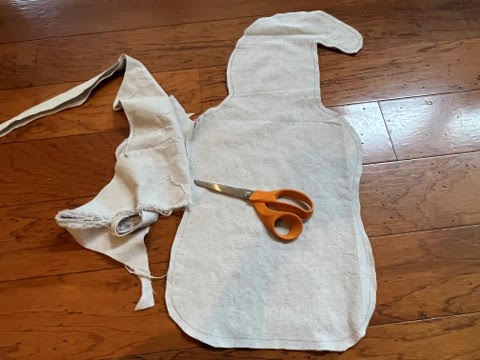
The first thing you will need to do is print and cut out your pattern pieces. Follow the directions on the pattern pieces to assemble the ghost. Fold the painters drop cloth in half then trace the ghost pattern onto the double layer of drop cloth. Cut out the ghost about a ¼” or so away from the trace line. Save the scrap pieces you will be using them for the eyes and mouth.
Cutting Out The Eyes, Mouth, and Holes In The Body
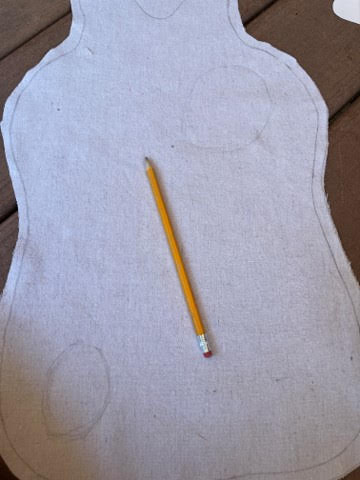
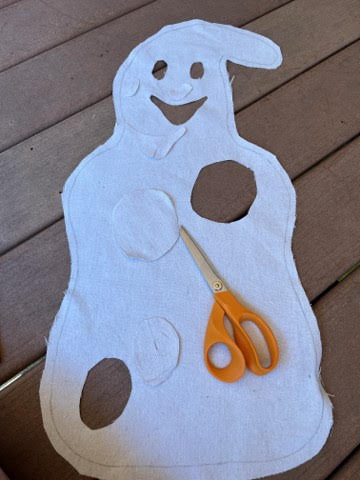
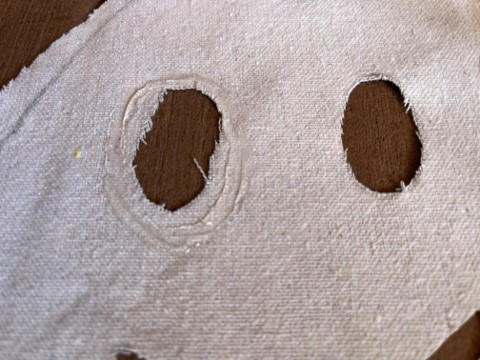
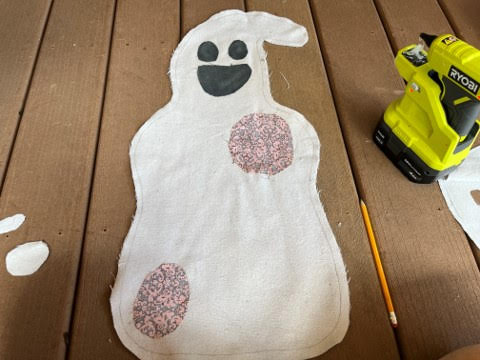
Separate the two pieces of the ghost. Lay down the piece with the trace line facing up and using a pencil draw on two eyes and trace the mouth on where shown on the pattern. Draw two circles or ovals onto the body as shown on the pattern. Next using scissors cut out the eyes, mouth, and circles on the lower body.
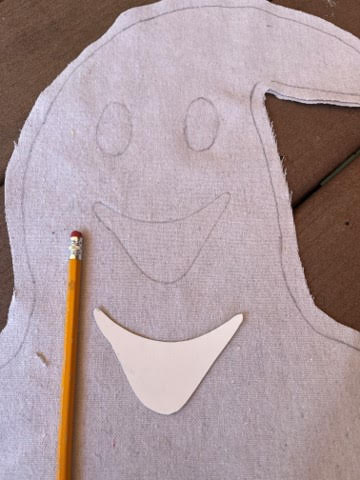
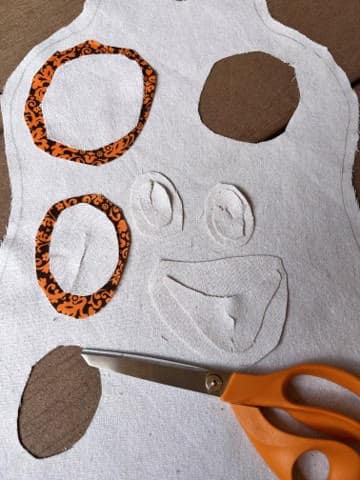
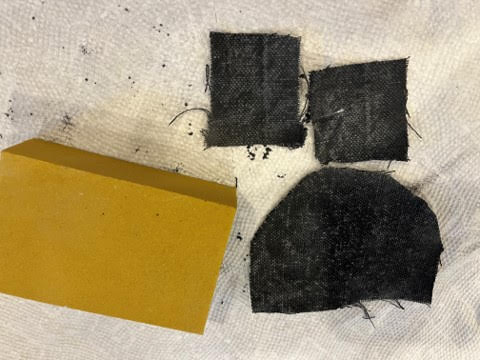
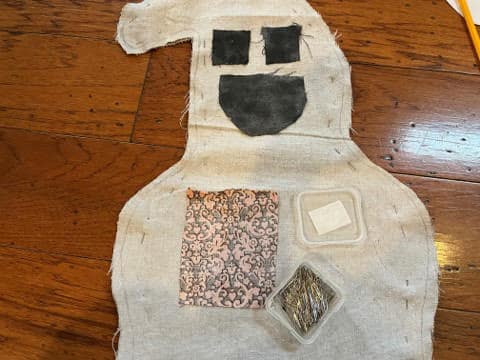
Next using the scrap pieces of painters drop cloth from cutting out the ghost, cut out two eyes and a mouth larger then the openings on front of the ghost fabric piece. Cut out to circles from the printed fabric making sure they are larger then the circles you just cut out on the ghost. In the photo below I laid the pieces I cut out of the ghost on top of the larger pieces so you can see how you need to make them larger then the openings.
Painting & Adding The Eyes And Mouth
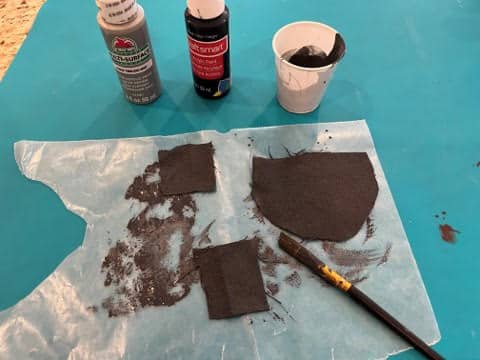
The first thing you will need to do is mix some light gray and black craft paint together until you achieve a color you would like the eyes and mouth to be then add a few drops of water to thin out the paint a little. You do not need to mix a lot of paint you just need it for the eyes, mouth and painting on the number 31. Once you achieve the color you like paint both sides of the eyes and mouth. Let dry. After the eyes and mouth have dried give them a light sanding with a piece of fine grit sandpaper or sanding sponge.
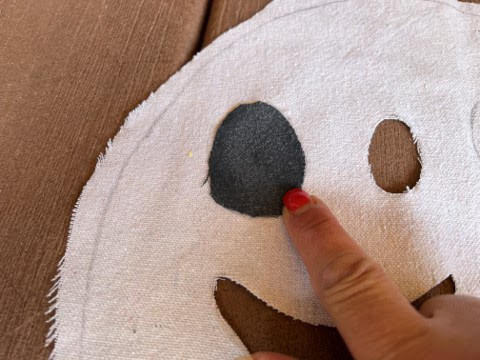
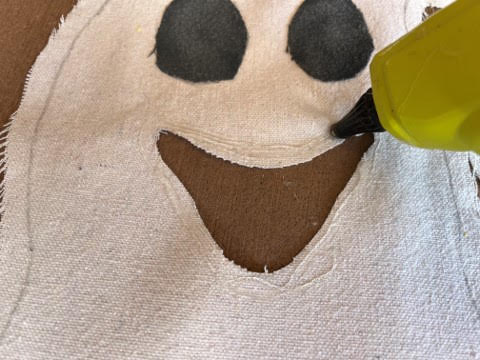
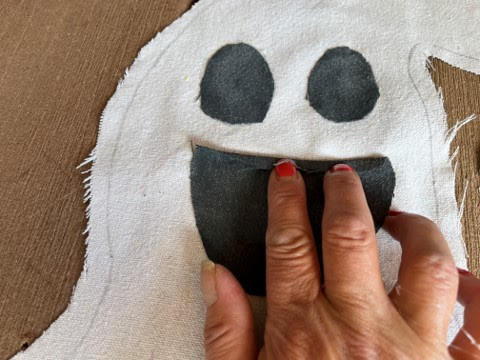
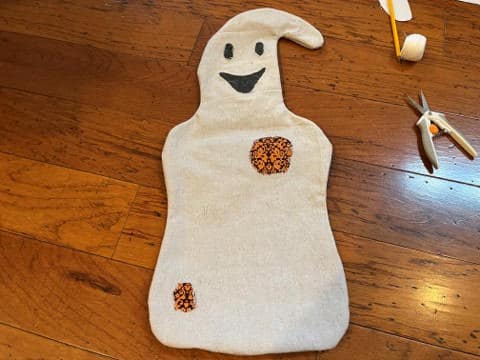
To attach the eyes add a line of hot glue around the one eye (add glue a little in from the cut edge and make sure the trace line is facing up, this is the front of the ghost) glue on the painted eye. Repeat these steps to the other eye. Next add hot glue around the mouth then glue down the painted mouth. See photo’s below.
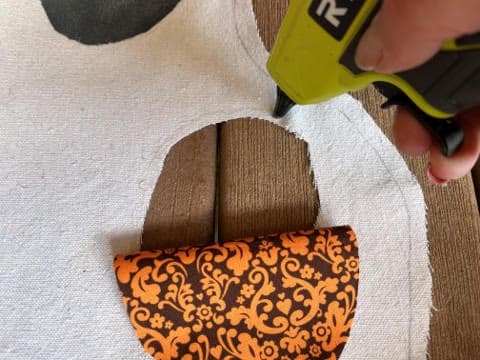
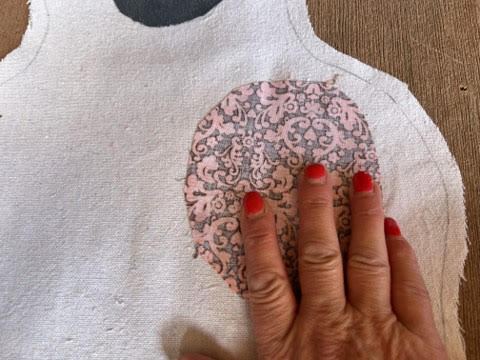
To add the two printed fabric circles add hot glue around the opening of one of the circles then with the print of the fabric facing down glue on the printed fabric circle. Repeat these steps to the second circle opening.
Sewing & Stuffing The Ghost
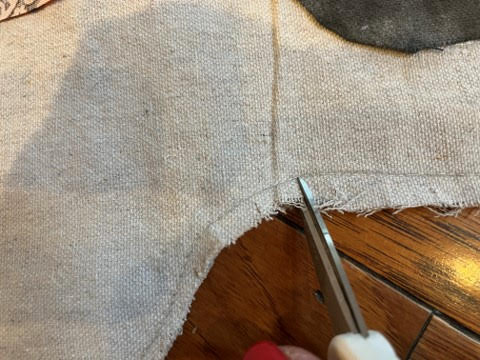
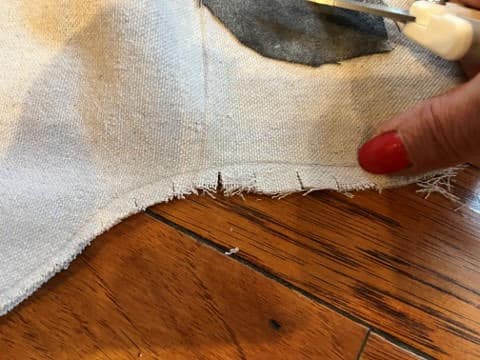
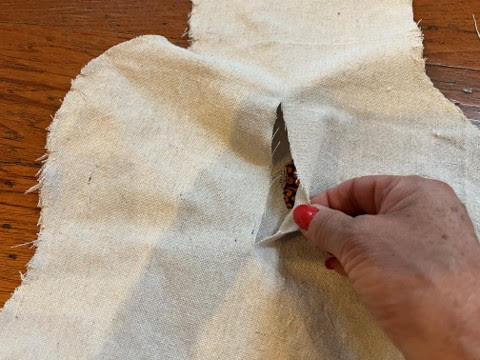
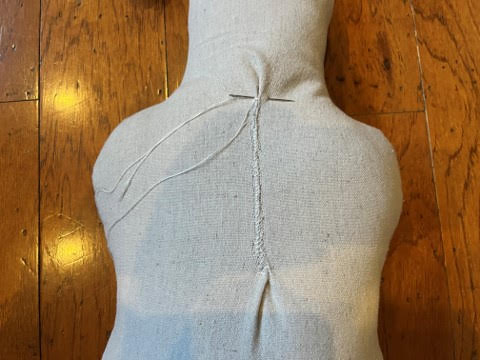
With the glued on eyes and mouth pieces facing up place the front of the ghost on top of the back piece of the ghost then pin them together with sewing pins. On a sewing machine and using the trace line as the sew line sew the ghost all the way around you are not going to leave an opening. When you are done sewing the ghost you are going to use scissors to make small cuts around all curves this will help with the fabric puckering when you turn it right side out (see photo’s below). Using your fingers separate the front and back of the fabric pieces in the middle of the body then using scissors make a small slit in the middle back of the ghost. Make the opening about 4” or so by making the slit longer. Turn the ghost right side out.

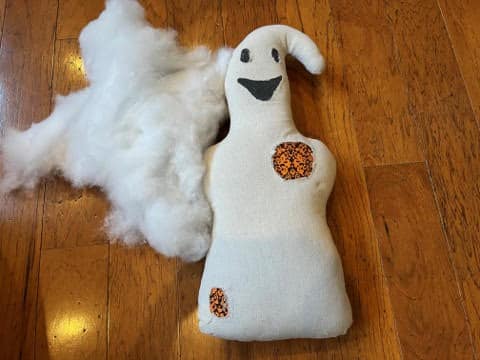
Using polyester fiberfill stuff the ghost firmly. Next using a heavy thread and needle sew the opening closed. I forgot to put the thread and needle in the materials you will need list.
Adding The Finishing Touches
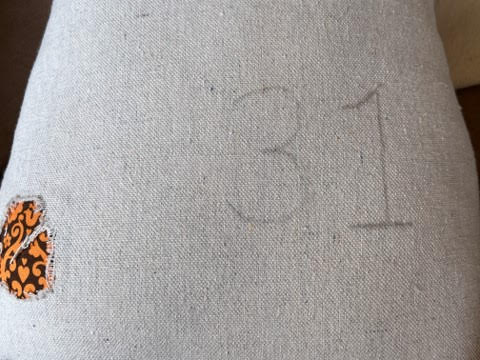
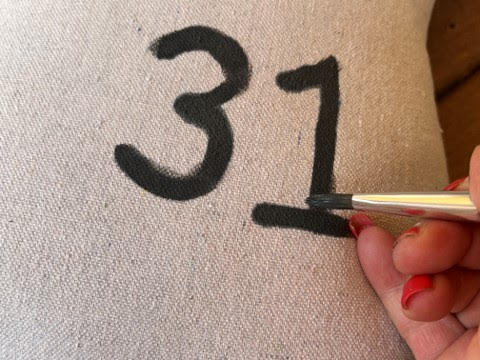
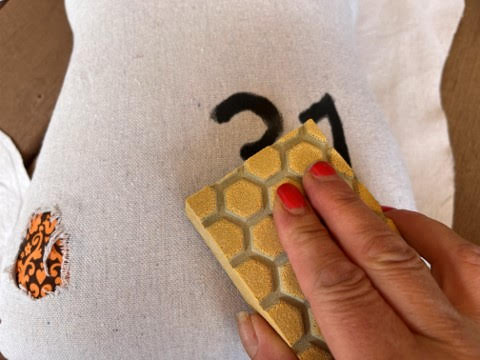
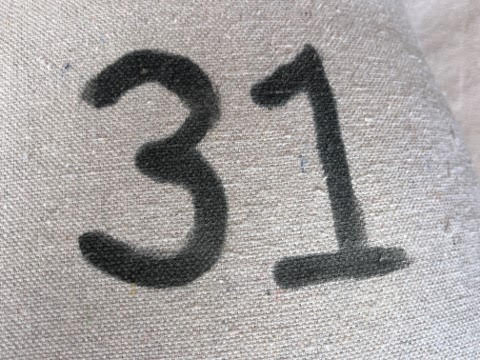
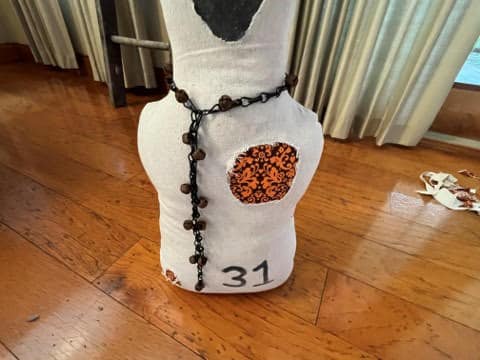
Using a pencil make a 31 on the bottom right hand corner on the front of the ghost. Next using the pant you mixed up paint the 31 and let dry. Once dry give it a light sanding to give it a worn look.
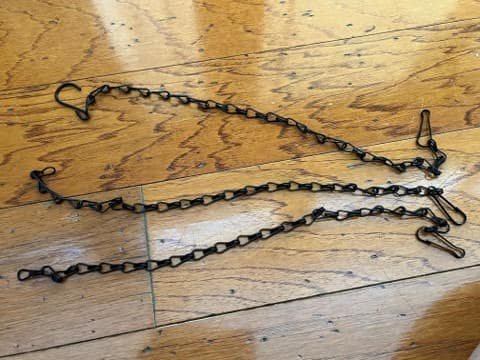
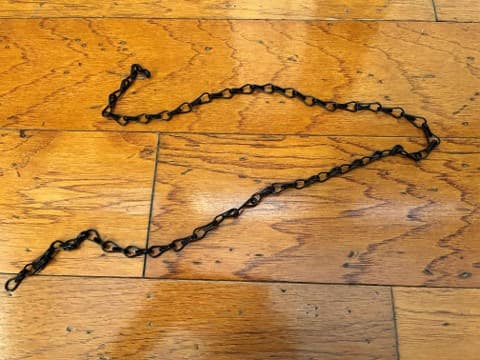
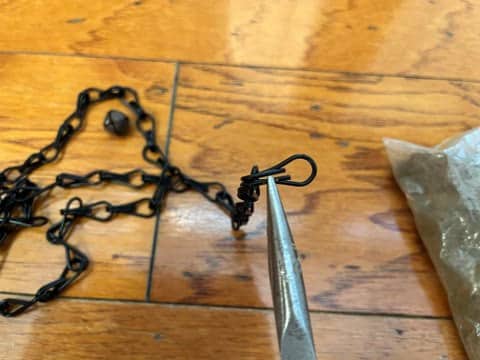
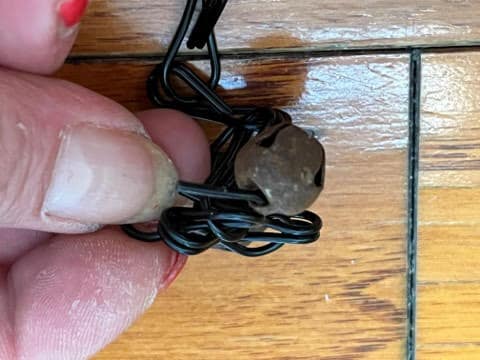
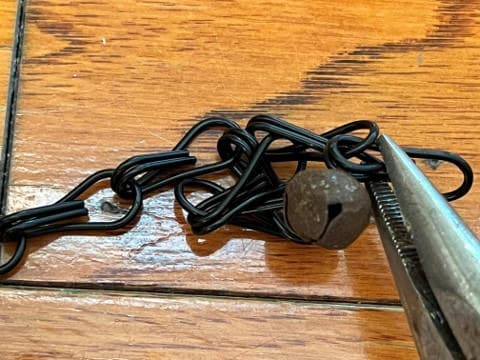
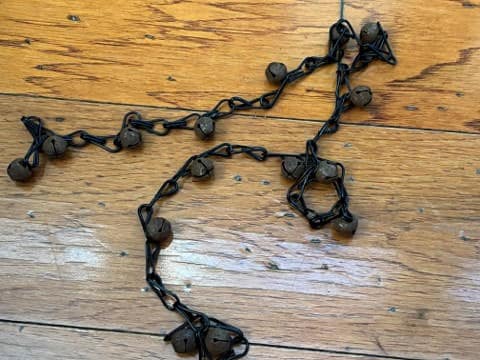
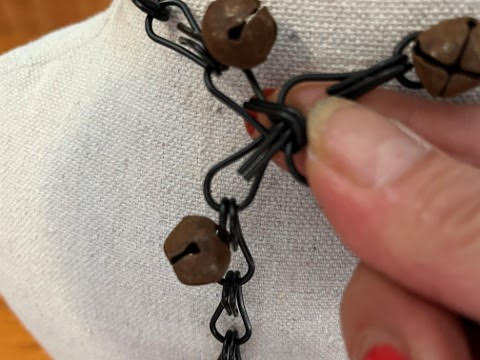
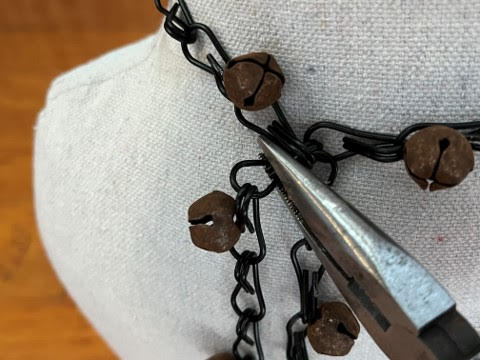
Remove 2 of the chains pieces from the plant hanger then hook them together to make one chain. Starting at one end of the chain using a pair of needle nose pliers lift up one of the folded ends (see photo’s below) slid a rusty jingle bell on then squeeze the end back down. Skip two links then add a rusty jingle bell the same way you added the first one. Repeat these steps working your way to the opposite end.
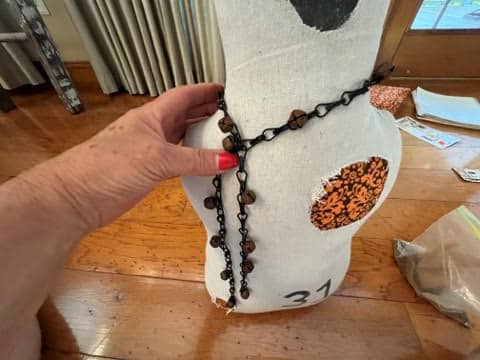
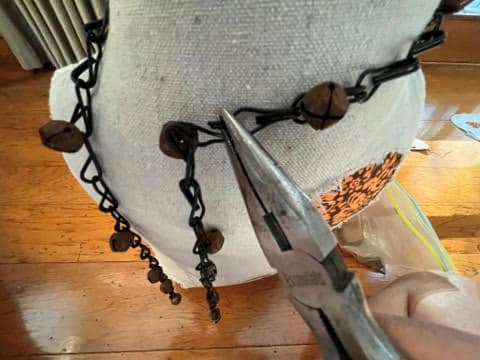
Place the chain around the neck of the ghost. Cross the ends over each other then open a link up and attach a link from the other side of the chain so it is like a neckless with the two ends hanging down the front of the ghost. Tie a piece of coffee stained cheesecloth around the neck.
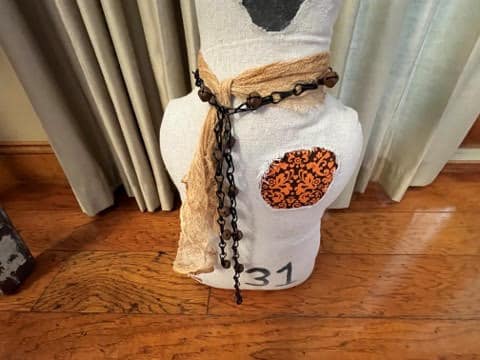
You can make and add a hangtag to Spooky if you would like. You can see the hangtag I added in the photo below. I hope you enjoy making Spooky the ghost. Spooky will be a wonderful addition to your fall and Halloween décor.
I absolutely love your Spooky❣️
Thank you so much.
I can’t draw free hand that is why I ask for a copy of the ghost otherwise I watch how she did I can do that part
You can print the pattern out for the ghost on the blog.
Love Spooky! Going to make a boy & girl pair.
So ,so cute I will definitely be doing this ghost . Thank you
Sherry
Sherry can you tell me how many skeins of Sherpa you used to make the snap together pumpkins in snowmen. Thank you
Love the cute ghost