Halloween, Home Decor
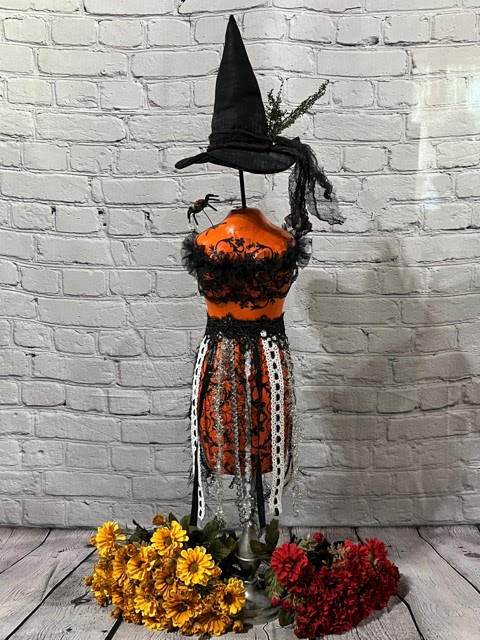
Decorative Witch Mannequin
Aug
I really don’t decorate for Halloween anymore because my kids are all grown and moved away so I go visit my grandchildren for Halloween but one of my followers sent me a photo of a witch mannequin and ask if I could make it so I gave it a try but made it my own and I am just loving how she turned out. My husband said she is a classy witch lol.
Materials You Wil Need
- Witch Hat Pattern 16.5”
- Paper Mache Mannequin form (Hobby Lobby item #638106)
- Folk Art acrylic paint in the color pure orange or a paint color of your choosing
- Black acrylic craft paint
- Ribbons of your choice and lace trim of your choice for around waist and bust
- 1” Ric Rac ribbon in a color to mace your lace trim
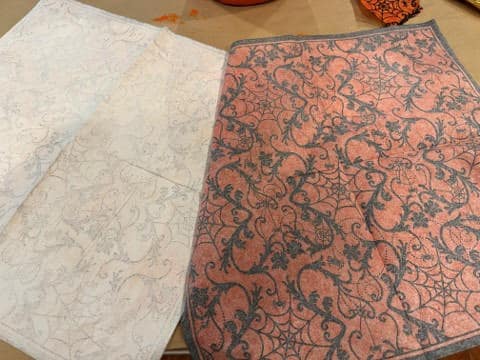
- Decorative napkins I used 3 or you can use a stencil or rubber stampers to stamp a pattern onto your mannequin
- Black Fabric for witch Hat I used a gray Parisian cotton calico fabric I got at Hobby Lobby the item number is B94-RT-P15 Polyester Fiberfill
- Black thread and a needle
- Sewing Machine
- Sewing pins
- ¼” x 12” dowel
- 9” Candlestick of your choice
- Plastic spider I got mine at Dollar Tree they came 6 in pack
- Mod Podge
- Paint brushes
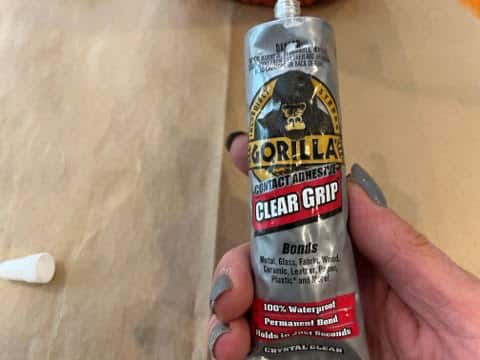
- Gorilla Clear Grip Adhesive
- Scissors
- Pinking shears if you are gluing your hat
- Piece of chalk
- 18 gauge rusty wire and wire cutters
- Ruler
- Hot glue gun and glue sticks
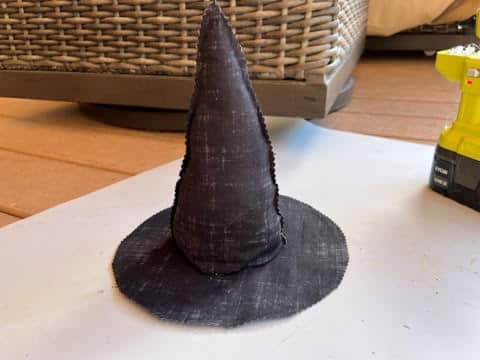
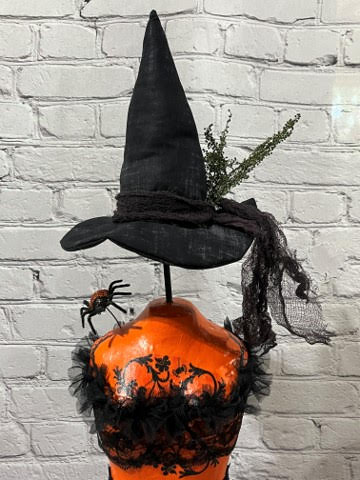
Making The Witch Hat
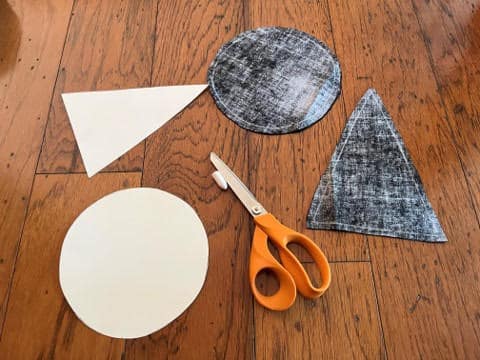
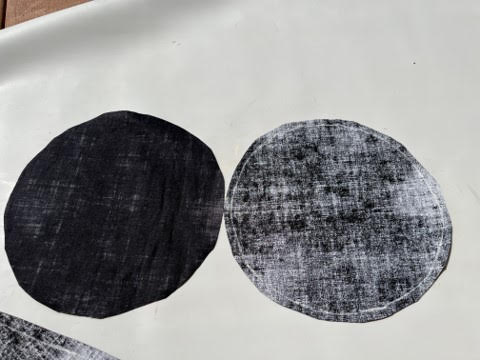
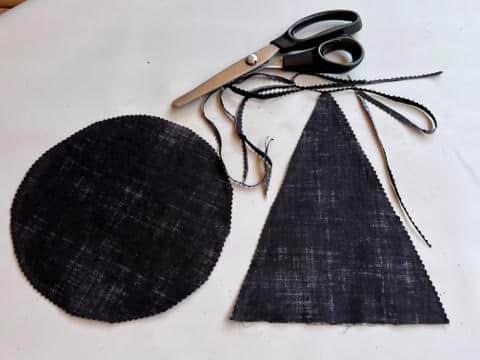
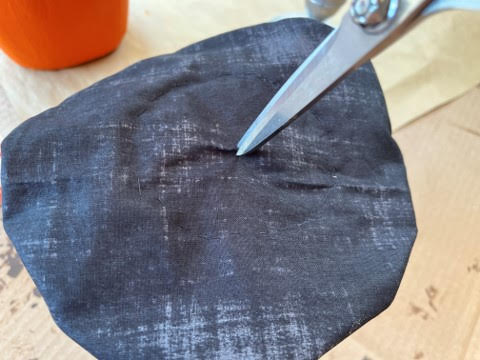
The first thing you will need to do is print and cut out the witch hat pattern. Trace the top of the hat and the brim onto a double layer of black fabric using a piece of chalk so you can see the trace lines. Next cut the pieces about a ¼” away from the trace line.
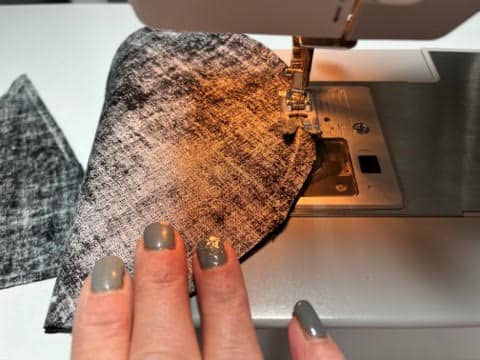
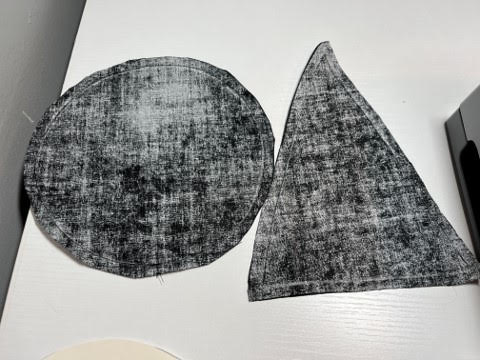
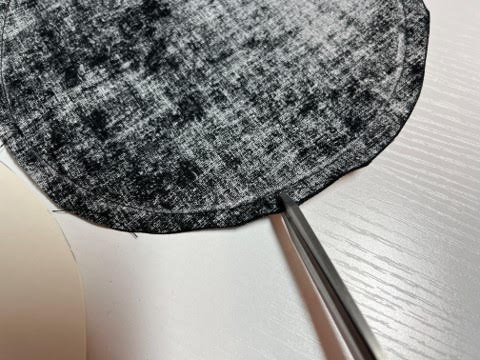
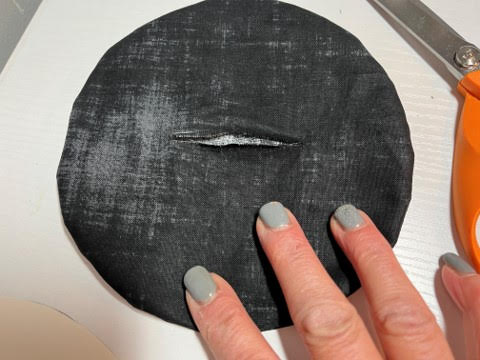
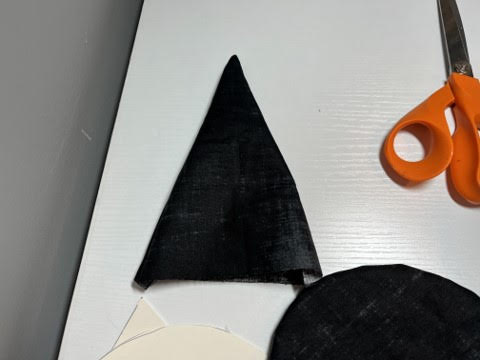
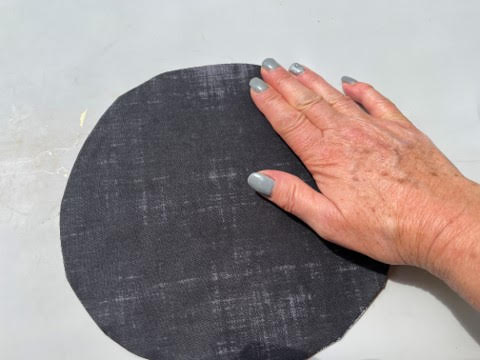
If you are sewing your hat together use the trace line as your sew line and sew your hat brim all the way around then using your scissors make little cuts around the brim making sure not to cut the stitches, this will help with the fabric not puckering when you turn it right side out. Next with your fingers separate the two brim fabric pieces in the center and make a small cut with your scissors. Cut your opening a little bigger so you can turn it right side out. Turn the brim right side out. Next sew the sides of the top of the hat leaving the bottom open. Turn right side out.

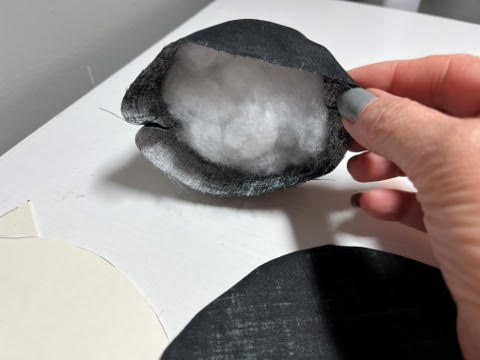
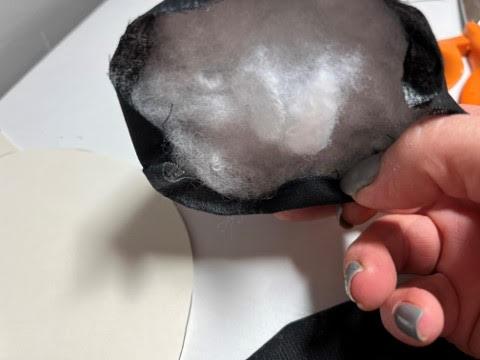
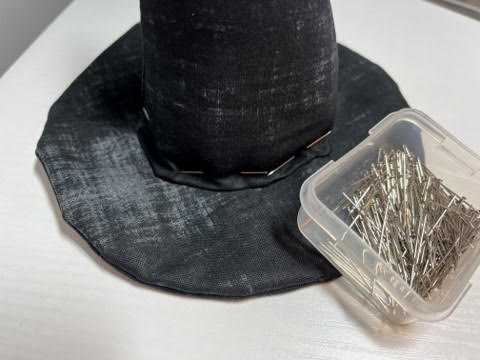
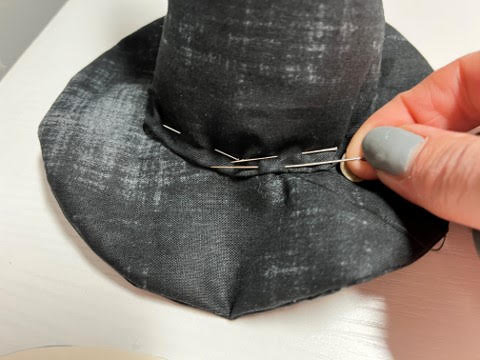
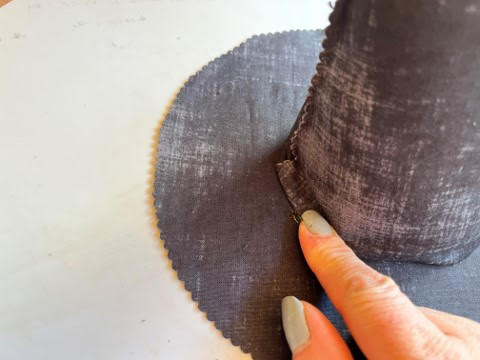
Firmly stuff the top of the hat with polyester fiberfill leaving about a ¼” unstuffed. Fold in the fabric around the bottom of the hat about ¼”. Center the top of the hat onto the hat rim, covering the hole you cut. Pin into place. Next using black thread and a needle sew the top of the hat to the brim. As I sew a part I like to remove the pin you can see if you need to do any adjusting to center the hat this way as you sew.

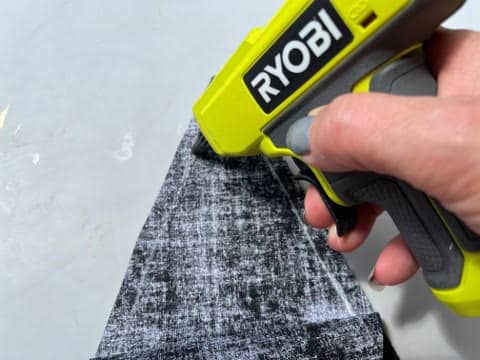
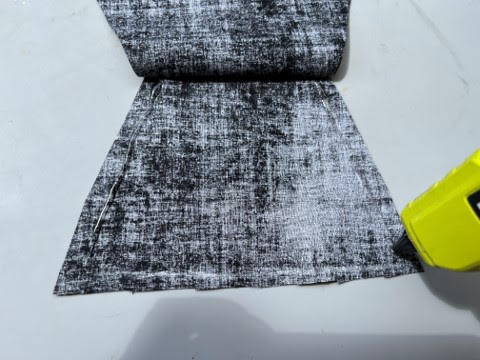
If you are not a sewer and would like to hot glue your hat together you are going to cut out your hat pieces just as explained in the directions above. Separate the two brim pieces then take the piece that has your trace line and lay it down with the line facing up. Next lay the second piece on top with the right side facing up. Fold down the top layer half way add hot glue to the trace line and glue down. Fold up the bottom of the top piece add hot glue to the trace line and glue down. Trim all around the brim with pinking shears.

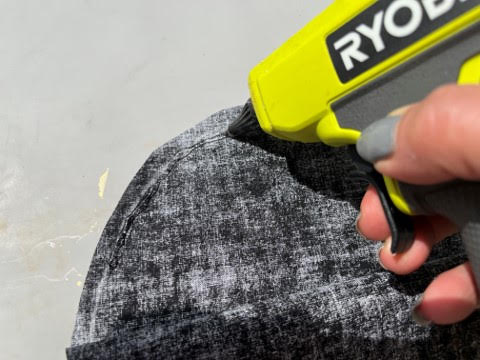

Separate the two hat pieces of fabric. Lay down the fabric piece with the trace line facing up then lay the second piece on top with the right side of the fabric facing up. Fold down the top piece of fabric add hot glue on the trace lines then glue down. Fold up the bottom of the top piece add hot glue to the trace lines (only on the two sides not the bottom this will be left open) glue down. Using pinking shears trim both side of the hat piece.

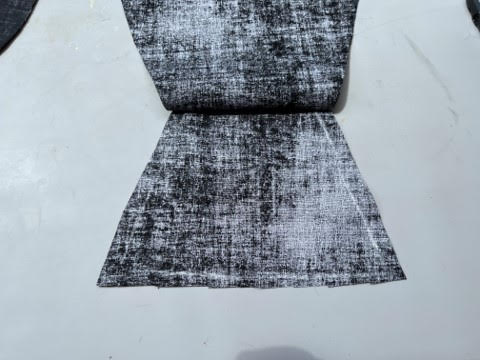
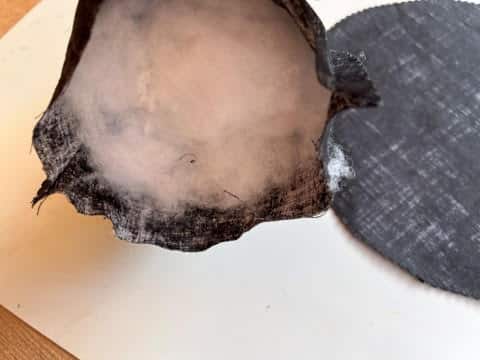
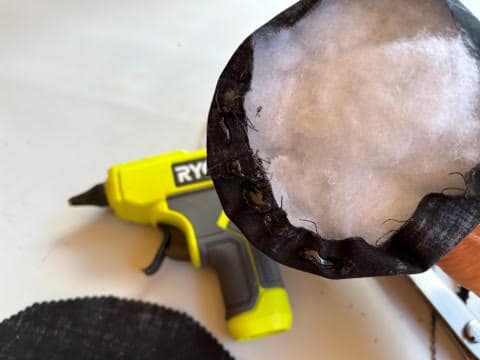
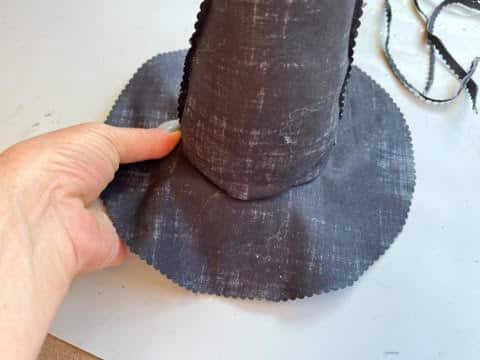
Stuff the hat top firmly with polyester fiberfill leaving about a ¼” unstuffed. Fold in the fabric at the bottom of the hat about a ¼”. Next on one side of the hat piece add a small line of hot glue to the folded fabric then glue down onto the brim of the hat making sure your hat is centered on the brim. Next repeat this step to the opposite side of the hat piece so it is centered on the brim. Now continue adding the hot glue and gluing down the hat to the brim until the hat is all attached.

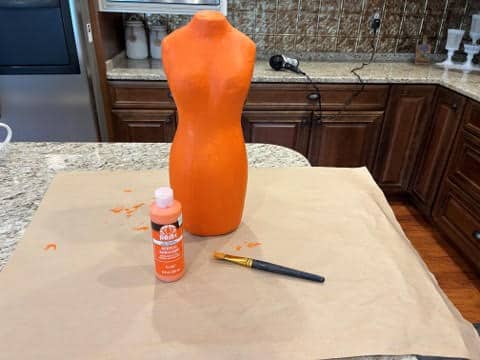
Painting And Adding The Napkins
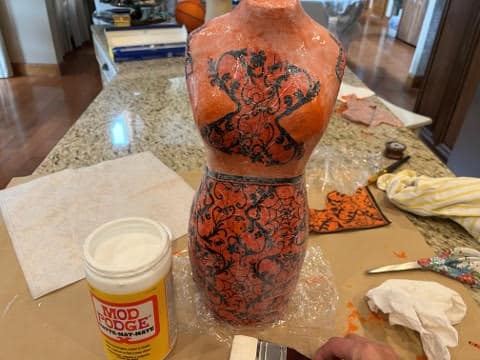
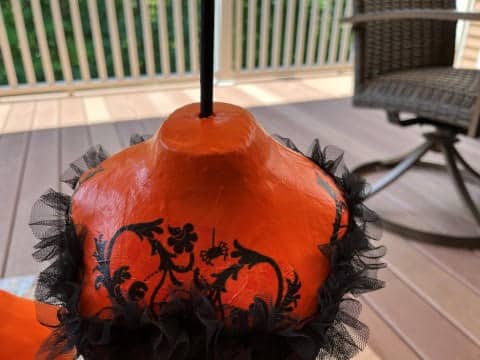
Paint the mannequin form with two coats of craft paint in your color choice letting it dry in-between coats.
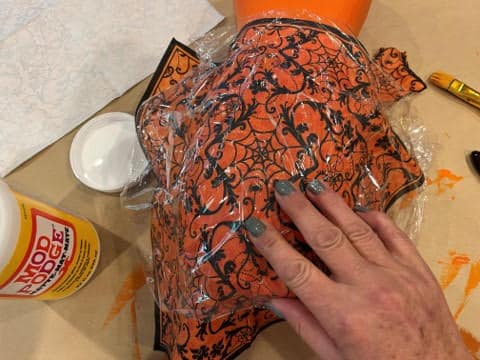
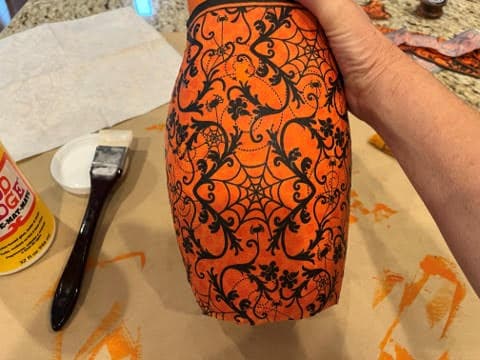
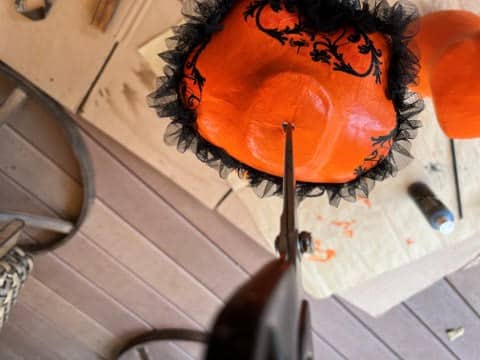
If you going to mod podge napkins on your mannequin start by separating the back layers from the top layer of the napkin. Place your napkin on the front of your mannequin at the waist line to see how you want your napkin to go and to see how it will lay. My napkin started to go downward on both sides of the mannequin so I cut off the napkin part where it started to go downwards on both sides. Next remove the napkin brush mod podge onto your mannequin then place your napkin down smoothing it out onto your mannequin, if you place a piece of saran wrap on top of the napkin it makes it easier to smooth out. Cut off any excess of the napkin at the bottom. You are going to repeat these steps working around the mannequin until you have the mannequin covered from the waist down.

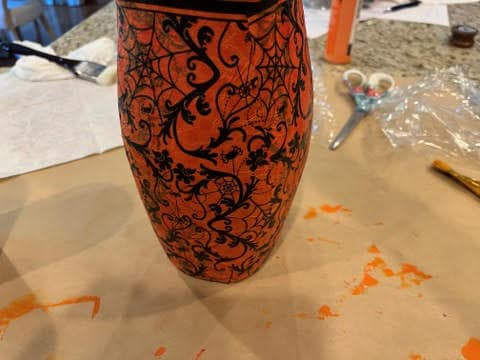
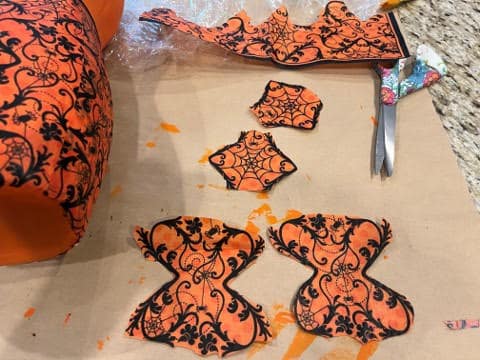
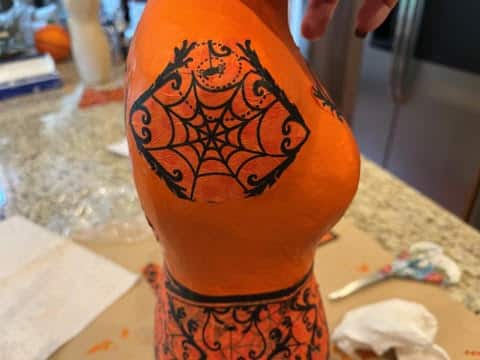
I also cut some of the pattern from a napkin and added them to the bust area, back, and shoulders. Cut out your pieces add mod podge to the area on the mannequin you want your napkin piece then add the piece and smooth out.
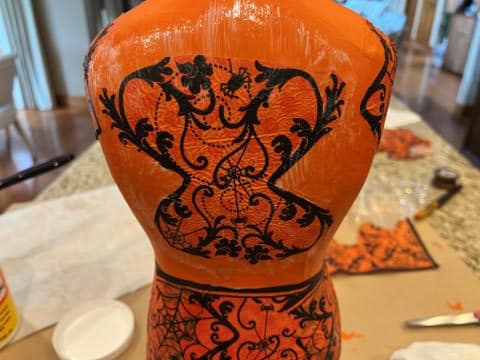
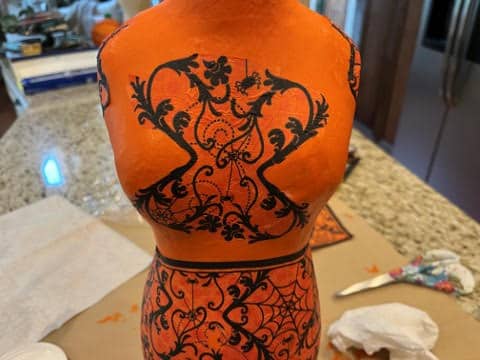
Let dry then cover the whole mannequin with mod podge and let dry.
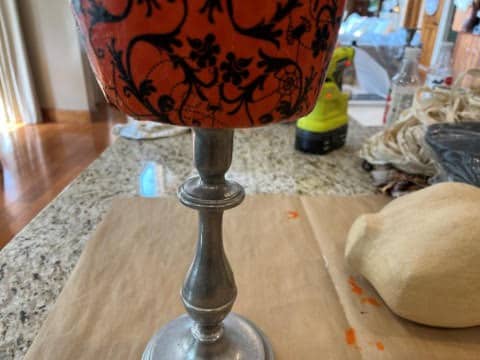
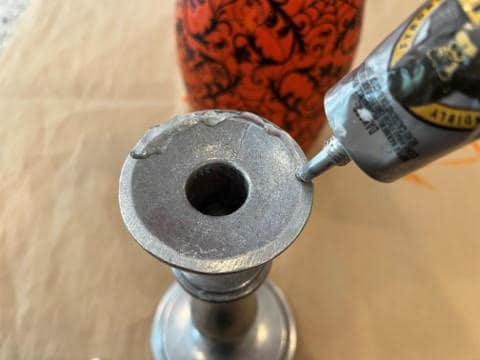
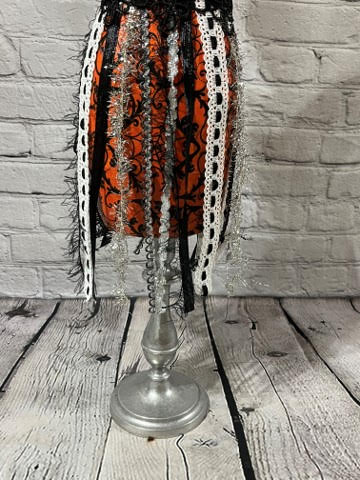
Attaching The Candlestick
To attach your candlestick to the mannequin add gorilla clear grip adhesive around the edge of the top of the candlestick then glue to the bottom of the mannequin making sure you have it centered. Let the adhesive set up for about 10 or 15 minutes before moving onto the next step.

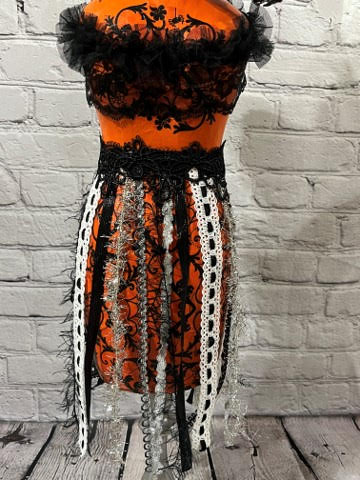
Adding The Ribbon And Lace
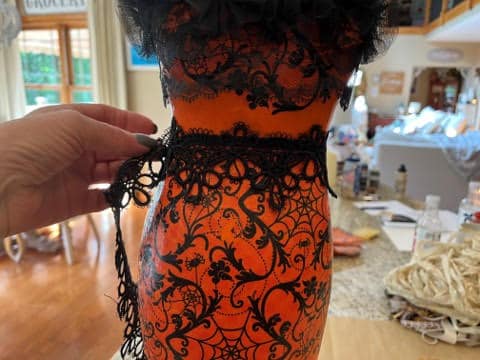
After you have let the adhesive set up take one of your ribbons hold it at the waist where you napkin starts then decide how long you want you ribbons to hang down then cut. I would cut at least 20 pieces of ribbons to start then you can cut more as you go. You are going to alternate your different ribbons as you glue them into place. Add a drop of hot glue to the end of a ribbon piece then glue at the top of the napkin at the waist. I started in the middle then glued ribbons on both sides working my way around to the back. Next take a second ribbon and add a drop of hot glue then glue right next to the ribbon you just added. Keep adding ribbons in the same manner until you have worked your way around the whole mannequin.


Next you are going to add your lace trim around the waist to cover the top of the ribbons. If your lace was shear like mine you can still see the tops of ribbon so I first added a 1” ric rac around my waist. Wrap the ric rac around the waist to see how much you will need then cut. Do the same with your lace trim. Starting at the back of the mannequin add hot glue to one end of the ric rac and glue on top of the ribbons. Wrap the ric rac around to the front add a drop of hot glue on to the middle of the waist then glue on the ric rac. Wrap around to the back then glue the end down. Repeat these steps with your lace tim gluing it on top of the ric rac. I am so sorry I forgot to take photo’s of these steps. If you need a visual you can go to my Facebook page and watch the video.
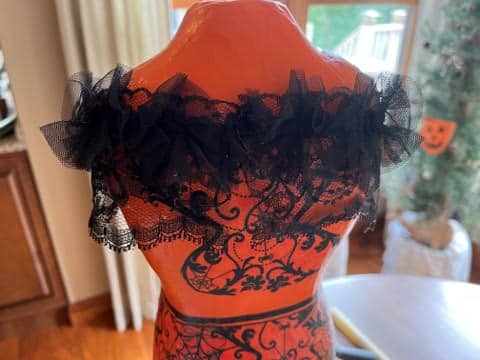
For my lace trim around the bust I wanted it to look like it was off the shoulder but you can add it anyway you would like. Wrap the lace around the bust the way you want it to look to see how much you will need then cut. Add a drop of hot glue to one end then glue into place on the back of the mannequin. Wrap around to the shoulder add a drop of hot glue and glue lace in place then wrap to the front add a drop of hot glue between the bust then glue down the lace. Wrap around to the should add a drop of hot glue and glue into place then wrap around to the back and glue into place.

Adding The Hat And Spider
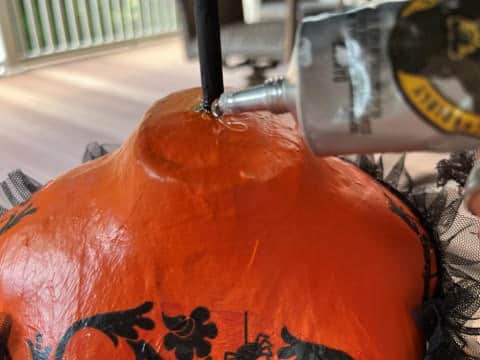
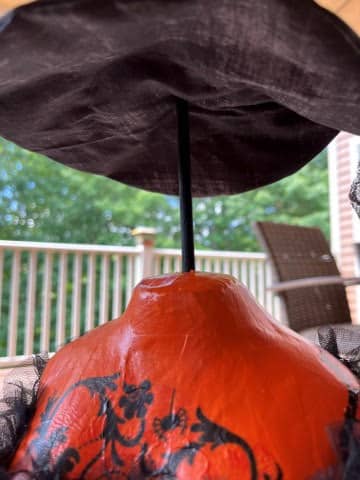
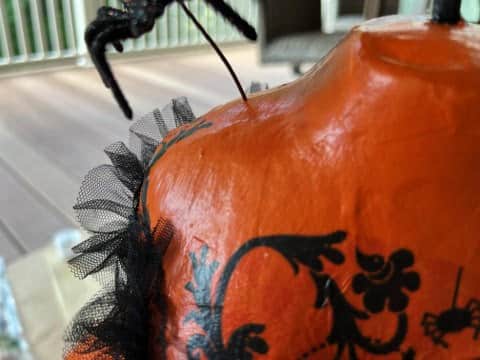
The first thing you will need to do is paint your dowel black and let dry. Next on the bottom of the hat make a small hole, I used a pair of scissors to make my hole. Insert the dowel into the hat and work it up between the stuffing about half way or so. Next at the top where her head would be using scissors make a small hole, you want to start really small you can always make it bigger if you need to. Insert the other end of the dowel into the hole. Push down the dowel into the hole until you have the hat at the height you would like. I have about 3.75” of the dowel showing between the hat and neck. I added some of the gorilla clear grip adhesive around the dowel at the neck you can also use hot glue if your would like. I tied a piece of black cheesecloth around the hat but you can use what ever you would like. I also add a few stems of sweet annie.
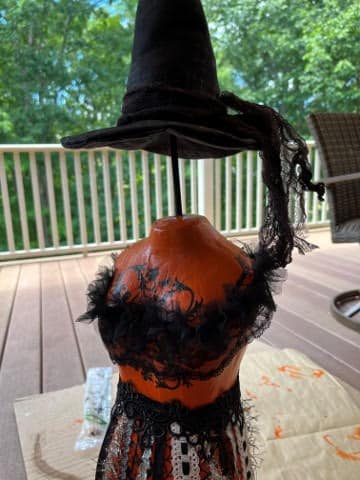
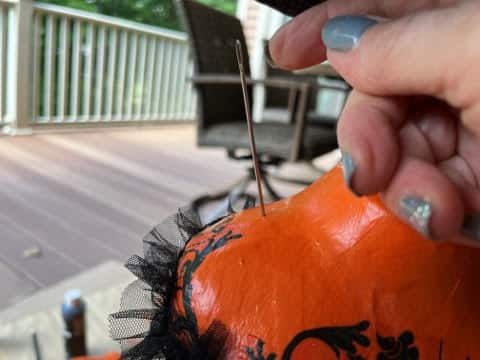
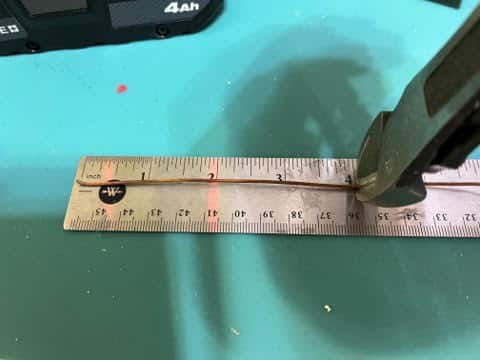
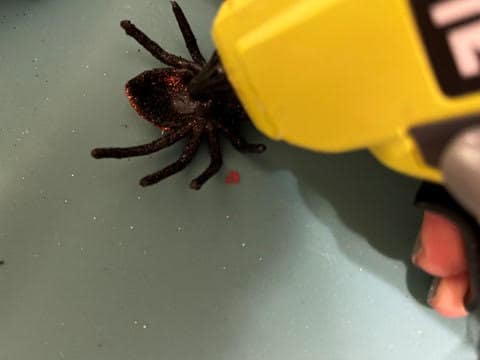
To add the spider use a thicker needle to poke a hole into the shoulder. Cut a 4” piece of 18 gauge rusty wire. If you bought the spider from Dollar Tree they are hollow on the bottom take one of the spiders add hot glue to the bottom then place one of the wire into the glue and hold in place until it is set. Next insert the other end of the wire into the hole on the shoulder and push down until the spider is where you would like it.

I hope you love this decorative mannequin witch as much as I do. The best thing is you can make it your own and design her any way you would like. Make two and place them on your fireplace mantel for Halloween.
I love this! So creative, decorative and fun.