Christmas, Home Decor, Ornaments
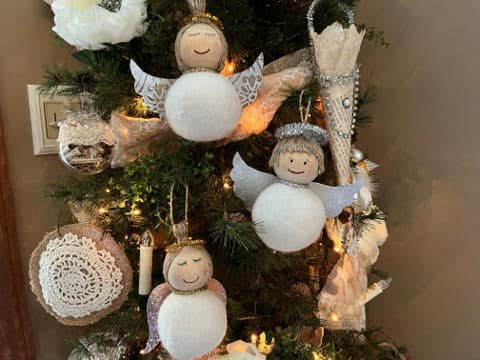
DIY Wool Dryer Ball Angel
Dec
If you were with me last year you will remember that we have made an elf, reindeer and snowman using wool dryer balls, well I still have dryer balls on hand so I wanted to make something else with them and I came up with these cute angels. You can make them as a girl or a boy Angel. I am including the pattern for the two different kinds of angel wings.
Materials I used:
- Angel wing pattern
- Wool dryer ball, I order mine from Amazon I found them to be cheaper, you can see which ones I buy on my recommended products page.
- A 2” (51mm) wood bead. I buy the treehouse brand at hobby lobby. The beads are sold in the jewelry section and the item number is 1540673
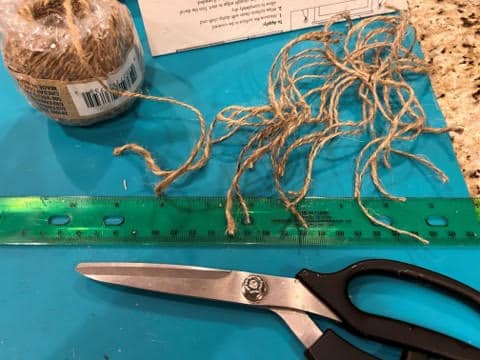
- 2ply jute cord from the Dollar Tree
- Removable tile decal from Dollar Tree or you can use scrapbooking paper of your choice.
- Tinsel pipe cleaner of your choice
- Metallic cord ribbon from hobby lobby item #855841
- Black & Red fine tip sharpie markers
- Blush for cheeks
- Elmers’s glue
- Hot glue gun & glue sticks
- Ruler
- Pencil
- Scissors
- Paintbrush
Adding the hair
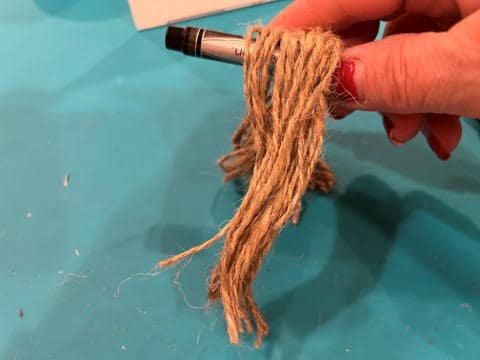
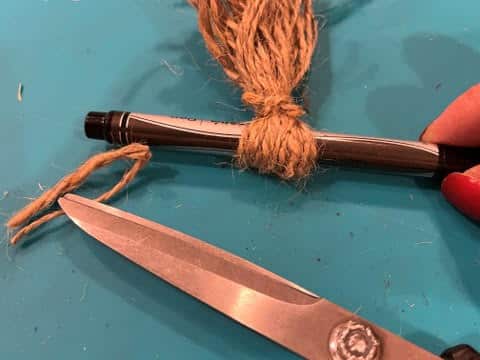
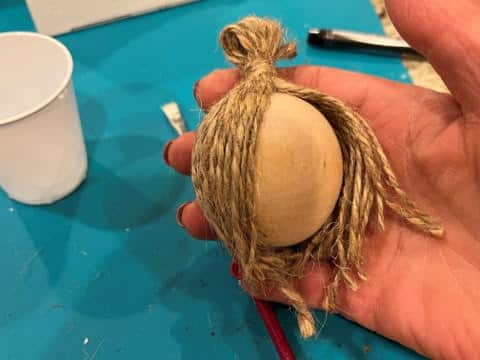
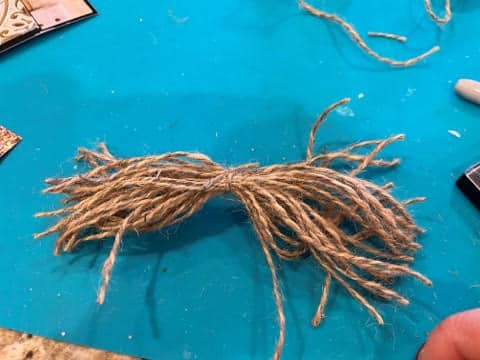
Before we start the hair the first thing you are going to do is print and cut out your angel wing patterns. To make the hair for the girl angel you are going to cut twenty 8” pieces of the jute cord then cut two 10” pieces. Gather the twenty 8” pieces (try to make them even) place them over a pencil (try to make sure the pencil is in the middle of the jute so both sides are even) next take one of the 10” pieces of jute leave about 2” of one end then wrap the other end around your 20 jute pieces twice right at the pencil then bring both ends around to the back tie a knot and cut off excess.
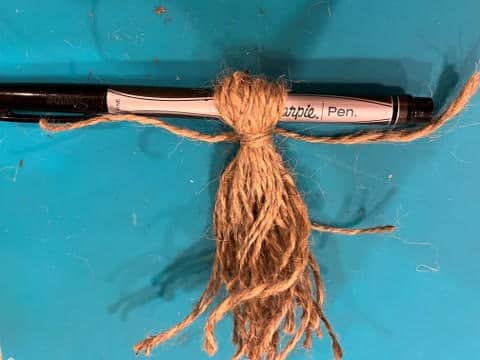
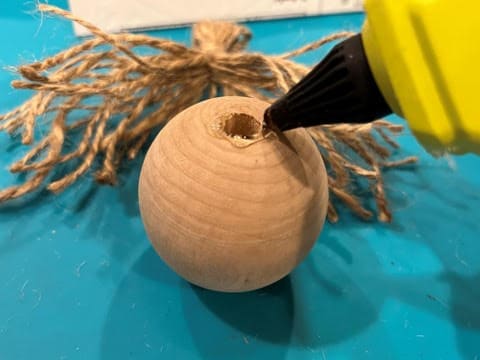
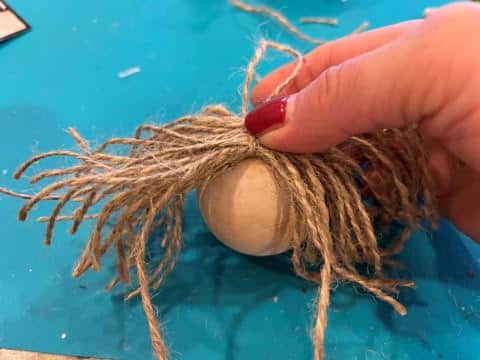
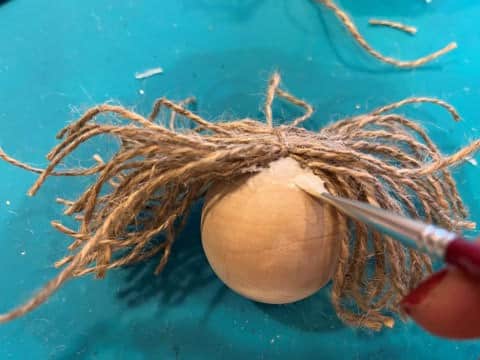
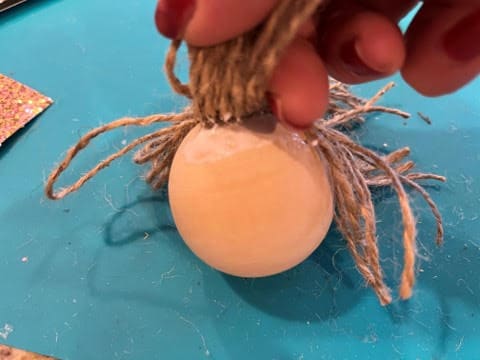
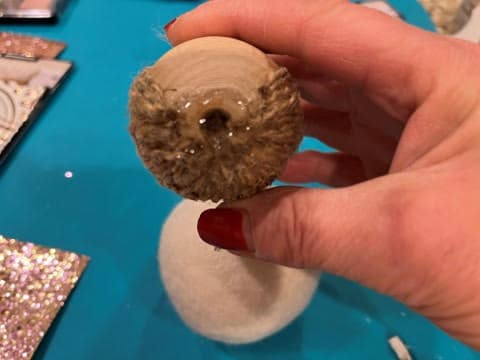
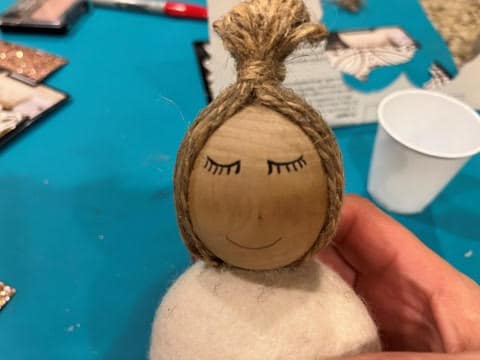
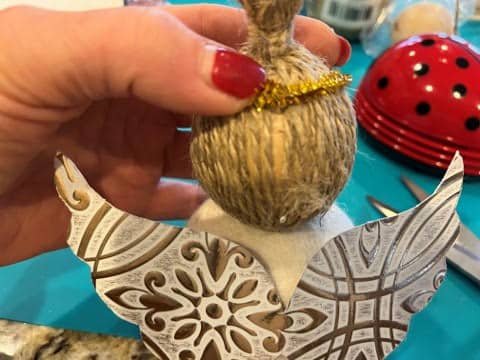
Next separate your jute pieces down the middle, you can count them to make sure you have 20 on each side if you want to be sure, place the hair piece on top of the wood bead over the hole to see if it looks like it divided correctly. Next add a small amount of hot glue around the hole at the top of the wood bead then glue down your hair, see photo below.

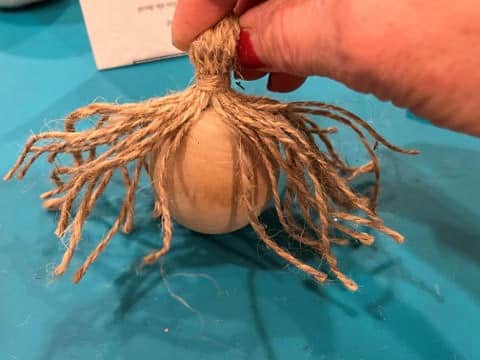
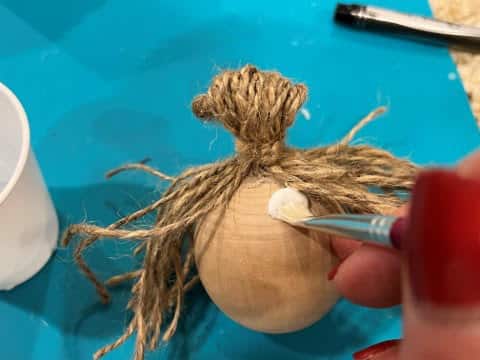
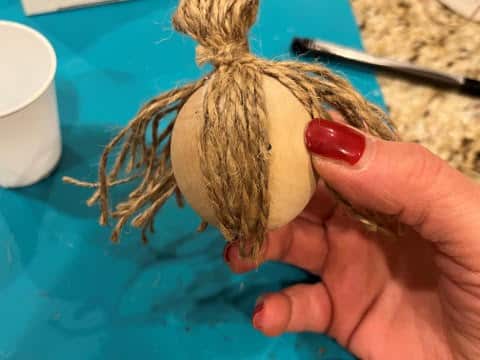
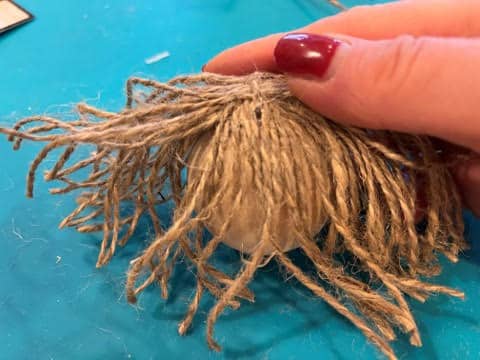
Using a paintbrush and elmer’s glue you are going to glue her hair in place. Starting on one side of her head lift up a few strands of hair brush on some elmer’s glue at the top of her head and glue strands of her hair into place, you may need to play with the strands to get them in the right place. Work your way around about half way then go to the back of the head add elmer’s glue in the top middle of the head and start pulling strands from both sides of the head to start covering the back of the head, you don’t need to do the whole back of the head yet you are going to want to go back to the side of the head you were working on and continue gluing down the hair from the front to the back. Once you have one side of the head done move to the front of the other side of the head and glue down the hair the same way, don’t worry if you have anywhere it may look like you have a bald spot you can cut another small piece of jute and glue into the space. Once you have the top of the hair glue all around the top you are going to start again at one side in the front lift up the hair and brush the glue down the wood bead to the bottom and glue down the hair. Work your way around the whole head until all her hair is glued to the wood bead. Trim off any excess hair at the bottom of the wood bead.
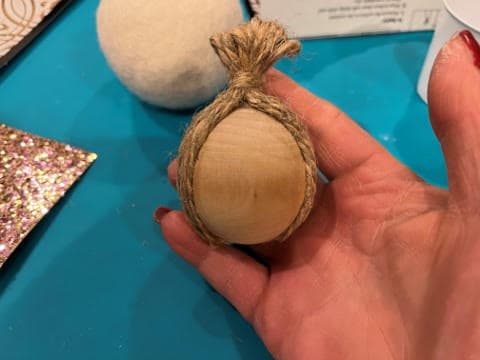
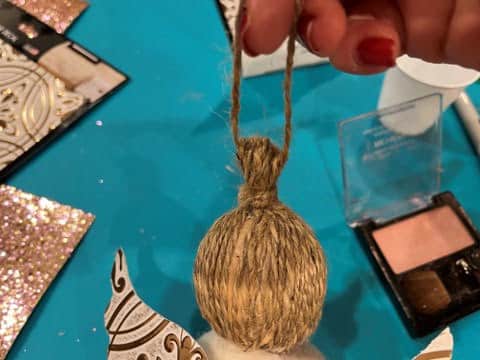
To add the hanger take the other 10” piece of jute cord feed one end through the loops at the top of her head, make a loop then tie a knot and trim off excess.
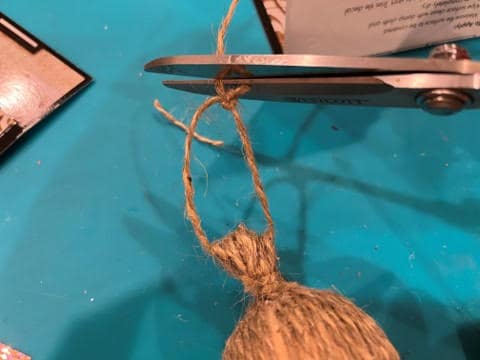
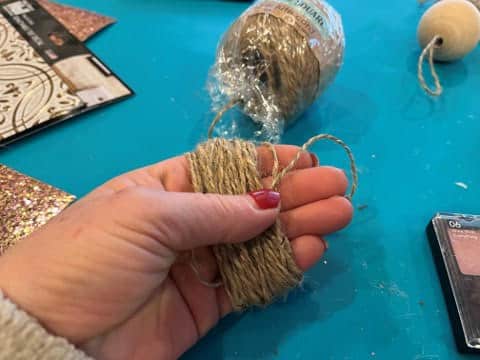
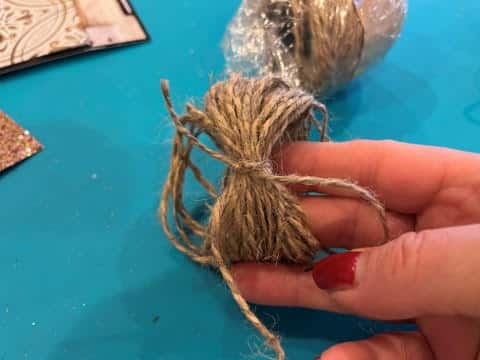
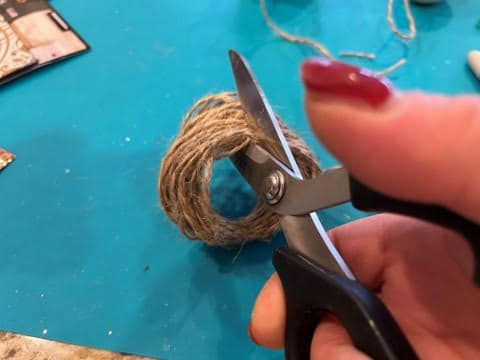
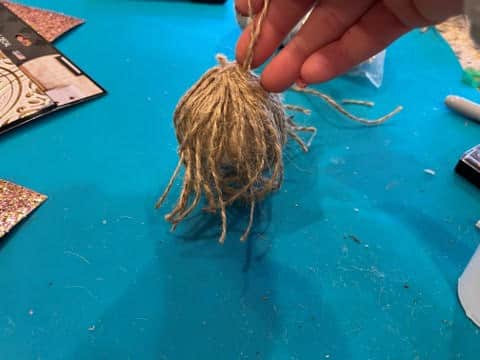
To add the hair for the boy angel start by cutting one 8” and one 10” piece of jute cord. Next wrap the jute cord around your hand 30 times then cut the end. Slide off your hand making sure you hold onto the top center then take a 8” piece of jute place around the top center tie a knot and trim off excess. Next using scissors hold the cord at the top where you just tied it and cut the bottom middle, you want to try and make the two side even in length.
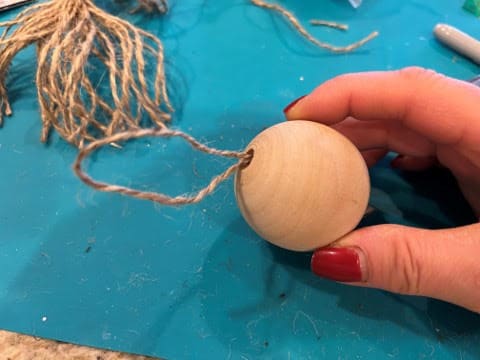
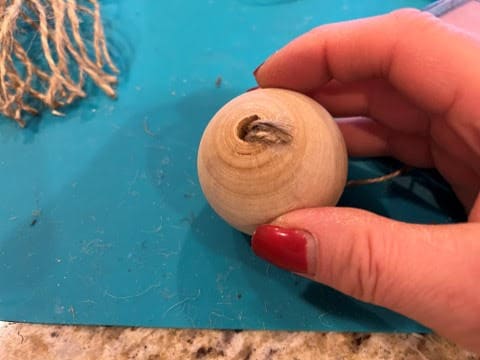
Before you add the hair we are going to add the hanger. Take the 10” piece of jute cord fold it in half then feed the loop end through the wooden bead, leaving just a small part of the ends at the bottom of the bead. Add a small drop of hot glue at the bottom of the bead and glue down the two end pieces.

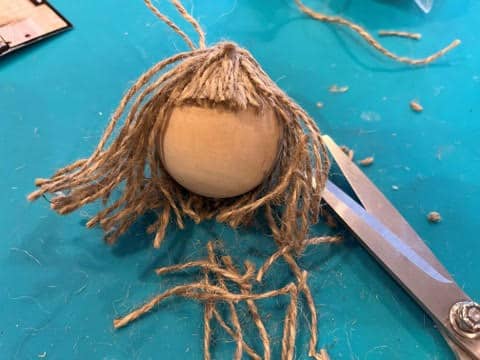
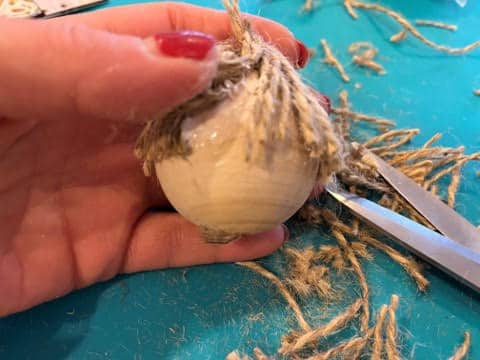
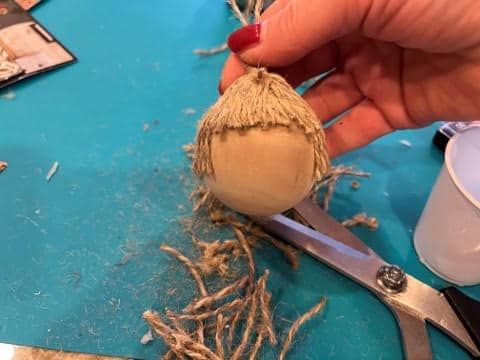
Next add hot glue around the opening at the top of the wood bead and glue down your hair, you are gluing the knotted part in the middle. Before you start the next part I want to tell you to make sure you pay attention to the hanger at the top of his head you want to make sure it stays in the center as you are doing the next steps. Using a paintbrush add elmer’s glue at the middle top of the head then start gluing your pieces of hair down, you are going to want to be pulling hair pieces to the middle from both sides. Keep adding glue on the front top of the head on both sides and gluing the hair in place. Once you have the front covered you are going to work one side at a time so starting on one side of the head you may need to lift up the hair to add the glue then glue the hair in place. Work your way around to the back. When you get to the back of the head add the glue to the top of the head then pull your strands of hair from both sides of the head to cover the back of the head, don’t worry if you have a space that looks bald lol you can cut additional small strands of jute and glue them into the spaces. Once you have the back covered move back to the other front side of the head and work from front to the back. Once all you hair is glued in place (you head is now looking like cousin it lol) you are going to cut his bangs! Start by cutting the middle of his hair in the front to see how far over you want his bangs to go then cut the bangs in the other direction, do not cut them to short at once you can keep trimming them until you get the length you like. After you have the bangs cut you can decide how long you would like the rest of his hair then starting on one side cut his hair working your way around to the other side.

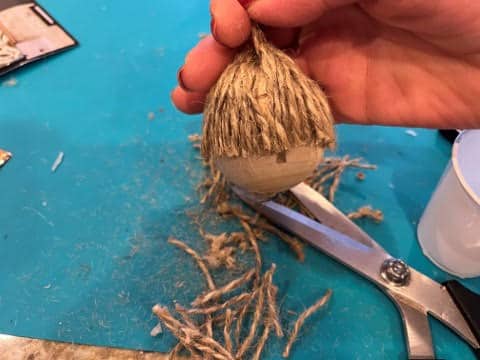
Now that you have his hair cut you are going to glue the rest of his hair to his head. Starting on one side of his head lift up the hair brush on glue down to where his hair will end then glue down his hair. Work your way around the whole head.
Attaching The Head
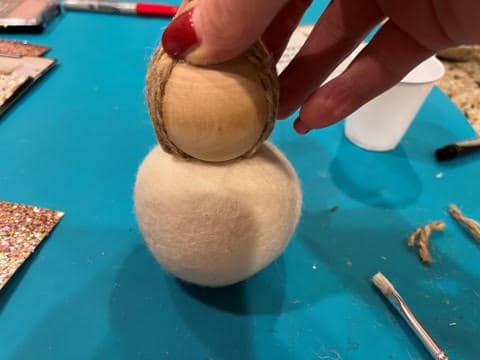
Attaching the head is the same for the girl and boy angel. To attach the head I like to place the head onto the wool ball to see where I am going to gluing it on. Next add hot glue around the opening on the bottom of the head then glue onto the wool ball applying a little pressure and holding in place a minute.
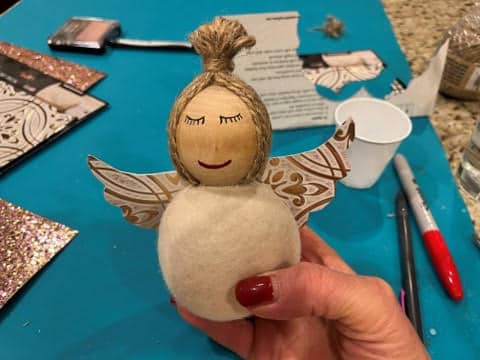
Adding The Face
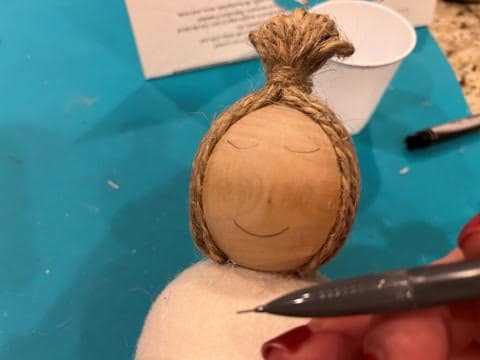
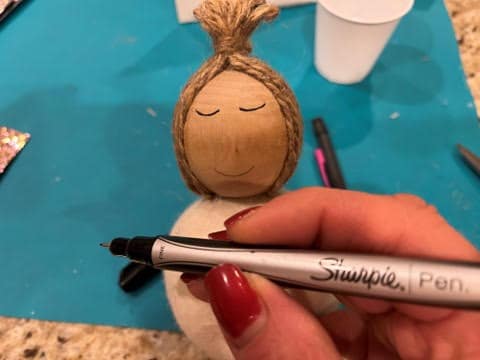
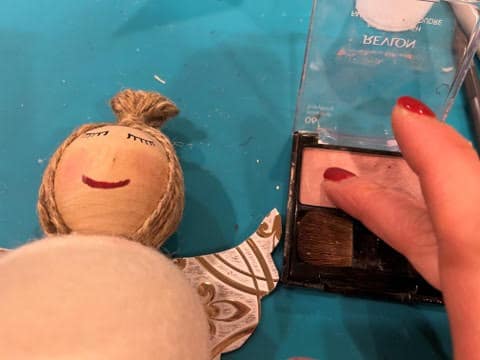
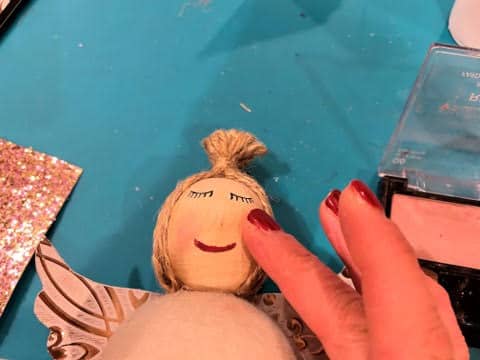
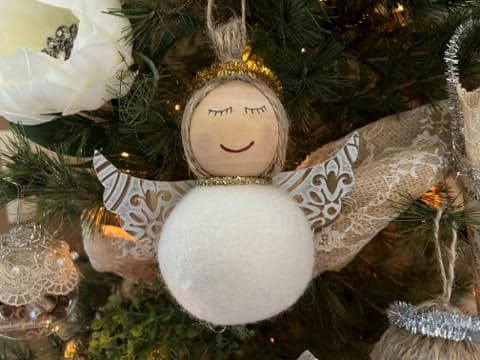
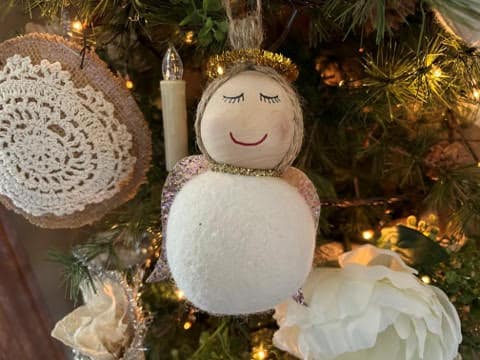
To add the face you may want to do different eyes and mouth then I did but I am going to tell you how I did mine. For the girls face using a pencil I drew two half circles for the eyes then a smile for the mouth. Using a fine black sharpie marker I went over the pencil eyes then I added little eye lashes to the bottom of the eyes and for the mouth I used a fine tip red sharper to draw over the pencil mouth. To give her rosy cheeks I rubbed my finger on some blush then rubbed it on her cheeks. See photo’s below.

For the boys face using a pencil I made two round eyes and a smile mouth. Using a fine black sharpie marker I colored his eyes then gave him small slanted eyebrows. For the mouth I used a red fine tip sharpie marker. To give him rosy cheeks I rubbed my finger on some blush then rubbed it onto his cheeks. Sorry I forgot to take photo’s of doing the boys face but it is very simple I am sure you can understand the directions by looking at the photo below.
Adding The Wings & Halo
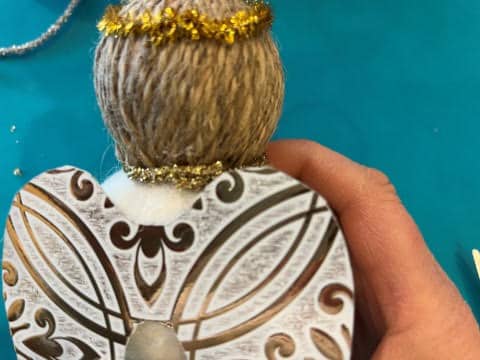
The following directions to finish the angel are the same for the girl and boy angel. After I had the angels all made and looked at them I decided I needed something around the neck so I used a metallic cord ribbon, in the photo’s you will see me adding it on after the wings but I found it easier to add it before the wings. To add the cord around the neck add a small drop of hot glue at the back of the neck and glue down the end of the metallic cord ribbon. Wrap the ribbon around the neck then trim to the length you need. Add another drop of hot glue at the back of the neck and glue down the other end.
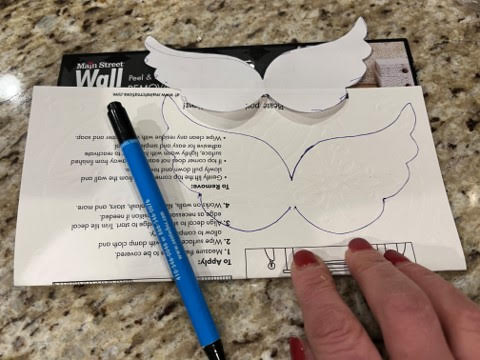
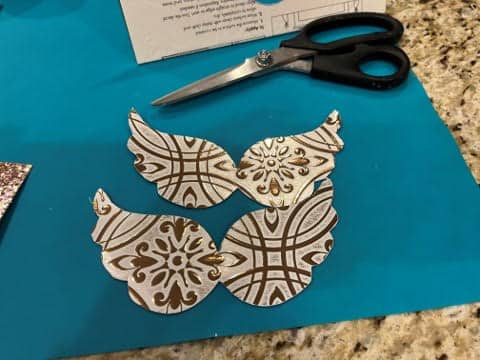
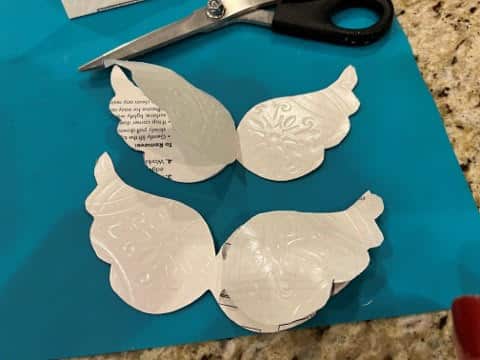
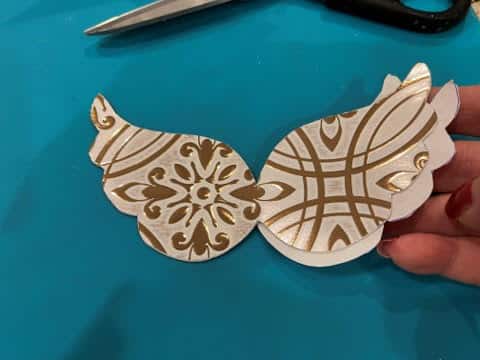
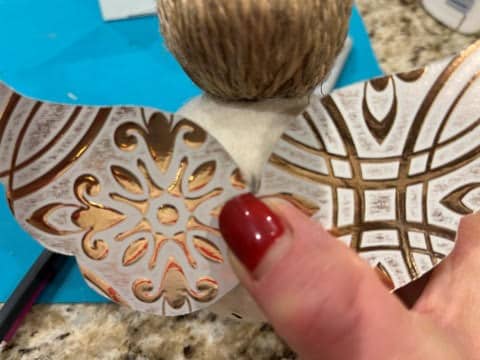
For the wings there are a few ways you can make them. You can use the Dollar Tree Removable Tile Decal, Scrapbook paper, or the heavy glitter scrapbook paper. I have given you two angel wing patterns it is up to you which one you would like to use. To make the wings using the removable tile decal fold the decal, print facing inward, in half then trace and cut out your wings. Peel back the right side of one wing and the left side of the second wing then place one on top of the other lining up the edges. Next peel off the two other pieces of paper and connect the other two sides of the wings together. If you are using a thinner sheet of scrapbooking paper you will want to trace and cut out wings from one piece of cardstock then you will need to fold your scrapbook paper, print facing inward, in half then trace and cut out a set of wings. Cover the back of one of the wings with elmer’s glue then glue the other wings on top. If you are using the heavy glitter scrapbooking paper you will just need to fold the paper in half trace and cut out two wings and glue them together.
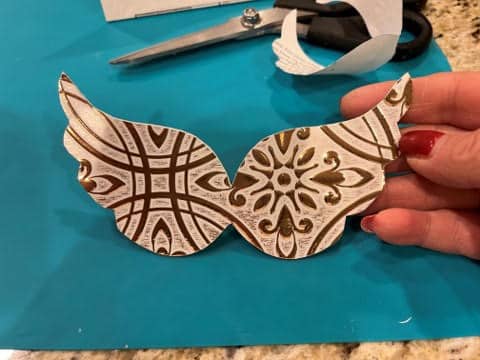
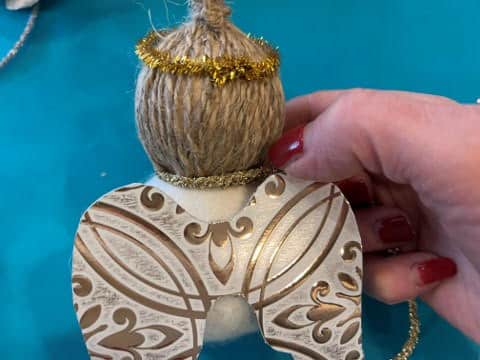
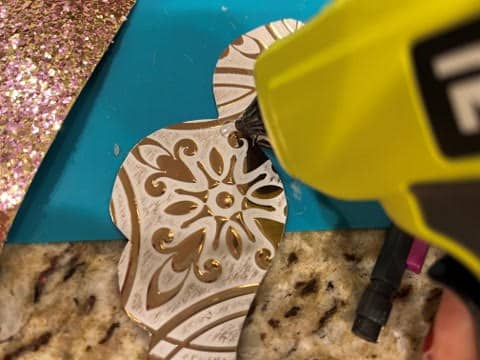
Next place the wings on the back of the angel to see where you want them then holding them in place take a pencil and make a small mark between the wings onto the dryer ball this will help you know where to place the wings back on. Remove the wings add hot glue in the middle of the wings and glue to the back of the angel lining up where you made the pencil mark.

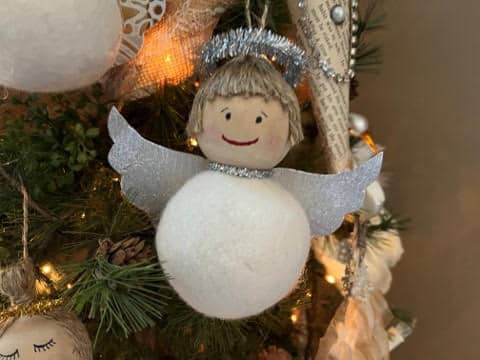
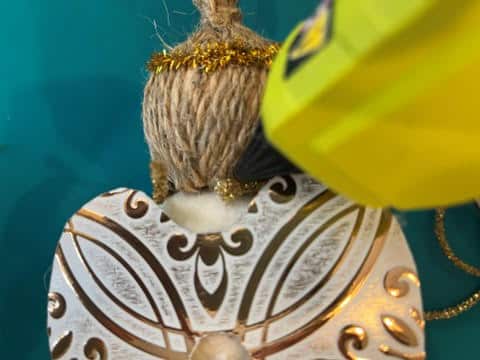
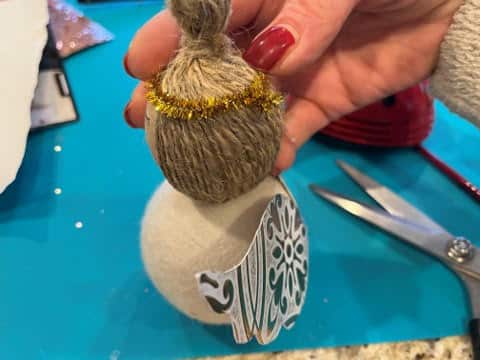
To add the halo take a tinsel pipe cleaner wrap it around the head to the back, decide where you want the halo to lay on the head and adjust the pipe cleaner. Once you have it set the way you want twist the pipe cleaner at the back of the head and trim off excess. Add a small drop of hot glue under the twisted part and glue down.


Your angel is now finished and I hope you enjoyed making them. I am making five, 3 boys and 2 girls one for each of my grandchildren. I am going to get some shiny embroidery thread and embroider their names on the front of each angel.

Sherry you make the greatest crafts and your written directions are right on. The details and picture make it so anyone would be able to follow along.
Beautiful angels
I absolutely love this.
Thank you for sharing, I was watching on Replay making the angel.