Home Decor, Ornaments, Spring
DIY Bumble Bee Continued
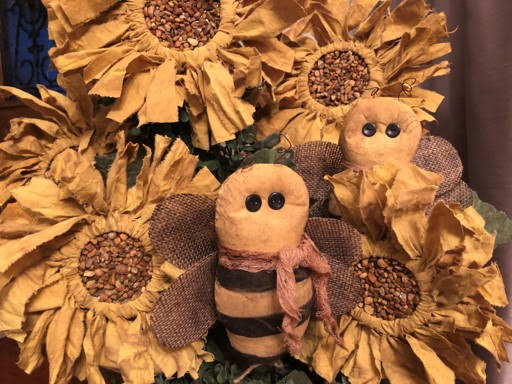
May
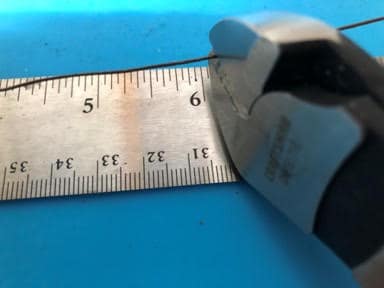
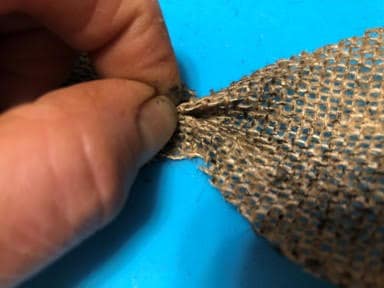
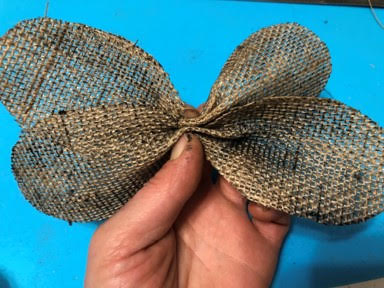
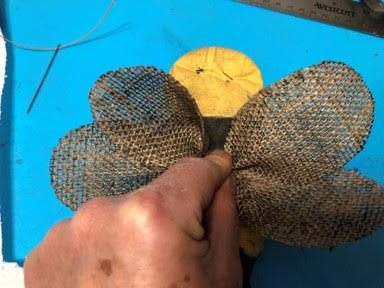
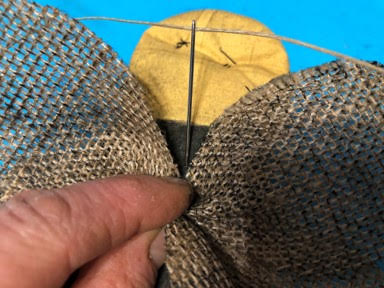
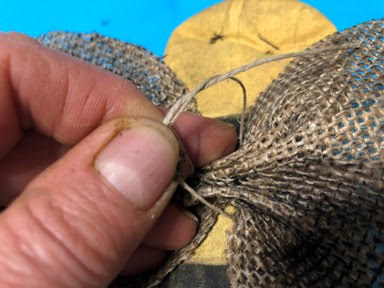
Attaching the Wings
To attach the wings start by cutting a 8 inch piece of thin twine and thread your needle. Next take your two wings and pleat the centers, holding your two wings together at the pleats place on the back of the bee, while holding them in place turn your bee over and see if this is where you would like the wings, making any adjustments as needed. Flip the bee back over while holding the wings still in place, take your threaded needle and insert just above the top center of the wings, remove the wings and bring the needle back up through the bee about a ½ inch down from where you first inserted the needle, pull the needle all the way through and remove from the twine. Place your wings on the back of the bee in the center of the twine you just added and tie them on, I did a double knot. If you would like to make this bee to attach to a wreath or garland, you need to cut a 8 inch piece of wire and lay it between your two ends of twine and tie using a double knot. If you are making the bee as a pick you just need to trim off the excess twine after tying.
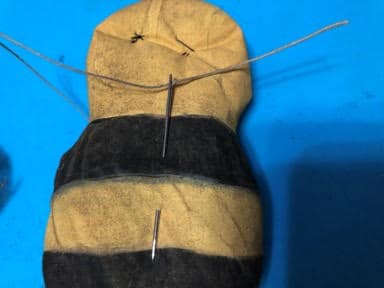
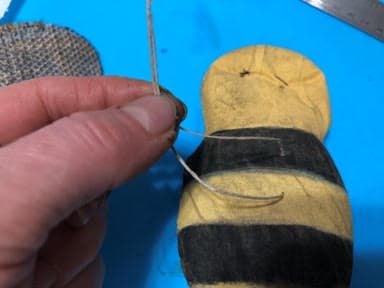
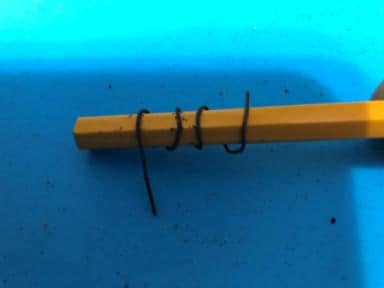
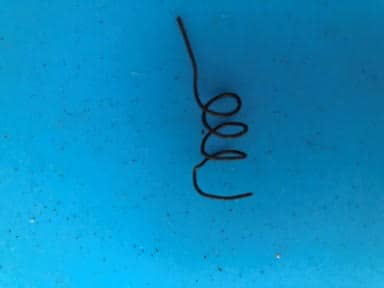
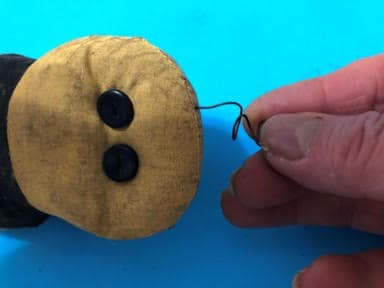
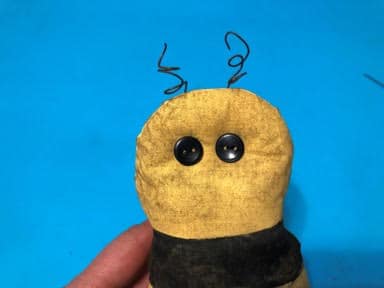
Making and adding the antenna’s
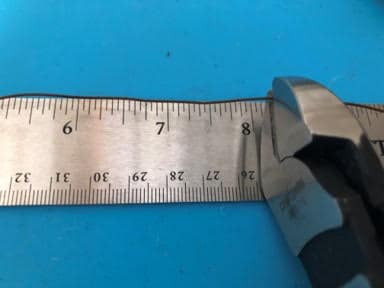
Cut two 4” pieces of wire, take one 4” piece of wire and wrap around a No. 2 pencil leaving a small straight piece at the end, repeat this step to the second 4” inch piece of wire. To attach take one antenna and insert the straight end into the fabric above one of the eyes and just below your seam, twist the wire down into the poly fiberfill this will hold it in place, repeat this step with the second antenna over the other eye.
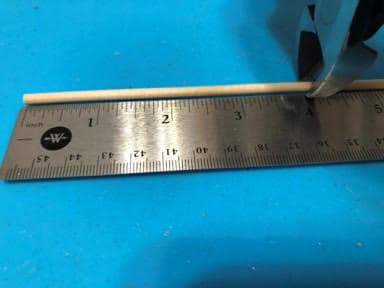
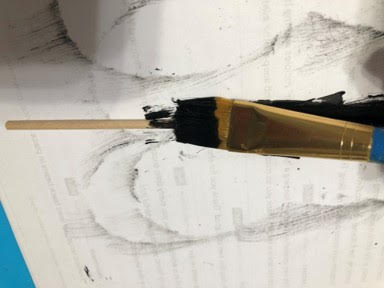
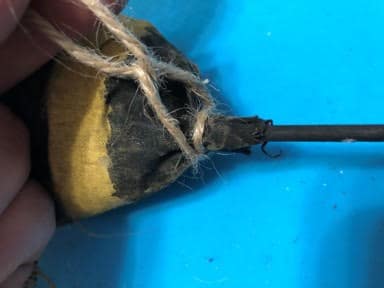
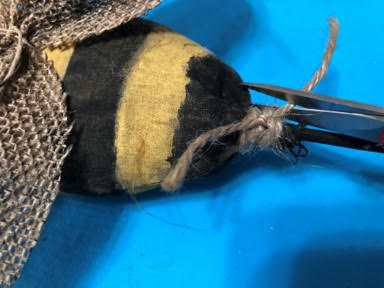
Painting and attaching the dowel
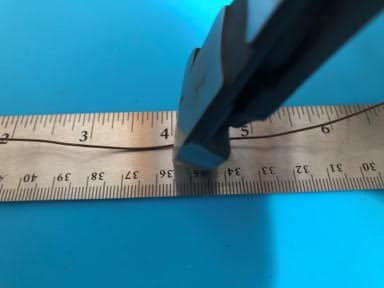
If you are making the bee to attach to something you are going to want to cut a 4” inch piece from your dowel and paint black, if you are making the bee pick you will need to paint your 12” dowel black. Once your dowel is dry the following directions are the same for the 4” and 12” dowel, insert one end of your dowel into the bottom opening of your bee working the end up in-between the poly fiberfill, this will keep it sturdy, now cut a 12” piece of jute twine and lay across the bottom black part of the bee and wrap around your dowel to the back then wrap to the front do this 3 more times ending on the backside of the bee, tie a double knot and cut off excess.


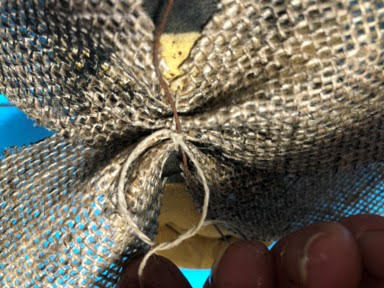
Finishing Touch
The only thing left to do is cut a 12” piece of the coffee stained cheesecloth and tie around the bee’s neck.

Your bee is now ready to become part of your wonderful home décor. I hope you have enjoyed making him..
So enjoy watching you and Barb! Thank you for the inspiration. You girls are just loaded with such creatively and fun.
your crafts are adorable. Thank you for sharing
Absolutely adorable ❤️
They are absolutely adorable!! I just finished making 3 of them. I can’t wait to decorate with them!!
The bees are “Stinkin Cute”!
Love the Bees, I’m almost finished with mine! Thanks for the great crafts z
I love watching you and your sisters. I am making the bees now they are turning out so cute.