Home Decor, Ornaments, Spring
DIY Bumble Bee
May
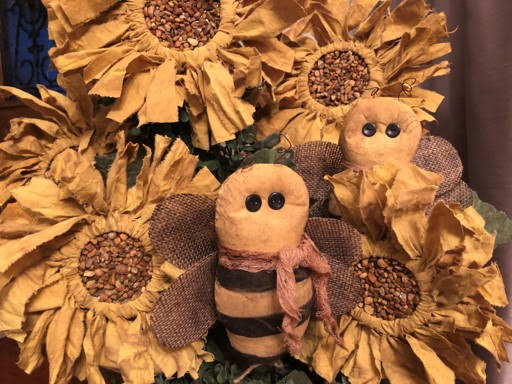
I am so excited that Spring is finally here along with the warmer weather I didn’t think winter would ever leave.Spring is my favorite season, everything comes back to life and all the wild life returns.I know Bee’s are good for the plants and they make honey which I love but I really do not like when they come flying around me and build their hives on my house, but this is one bee I am loving, I seen him in a magazine and decided I would try to make him myself and I am just in love with how he came out.This bee is super cute to incorporate into your home décor and doesn’t he look beautiful with these sunflowers, you can also find the blog for them on my web page.
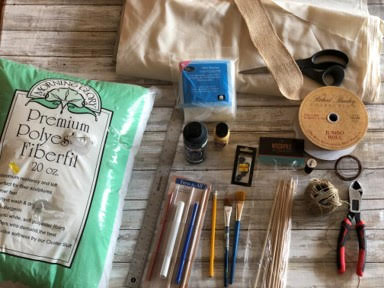
Here is a list of what you will need:
- Bee Pattern
- Sewing Machine
- Muslin
- Cheesecloth
- Cream and Black Thread
- 2 ¼” long needle
- 7/16 (11mm) Black Buttons
- Burlap Ribbon or Burlap Fabric
- Scissors
- Poly Fiberfil
- Black Craft Paint
- Yellow Craft Paint
- Paint Brushes
- Ruler
- Pencil
- 0.125”x12” Dowels
- Jute Twine
- Thin Twine
- Coffee Stain Mixture (recipe to right)
Coffee Stain Mixture Recipe:
- 2 Cups Water
- ¼ Cup Vanilla Extract
- 1 Tablespoon Ground Cinnamon
- 1 Teaspoon Nutmeg
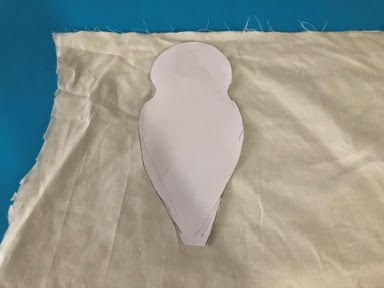
Printout Pattern
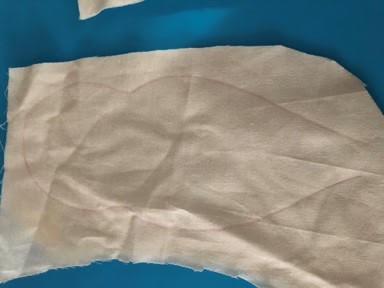
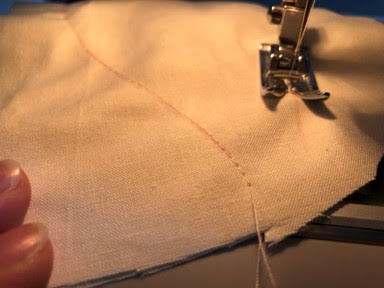
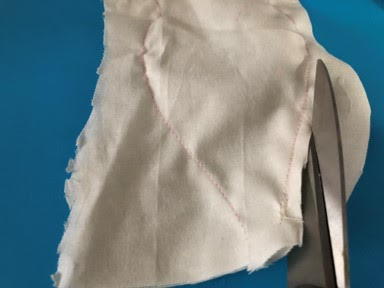
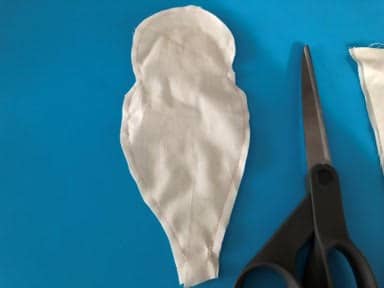
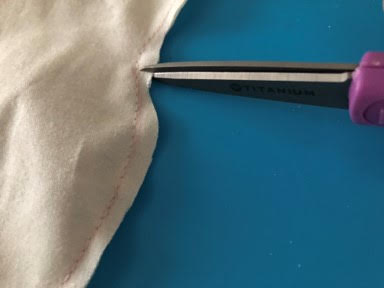
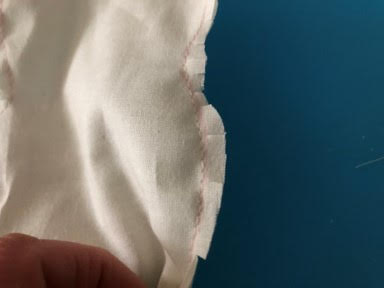
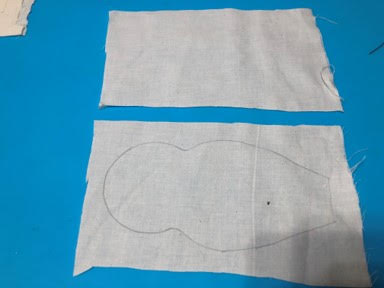
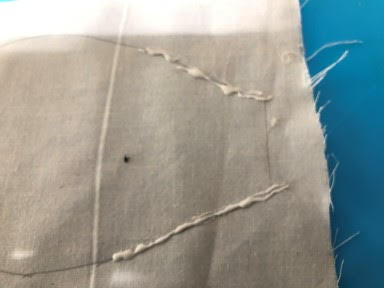
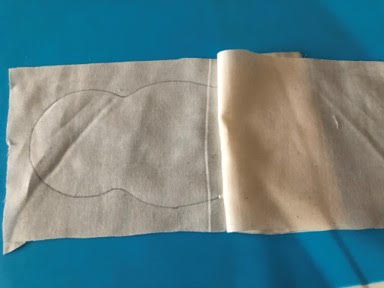
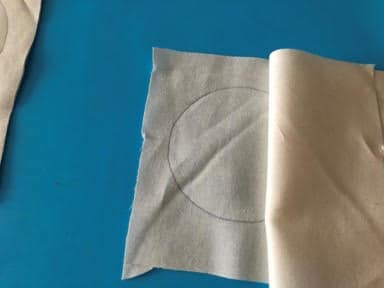
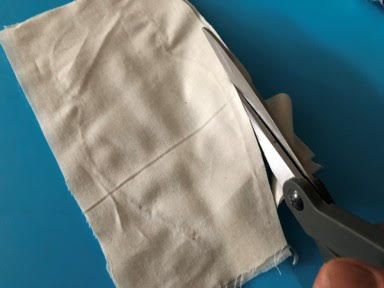
The first thing you will need to do is print out the pattern from the PDF file you’ve just downloaded. Once you have your pattern pieces cut out take the bee body pattern and lay onto a doubled piece of muslin, for one bee I used a 9” long x 5” wide piece of muslin, then trace you bee body onto the muslin. Next using your sewing machine and cream thread sew your bee body on your traced line, starting at the left bottom sew up, around and down to the right bottom do not sew across the bottom. Once you have finished sewing cut the bee body out, leaving 1/8” of muslin from your stitches. Using your scissors make little snips around the bee body (be careful not to snip your stitches) this will make the bee body be flat after turning. Turn your bee inside out, I used a Turn-it-All tool but you can just use your fingers.

Making the Bee Body with Hot Fabric Glue
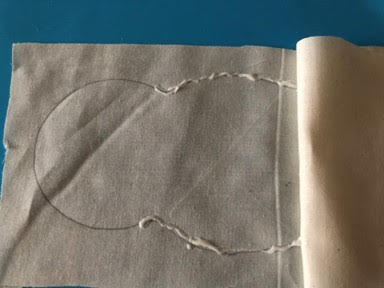
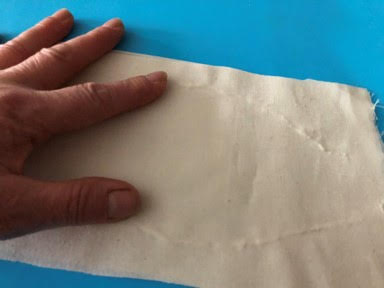
Once you traced your pattern on the double layer of muslin you can use your hot glue gun and surbonder hot fabric glue instead of using the sewing machine. First separate your two pieces of muslin then add fabric glue on your traced line about a ¼ of the way up from the bottom on both sides (Do not glue the bottom closed) then place you other piece of muslin on top and glue down, pull your top piece back and add glue to both sides up to the head then glue down, pull your fabric back once more time and add glue around the head then glue fabric pieces together. The sniping of the fabric and turning inside out are the same in the above instructions.
Stuffing and Painting Bee Body
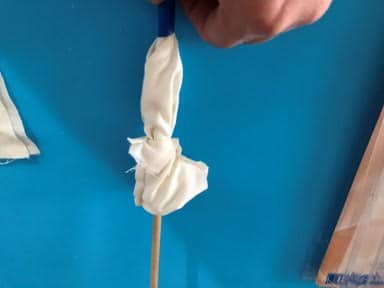
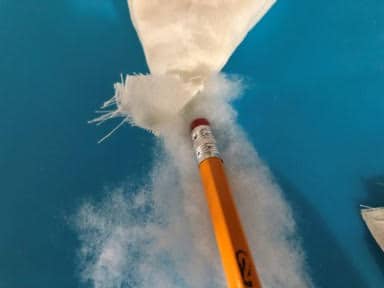
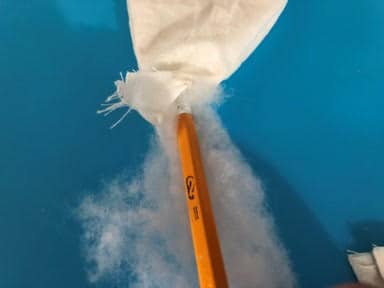
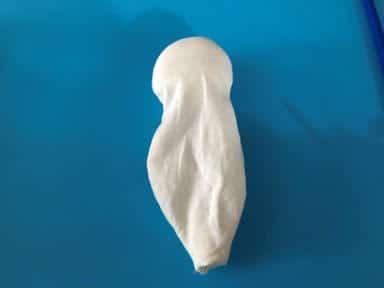
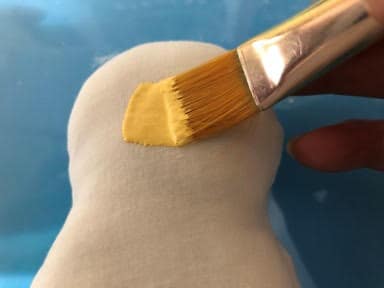
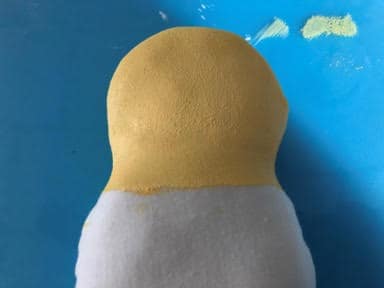
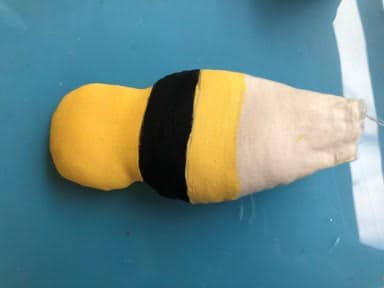
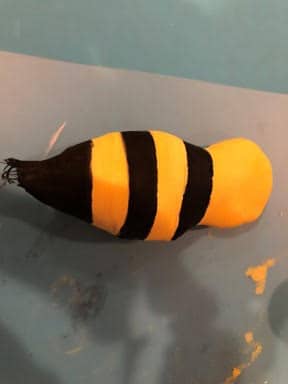
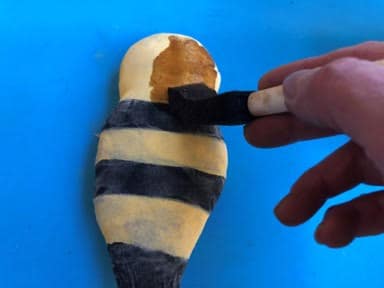
Once you have your bee body turned inside out stuff your bee with Poly Fiberfil ( I use the eraser end of a pencil to push the Poly Fiberfil into the body) leave a small amount unfilled at the bottom of the body. Next start with your yellow craft paint and paint the head of the bee then paint about 1” wide stripe of black all around the bee body under the yellow (don’t worry if your stripes are not perfect or if you get black paint on the yellow you will be sanding them later) continue painting stripes down the bee body alternating between yellow and black ending with black at the bottom. Place your bee outside in the sun to dry if it is not a sunny day you can place them on a wax paper lined cookie sheet and place in a 200 degree oven to dry, make sure you flip them over in 5 minutes or so they should be dry in about 10 or 15 minutes.
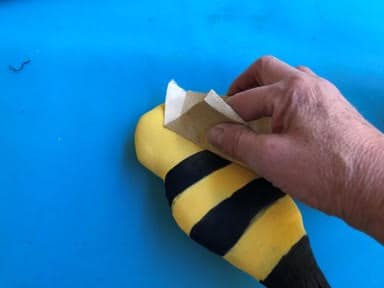
Sanding and Coffee Staining
Using a fine grit sandpaper lightly sand the bumble bee. Do not sand to hard you can tear the fabric. When you are done sanding brush the bee with your coffee stain mixture. You can dry the bee as you did after painting.

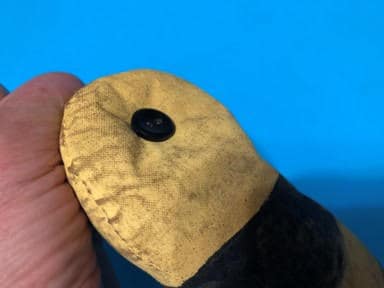
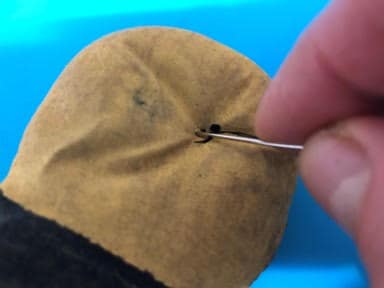
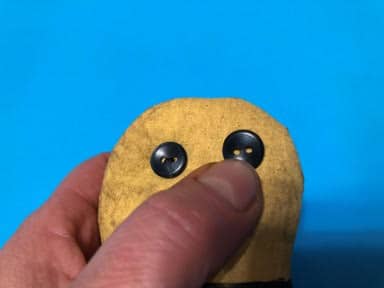
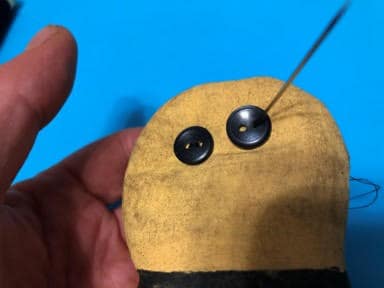
Adding the Eyes
First thread your needle with a double layer of black thread then place two of your buttons on the face to decide where you would like them, remove the right button and hold the left button in place with your finger, now take your needle and insert through the back of the head and through one of the holes in your button, put the needle through the other button hole going through to the back of the head repeat this step two more times pulling the thread tight as you go through each hole this will make a small indentation around the eye, end in the back of the head, do not knot off. Place your right button back on the face then stick your needle at an angle through the back up through one of the button holes of the right button sew on the button just as your did the left ending in the back this time make a double knot and cut.


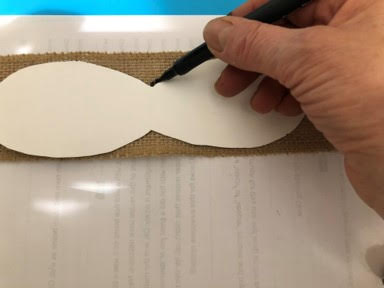
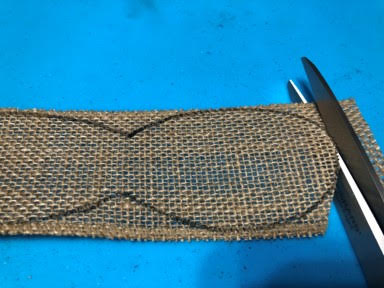
Making the Wings
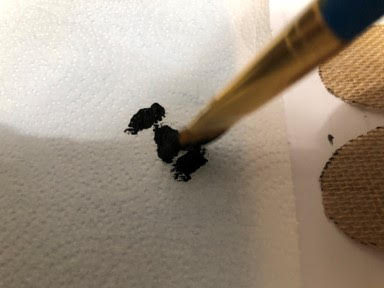
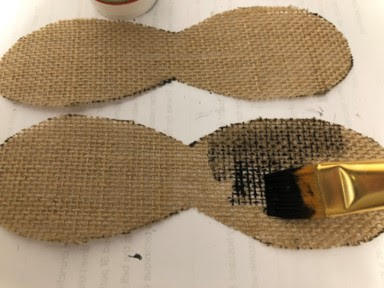
To make the wings I used a 2.5 inch wide burlap ribbon I purchased at Hobby Lobby but you can use regular burlap fabric if you would like.Place your wing pattern on top of the ribbon or fabric and trace, you will need to trace two then cut them out.Now that you have your wings cut out dip a paintbrush in black craft paint and wipe off most of the paint by brushing it onto a paper towel now brush both sides of the wings, you made need to dip your brush again for the second wing.

These are great. I missed how you made the sunflowers. Where can I see how these are made. Thanks
I think you are missing something in the coffee stain mixture. It is not the same as the one listed for the sunflowers. Or are these two different mixtures?
thank you Sherry .so going to make these so glad u are doing lives you are doing great
I think you need to look at your instructions you have the crystals mixed in with the bee lol
Beautiful, easy to follow on directions.
Thank you Sherry for another great craft! Been wanting a new bee pattern!🐝🐝