Dollar Tree, Home Decor
DIY Decorative Napkin Holder
Apr
If you follow my page you know I am always trying to create my own decorative items for my home. I was in the need of a napkin holder and of course I wanted to make it myself. I was shopping in one of my favorite places The Dollar Tree and I came across a plain clear napkin holder and instantly I new this is what I needed, it would be so easy to make it my own so I purchased it and went home and starting digging through my stash of napkins I use for my crafting. I found a napkin that would be perfect because it is the colors I use in my kitchen, I think it came out great and it only cost me a $1 because I already had everything else I needed, so I won’t feel bad if I want to change it in the future.
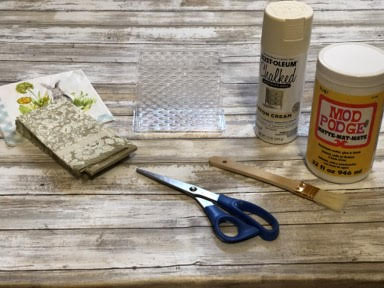
Here is a list of what you will need:
- Plastic napkin holder from the Dollar Tree
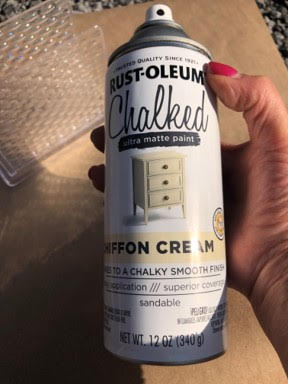
- Spray paint of your choice
- Napkins of your choice
- Mod podge
- Paint brush
- Scissors
- Tape measure or ruler
- Pencil
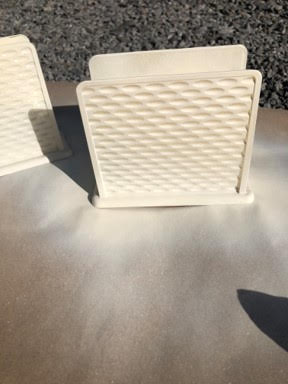
Spray paint the napkin holder with two coats
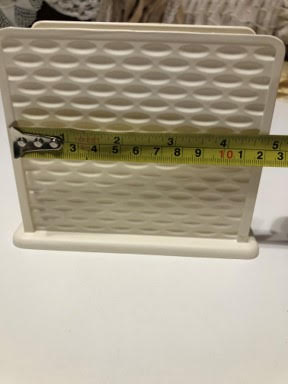
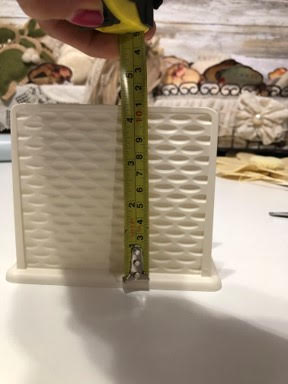
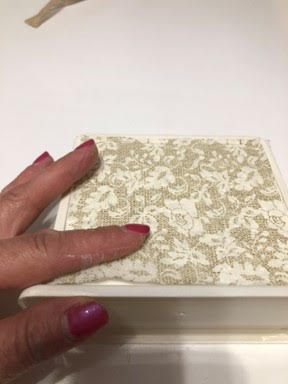
First spray paint the napkin holder I did two coats, let dry. Next measure the area you want to cover with the napkin I decided I wanted to cover the area in the middle between the rims around the napkin holder and also I wanted to cover all of the inside because there is no rim on the inside. I measured the area between the rims which is 4” inches high by 4 ½” wide then I measured the inside panel which is 4 ¼” inches high by 5 inches wide.
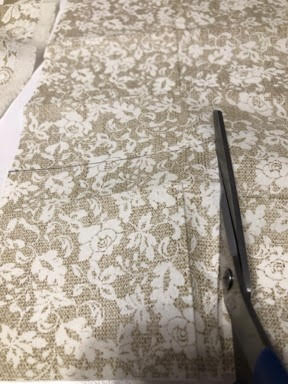
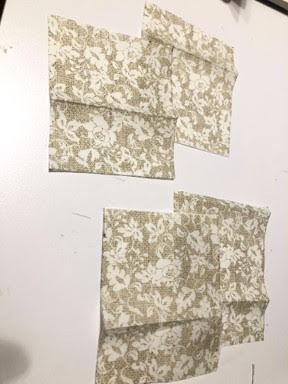
Cut the napkin pieces
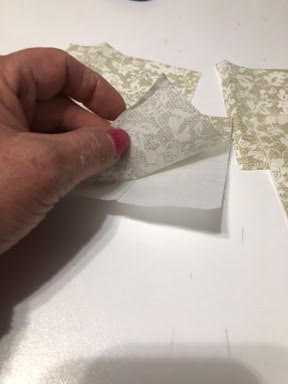
Now cut your napkin pieces you will need two pieces 4” high by 4 ½ inches wide and two pieces that measure 4 1/4” inches high by 5” wide. Once you have your four pieces cut you will need to separate the front of the napkin from the back layers of the napkin.
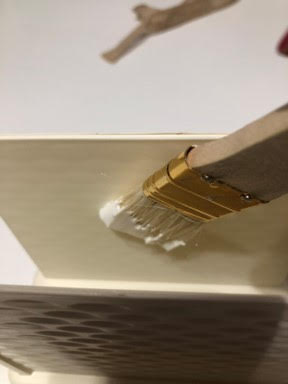
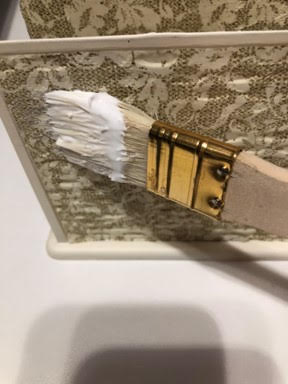
Modge podge the napkins onto the holder
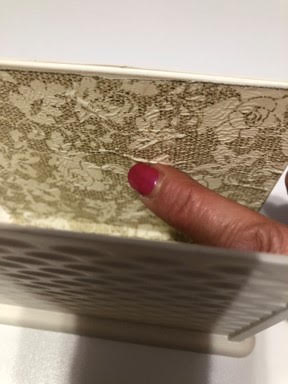
Now we need to mod podge the napkins onto the napkin holder. Using a paintbrush apply a coat of mod podge to one of the panels on the inside then take your 4 ¼” by 5” piece of napkin and cover the panel smoothing it out with your fingers. Repeat this step to the other inside panel. Now take your other two pieces of napkin and cover the outside the same way you did the inside panels, let dry.
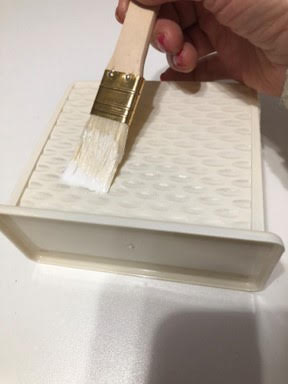
Continue with Modge Podge
Once it has dried add a coat of mod podge to all four sides this will seal the napkins, let dry.
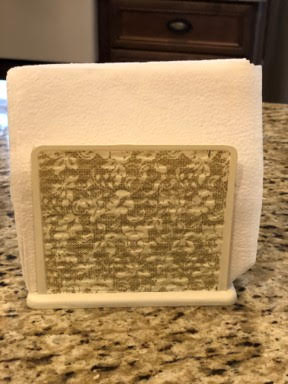
Let dry and add napkins
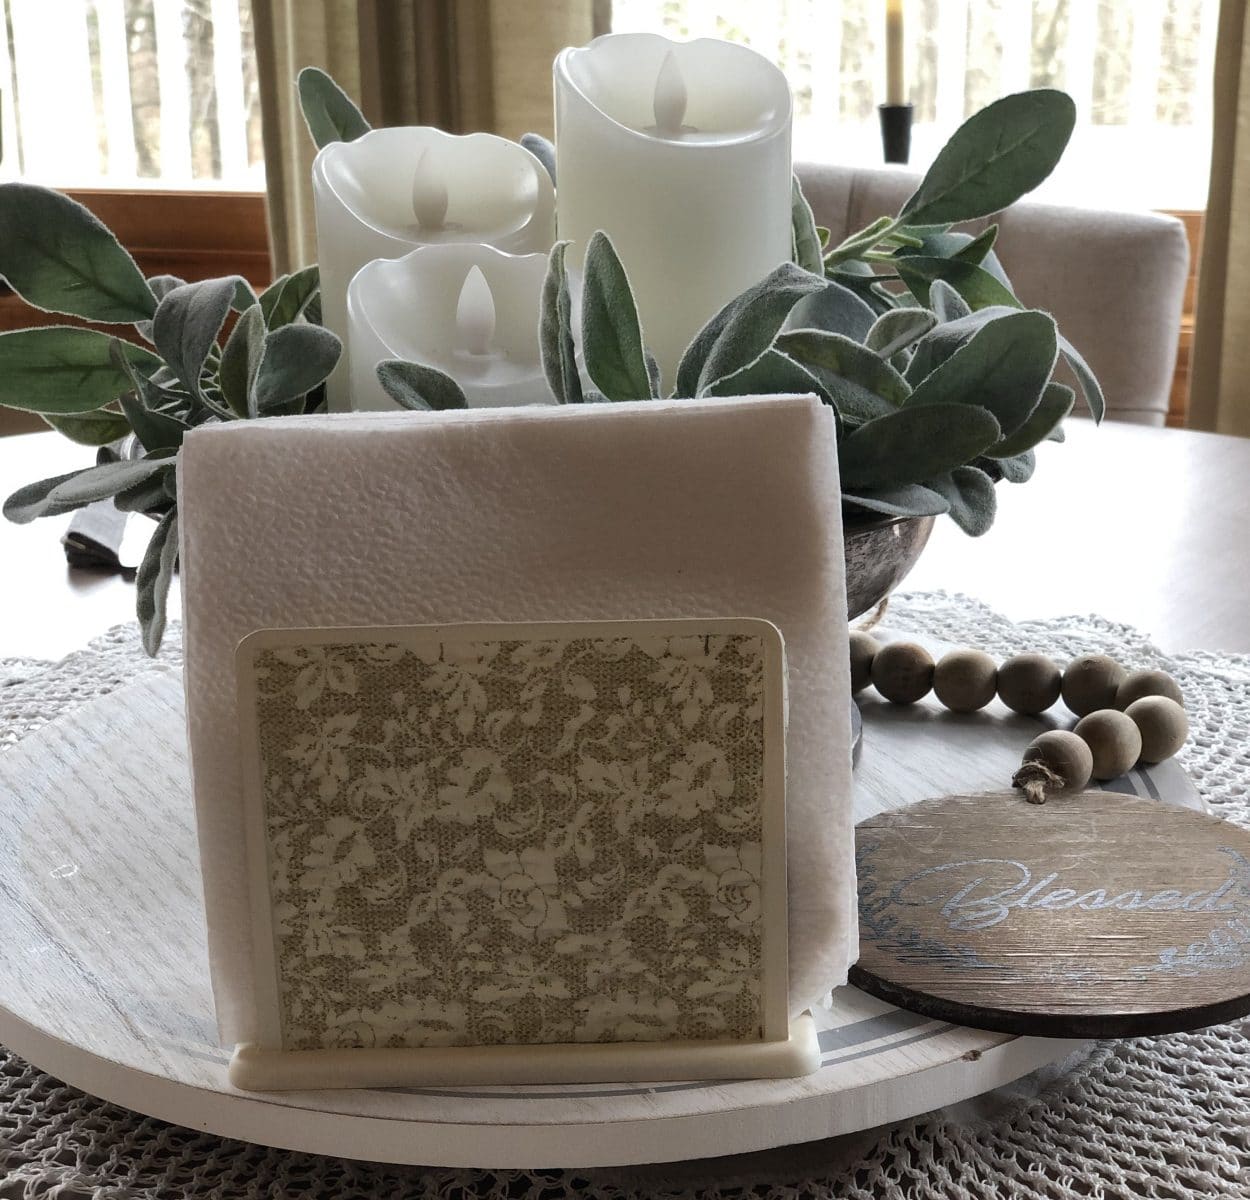
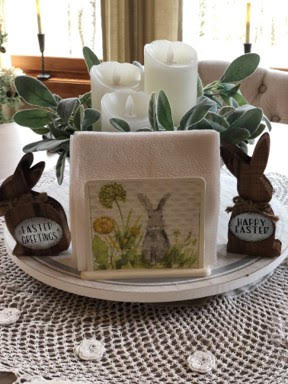
Once your napkin holder has dried all that is left to do is add your napkins. Is your imagination running wild about all the seasons and holiday napkin holders you can make, mine sure was check out the one I made for spring below.
Absolutely love this idea and most definitely will be doing this!
Love it! Will be making it as soon as I get the supplies.
This is so creative! I love it! You can change it up for holidays, 4th of July, Birthdays, Graduation, any type of event! The ideas are endless! 👍👍👍👍👍
I love how you made a list of supplies we would need to make the craft.
I like that!!
I love that napkin holder. I happen to have that napkin pattern. Going to try it tomorrow.
Where do you find that napkin?
What an awesome idea, I love it! Definitely will have to try this!!!!
I’m putting it in my journal to make. So cutely
What a great craft idea…. can’t wait to make some, thank you, thank you, thank you…. you are gifted and we are glad you are sharing… thank you ❤️
Love this ideal you make things better with all the supply list and easy directions thank you!
I love this napkin holder & will definitely be copying it with your wonderful instructions!
Beautiful work as always 💙💚💜🧡💛❤️