Dollar Tree, Home Decor, Spring, Table Settings
DIY Spring Placemat
Apr
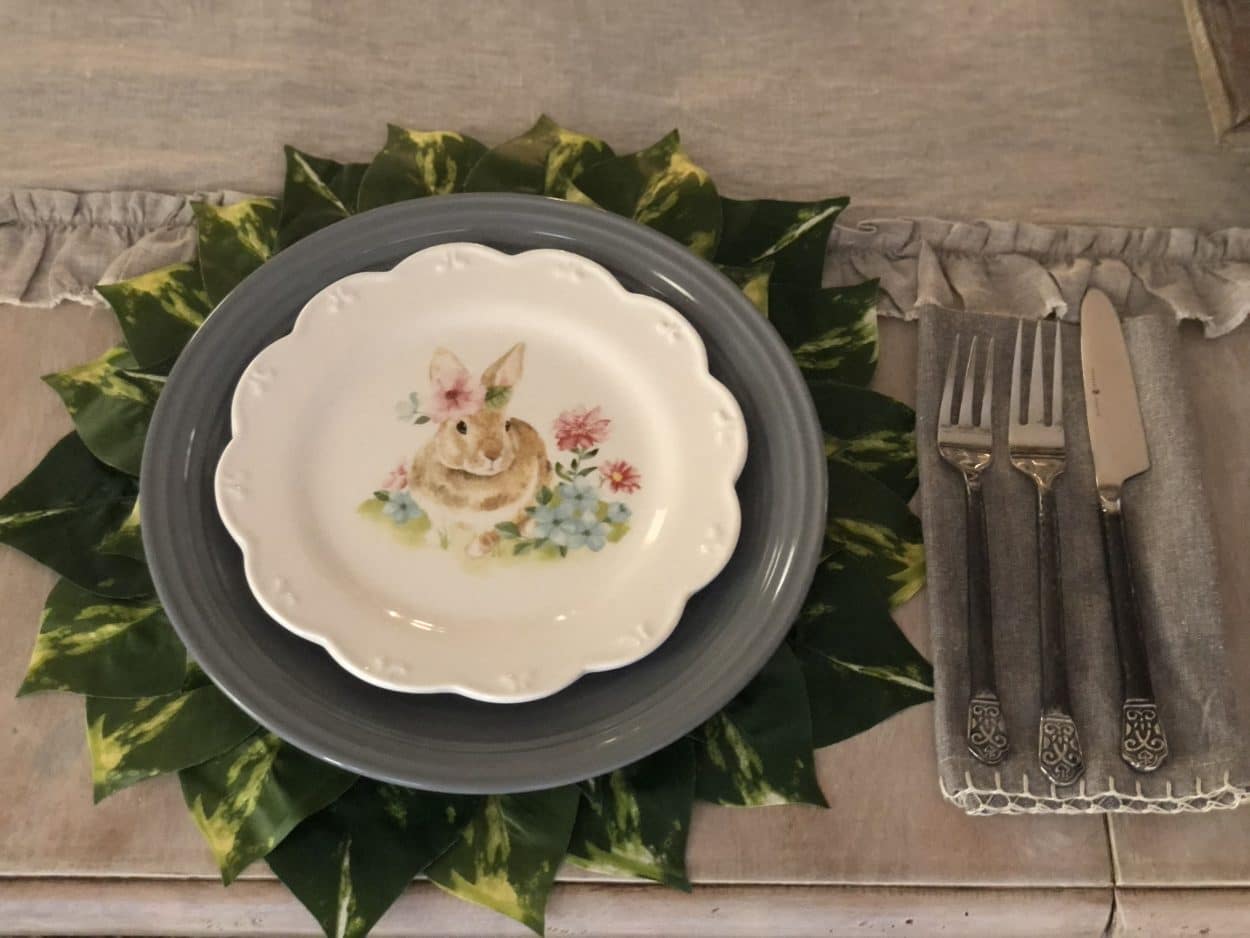
DIY Spring Placemat
I was out shopping and saw a placemat that was made out of leaves, I really wanted to buy them for my Spring table setting but they were $14.99 each and if you have been following me you Know I said to myself I can most definitely make these myself. When I was in Dollar Tree I came across bunches of leaves so you know what popped into my head immediately, Yep the leaf placemat so in the cart they went and I just love how they came out. I made four placemats for less then what one would have cost me in the store.
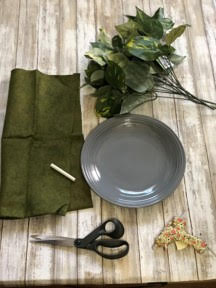
Here is a list of what you will need:
- Dinner plate
- Felt
- 3 bushes of leaves from the Dollar Tree
- Scissors
- Hot glue gun and glue sticks
- Piece of chalk
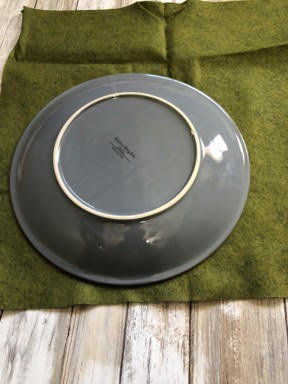
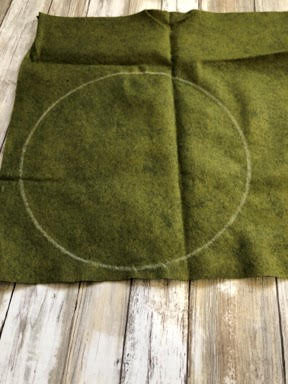
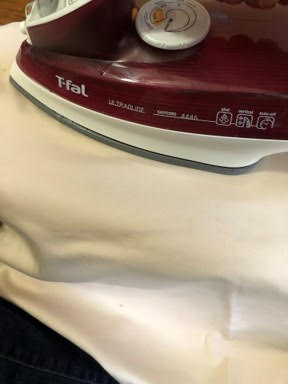
Lay down your felt
The first step is to lay down your felt (you may want to iron it first so it will lay nice and flat) place your dinner plate upside down on top of your felt. Using your chalk trace the dinner plate onto your felt. Next cut out your circle and set aside.

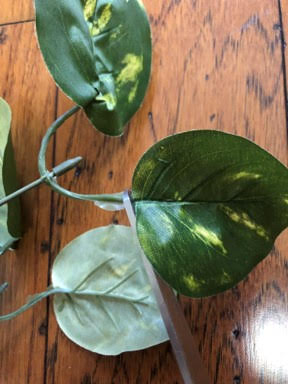
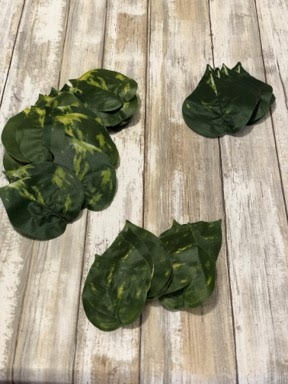
Remove leaves from stems
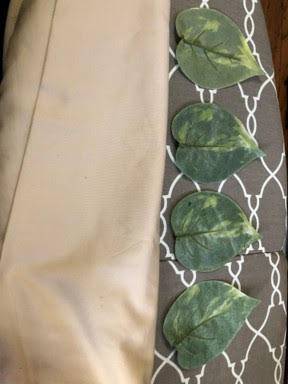
Next using your scissors remove the leaves from the stems, making sure you cut them right at the base of the leaf. Some of the leaves may be wrinkled, I recommend ironing them so they will lay nice and flat, make sure you cover them with a piece of fabric before ironing so they don’t melt, I used a pillowcase.
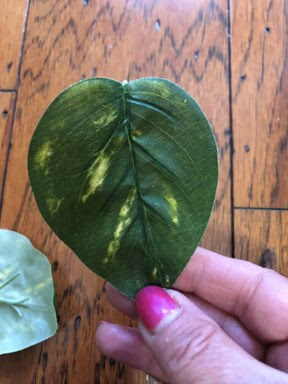
Mix large leaves with medium leaves
You will have 3 different size leaves, there will only be 3 large leaves on each stem, you will just need to mix 3 large leaves with the medium leaves in the first two rows
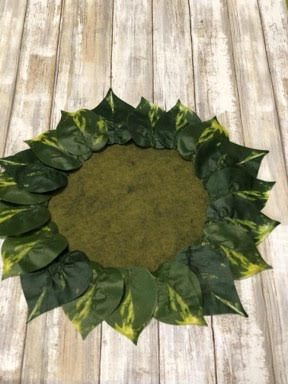
Assemble the placemat
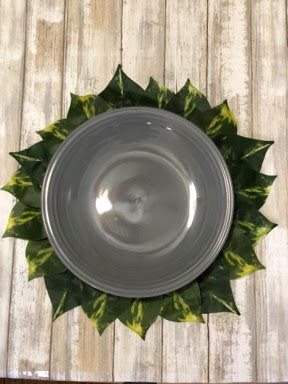
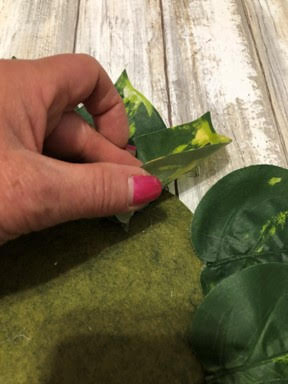
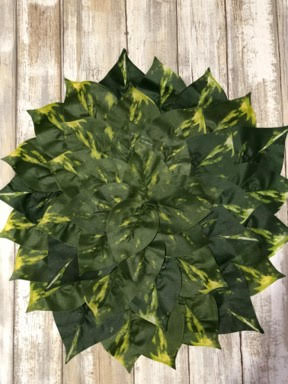
Now for the fun part, assembling the placemat. For the first row use 3 large and 17 medium leave (don’t forget to strategically place the 3 large leaves) place the bottom of your first leaf about an inch or so in from the outside edge of your felt working your way around overlapping each leaf a little until you have placed all 20 leaves. Place your dinner plate on top of your felt to see if you need to make any adjustments, using your got glue gun attach each leaf to the felt by lifting the bottom of the leaf and adding a small amount of hot glue continue this until all your leaves are attached.
For the second row you will be using 3 large and 9 medium leaves. About an inch down from the bottom of a leaf in the first row place your first leaf so it is in the center of two leaves in the first row, work your way around until all 12 leaves are placed, it is ok if all your leaves do not end up in the center of two leaves. Check you leaves in the second row to see if you need to make any adjustments, glue your leaves down the same way you did in the first row.
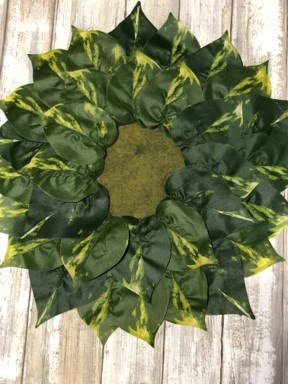
For the third row you will be using 8 small leaves. Start by placing the bottom of your first leaf ¼ inch down from the bottom of the leaves in the second row working your way around overlapping each leaf a little. Check your leaves again to see if you need to make any adjustments, glue them as you did the other rows.
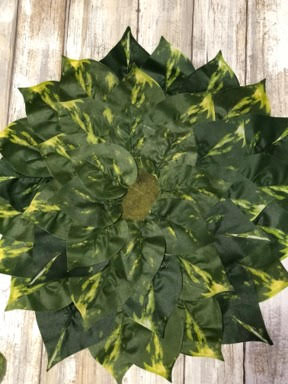
For the last row you will be using 4 small leaves. Place your leaves so they are covering the felt center, glue them to the felt.
Your placemat is now finished!! Don’t you just love it? You will be able to make two placemats out of five bunches of leaves. I hope you enjoyed making this spring placemat. Thank you so much for visiting my blog page.
These turned out so pretty. I love watching you create things. You want them to be just right, that’s why all your creations are so pretty.
They are so Cute with the rabbit plate
Great idea! Before I give away my fake ficus, I need to remember these placemats!
They are stinking cute what made you think of doing that
I love how you take your time showing us how to do the craft you are so calm and have great ideas. I love your videos you are very creative.
I love ur work u make me happy
You have so any great ideas for fellow crafters
I so love watching all your creativity!! You make me smile!