Home Decor
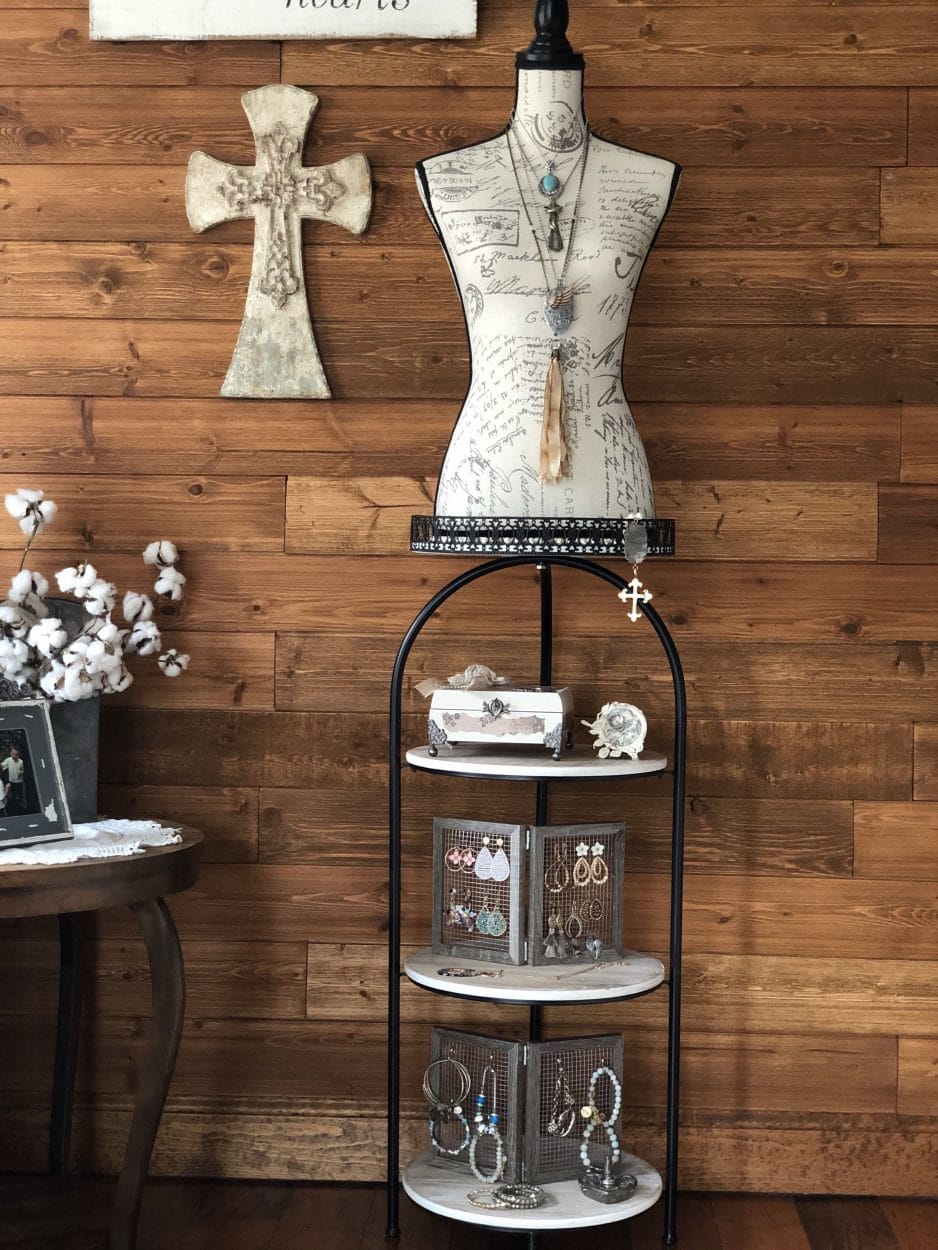
DIY Jewelry Display Stand
Apr
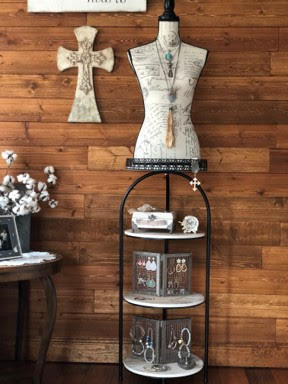
Have you ever been on your phone or computer when you see an advertisement that catches your eye and to find out when you click on it the price is more then you wanted to spend. That is what happened to me I feel in love with this Jewelry display stand but ouch the price on sale was $319.99 I could not justify or afford to spend that much for a jewelry stand. Every time I went online I would see this advertisement and after looking and looking at it I knew there had to be a way I can make this myself, so one day I was shopping in Hobby Lobby and there was the stand I could use to build my jewelry stand needless to stay it came home with me and it was on sale for $72.00. When I got home I went on Amazon and searched for the perfect bodice and I found the perfect one for $40.00 now all I needed was a piece of wood to make the tray for the top of the stand that I can set the bodice on and that only cost me $3.00 at Lowes so now I have only spent $115.00 everything else I needed I had on hand at home, tell me that was not a savings.
Here is a list of what you will need:
- Three Tiered Stand ( Hobby Lobby)
- Bodice (Amazon)
- ½” 2×2 Birch plywood (Lowe’s) or wood of your choice
- Drill & 5/16 Drill Bit
- Jigsaw
- Brad Nailer
- Phillips Screwdriver
- Pencil
and don’t forget these:
- 5/16 2” Bolt
- Wrench
- Measuring Tape
- Paint of your choice
- Paintbrush
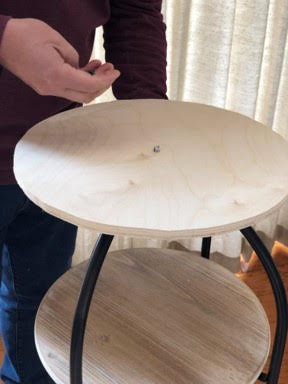
Making the top shelf
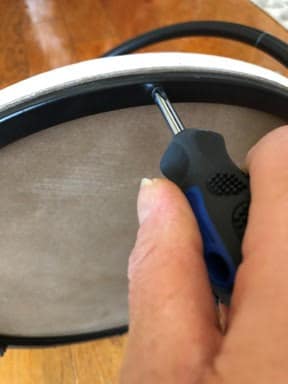
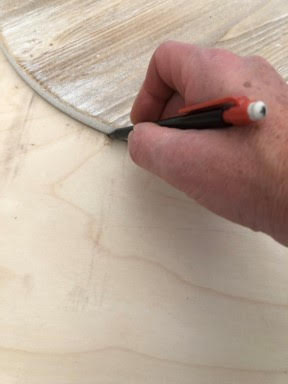
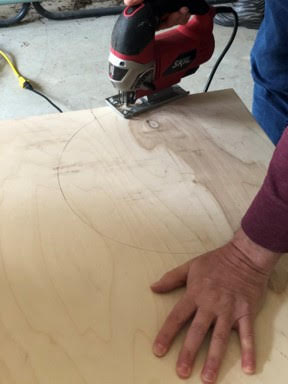
Using your Phillips Screwdriver remove one of the existing shelves from your stand, then place on top of your Birch plywood and trace your shelf. Next using your jigsaw (don’t forget your safety goggles) cut out your shelf.
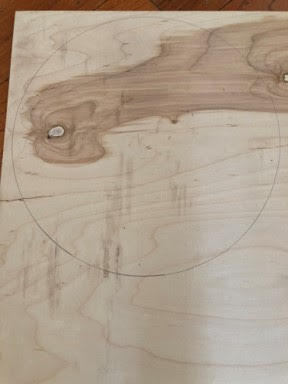
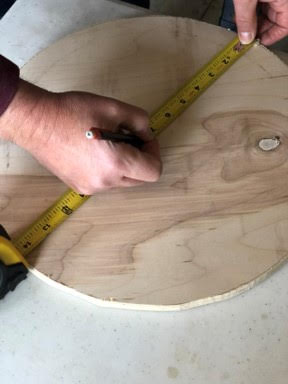
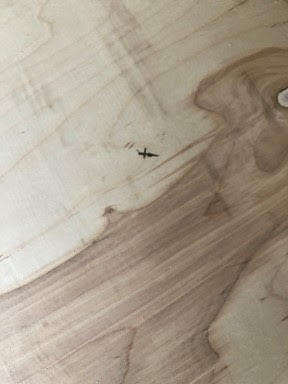
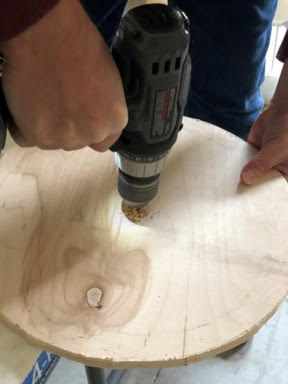
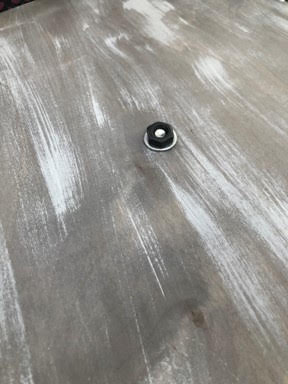
Using your tape measure find and mark the center of your shelf, once you have your center marked drill your center hole.
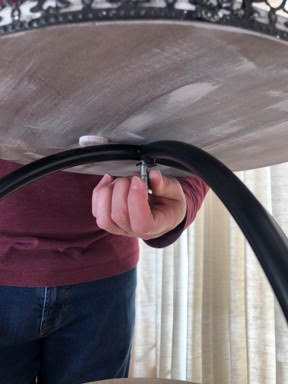
Before you move on to sanding and painting, make sure your shelf is going to fit your stand correctly.First remove the existing bolt from the top of your stand, place your shelf on top of the stand and using your new bolt (which is a ½ inch longer to accommodate the adding of the shelf) insert from the bottom up through the shelf add the nut and lightly tighten.We did this step just to make sure the shelf would sit properly on top.
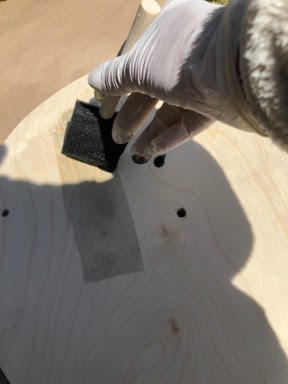
Sanding and painting
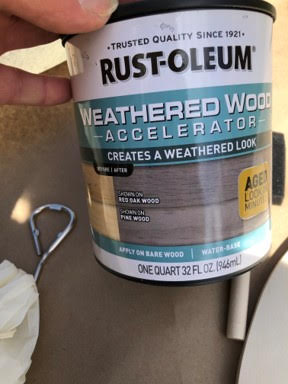
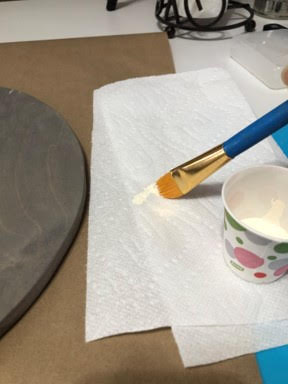
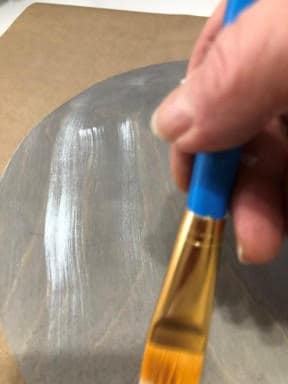
Once you have made sure your shelf will fit properly remove from the stand and give it a good sanding especially around the edging as you can see ours was a little uneven in spots so I sanded the edge until it was pretty even, it is ok if it is not perfect you will be covering the edge with your trim. Now you are ready to paint, I used Rust-oleum weathered wood accelerator first covering all sides of the shelf ( I have to say this stuff is amazing it gave the wood a weathered age look) next I used acrylic white pant and did a dry brush technique, if you have never done this technique all you have to do is dip your brush in the paint and dab it on a paper towel then do light brush strokes across the surface of your project , I tried to match the existing shelves as much as possible.
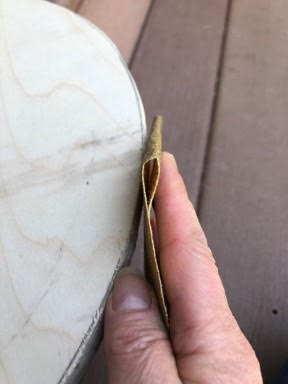
Preparing the shelf trim
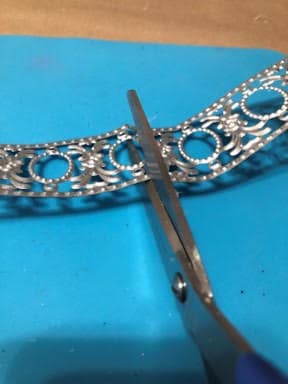
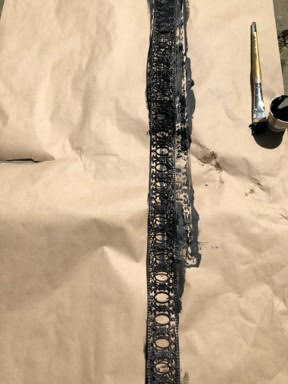
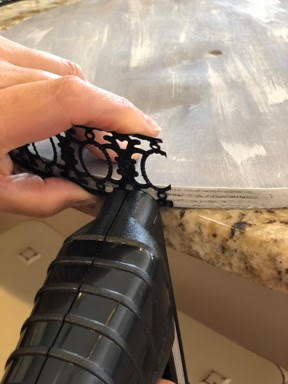
For the trim I used a metal ribbon I had purchased from Hobby Lobby and had left over from a past project. Take your trim and place it around the outside of your shelf to see how much you will need, I overlapped my ends just a little so there is not space between them, using your scissors cut the trim. To paint the trim I used a black craft acrylic paint, if you have a black spray paint I think it would be much easier but I used what I had, I gave it two coats of paint.
Adding the trim
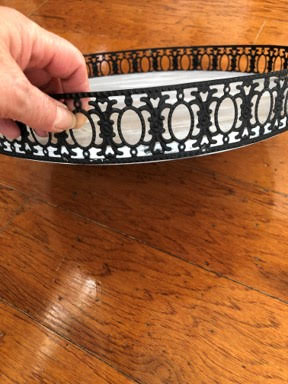
Once your shelf and trim have dried you can add the trim to your shelf edge. Using the brad nailer attach the end of your trim to your shelf, (make sure the bottom of your trim is even with the bottom of your shelf), keep nailing your trim about every 2” making sure your ribbon is tight to the edge of the shelf as you go.
Getting the bodice form ready
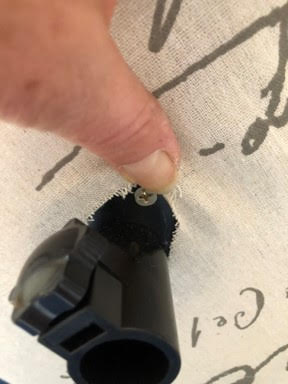
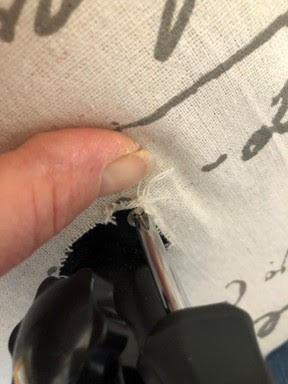
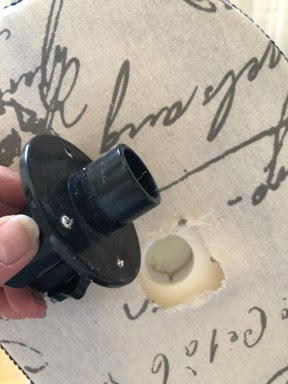
To be able to set your bodice form onto your shelf you will first have to remove the attachment from the bottom of the form. Pull back the fabric from around the attachment a section at a time and remove the screws, you should now be able to remove the attachment from the bodice.
Assembling the jewelry stand
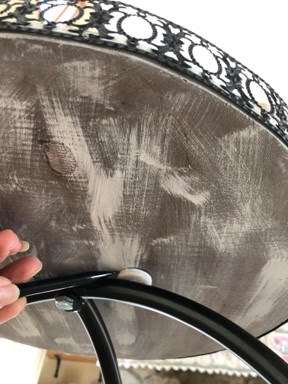
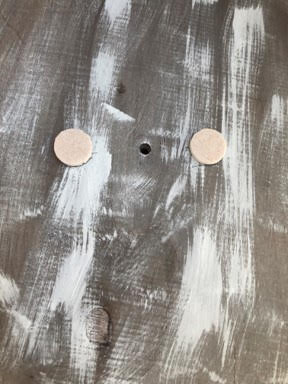
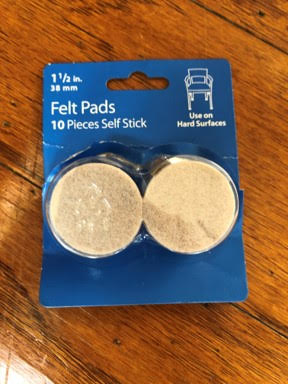
You are now ready to assemble your jewelery stand. First set set your shelf on the top of the stand then insert your bolt from the bottom up through the shelf, add the washer and bolt and tighten with your wrench. After we attached the shelf we felt that it was a little unsteady so we lossened the nut and placed two small stickey felt pads on the bottom of the shelf where it would rest on the metal beneath the shelf, we then marked the bottom of the shelf where the pads would go and removed the shelf to be able to add the felt pads. After applying the pads we reattached the shelf, this made it much more stable. Last but not least set your bodice on your self so the bolt will go inside the hole in the bottom of your bodice. You are now ready to display your jewelry I hope you are in love with this stand as much as I am.
I do very much love your idea. I have been looking for something or some way to display my grandmother’s jewelry.