Flowers, Home Decor, Outdoors, Spring
DIY Garden Flower
Apr
DIY Garden Flower
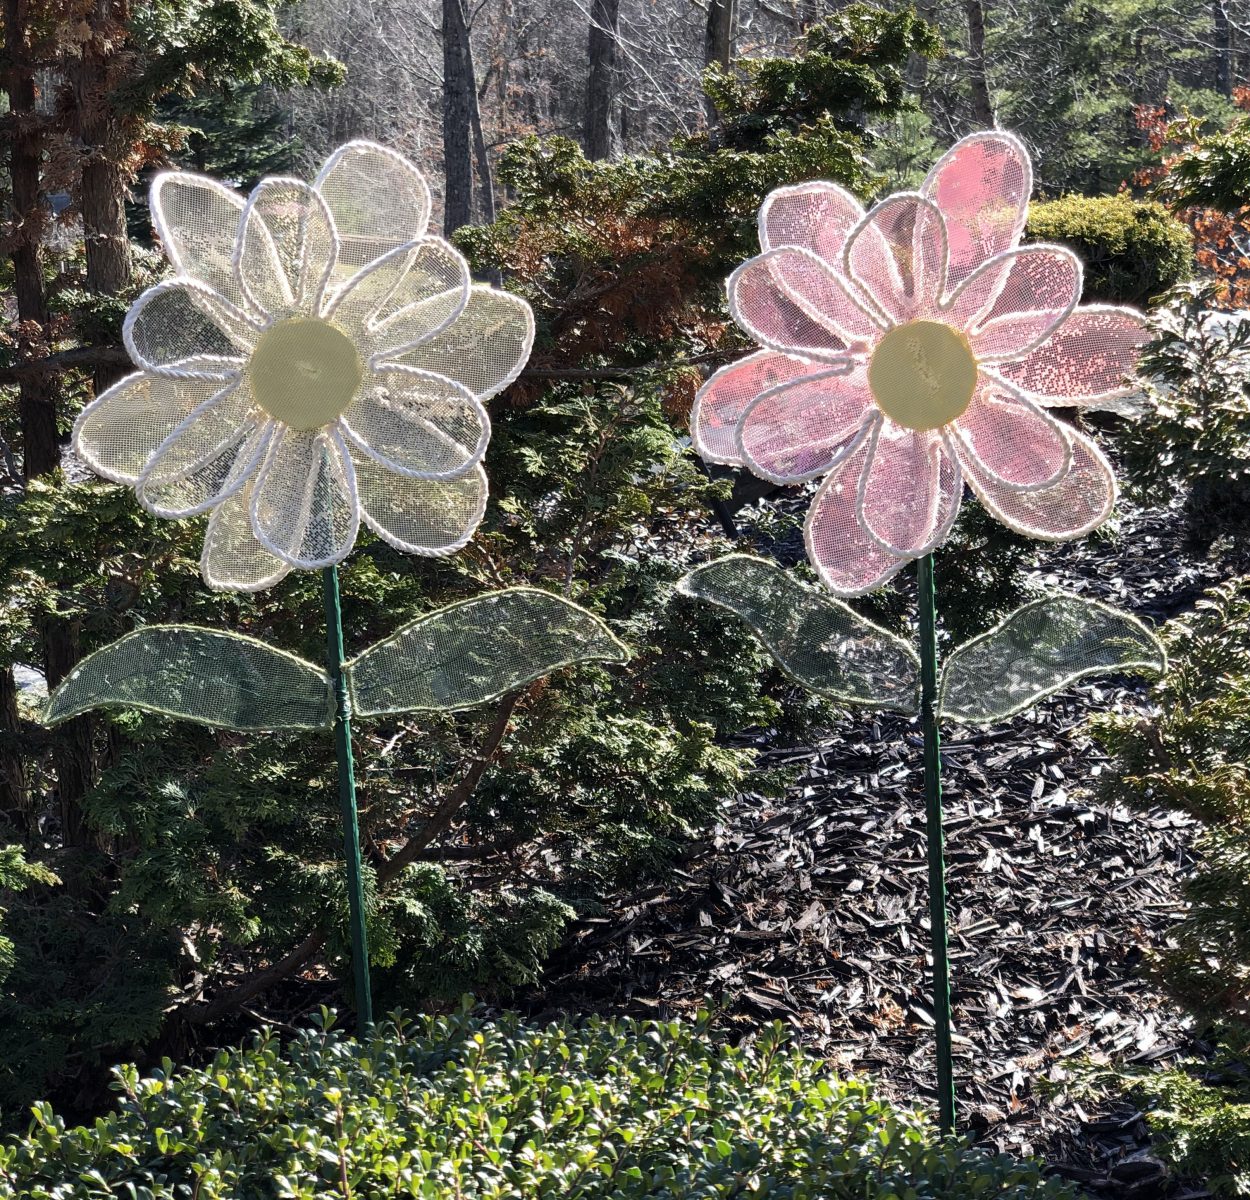
Hello everyone Spring is finally here. I wanted some flowers to display out in my yard but I needed them to withstand the weather, after thinking about it for a few days I came up with this idea for a flower made out of Aluminum Screen. I just love how they turned out and the best part is after two rain and wind storms along with three small snow storms (I know I said it was Spring but I think the weather forgot) they are still standing and looking as beautiful as the day I Put them in my yard.
Here is a list of what you will need:
- Garden Flower Pattern – Download PDF
- Aluminum Screen
- Garden Stake
- Scissors
- Paintbrush
- Marker
- Floral Wire
- Wire Cutters
- Hot Glue Gun and Glue Sticks
- Cording and Green Jute
- Foamboard or Styrofoam
- Craft Paint
- A fatter needle I used an embroidery needle
Print out pattern
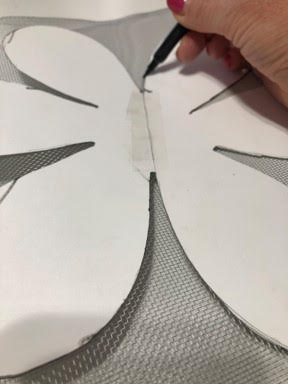
The first thing you will need to do is print out the pattern from the PDF file you’ve just downloaded. You will see that you will need to overlap A and B to form the larger part of the flower.
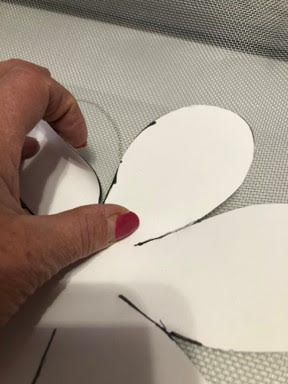
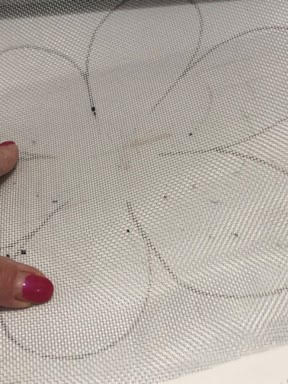
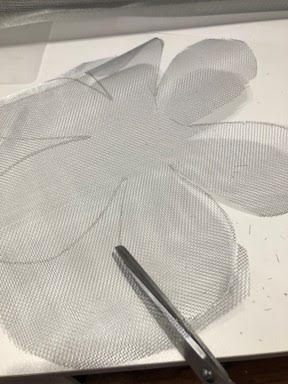
Once you have all your pattern pieces cut out lay down your screen and using your marker trace your two flower petal pieces, two leaves and your larger circle. When you are tracing the smaller petal piece of the flower you will need to lift up the petals one at a time as you are tracing to be able to trace all the way down between each petal you can see example in the photo’s below.
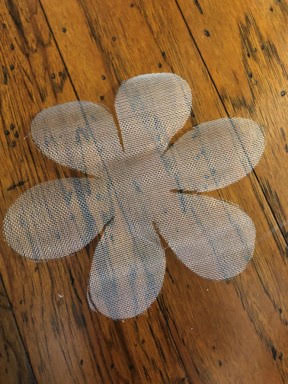
Cut out flower pieces
Before you start cutting them out you might want to wear a pair of garden gloves and cut them outside it is messy the little pieces of screen go all over and it can get a little sharp when you are cutting them. Now using your scissors cut out your flower pieces and you leaves. Once you have your pieces all cut out trim off any little pokey pieces that are around the edges.
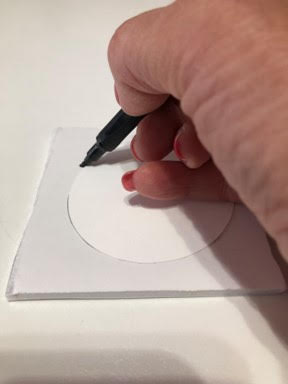
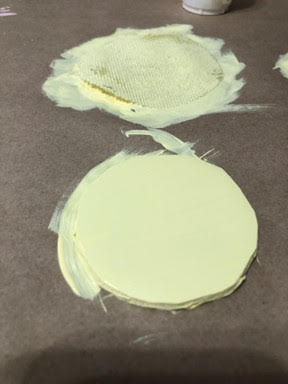
To make the center of the flower take your piece of foamboard or Styrofoam and trace and cut out the small circle.
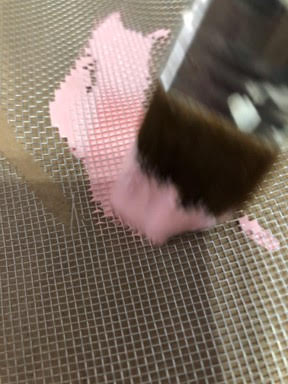
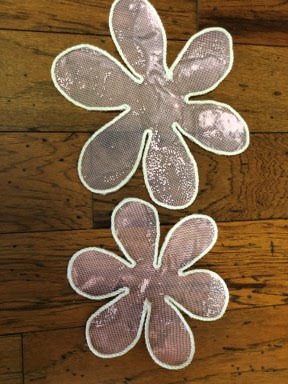
Ready to paint
Cover your work space with paper because the paint is going to go right through the screen. Ok we are all ready to start painting. Paint your two petal pieces with the colored craft paint you have chosen for your flowers, push down on your paint brush a little to get some of the paint in the screen, now flip them over and do the same to the other side. I love the way it looks when some of the paint stays in the screen. Paint your screen circle and one side of your foamboard circle with the color of craft paint you decided you would like the middle of your flower to be. Finally paint your leaves green, place your pieces on a clean piece of paper and let all your pieces dry.
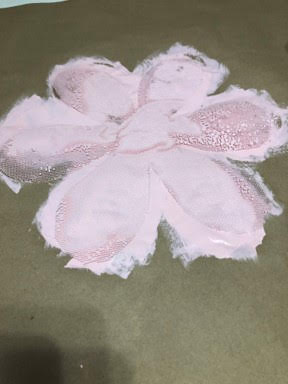
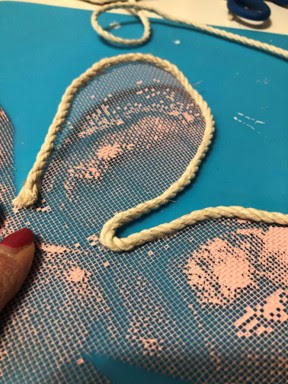
Add the trim
Once all your pieces have dried you can start adding the trim. I used a cream cording that I purchased from hobby lobby to go around the petals, you can use either use a cording or jute.
Starting at the beginning of one of the petals start adding a line of hot glue then add your trim, I found doing a small section at a time was the easiest, continue around the whole flower going up and down the petals. Repeat this step to your second petal piece. Now add the green jute around the edge of your leaves, I purchased the green jute at Home Depot but you can use any color you would like.
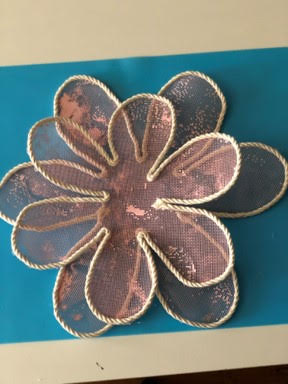
Assemble the flower
Ok now it is time to assemble the flower, start by laying down the larger petal piece then take the smaller petal piece and lay it on top of the larger piece making sure the smaller petals are laying in-between the larger petals.
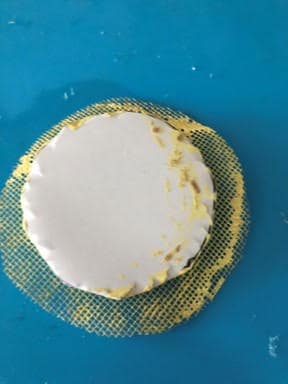
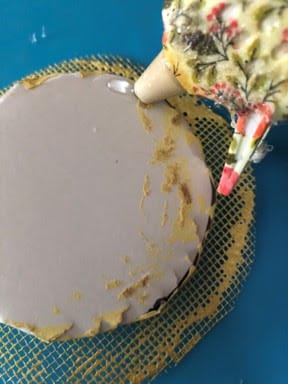
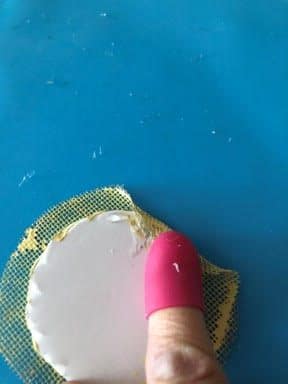
Add hot glue
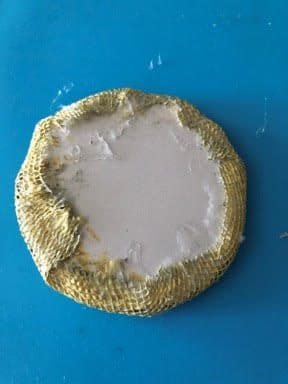
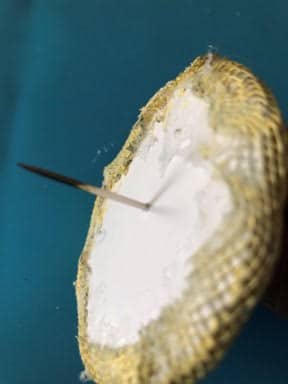
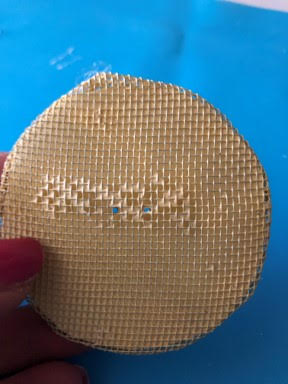
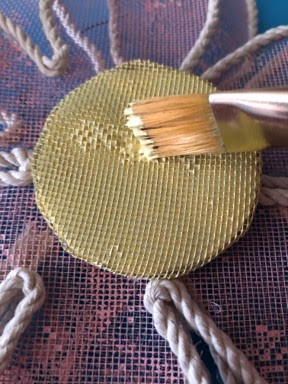
Next take your foamboard circle and lay it the painted side down on top of your screen circle, add hot glue around the edge of the foamboard circle and fold the screen over all around the circle as shown in the photo’s below.
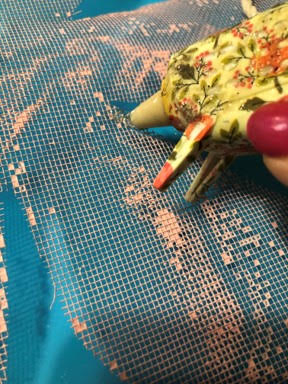
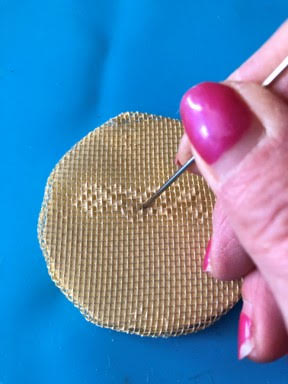
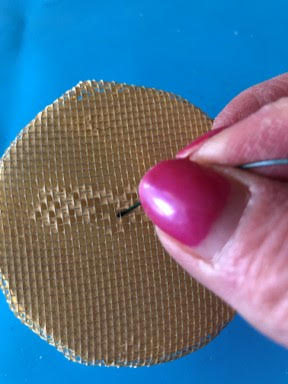
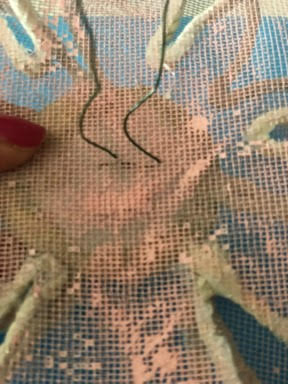
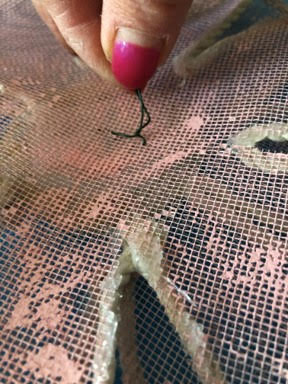
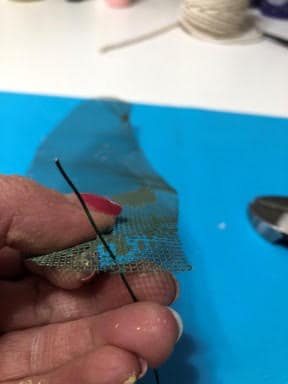
Using your needle make two holes in the center of your circle, do not make them far apart, make the holes through the screen and foamboard. See below photo.
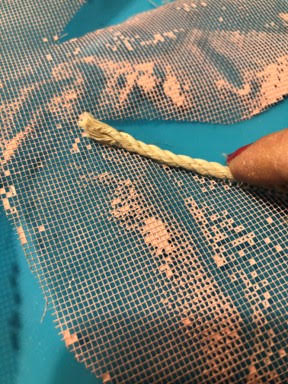
Cut green floral wire
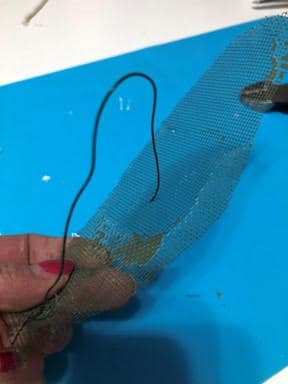
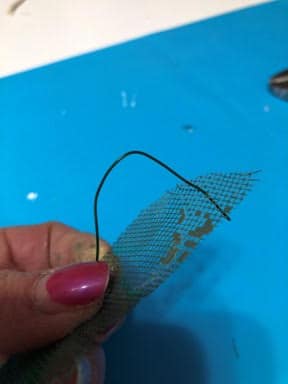
Cut a 5 inch piece of your green floral wire. Taking on end of the floral wire insert it through the hole and pull half of the wire to the back, next take the other end of the wire and insert it into the other hole and pull the wire through.
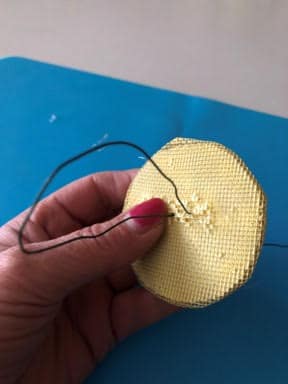
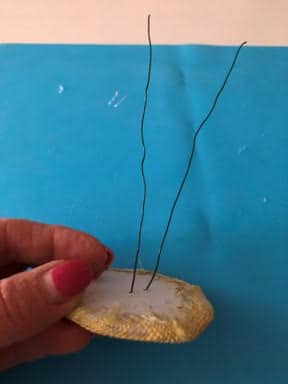
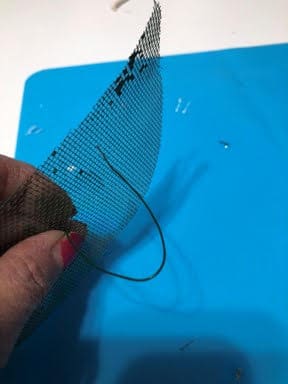
Next take your center and feed your wires through the middle of both your petal pieces. Turn your flower over and pull your wires tight and twist them so they stay tight.

Using the paint you used for the center, paint the wire piece you can see on the front.
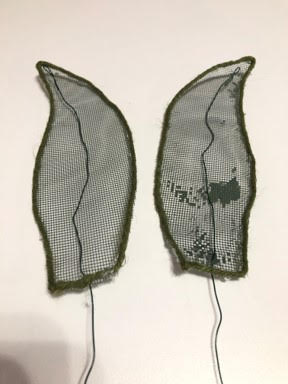
Time for the leaves
Lets get the leaves ready. Lay your two leaves flat, take your green floral wire and starting at the top of the leaf run the wire down to about 3 or 4 inches a past the bottom of the leaf then cut with your wire cutters. You will need two pieces of floral wire one for each leaf. Next you are going to take one piece of wire and starting at the bottom center of the leaf insert one end of your wire and bring it back up in the middle of the leaf through the bottom, then about ¼ the way from the top bring the wire back up through the leaf then down again at the top of the leaf. You will only need a small piece of wire at the top back of the leaf to bend over to hold the wire in place. Wiring the leaf is like doing a running stitch on fabric. Repeat this step to the other leaf.

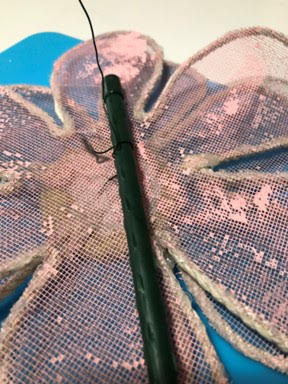
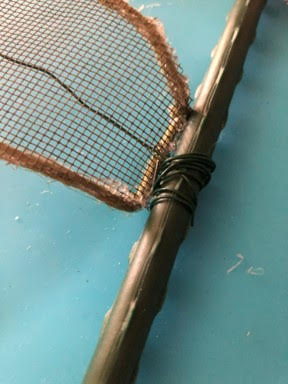
Lay flower face down
Now lay down your flower face down place your garden stake on top of your flower in the middle of the wires, cross the wires pull them tight and twist twice wrap the remaining wire around the stake pulling tight as you go.

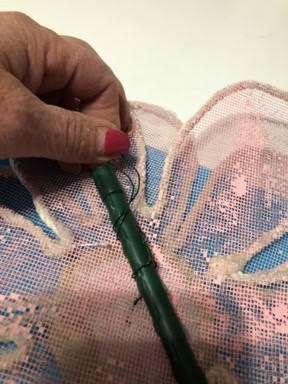
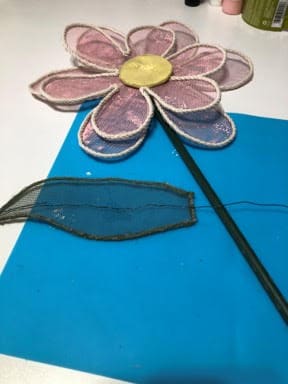
Turn flower over
Turn your flower over, now take one of your leaves lay it down face up about 6 inches from the top with the wire laying over the stake. Take the wire and wrap it under the stake pulling it so the bottom of the leaf is next to the stake twist the wire around the wire at the bottom of the leaf making sure it is tight wrap the remaining wire around the stake. Repeat these steps with the other leaf on the opposite side of the stake.
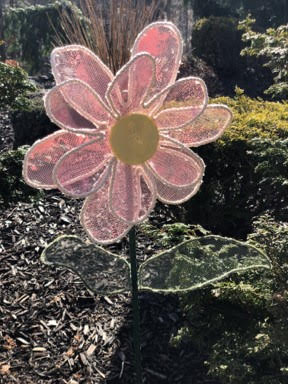
Shape flower petals
You can shape your petals with your fingers to give them some dimension. Yay! You are now ready to display your flower outside in your garden
I loved making these! I have made 6 so far and plan on making more. Have them spread out in the back yard. Thanks for a great craft–easy to follow directions!
Is there a video for these flowers?
The flower are just BEAUTIFUL. Yes I am going to try & make them. It will be up in the summer before I finish them, but I will post them when I do. So glad I got to see them in your yard. I want to see your front door some time also 2/28/21
Thank you so much for your patience in guiding me through getting the patterns. I am excited to make these and put them in my garden area. You are so special and great in explaining everything.