Dollar Tree, Home Decor, Outdoors, Spring
DIY Lantern
Apr
I wanted to make a lantern/candle holder so I was on Pinterest searching for a DIY lantern all the ones I saw were made out of picture frames from the Dollar Tree so I made a trip to the store to look at the frames when I came across the stretch canvas in the craft section and I thought I could change it up and use these instead of the picture frames to make the lantern. When you buy the stretch canvas make sure you purchase the ones with the tan label and not the dark blue label the wood on the tan label canvas is so much better then the blue label.
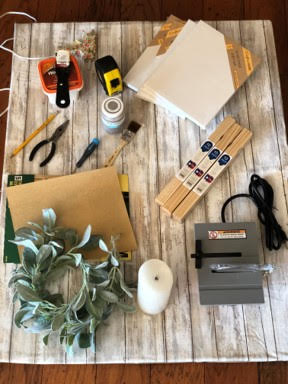
Here is a list of what you will need:
- 4- 8×10 Tan Labeled stretched canvas (Dollar Tree)
- 22- 1 Gallon paint sticks
- Wood Filler
- Putty knife
- Hot glue gun and glue sticks
- Paint of your choice
- Paintbrush
- Measuring tape
- Pencil
- Flathead screwdriver
- Needle nose pliers
- Saw
- Sandpaper
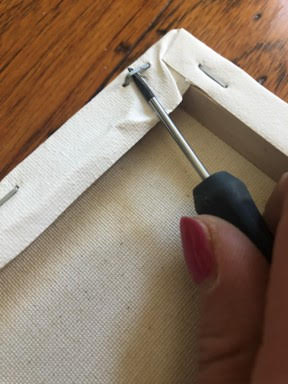
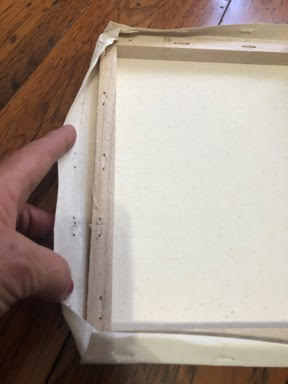
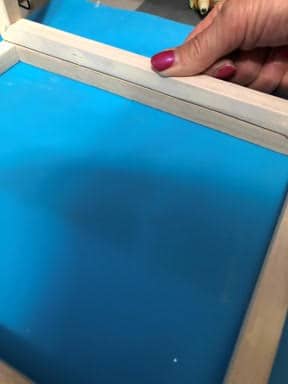
Lift up staples on back of canvas
First take your canvas and using your flathead screwdriver lift up the staples on the back and pull them out with the needle nose pliers then remove the canvas from the frame, repeat this step to the other 3 canvases. Save the canvas I am sure it can be used in another project down the road, I do not like to waste anything I might be able to use in another project.

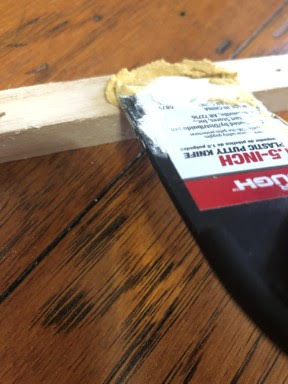
Fill in the staple holes
Now to fill in the staple holes. Using your wood putty and putty knife start filling in the holes on all four frames making sure to scrap off the excess so you won’t have to much to sand. Let dry.
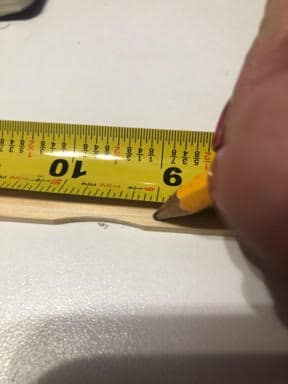
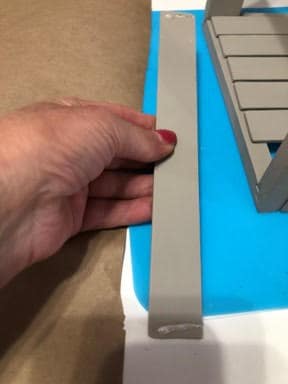
Measure and cut paint sticks
While you are waiting for the wood filler to dry you can measure and cut your paint sticks, you will need to cut the following.
- 6 sticks at 9 inches
- 4 sticks at 9 ¼ inches
- 12 sticks at 8 inches
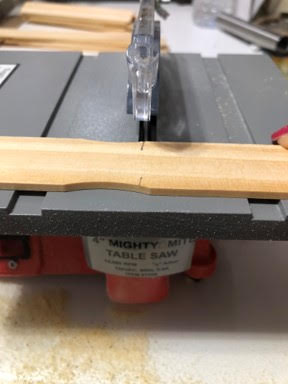
You can either use a handsaw or table saw. I have been crafting for years and I have just recently came across this adorable 4” Mighty Mite table saw. I just love this saw it works amazing on small wood projects such as this and I keep it in my craft room so no runny out to the garage when I need to cut some items.
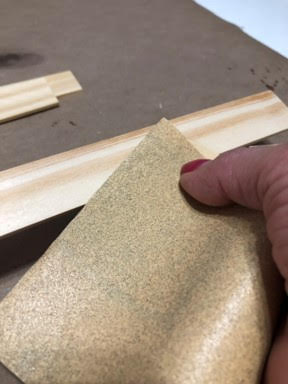
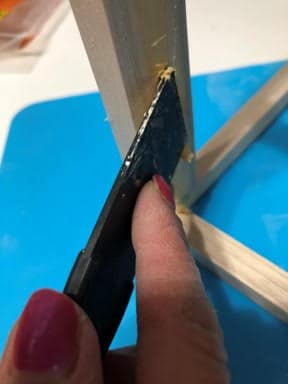
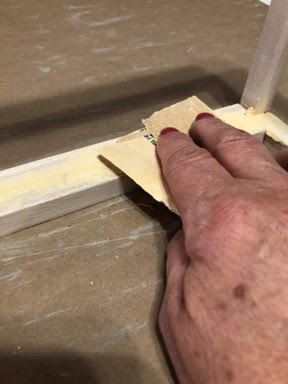
Time for a quick sanding
Once you have all your paint sticks cut give them a quick sanding. The sticks are now ready to paint I used Waverly chalk paint in the color Mineral which I purchased at Walmart but you can use any paint and color of your choice. Paint all sides of your paint sticks I did two coats of paint.

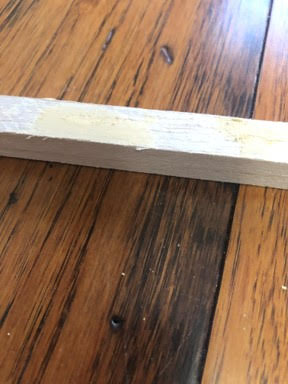
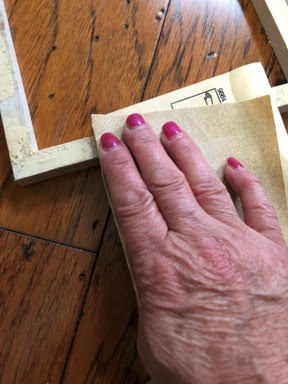
Back to the frames
While your paint sticks are drying lets go back to the frames and give them a good sanding on all sides, making sure they are smooth where you filled in the staple holes.
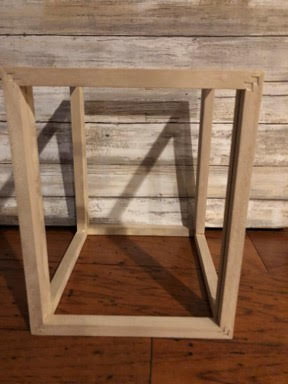
Assemble the frames
Now it is time to assemble the frames. Take one frame lie it down flat with the side you filled in the staple holes facing up, add a line of hot glue to the right side take another frame and glue the two frames together making sure the side you filled the staple holes is facing in. See the photo’s below.
Repeat step to the left side
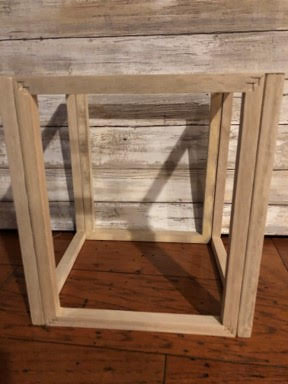
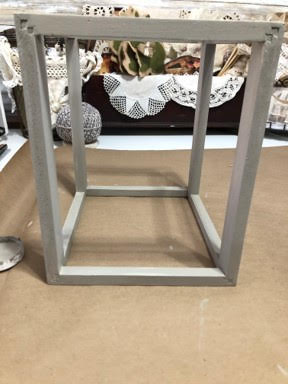
Repeat this step to the left side adding the third frame. Now add a line of hot glue to both the left and right front side of the frame and glue your fourth frame in place. You should have two sides that look like this.
You should also have two sides that look like this:
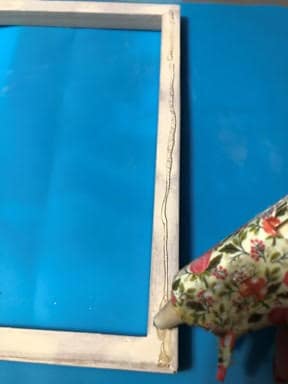
Wood putty where your frames are joined together
Next you will need to wood putty where your frames are joined together on the insides, don’t worry about where they are joined together on the outside you will be covering them with the paint sticks, set aside to dry.
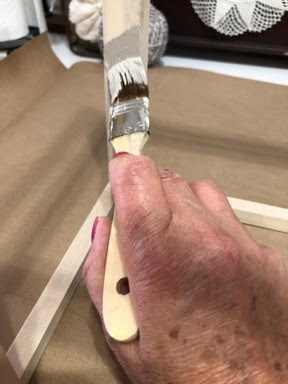
Give joined areas a good sanding
After the putty has dried give the joined area’s a good sanding making sure they are smooth. Now you are ready to paint the frame using the same color paint you painted the paint sticks, paint the whole frame, I applied two coats.
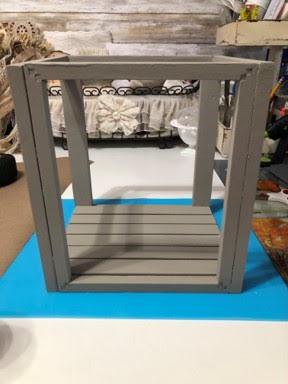
Add the bottom to the frame
After your frame has dried you can now add the bottom to the frame. Take your six nine inch sticks and lay them flat on the inside bottom of your frame, you will need to leave a small space in-between each one to cover the whole bottom. Using your hot glue gun add a small amount off glue to each end of one of your sticks and glue to the frame, repeat this step to the other five sticks.
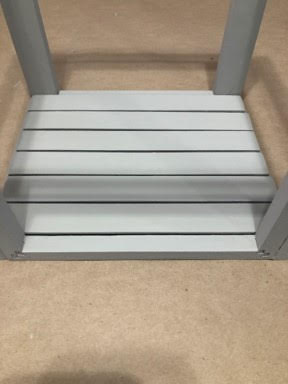
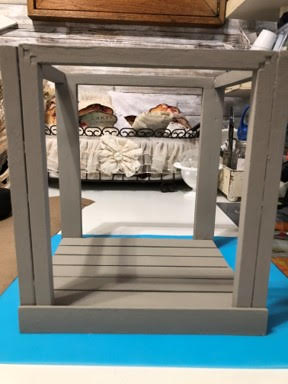
Continue assembly
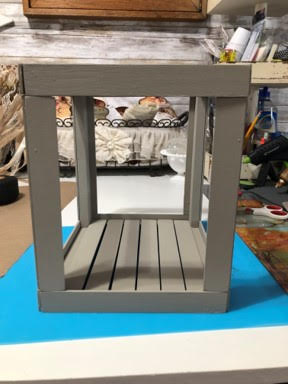
With the wider side of the lantern facing you (as shown in the picture above) take one of the 9 ¼ inch sticks and glue to the front bottom. Next add hot glue to the right front side and attach one of the 8 inch sticks making sure the bottom of the stick is resting on top of the bottom stick you just added, repeat this step to the left side. Take one of the 9 ¼ inch stick and glue to one side and attach to the front top making sure it is resting on the top of the two sticks you just attached. Turn the lantern around so the other wide side is facing you then repeat the steps you just did to this side.

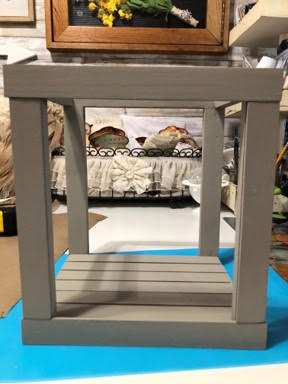
Turn lantern to unfinished smaller side
Turn the lantern again to the unfinished smaller side. Glue one of the eight inch sticks to the front bottom, next add hot glue to the front right side of the frame and attach another 8 inch stick this time make sure the outer side of the stick is even with the outer side of the frame. Repeat this step to the left side, glue another 8 inch stick to the top making sure it is resting on the two side sticks you just attached. Turn your lantern so the last unfinished side is facing you and repeat the steps you just did with your last 4 eight inch sticks.
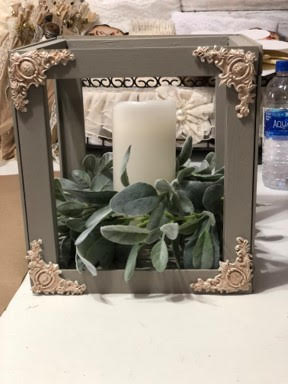
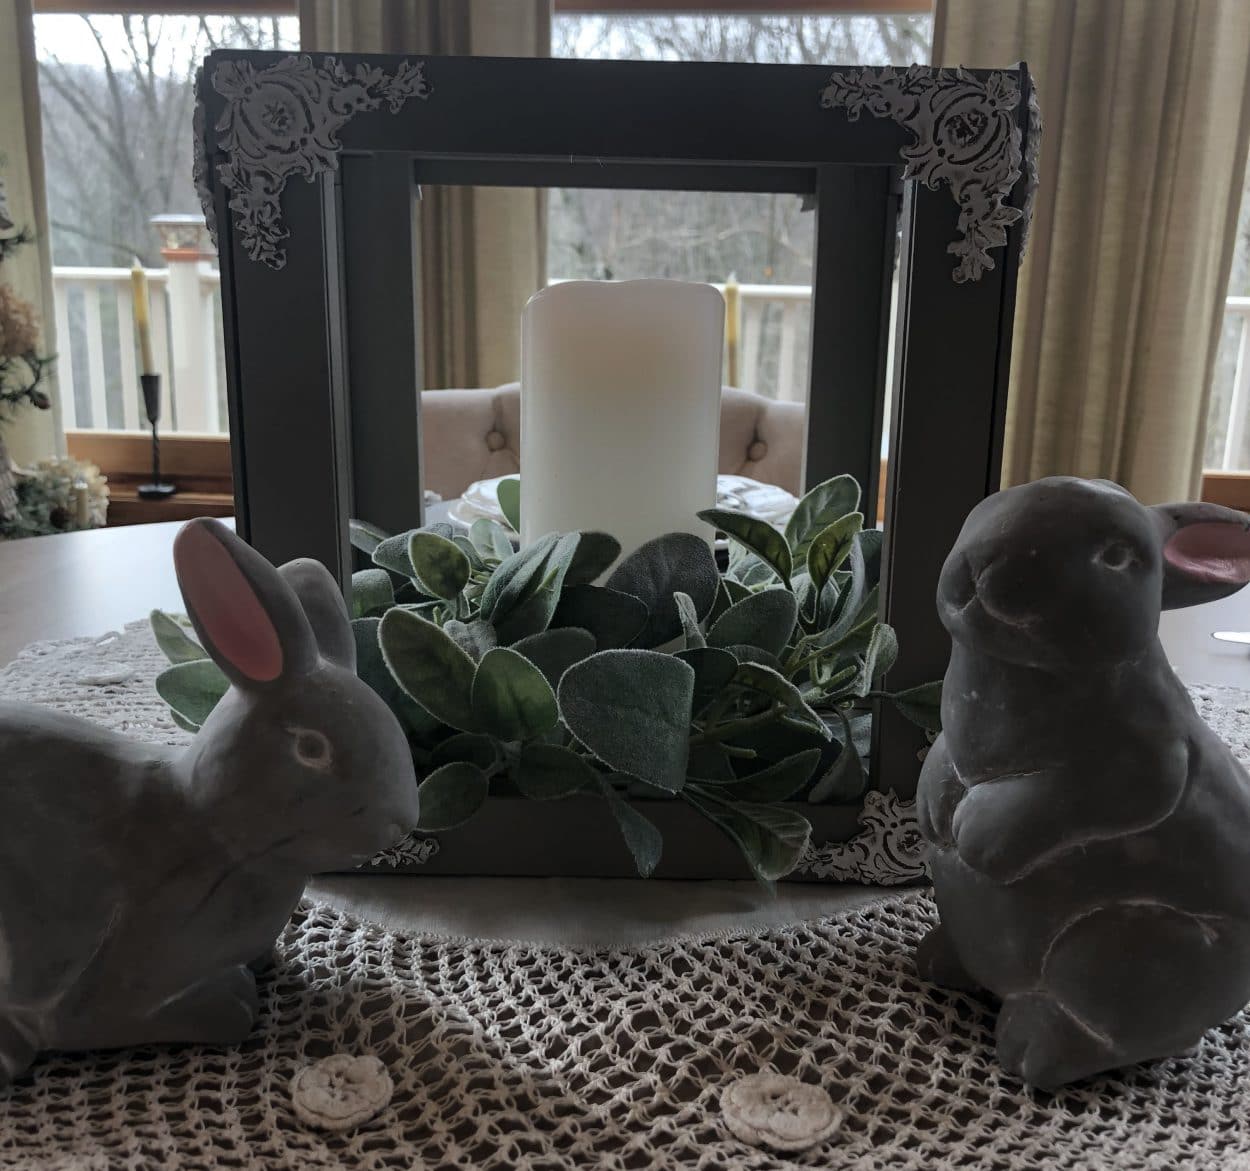
Add embellishments as you like
You are now ready to add any embellishments you would like, if you would like to make your own embellishments like the ones I made for this lantern in the photo check out my blog post for DIY Appliques. The only thing left to do is add your candle and greenery.