Dollar Tree, Easter, Home Decor, Spring
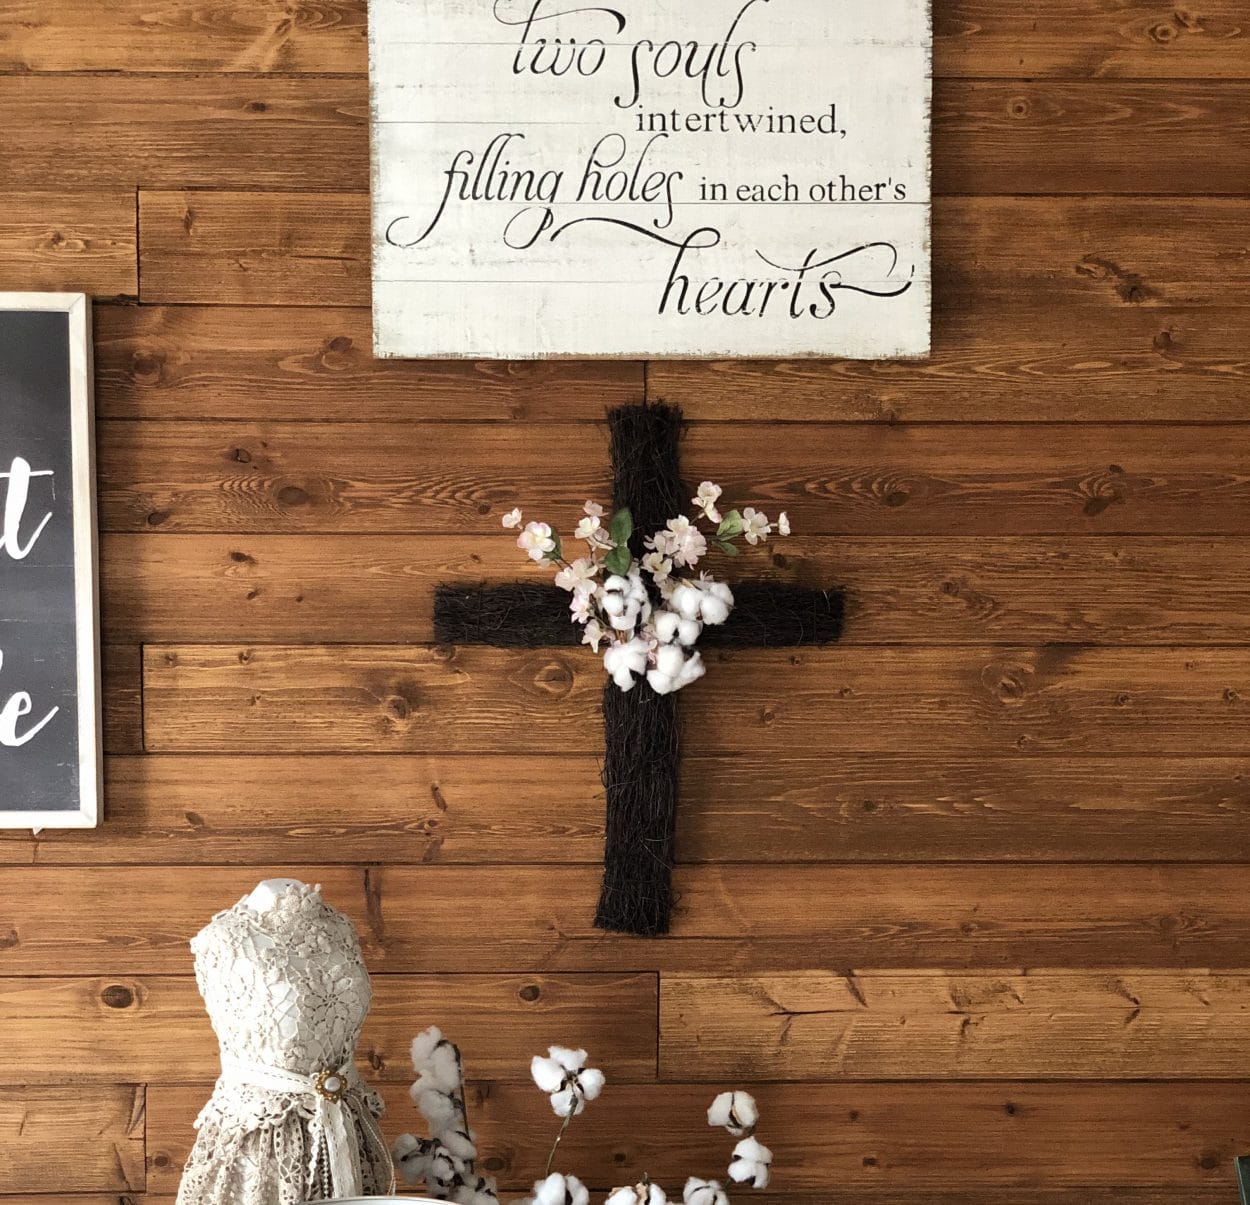
DIY Dollar Tree Cross
Apr
Have you gone to the dollar tree to get the metal cross form at Easter time only to find out they are sold out?
I have so I decided to search Pinterest for cross forms and I came across how to make a cross form using dollar tree items. I was amazed at how simple this cross form is to make and it will only cost you $2 to make. The $2 does not include any other supplies you choose to decorate the cross with. You will find the simple directions below.
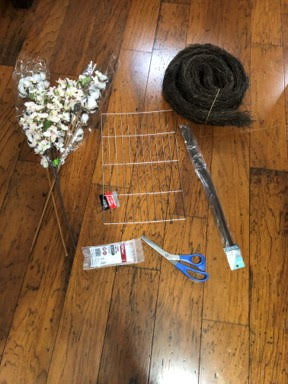
Supplies:
- 1 cooling rack from the Dollar Tree
- 8 small zip ties
- Wire Cutters
- Scissors
- Brown Floral Wire
- Brown Spray Paint
- Twig Garland and Flowers for decorating
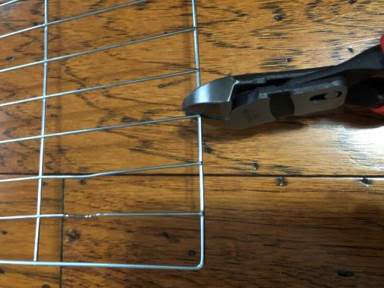
Step 1 – Cut the cooling rack
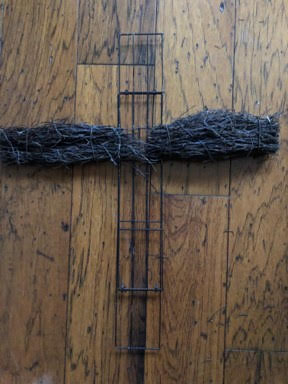
Starting from the left side count three full rows across the bottom, then using your wire cutters start cutting right after the third row working your way to the top of the cooling rack as shown in the photos below.
Working your way right count out two full rows and starting cutting from bottom to top just as before.
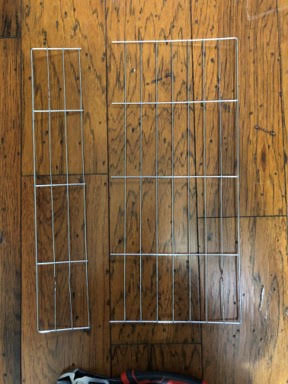
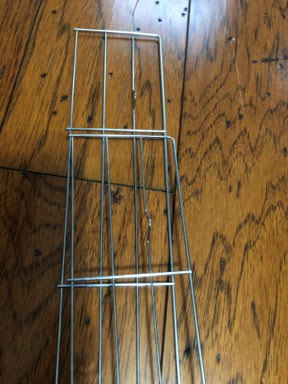
Ok now start from the right and count three rows in and cut from bottom to top. You will end up with four pieces as shown below, discard the single piece in the middle. You will need to trim off the excess of the second piece as shown in the photo below.
Step 2 – Assembling the cross
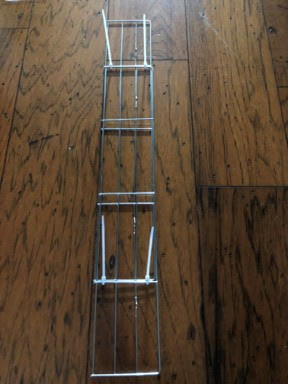
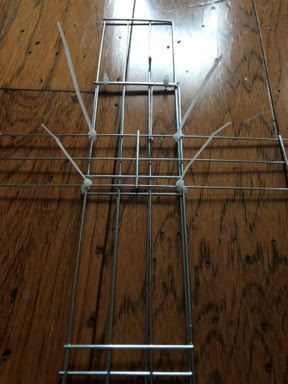
Time to put together your cross form. Take your 2 three row pieces, lay one piece down with the little feet upwards take your second piece laying it on top of the first piece, one section down from the top as shown in the photo below.
Using two of your zip ties attach the two pieces together were they overlap each other on the top. Repeat this step where they overlap on the bottom then trim off the excess of the zip ties. Your piece should look like the one in the photo below.
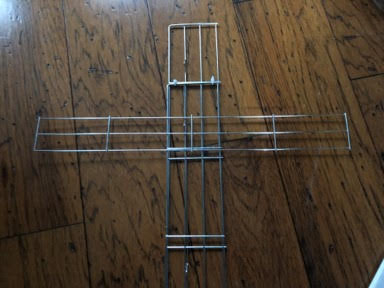
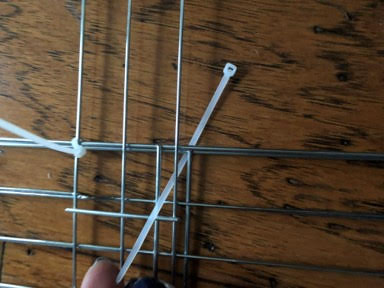
Now take you third piece and lay it across the piece you just finished where the second little foot is from the top. Make sure you center you piece so you are even on the left and right sides.
Using 4 zip ties attach the two pieces together. Taking a zip tie go around the side of the bottom piece up through the top piece and zip tie together. You will need to do this to both top and bottom of both sides checking after each zip tie to make sure you top piece is still centered. Trim off the excess on the zip ties.
Step 3 (optional) – Painting
This step is optional. I chose to spray paint my form brown because I was coving it with twig garland. If you decide you want to make yours a fabric rag cross I don’t think you need to paint the form. I will leave this step up to you.
Step 4 – Adding your twig garland
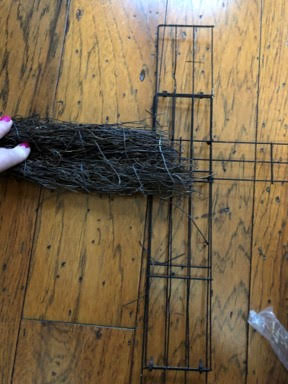
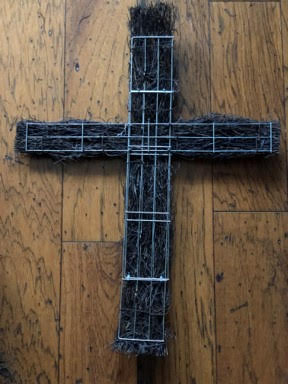
After letting the paint dry take your twig garland and starting on the left side of the horizontal piece of the cross lay down your twig garland (do not cover the center of the cross) as shown in the photo below.
Using a piece of the brown floral wire attach the end of the twig garland to the cross form by wrapping the wire around the twig garland to the back of the form and pull the wire tight and twist. Take another piece of brown wire and do this same step where the garland meets the end of the form. Trim off the excess wire. Photo’s below
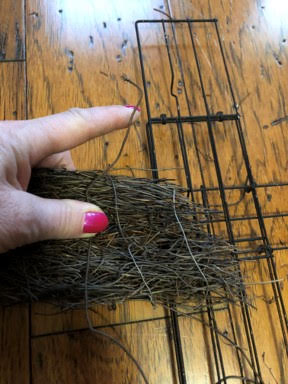
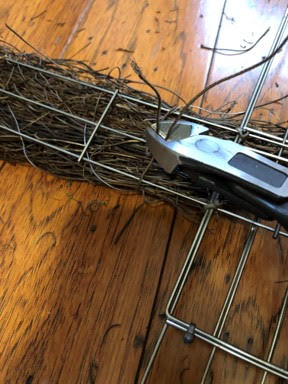
Using your scissors cut the twig garland leaving a little overhang so you won’t see the edge of the frame. Repeat the above steps to the right side. See photo below.
To cover the middle section start laying down your twig garland at the top leaving a little overhang so you don’t see the form at the very top. Wire you garland to the cross form the same way you did the sides, wiring at the top, middle and bottom of form. Cut you garland at the bottom, don’t forget to leave a little overhang. Your cross should look like the photo below.
Back of Cross
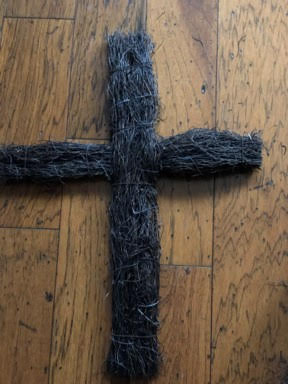
All finished now you can add any embellishments or flowers you would like. I hope you found this as easy as I did to make.
Where did you find your twig garland? I would really like to make this for my front door for Easter.
this is awesome!
Hobby Lobby has the twig garland available.
i have made thoses before
I love the cross♥️ I need to make me one for Easter✝️
Where do you find the twig garland?
I love watching you and your crafts!! I spend hours watching you and your older videos! I’m from Wilkesboro NC