Dollar Tree, Home Decor
DIY Dollar Tree Tabletop Urns
Apr
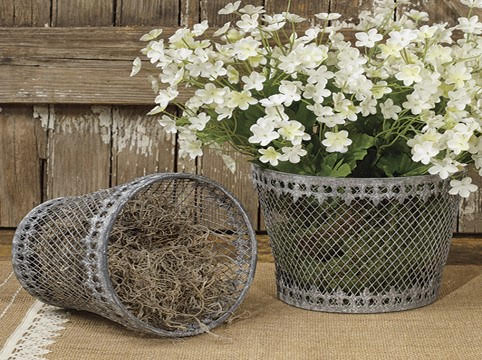
If you have been following me here at the Crafty Decorator you know I am always looking through magazines and online for home décor that I love and recreate well I was looking online and I saw a set of tabletop urns that were kind of pricey and I knew I could recreate them. I was in the Dollar Tree looking around and I came across the vinyl coated wire baskets and a black candle holder, I knew these would all work for my tabletop urns. I needed a ribbon to use which I found at Hobby Lobby and I had greens and a battery operated candle on hand so I went to work and created these amazing tabletop urns. I hope you will give them a try!
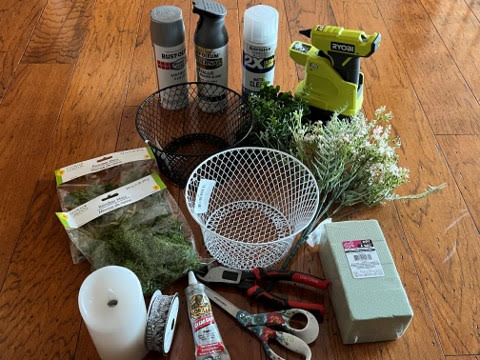
Materials I Used:
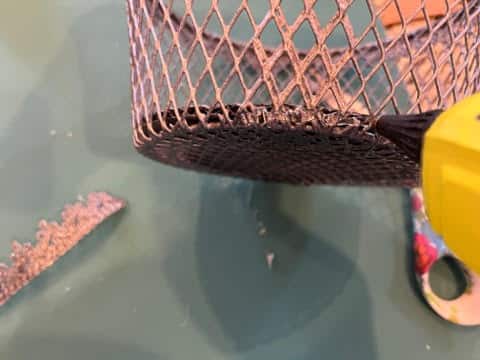
- 2 vinyl coated wire basket from the Dollar Tree they could be 2 round, or 2 oval, or 1 of each
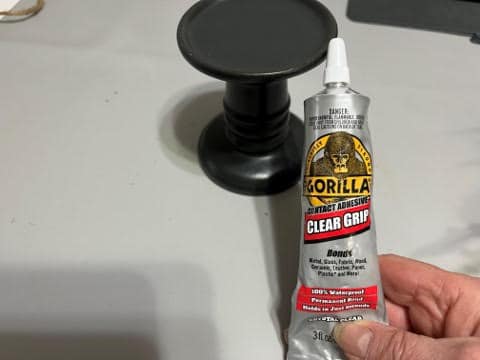
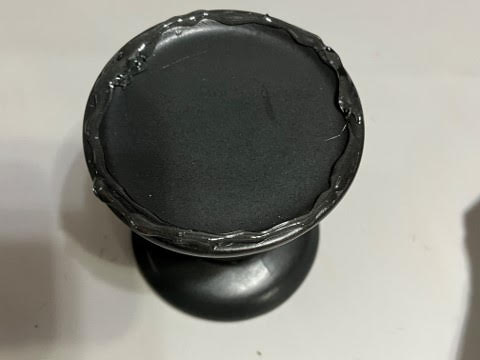
- 1 Black ceramic candle holder from the Dollar Tree
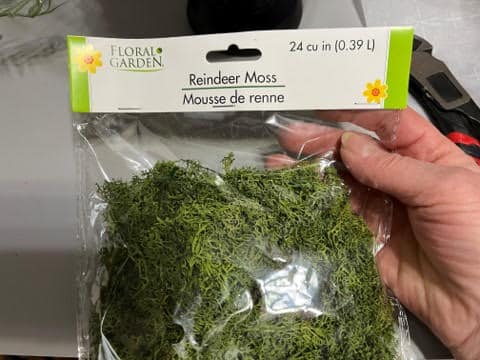
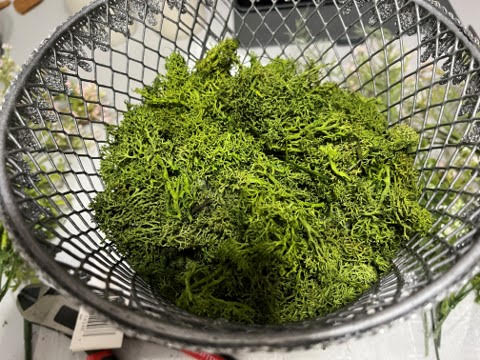
- 3 to 4 bags of Reindeer Moss from the Dollar Tree
- 1 package of 4pc floral foam from the Dollar Tree
- Cardboard
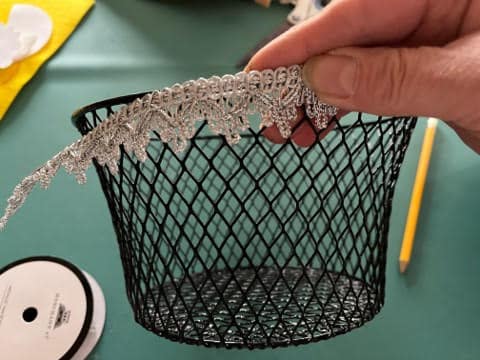
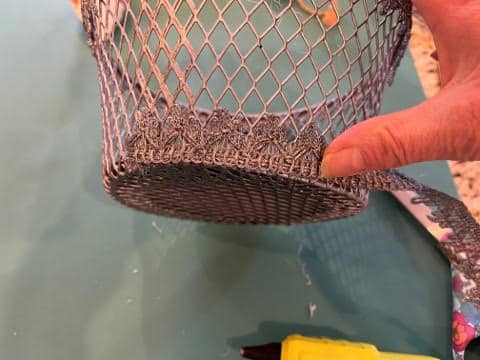
- Silver Metallic Fan Edge Trim – 1” from Hobby Lobby (Item #1990332)
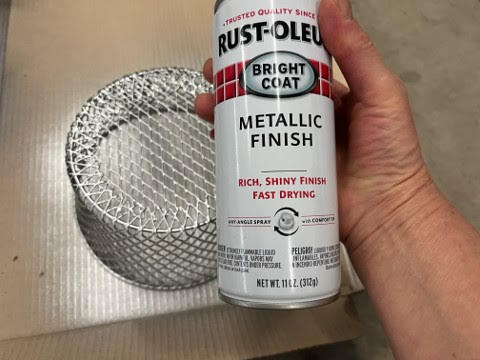
- Rust-Oleum Bright Coat Metallic finish spray paint
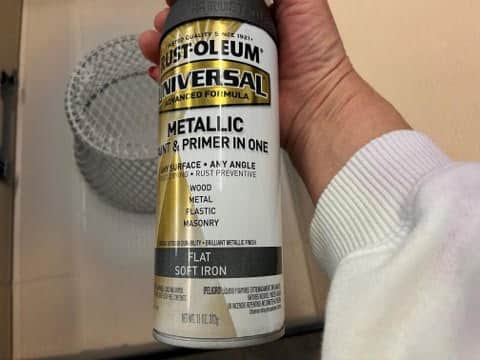
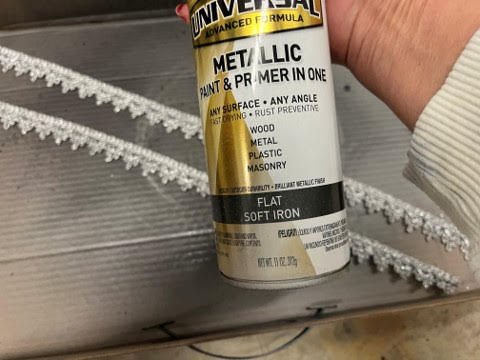
- Rust-Oleum Metallic paint & primer in one in the color flat soft iron
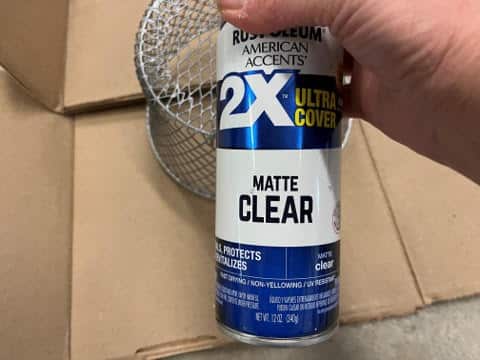
- Rust-Oleum Matte Clear Sealer
- Gorilla Clear Grip Contact Adhesive
- Hot glue gun and glue sticks
- Greens or florals
- Timer pillar candle (optional)
- Pencil
- Scissors
- Wire cutters
Painting the Baskets and Cardboard
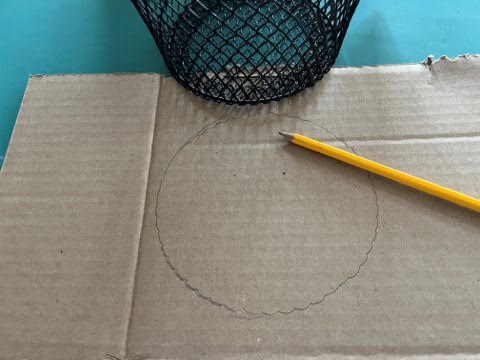
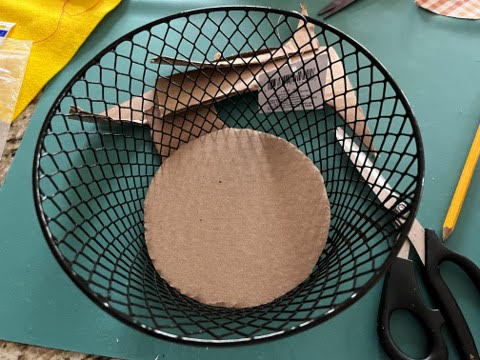
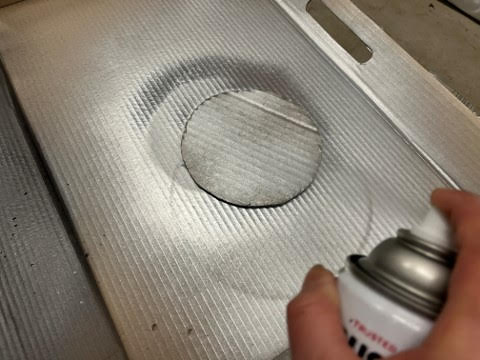
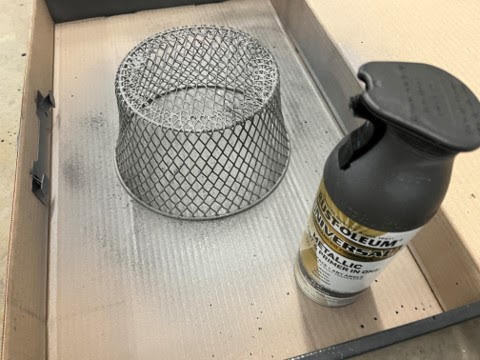
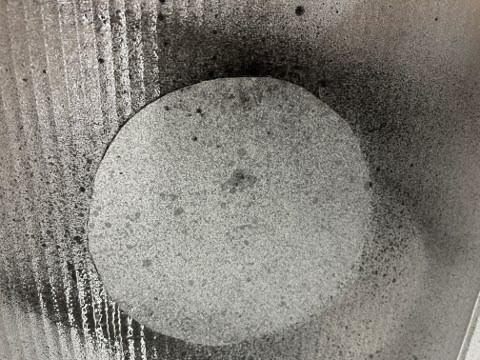
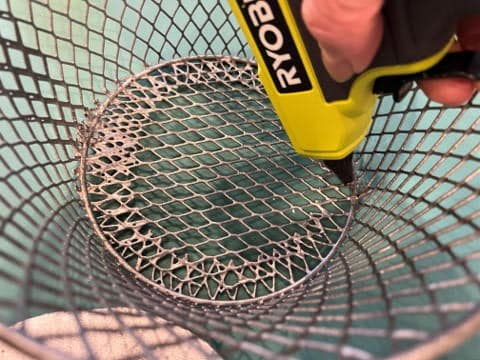
The first thing you will need to do is trace the bottom of the baskets onto cardboard and cut them out. Place the cardboard rounds inside the baskets to make sure they fit. Next in a well ventilated area turn the baskets upside down and spray paint them with the Rust-Oleum Bright Coat Metallic finish spray paint letting dry between coats. You are also going to spray paint the cardboard pieces with the same paint. After the baskets and cardboard pieces have dried turn the over and spray paint.
After your pieces have dried you are going to lightly spray all sides of the baskets and the cardboard rounds with the Rust-Oleum Metallic paint and primer Soft Iron spray paint. You do not want to cover all the bright coat metallic you painted you just want to spray the soft iron metallic lightly to give them a aged look.
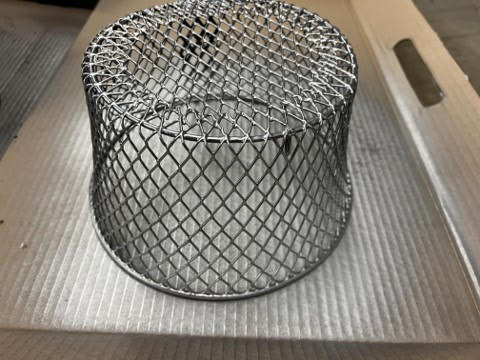
After all the pieces have dried spray all sides of the baskets and cardboard rounds with the Rust-Oleum matte clear sealer.
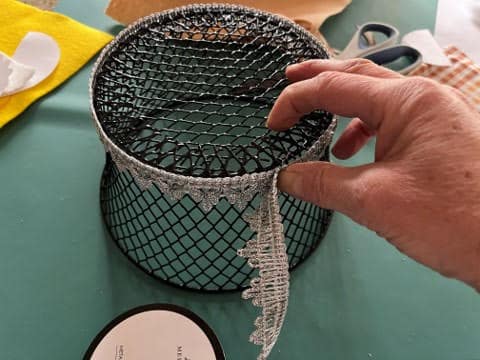
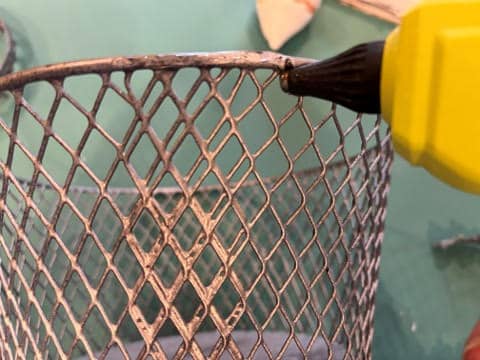
The first thing you will need to do is wrap the ribbon around the top of the basket and cut to length then wrap around the outer bottom of the basket and cut to length. Repeat for the second basket.
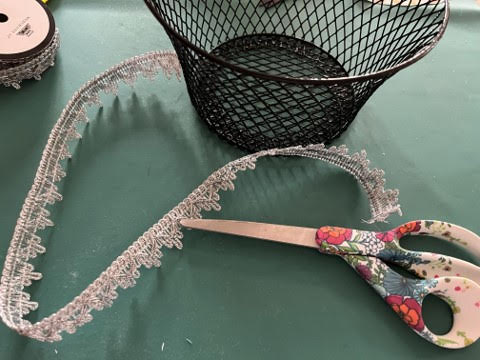
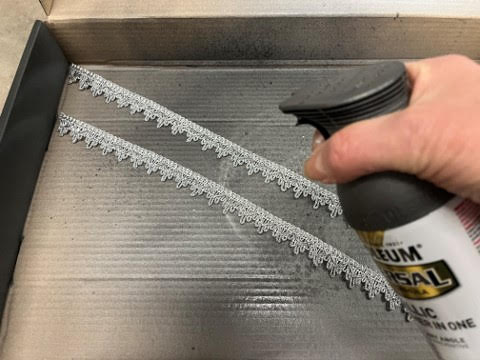
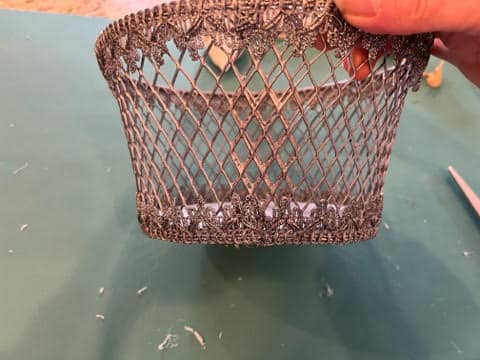
In a well ventilated area you are going to spray paint the ribbon with the Rust-Oleum Soft Iron spray paint. It will properly take two coats. Spray paint both sides then when they are dry spray both sides of the ribbons with the Rust-Oleum Matte Clear Sealer and let dry.

Attaching the Cardboard Rounds and Ribbon
To attach the cardboard rounds add hot glue to the inner bottom rim and glue in the cardboard round. Repeat this step to the second basket.
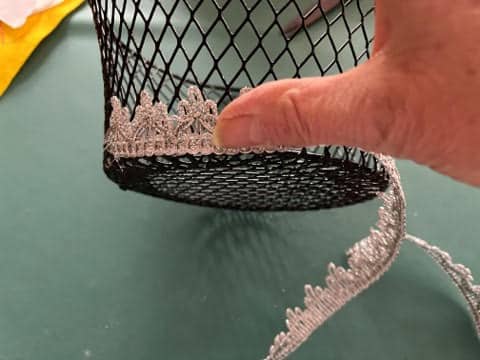
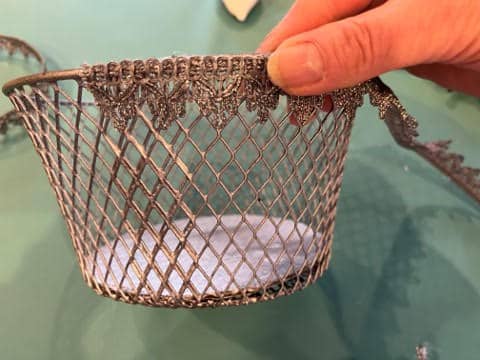
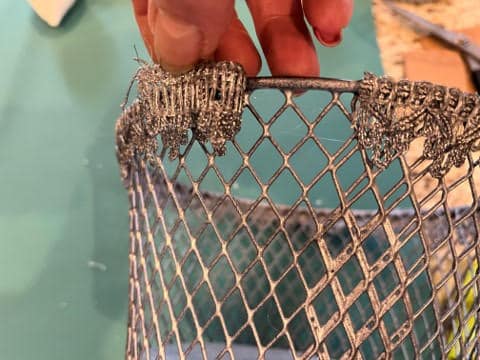
To attach the ribbon to the top of the basket you are going to add hot glue along the outer rim then glue on the ribbon with the point on the ribbon facing down. Continue adding hot glue and attaching the ribbon until the ribbon is attached all the way around. To attach the ribbon to the bottom of the basket you are going to add hot glue to the bottom outer rim and attach the ribbon with the points of the ribbon facing up working your way all around the basket. Repeat these steps to the second basket.
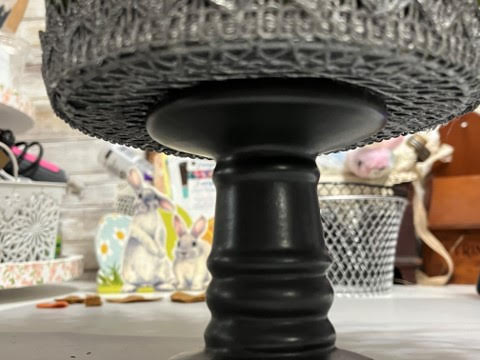
Attaching the Candle Holder
To attach the candleholder you are going to apply the gorilla clear grip contact adhesive to the top of the candle holder then center and place one of the baskets on top of the candle holder. You may want to put something heavy in the basket to help the adhesive adhere to the basket. Let dry for about 20 minutes then you should be able to start filling your urns.
Filling the Tabletop Urns
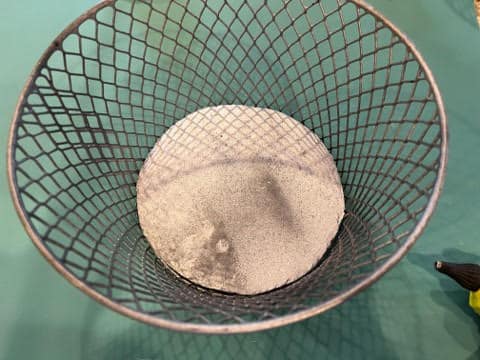
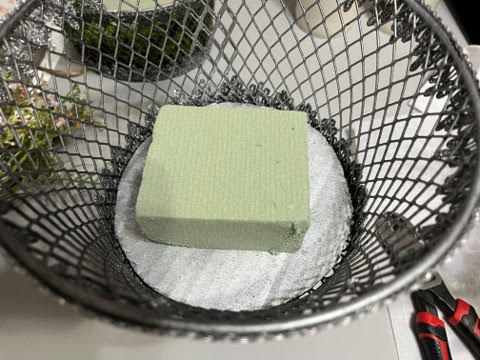
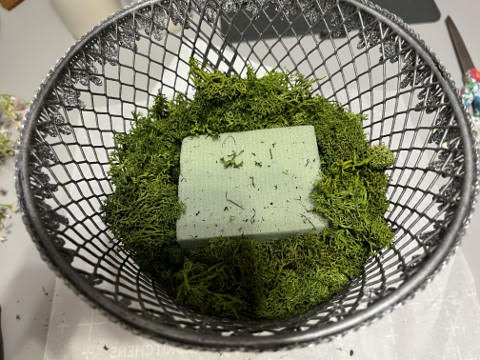
To fill the tabletop urns you are going to place one of the floral foam pieces into each basket, you can hot glue the foam in place if you would like. Next take 1 to 2 bags of the Reindeer moss and place it around and on top of the floral foam.
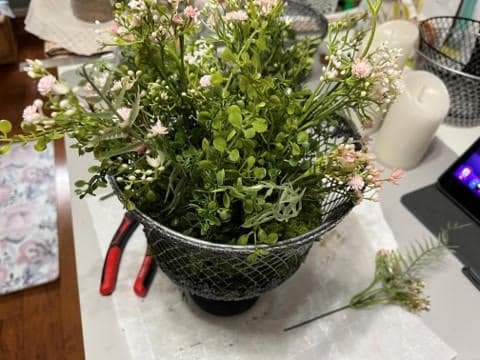
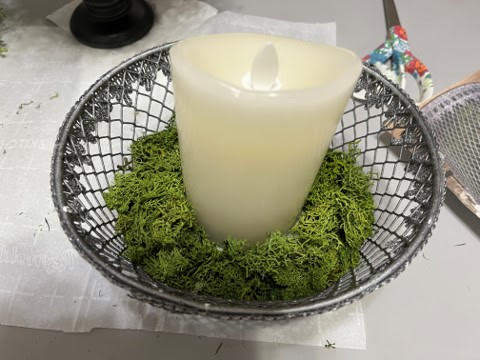
Fill one of the baskets with your greens or florals you may need to trim down the stems to fit properly into the basket. Repeat the first two steps to the second basket then place a timer pillar candle in the center. Add your greens or florals around the candle. If you would like you could fill both baskets with just greens and florals or you could do candles in both. I choose to do one basket with a candle and one basket with just greens.
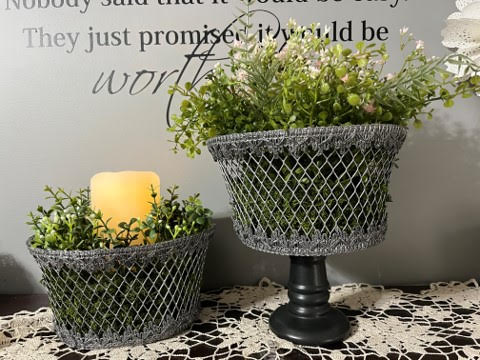
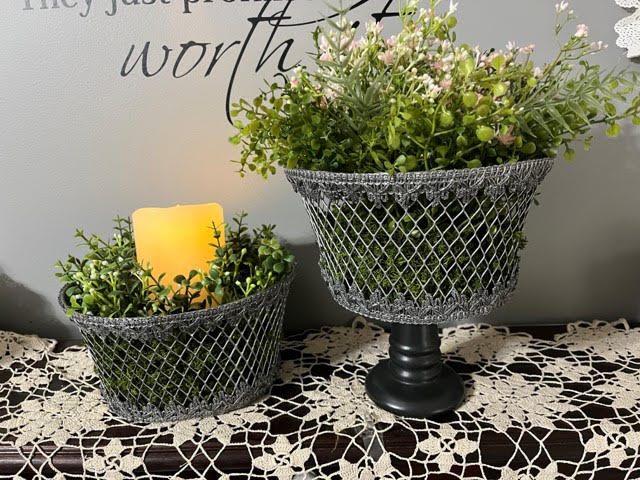
You are now finished with your tabletop urns I hope you enjoy decorating your home with them. Share your photo’s of how you used your tabletop urns.
Here is the photo of the ones I seen online and the ones we just made. I think I came pretty close in detail except I decided to add one of the baskets to a candle holder!