Dollar Tree, Flowers, Home Decor
DIY Paper Doily Wall/Pendant Flower
Apr
Oh goodness these paper doily flowers turn out so pretty! If you have a daughter, granddaughter, niece, someone getting married, or would just like to add something pretty that only takes a few minutes to make and hardly any money at all these flowers are just the answer. You can get a pack of 32 doilies, 4 different sizes at the Dollar Tree!
Materials I Used:
- Paper Doilies, you will need seven doilies of the same size for each flower
- Gorilla Glue Stick
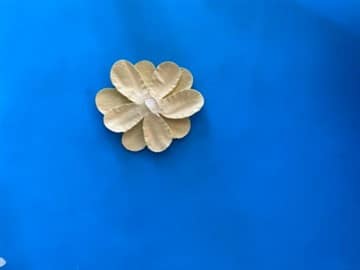
- Embellishments of your choice, I used paper flowers by paper studio I bought at Hobby Lobby.
- Hot glue gun and glue sticks
- Fishing line if you would like to hang them
- I attached mine to the wall using command picture hanging strips
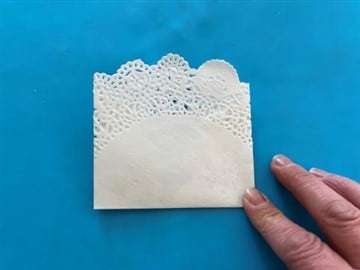
Folding the Paper Doilies
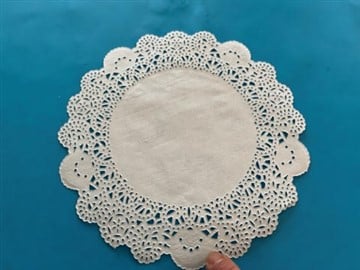
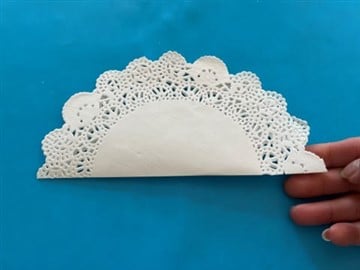
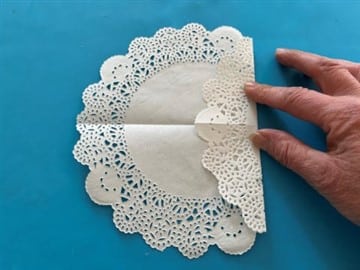
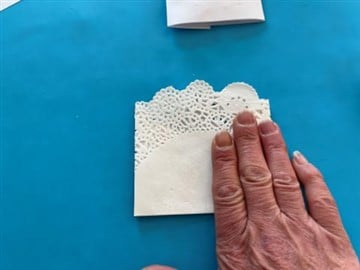
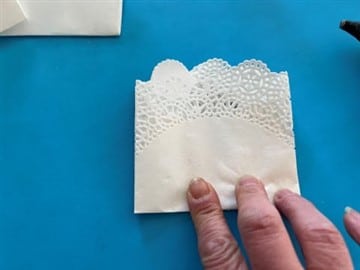
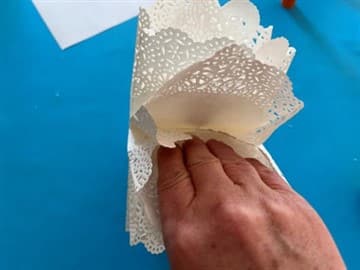
You are going to need 7 paper doilies of the same size for each flower. Take one paper doily lay it down with the back of the doily facing up then fold it in half evenly, unfold the doily then fold the right and left side of the doily evenly to the center. Next fold the bottom of the doily up, it is going to end up looking like a pocket.
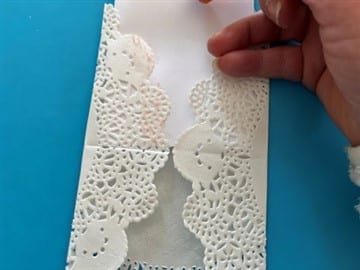
Gluing the Doily Pockets Together
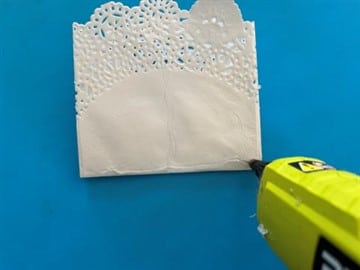
Fold down the top of the paper doily pocket. Take the scape paper and fold so it will slide down under your doily folded sides until you reach the fold in the center. Place you scrap paper under the folded sides of the doily pocket until you reach the fold in the center then using your glue stick add glue to the outer edge of the scallops starting at the fold and working your way up leaving the last scallop without glue ( See Photo’s Below).

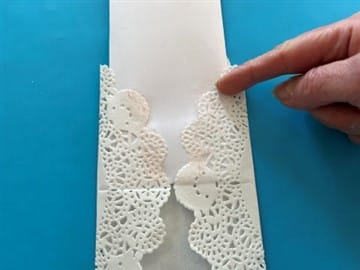
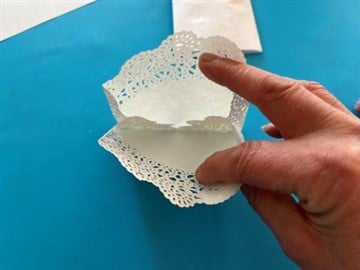
Fold up the bottom section and glue down to the top section. Remove the scrap paper and slight open doily it should look like a pocket (see photo’s below). Repeat all the above steps to the other six paper doilies.
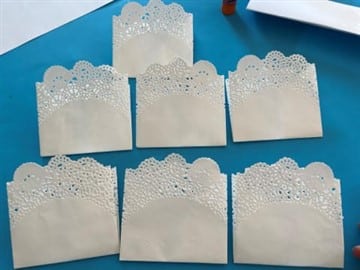
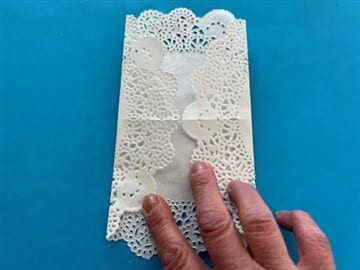
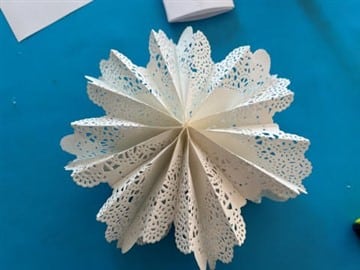
Attaching the Doily Pockets Together
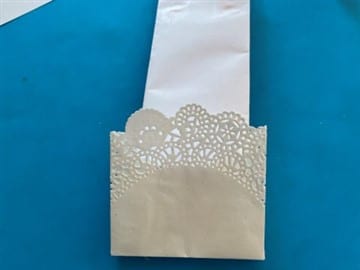
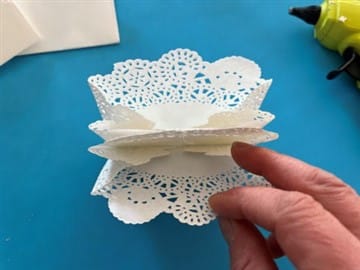
To attach the seven doily pockets together you are going to use your hot glue gun. Take on doily pocket slide your scrap paper in the doily pocket behind the front section of the doily. Add a line of hot glue down the center and across the bottom, you will want to go lightly with the hot glue over the scalloped section of the doily pocket. Next take a second doily pocket and line them up at the bottom and glue together. I do not show the scrap paper in the photo’s below but I found it better to use the scrap paper so the front and back of the doily pocket does not stick together.
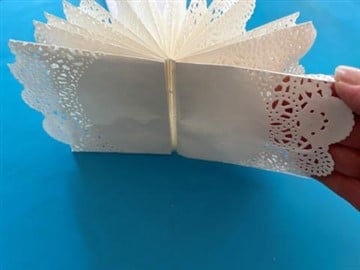
Repeat these steps with the remainder 5 doily pockets. After you have them all glued together you will now need to glue the first and seventh doily pocket together. If you would like you could always use paperclips to hold them together so you can unfold them and store them away when not in use, I choose to glue mine together. You are going to glue them together just as you have with all the others. You now have your paper doily flower.
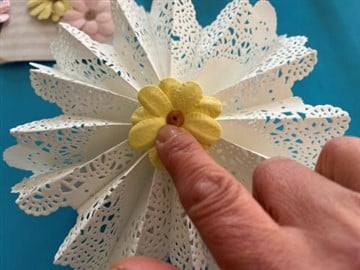
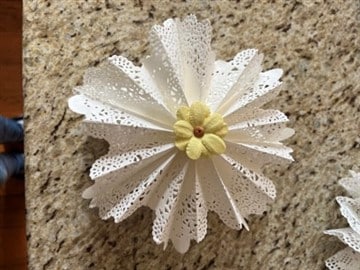
Adding the Embellishments
To add your embellishments add hot glue to the back and glue to the center of the flower. If you are going to hang them on a wall you will just need a embellishment on one side of the flower but if you are going to use them as a pendant add embellishments to both sides of the flower. You can use what ever embellishments you would like I used paper studio paper flowers I bought at Hobby Lobby.
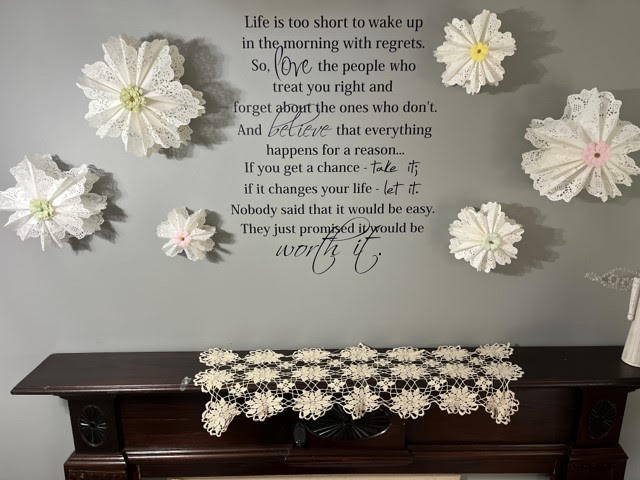
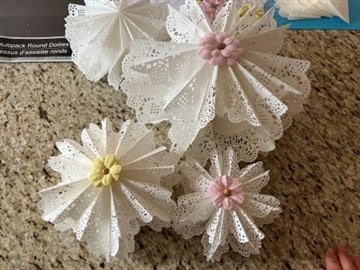
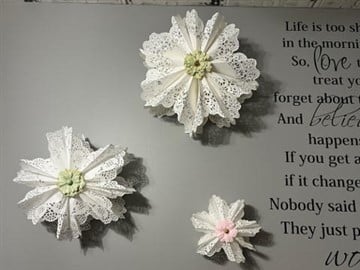
If you would like to use them as a pendant string some fishing line through the flower and tie a double knot and you will be ready for hanging. If you would like to use them on a wall I used command picture strips. Below you can see the flowers I made. I hope you these amazing paper doily flowers a try!

love, love, love these!! am going to try to make these soon as I locate all my paper doilies in my stash!! LOL watched you make these while ago.. forgot till just now.. your crafts are the best ..thank you