Dollar Tree, Home Decor, Ornaments, Valentines Day
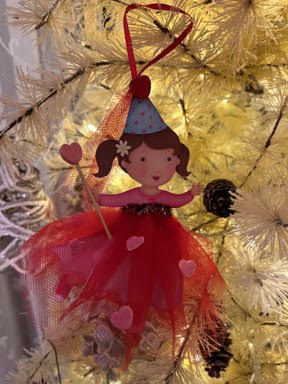
DIY Dollar Tree Valentine Princess Ornament
Jan
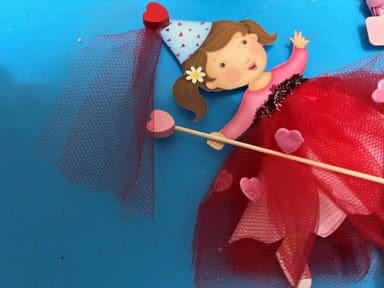
If you have been following The Crafty Decorator you know I leave trees up all year and love decorating them for every holiday and season so I just love using images printed out on cardstock to make ornaments for my trees. I was in Dollar Tree looking at the Valentine items and I happen to glance over at the stationary section and noticed an adorable princes Valentine card, as soon as I seen her I knew what I was going to make with her. If you can’t find the princes Valentine card in Dollar Tree don’t worry I cut two out and scanned them into a PDF file so you can print them out yourself on cardstock.
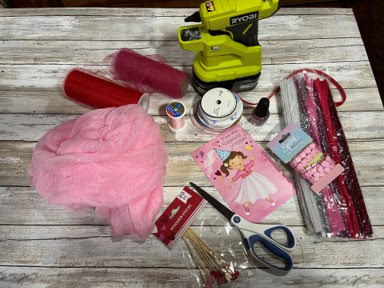
Materials You Will Need:
Valentine Princess Images
Dollar Tree Princess Valentine Card
Pack of Wood Stick Hearts (Dollar Tree)
Pink Glitter Nail Polish (Dollar Tree)
Tulle In Your Color Choices
Cheesecloth In Your Color Choices
Needle And Color Thread To Match Tulle or Cheesecloth
Tinsel Pipe Cleaners
Thin Ribbon In Your Choice Of Colors
Heart embellishments (Optional)
Scissors
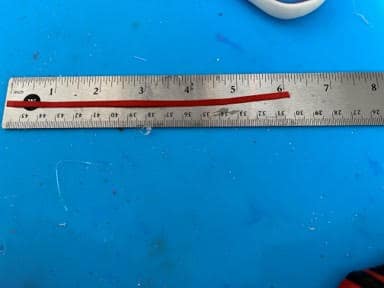
Ruler
Hot Glue Gun and Glue Sticks
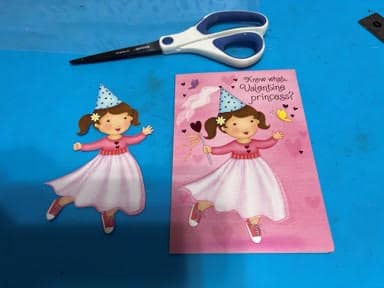
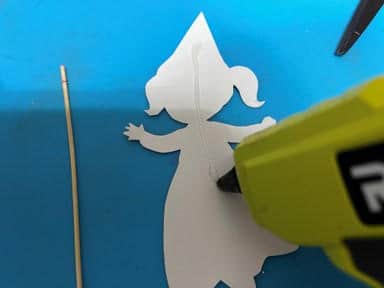
Cutting Out The Princess
If you could not find the princess Valentine card at the Dollar Tree I have provided the images so you can print them out yourself on cardstock. The first thing you will need to do is carefully cut out the princess image using scissors. You do not have to worry about cutting around the wand or fabric print flowing from the top of her hat we are going to add our own.
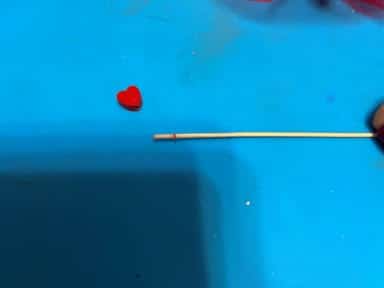
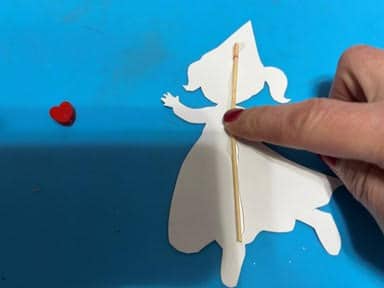
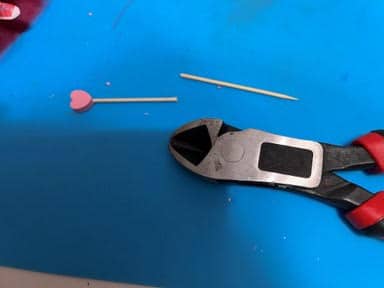
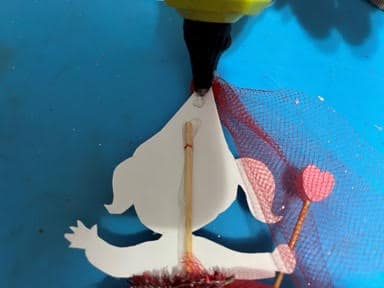
Pick out which stick heart you would like to use for the top of her hat and remove the stick from the heart. Set the heart aside for later. You are going to glue the stick down the middle of the girl on the back side, this will give her stability. Lay the stick down the middle to see how much excess you will need to trim off then run a line of hot glue down the middle then glue down the stick.
Making And Attaching Her Skirt
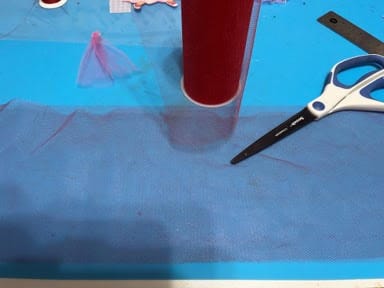
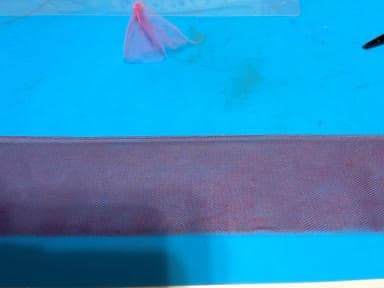
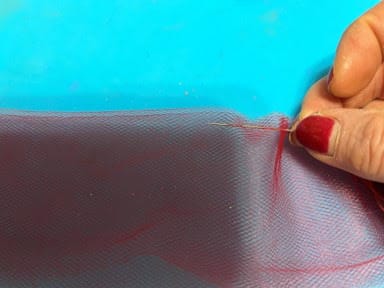
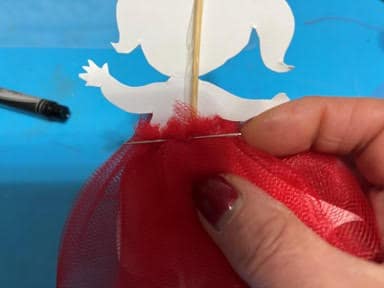
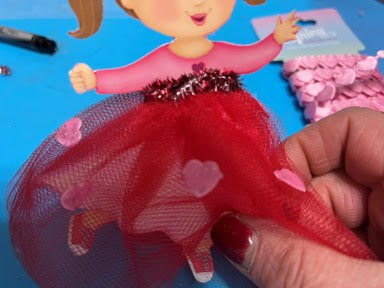
If you are using tulle to make her skirt cut a 40” long piece of tulle then fold in half so you now have a 25” double layer piece. Next you are going to fold the tulle in half width wise so it goes from 6” wide to 3” wide. You should have a piece of tulle that measures 25” long X 3” wide. If you are using cheesecloth to make the skirt cut a piece 40” long X 5” wide you will fold it the same way I described how to fold the tulle. You will have a 20” long x 2.5” wide piece after folding. Take a needle and matching thread and do a running stitch on the folded side of the tulle pulling lightly as you go. When you reach the end of the tulle wrap the pleated tulle around the girls waist bringing the two ends to the back next sew the two ends together. If the skirt seems a little loose you can add a dab of hot glue at the waist in the front and back to hold the tulle in place.
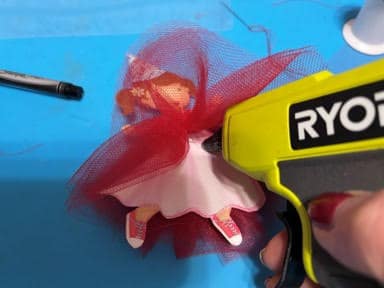
Next you can either use ribbon or pipe cleaner as a waistband. Measure the ribbon or pipe cleaner around the waist and trim to size. If you are using ribbon you are going to want to hot glue the ribbon around the waist if you are using the pipe cleaner wrap it around the waist and glue the two ends down on the back. You can add any embellishments to the skirt by hot gluing them on. I had this pink heart ribbon so I cut apart the hearts and glued them to her skirt then painted the hearts with the pink glitter nail polish to give them some sparkle.
Adding The Fabric And Heart To The Hat
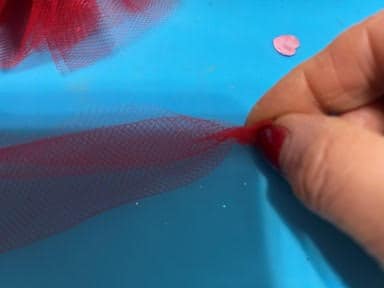
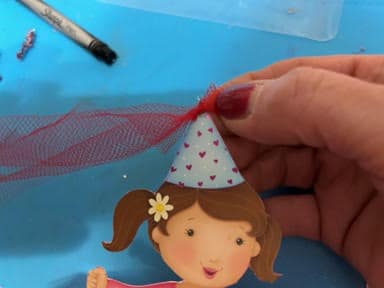
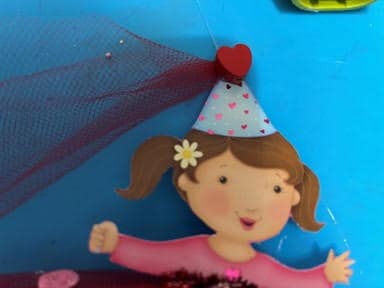
Cut a piece of tulle the length you would like. Twist one end then add a drop of hot glue to the front top tip of the hat and glue down the tulle. Next using the heart you removed from the stick earlier add a small amount of hot glue to one side and glue the heart to the top of the hat over the tulle you just glued down. To give the hat some sparkle paint the hat and heart with the pink glitter nail polish.
Adding the Wand
For the wand pick which color stick heart you would like to use for the wand then lay it on the hand the paper wand was in, see how long you want the wand to be then cut off the excess part of the stick at the bottom. You can leave the stick natural or paint it a color you would like or you can wrap it in ribbon that is up to you. Next add a small drop of hot glue to her hand and glue the wand in place. I forgot to take photo’s of this step but I am sure you understand the direction without the photo. Give the heart some sparkle with the glitter nail polish.
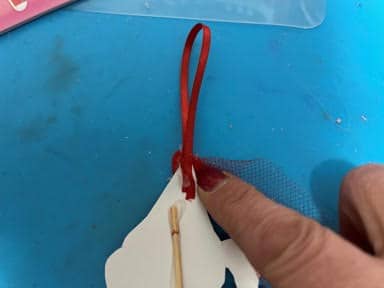
Adding The Hanger
Cut a 6” piece of thin ribbon fold in half then add some hot glue to the back of her hat and glue down the ends of the ribbon. You now have a hanger.
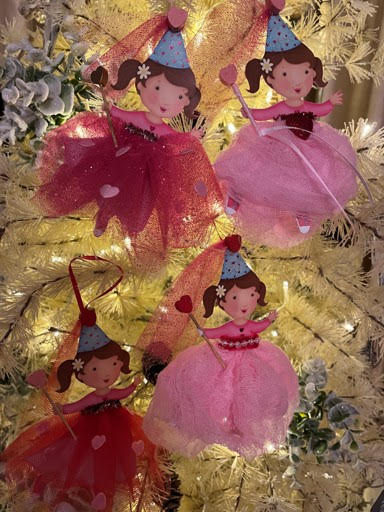
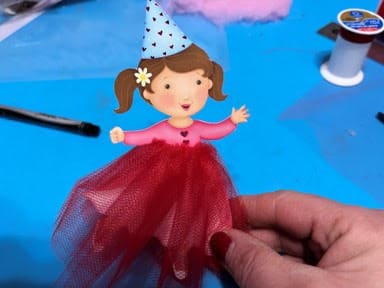
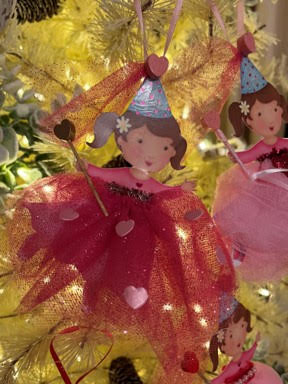
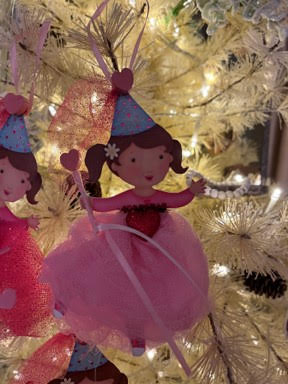
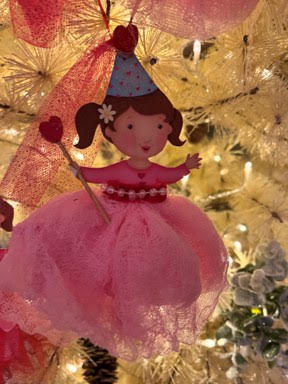
You are now finished with your Princess Valentine ornament. I hope you enjoyed making her. You can make a few using different colors and fabrics to decorate a tree for Valentine’s Day. Be on the look out for other Valentine Day cards that you can use an image from to make more adorable ornaments.
I just love her. Will try to make one for sure.
Love it… it is really cute 🤗👸👍🏽👑
I love this craft, what a great idea….
Lovely
So cute
How can I print the ballerina
Go to my blog at https://www.thecraftydecorator.com click on blog then the valentine princess blog. Under materials you will need you will see the first line is the pattern click on that and it will bring up the pattern.
I made these Dollar Tree Valentine Princess’s yesterday. They were so much fun to make. I love your crafts.
They are adorable. You have quite a selection of colored tulle. Makes the whole princess come to life. ThankYou for takingtome to make it possible for us to print a princess.💞
You are so welcome. I hope you make a few I just think she is adorable.
Love it, I made mine for my tree.
Love the little girls I made a couple for my tree. Thank you for sharing.
Yay I a so glad you made them.
Making them right now.thank you.
Yay I a so glad you are making them
I made these for my granddaughters valentines. I’m going to some how try to attach a gift card to them. Thank you for the idea. How do you share with others what I’ve made?
I a so glad you made them and the gift card is a great idea. To share them go to my facebook page click on post you can post them there and it will go to the community page.