Christmas, Home Decor, Winter
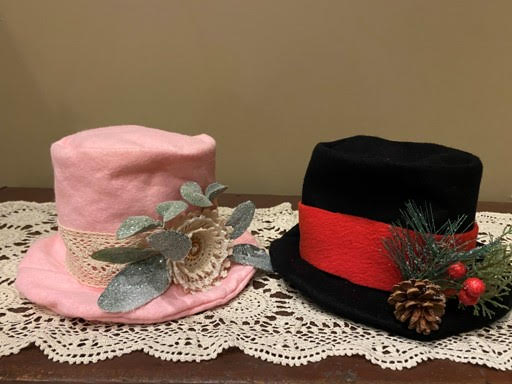
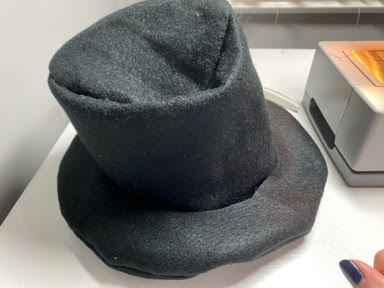
How To Sew A Felt Snowman Hat
Nov
If you love making snowman you are going to love how simple this snowman hat is to sew up. I am making these hats for a Mr. & Mrs. Snowman we are making here at The Crafty Decorator. The blog for the snowman we are making will also be available soon. You can also use the snowman hats as tree toppers for your trees.
Supplies You Will Need:
Snowman Hat Pattern- Snowman Hat Pattern
- Felt in your choice of color
- Measuring tape
- Chalk to trace your pattern pieces onto your felt
- Scissors
- Sewing Pins
- Sewing Machine
- Your choice of ribbons and holiday greens
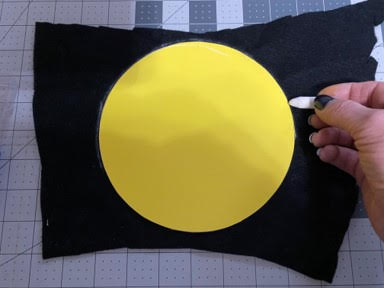
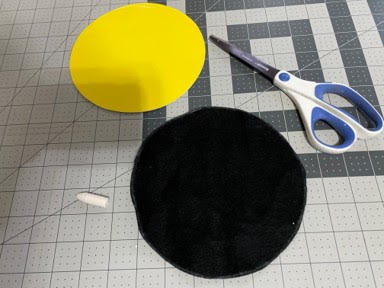
Cutting Out The Pattern Pieces
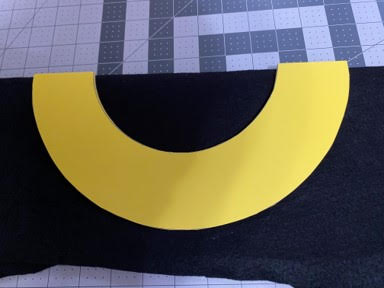
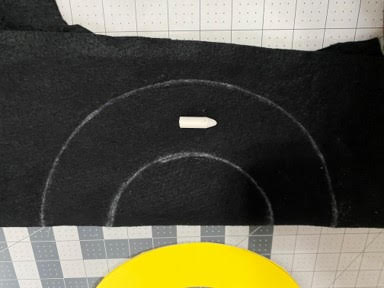
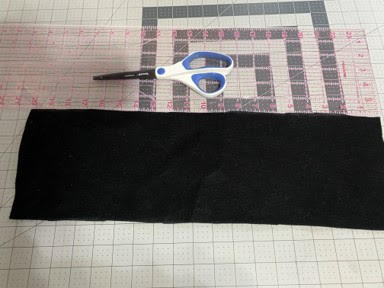
The first thing you will need to do is print and cut out the snowman hat pattern pieces. Connect the two brim pattern pieces where indicated on the pattern. Next trace and cut out one circle for the top of the hat. Fold a piece of felt (big enough for your hat brim pattern piece) in half, lay the two ends of the brim pattern on the fold then trace and cut out. You will need to trace and cut out two hat brim pieces. Using a measuring tape and piece of chalk measure and cut a piece of felt 20” long x 6” wide. You now are ready to start pinning and sewing your snowman hat pieces.
Pinning and Sewing The Hat Pieces
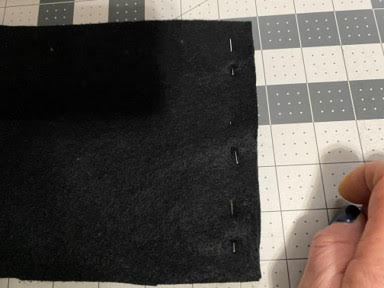
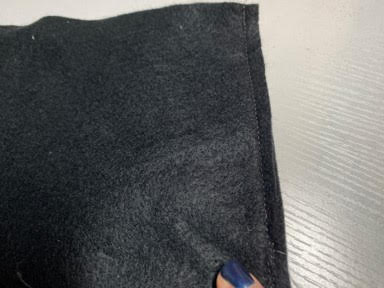
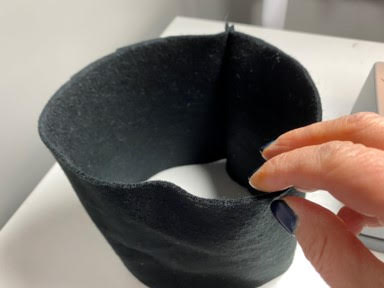
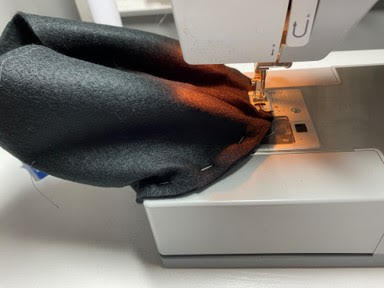
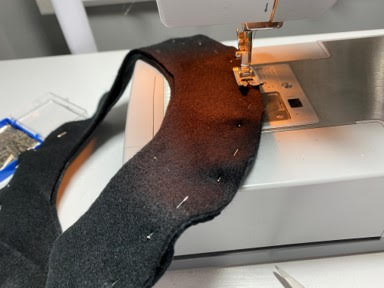
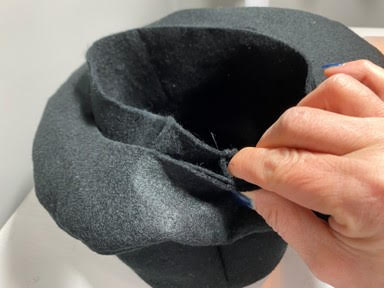
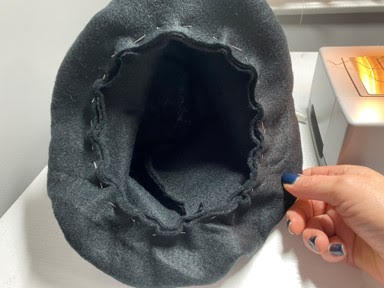
The first thing you will need to do is fold your 20” x 6” piece of felt in half, with rights sides together pin and sew the sides closed with about a ¼” inseam. Next remove pins and open up the felt you should have what looks like a tube. Take your felt circle and line up one side with the top inside of your felt tube and pin. Work your way around the felt pinning the circle sides to the top inner sides of the felt tube. Use a lot of pins to hold in place.

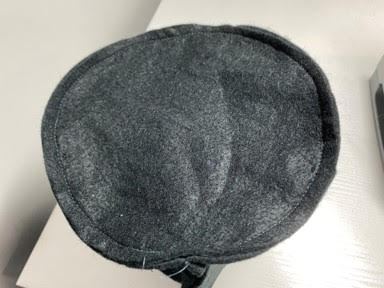
Next you are going to sew about a ¼” inseam all around your pinned sides. You will want to keep stopping your machine and fixing the hat to make sure are only sewing the top and not sewing the sides of the hat also. When finished remove pins and set to the side.
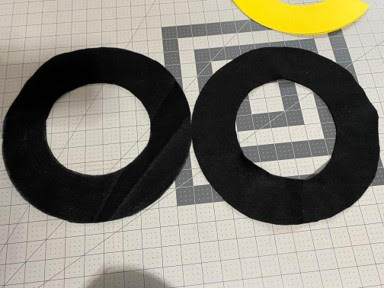
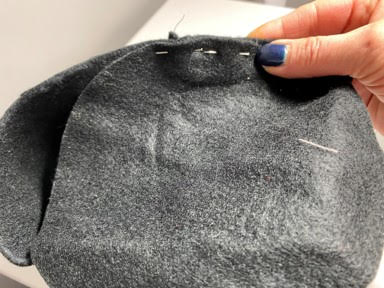
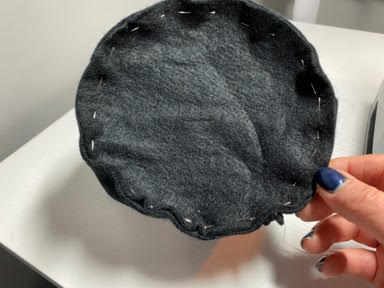
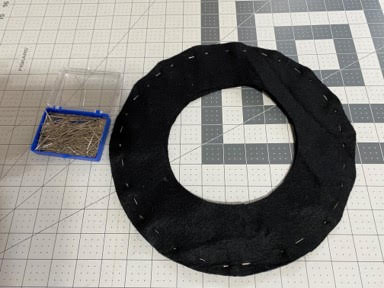
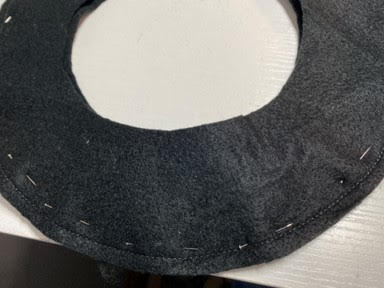
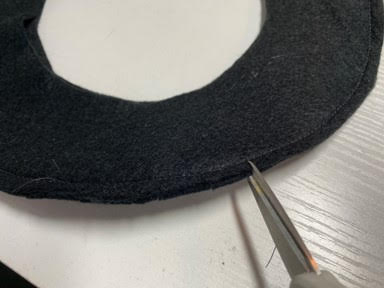
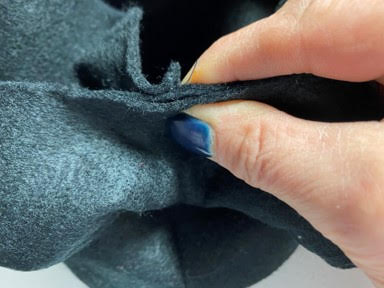
Now it is time to sew up the hat brim. Lay one hat brim on top of the other lining them up. Next take your sewing pins and pin the outside of the two brims together. Use lots of pins to hold in place. You are now going to sew all around the outside of the brim using about a ¼” inseam. After sewing the brim remove the pins then using your scissors make small snips about every 1” or so all around the edge of the brim make sure you do not cut your sew line. Turn your brim right side out. Flatten the brim with your hands.

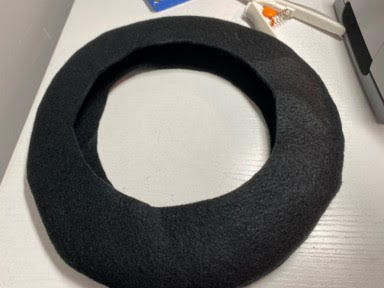
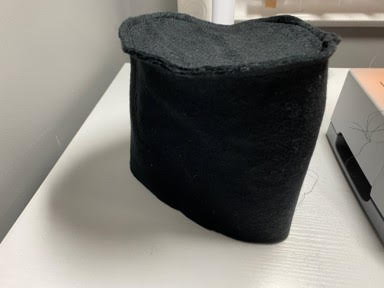
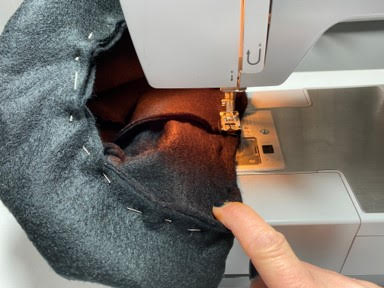
Now turn you hat right side out. Place the brim over the hat then turn the hat upside down. Now you are going to line up the two inside brim pieces with the bottom inside of the hat and pin. Keep lining up all three pieces and pinning all the way around the hat. Use lots of pins to hold in place.
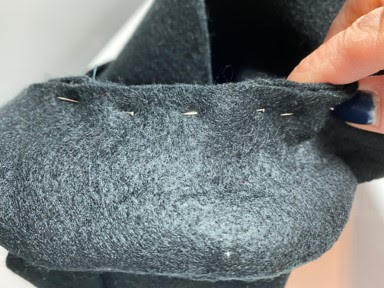
You are now going to sew about a ¼” inseam all the way around the brim. You will need to keep stopping and adjusting the hat. Once you are done remove the pins.

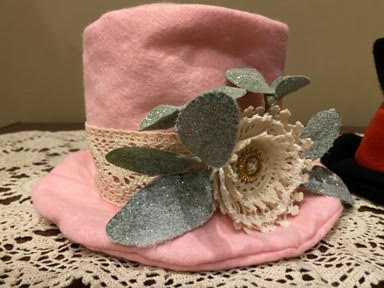
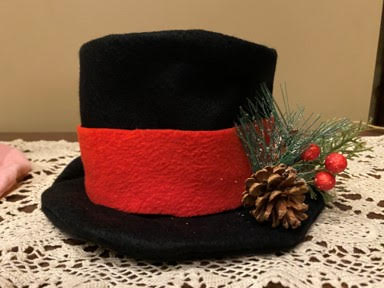
You are now all finished making your snowman hat and ready to add your ribbon and holiday greens. I hope you have enjoyed making it. You can make the hat any color you would like I made a pink one for my Mrs. Snowman. I you are not a sewer I have a video on my Facebook page showing how to make the snowman hat using your hot glue gun.
If you use the reg pumpkins how do you know the measurements for that ??
I would start with the pattern from my blog then make it out of paper to see if you need to make it a little smaller or bigger.
What are the measurements of the two circles and the strip?
It would be great to see the video where you used hot glue to make the hat.
Thank you so much for doing this! So appreciated!
You are so welcome
You really broke it down for us. Thank you
This looks great I’m going to try it out love things like that
Yay I am so glad you are going to make him.
Hello Sherry, I made the snowman, ab now im goung to make his hat. I’m so excited to see it finushed. Thank you for making the patterns & direction’s easy to follow. . 😊
You are so sweet thank you. Thank you so much for being here with me.
how did you make the snowman? i love ths idea
I did him on a live. I am reposting the video for everyone.
I don’t have printing capabilities. Can you give me brim dimensions so I can cut my own please. Also hat top lid. Thanks Sherry. Love your creativity.
This is so cute.
You are an Amazing Crafter! I have learned so much from you. Thank You So much for being such a wonderful inspiration!
Asked for measurements for hat and I go by my middle name paula
I love this! I’m in the process of making one. Can you help with the pattern I can print? ❤️❤️❤️! I was just able to get the pumpkins ! Thank you!! I love all your crafts ❤️❤️❤️
So sorry I found the pattern for the hat!!! Can’t wait to make it !!!❤️❤️❤️
How can I find the directions to make the stackable pumpkin snowman?
I am so happy you reposted this. Will be making hopefully this weekend!
Where is the video for the no sew snowman hat using hot glue I do not have a sewing machine and I can’t seem to find it just the sew one.