Christmas, Home Decor, Winter
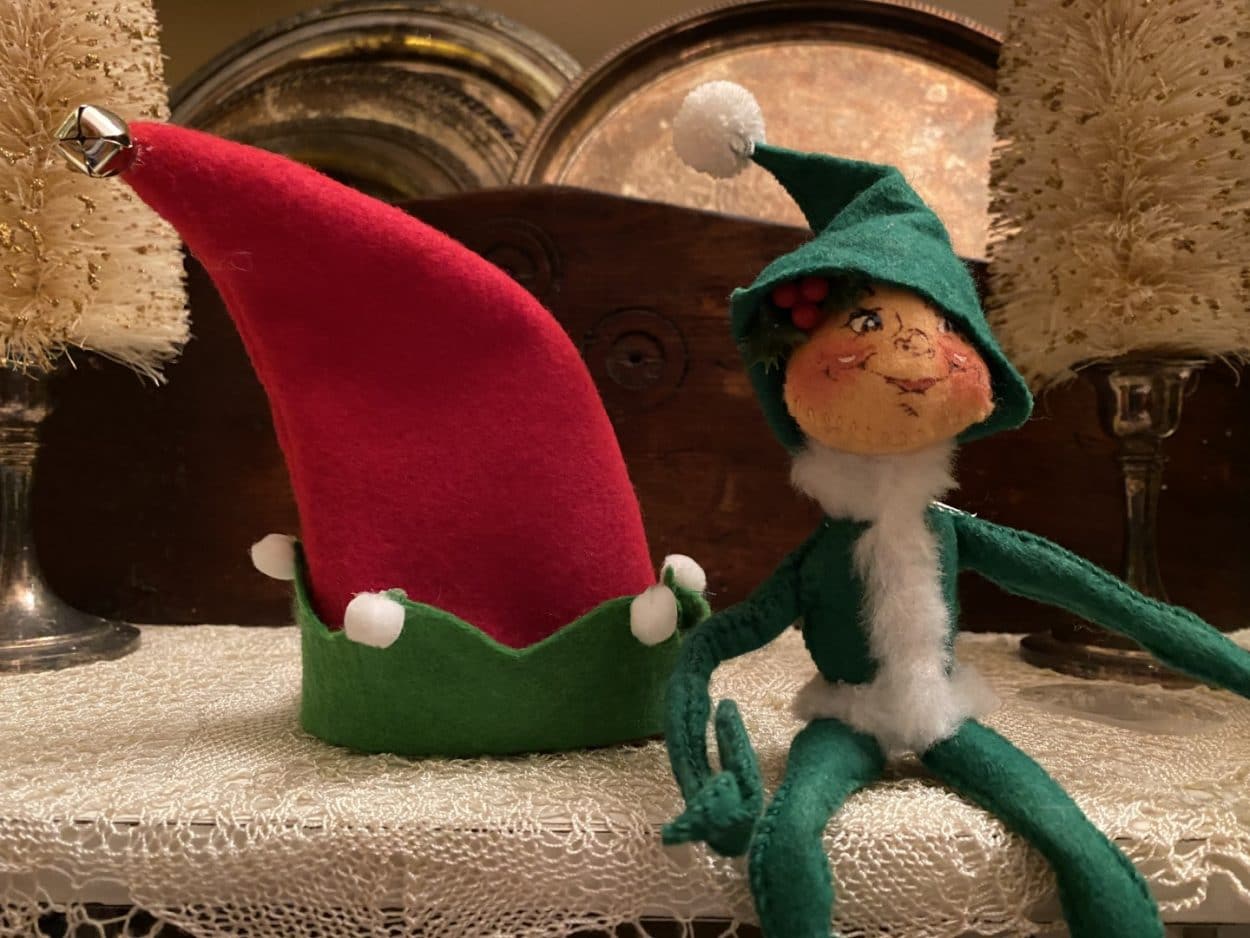
DIY Elf Hat And Ears Blog
Dec
If you are making my wool dryer ball elf and you can’t find the Elf headband at the Dollar Tree I have created a pattern for the hat and the ears in this blog so you can make your own.This hat would also be cute just as an ornament all you will need to do is add a hanger on the back.You can also write a name on the front of the hat for each of your children or grandchildren.
Here is a list of what you will need:
- Elf Hat Pattern
- Red Felt
- Green Felt
- Skin Tone Heavy Felt
- 0.25 White Pom Pom’s
- ½” Bell
- Sewing Machine
- Hot Glue Gun and Glue Sticks
- Scissors
- Piece of White Chalk
- Stray Pins
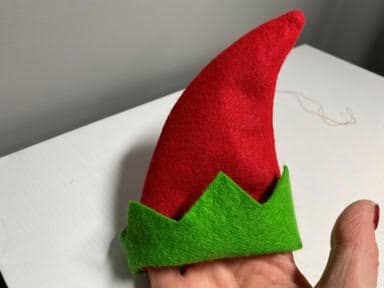
Making the Elf Hat
The first thing you will need to do is print and cut out the elf hat and ear pattern pieces. Using a piece of chalk trace the hat onto a double layer of red felt then cut out a ¼” away from the trace line. Trace the hat trim on a single layer of green felt and cut out on the trace line. On your machine sew the hat on the trace line going up one side and down the other leaving the bottom open. Using your scissors snip around the curves of the fabric then turn the hat right side out.
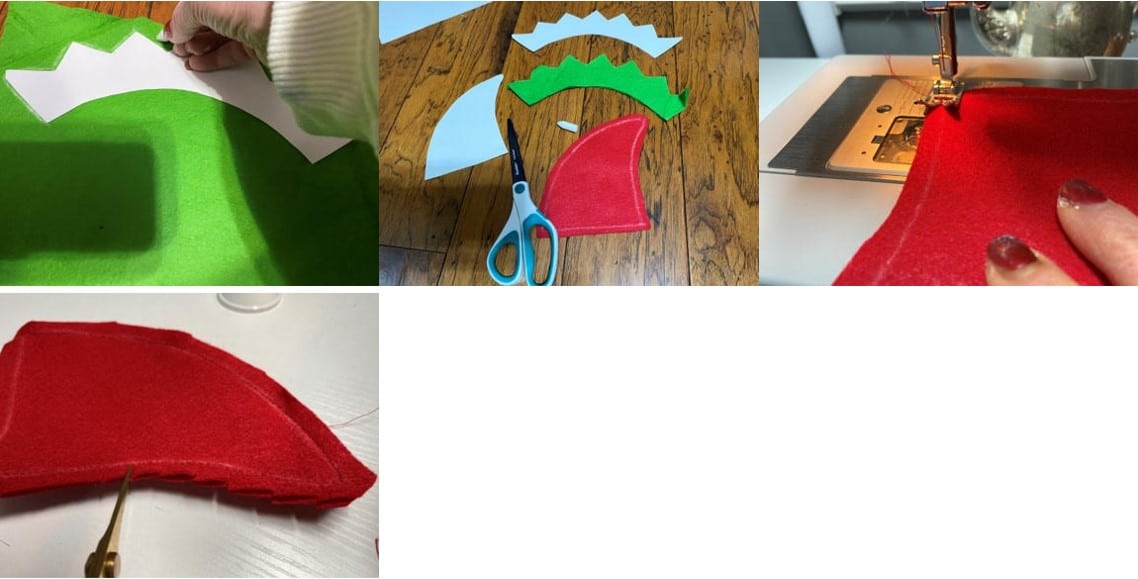
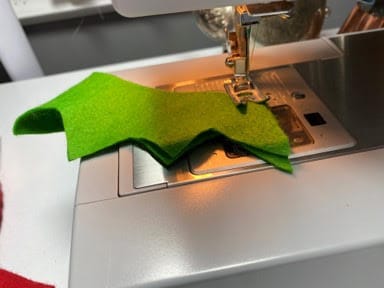
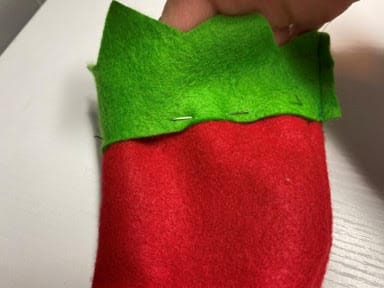
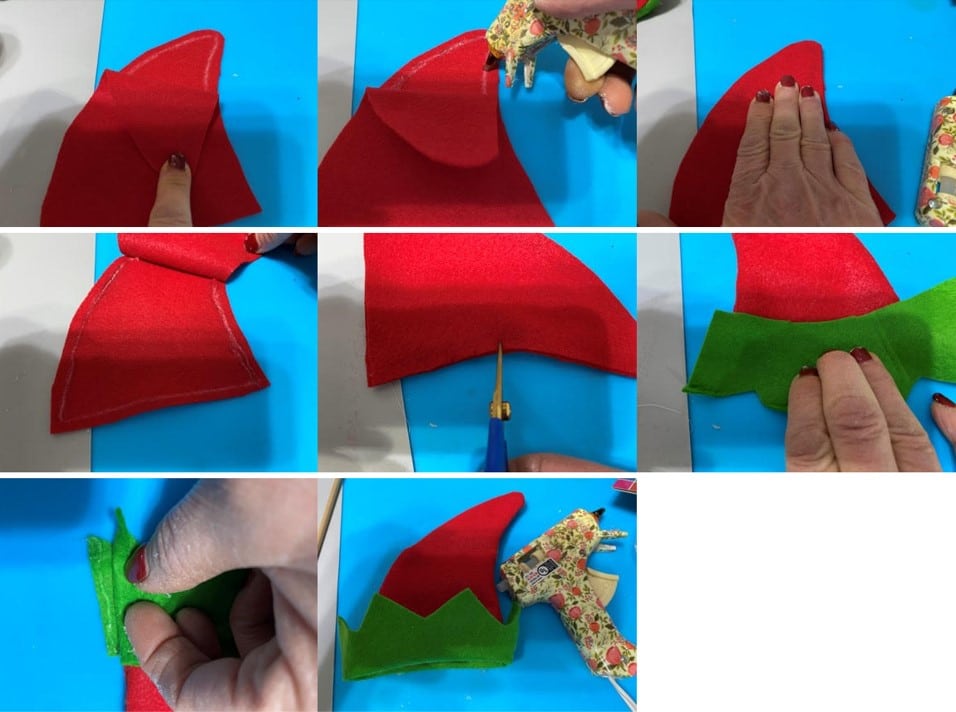
Sew the two ends of the hat trim together. With the bottom of the trim facing upwards slide over the bottom of the hat and pin the bottom of the trim about a ¼” up from the bottom of the hat and sew together. Fold the hat trim upward.

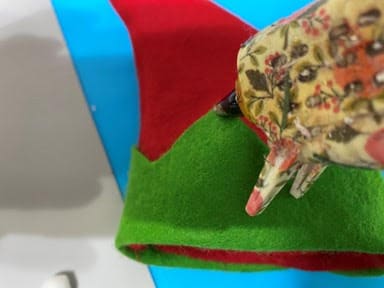
If you do not sew and would like to glue your hat together follow the first step above for tracing and cutting the pattern pieces. Start by placing the hat piece with your trace line facing up down first then place the second hat piece on top. Fold down the top add a line of hot glue onto the trace line and glue down. Fold up the bottom add a line of hot glue to each side and glue down. Do not glue the bottom of the hat closed. Clip around the curves and turn right side out. Next you are going to glue the bottom of the trim to the bottom of the hat. Starting at the side of the hat add a line of hot glue about a ¼” from the bottom of the hat going across, start to attach your trim leaving about a ¼” of the end of the trim unglued. You are going to have to glue the ends of the trim together so make sure you leave a overhang. Continue to glue the trim around the hat, when you reach the end glue the two ends of the trim together. Flip the hat trim up.
Adding The Embellishments
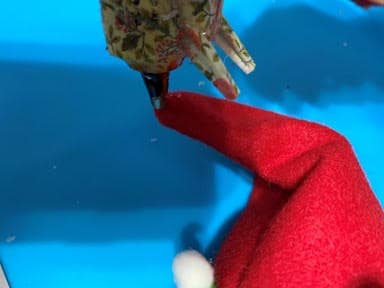
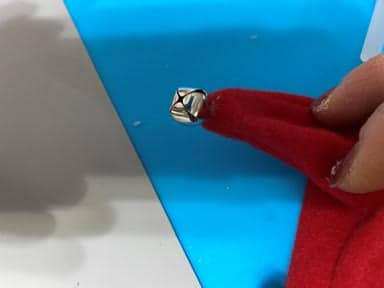
To add the pom pom’s add a drop of glue to each point on the hat trim and glue a pom pom to the point. To add the bell add a drop of glue to the tip of the hat and glue on bell. You can also sew the bell on if you would like.

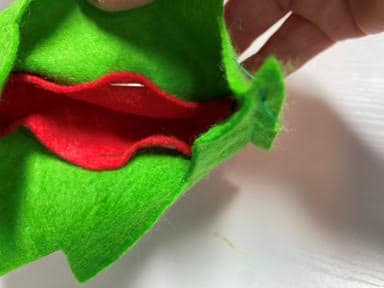
Making the Ears
To make the ears trace them onto a single layer of heavy or stiff skin color felt, cut out on the trace line. You are going to want to use a heavyweight or stiff felt because you are going to want them to be able to stand up when you attach them. You can either draw or paint the lines onto the ears or even stitch them on with embroidery thread that will be up to you.

Thank you so much for making the elf hat pattern and ear pattern! They are so cute! Enjoy watching your lives/tutorials so much! Greatly appreciate all you do for the crafting community! You are the BEST!
Hi Sherry Great idea and love all your crafts I could not find any elf head bands have felt and looking forward to making these as gifts 🙂
Thank you so much for including the pattern for hat. Could not find hat anywhere! You are so thoughtful!!!
Your welcome and I am so glad you are making them!
Sherry you are amazing. I have been looking for this headband for ages. Thank you for always going above and beyond.
You are just so sweet thank you!