Christmas, Home Decor, Ornaments, Winter
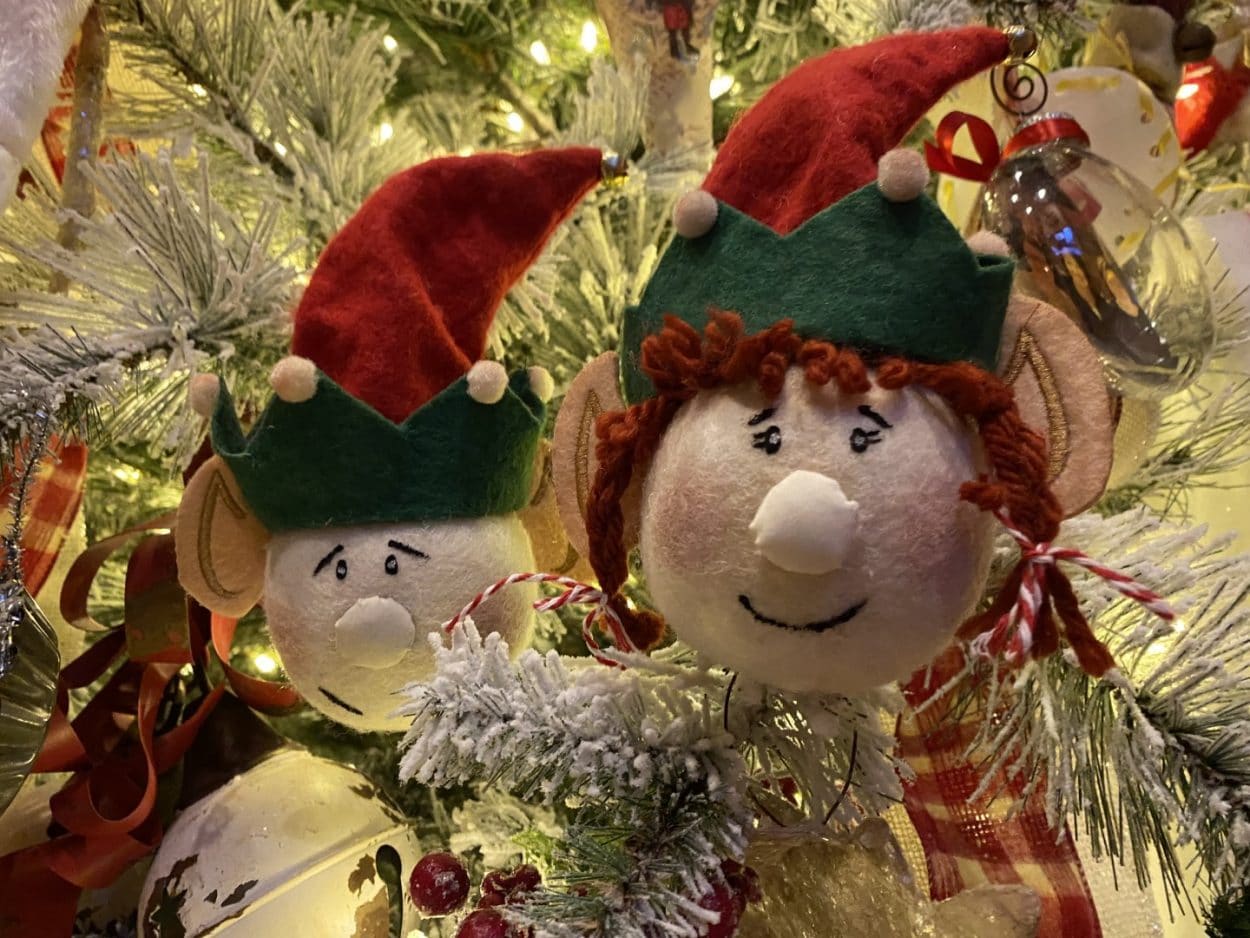
DIY Wool Ball Elf Ornament
Dec
If you have been following The Crafty Decorator you will know by now I have been finding so many ways to use the wool dryer balls. We have made a mantel garland, snowmen and now these adorable elves and we used a Dollar Tree headband for the hat and ears so if you don’t sew this elf ornament is for you.Are they not just adorable!!
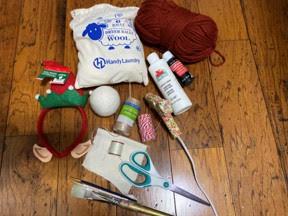
Here is a list of what you will need:
- Wool Dryer Balls (Amazon)
- Elf Headband (Dollar Tree)
- Small Piece of Muslin
- Yarn (Your choice of color)
- Cream Thread and Needle
- Black Craft Paint
- White Craft Paint
- Blush
- Paint Brushes
- Pencil
- Hot Glue Gun and Glue Sticks
- Thin Twine
- Shot Glass that has a 1 ½” opening
- Tea Stain Mixture (Optional)
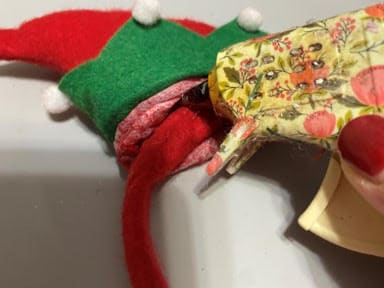
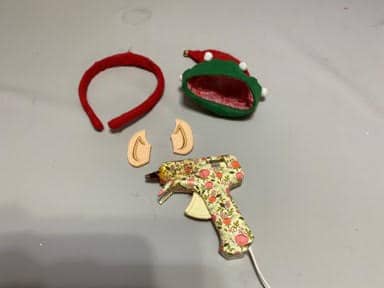
Preparing the Hat and Ears
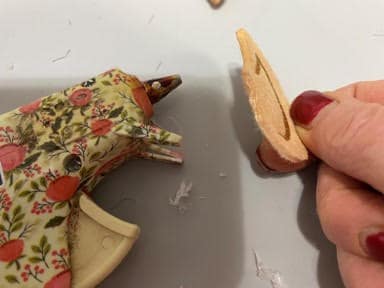
The first thing you are going to have to do is remove the elf hat and the ears from the headband. I found the easiest way to do this is by using the tip of the hot glue gun. Using the tip of your hot glue gun start rubbing it against where the hat is glued to the headband this is going to melt the glue and you will be able to lift the hat away from the headband as your go. Remove the stuffing from inside the hat. Next rub the tip of the hot glue gun against the ears where they are glued to the headband and they should lift right off.
Tea Staining
I wanted the color of the dryer ball to be a little more of a skin color so I tea stained the dryer ball, muslin, and ears I also decided to tea stain the hat. If you would like to tea stain I made the mixture by bringing two cups of water to a boil removed from heat added 6 tea bags and let set for about two hours. Using a paintbrush brush the tea stain onto the wool dryer ball covering the whole ball then wrap the ball in paper towel removing excess tea you don’t want it to dark. Place the hat, ears and muslin into the tea mixture and let set for about 5 minutes then squeeze out. Please everything into an old pillow case and dry in the dryer. This step is optional you don’t have to tea stain if you prefer not to.
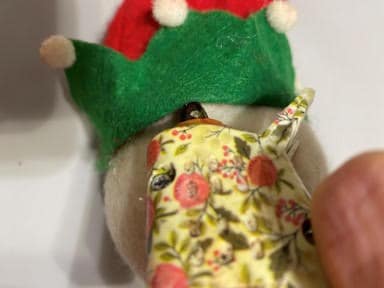
Making the Nose
To make the nose I used a shot glass that had a 1 ½” opening at the top to trace a circle you can use what ever you have a 1 ½” circle would work best. Trace the circle onto a single layer of muslin then cut out on the trace line. Using cream thread and a needle do a running stich around the edge of the circle pulling the thread a little as you go, it will start forming a little cup. Once you have stitched all around the circle take a piece of the stuffing you took out of the hat and place in the middle of your circle then pull your thread tight. Now take the needle and do another stitch and tie a knot. Cut off excess thread.

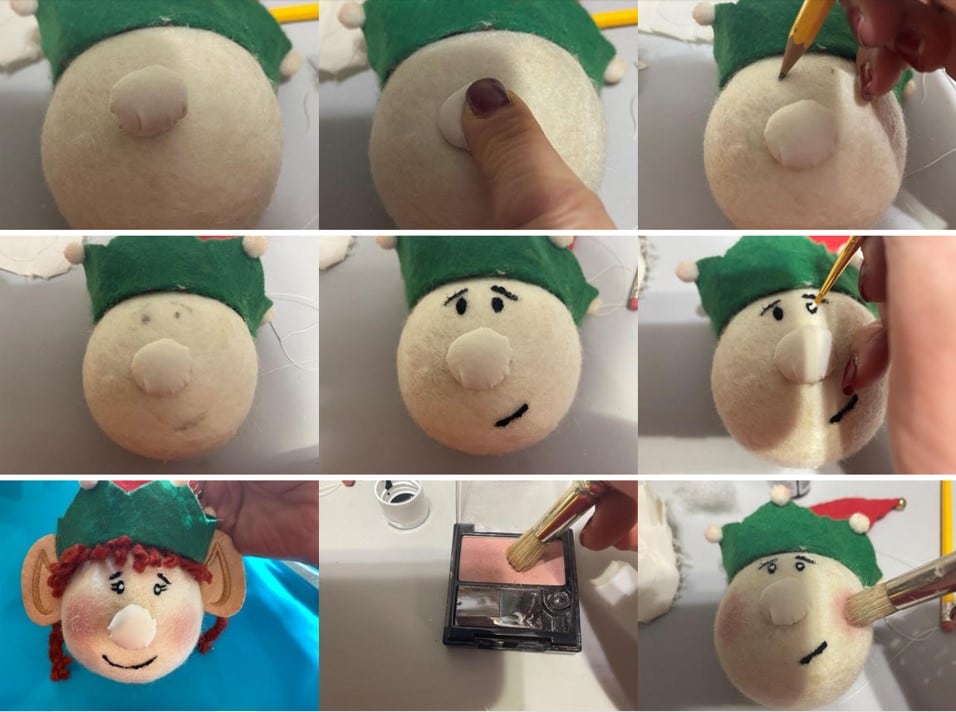
Creating the Face
To create the face start by placing the nose in the center of the dryer ball which will be the face making sure you think it is in the correct place then add a little hot glue and glue down. Next using a pencil mark where you think the eyes and eyebrows should be. Using black craft paint, paint small oval eyes and small slanted eyebrows, for the girl I added two little black lashes to the side of her eyes you can look at the photo’s below. Next paint on a mouth you can do any mouth you would like for the boy is just did a little mouth to the side and for the girl I did a smiling mouth. Once the black paint has dried add a small dot of white craft paint to the center of the eye. Add some blush to give him or her some rosy cheeks.
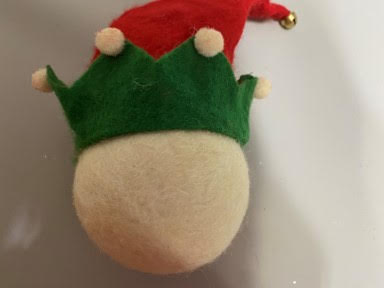
Adding the Hat
If you are making the boy elf place the hat on his had once you have the hat where you want it add hot glue under the a section of the hat and glue to the head work your way around gluing the hat to the head until it is all attached.
If you are making the girl elf the first thing you need to do is cut three 10” pieces of yarn then tie them together at one end with a piece of twine and make a bow then braid the yarn. When you reach the other end tie with a piece of twine and make a bow. Now place the yarn in the top center of her head making sure the sides are even. Lift up one end of the braid and add a small amount of hot glue at the top and glue down the braid now lift up the other side of the braid add the glue and glue down.
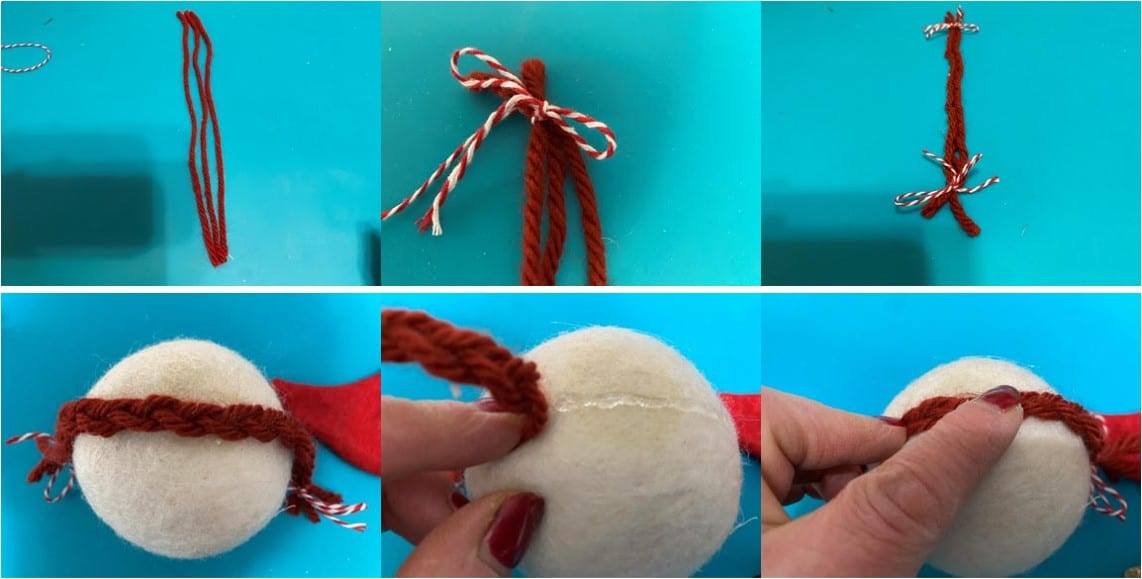
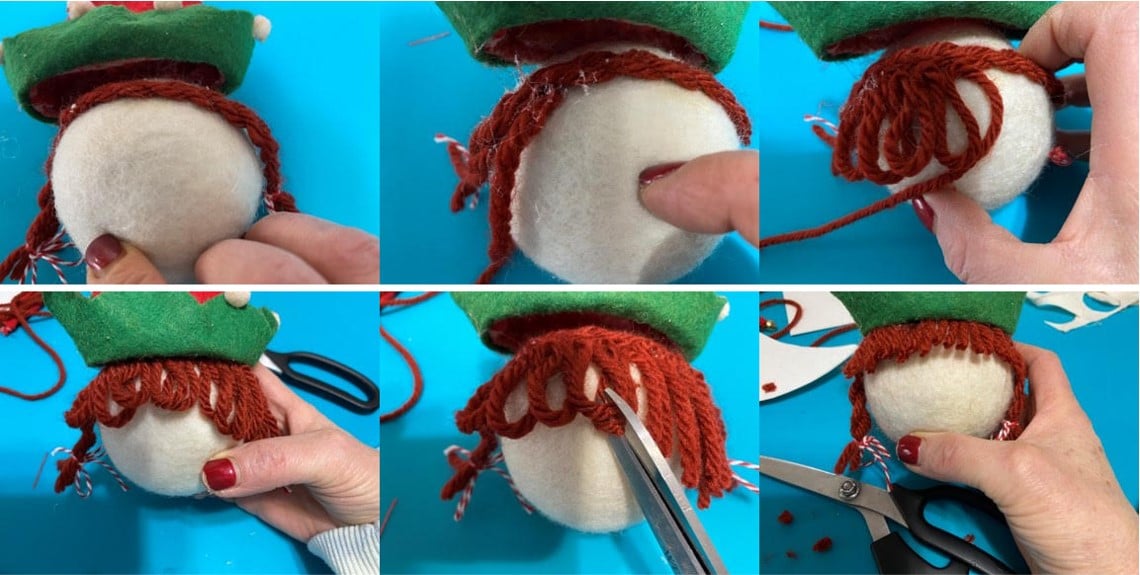
Next place the hat on her head and glue the back of the hat into place then remove the hat from the front of her head. Add a small dab of hot glue where her braid starts at the top of her head and attach the end of the yarn. Place a small line of hot glue next to the piece you just glued and make a loop with the yarn and glue down the yarn continue making loops and gluing down the yarn, see photo’s below. Once you have made the loops all the way across cut off excess then cut all the loops. Now add a line of hot glue in front of the braid on top of the yarn you just added and glue down her hat. Trim her bangs so they are even.
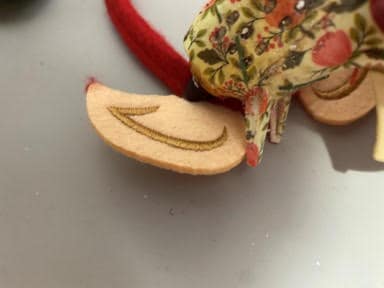
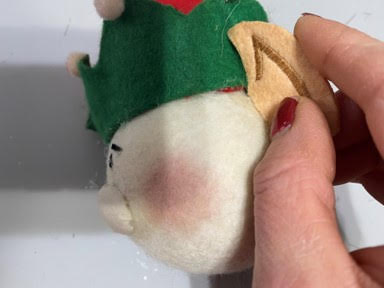
How to Attach the Ears
To attach the ears a small amount of hot glue to the side of the ear then glue to the side of the head just under the hat. For the girl elf attach the ears in front of her braids.
Adding the Hanger
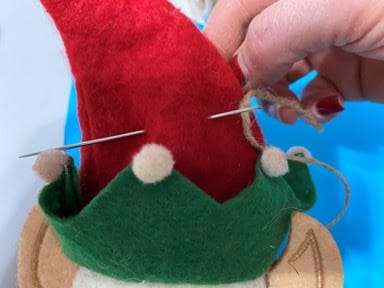
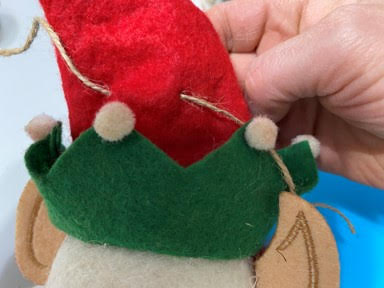
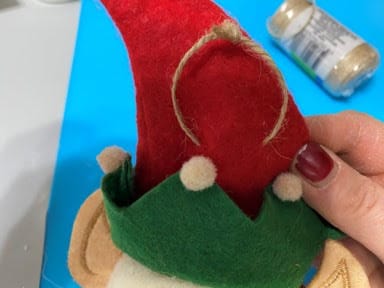
Thread a large eye needle with a thin piece of twine then thread through the back of the hat about ¾ of the way down. Tie a knot and trim off excess twine.
I hope you enjoy making these adorable little elves. I made these elves for my grandchildren I am going to put their names on the front of the hat and the year on the back. If you can’t find the elf headbands at the Dollar Tree go to my blog titled DIY Elf Hat and Ears you can find the patterns there to make your own.
Those are really cute. What are wool balls used for besides crafts?
So cute!!
Precious
Thank you so much
Love this idea Sherry. Think I will try this one out. I also love watching you and your sisters page. Congratulations to you and John for your new Grandson.
Thank you so much you are so sweet.