Home Decor, Spring
DIY Fabric Chicken
Apr
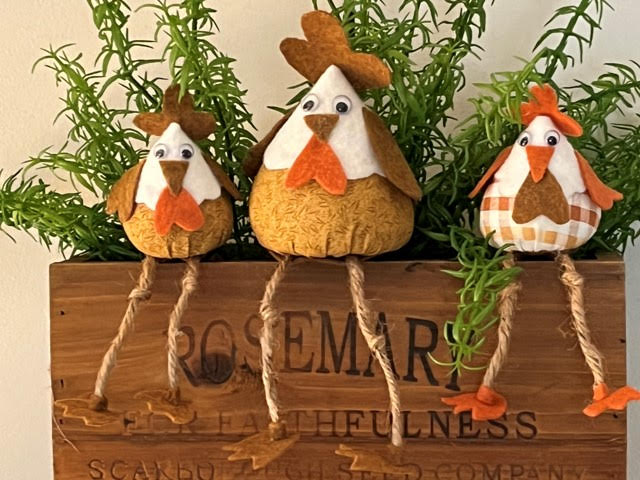
Hello everyone I hope you are having a beautiful Spring! I was sent a photo of this chicken from one of my followers and she asked we could make them well I have to say it took a little while to figure everything out. This adorable chicken was originally made by another crafter and her sight is called Creative Mamy she makes some adorable things. After making the smaller chicken I decided I to try my hand at a larger chicken and I just love how he turned out. One of the best things about this project is you can make them any colors or prints you would like. I hope you give them a try!
Materials You Will Need
- Fabric Chicken Patterns
- Fabric of your choice
- Felt in colors of your choice
- 4ply Jute Twine (Walmart)
- 8mm google eyes for small chicken
- 10mm google eyes for large chicken
- Polyester fiberfill
- Sewing needle and thread to match fabric
- Ruler
- Scissors
- Pencil
- Hot glue gun and glue sticks
- Scrap piece of cardboard
Making The Chicken Body
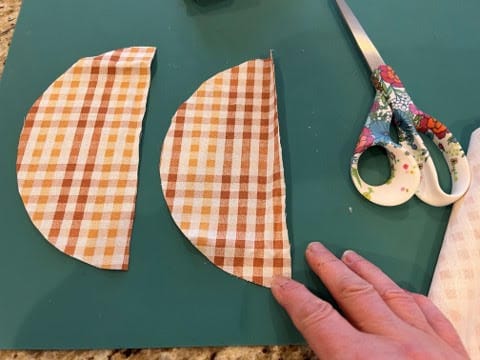
The first thing you will need to do is print and cut out your patterns. If you are going to make the large chicken trace a 10.5” dinner plate for the circle for the body. Trace the body circle onto a single layer of fabric then cut out on the trace line. Cut the circle in half, each half will make one body.

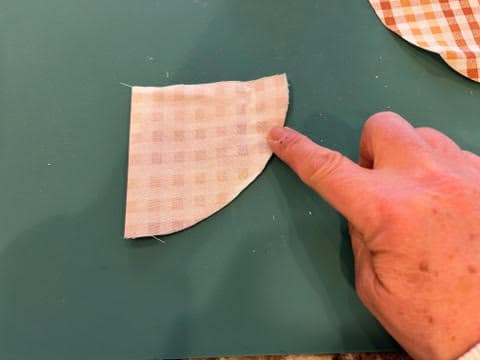
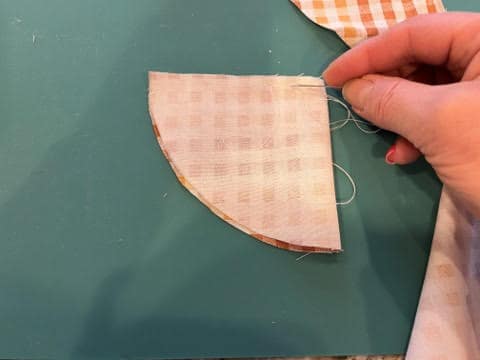
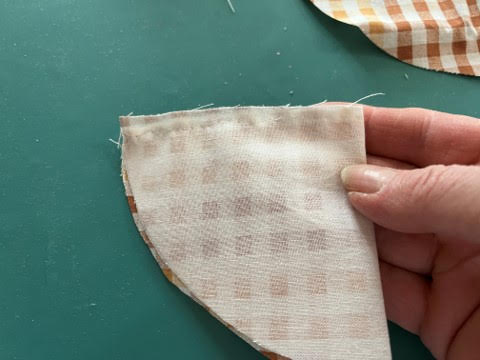
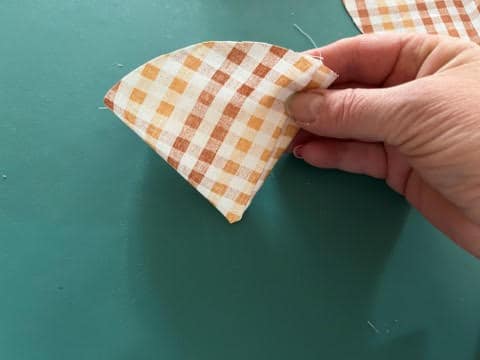
Take one half of the circle and with the print side of the fabric facing in fold in half. Next using a needle and thread use small stitches to sew the straight edge part of the fabric closed about a ¼” from the edge and knot off, (see photo below). Turn right side out.
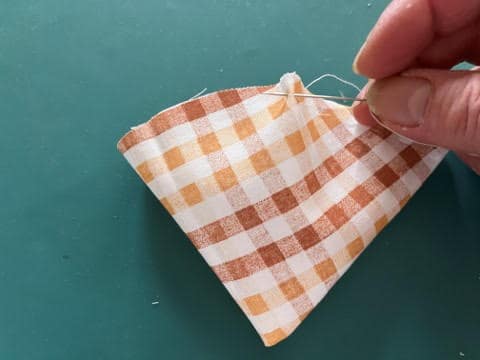
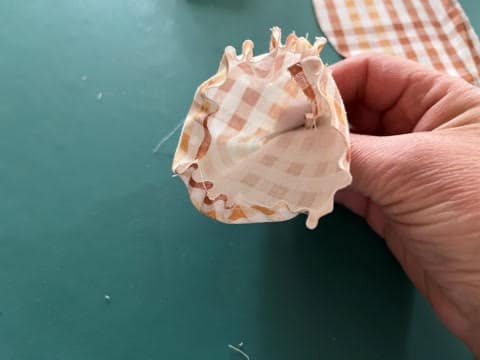
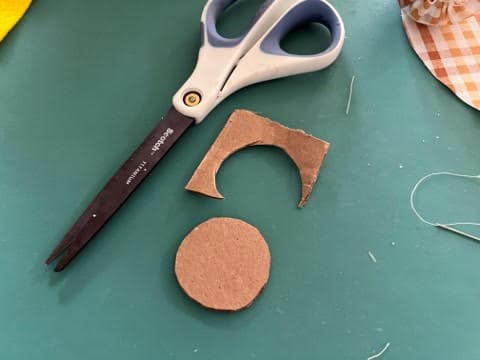
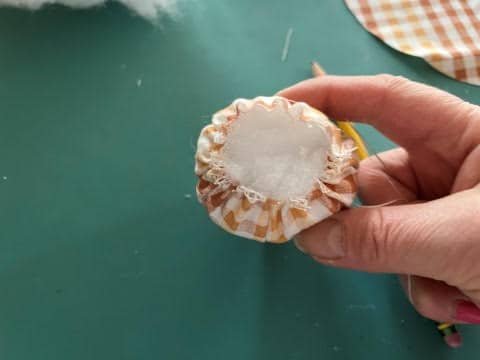
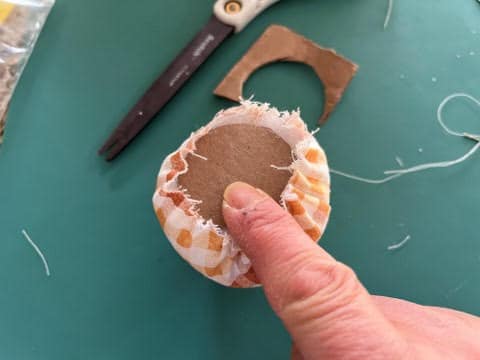
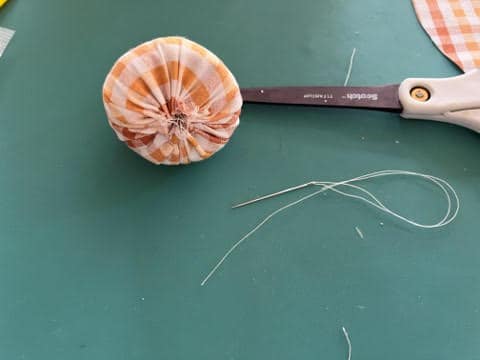
Take the inner circle pattern and trace onto a piece of cardboard and cut out on trace line. Using your needle and matching thread do a gathering stitch about a ¼” in from the end of fabric. Next firmly stuff the body then insert your cardboard circle on top of your stuffing and pull your thread to gather close, I like to do a few more stitches around before knotting off.
Making And Adding The Legs And Feet
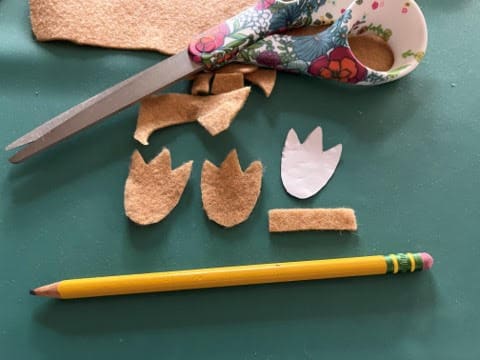
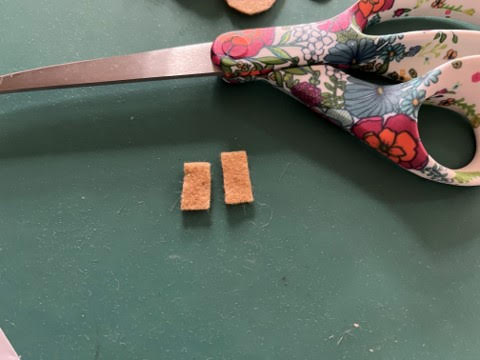
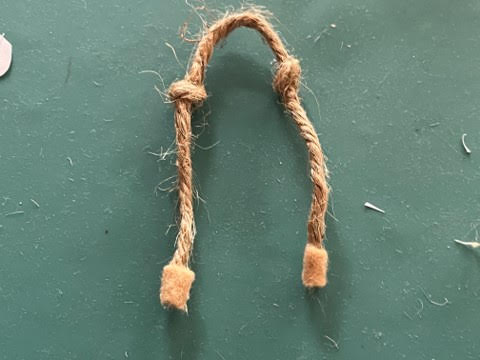
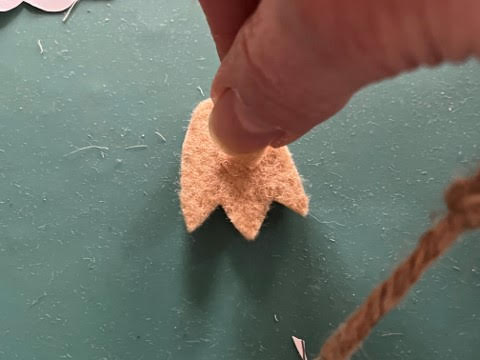
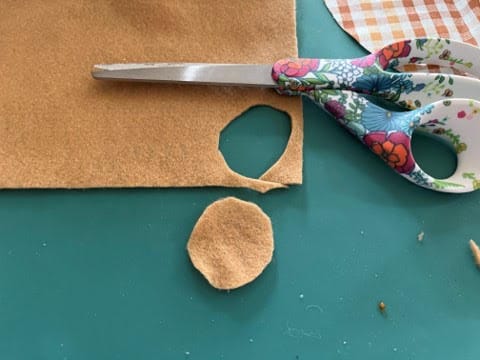
First trace two feet onto a single layer of felt then cut out on the trace line. Cut a piece of felt ¼” wide by 1” long then cut into two ½” pieces. Measure and cute a piece of jute twine 10” long for the small chicken and 12” long for the large chicken.
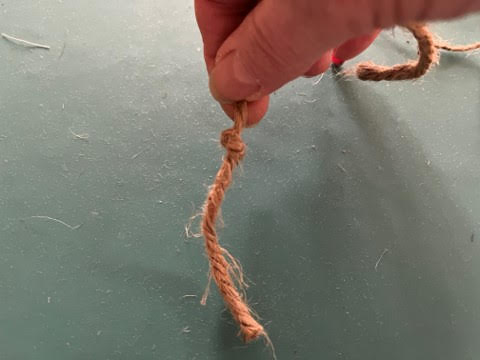
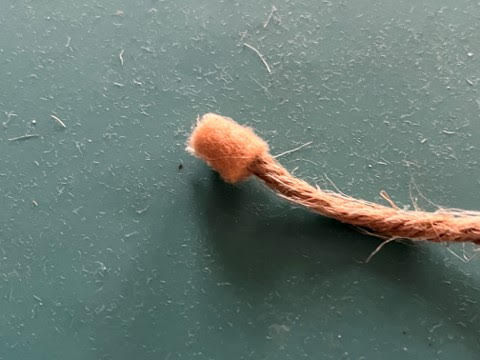
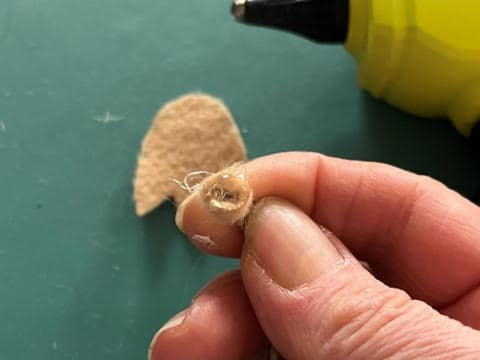
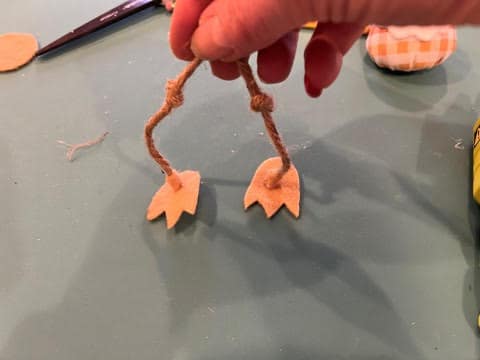
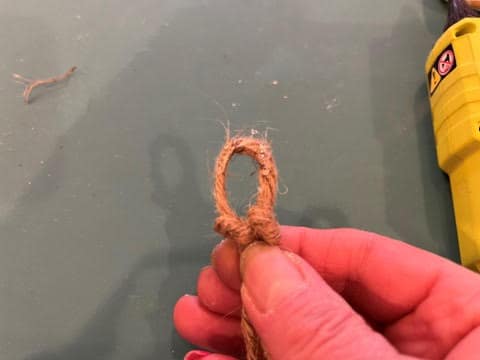
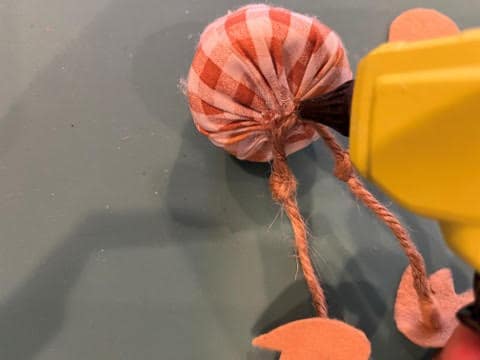
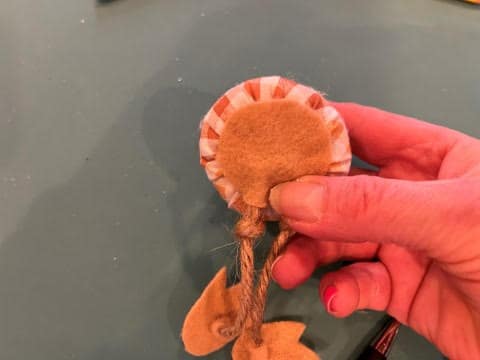
Fold your piece of jute twine in half then tie a knot on each side about 2 ¼” from the bottom of the jute twine. Take one of your ¼” x ½” pieces of felt add a small line of hot glue then wrap around the bottom of one end of the jute twine. Repeat to other end of jute twine with second felt piece. Next add a drop of hot glue to one end of the jute twine and glue on one of the feet. Repeat this step to the other end with the second foot. Make sure your feet are both facing forward, I made the mistake of not paying attention and had the second foot sideways lol.
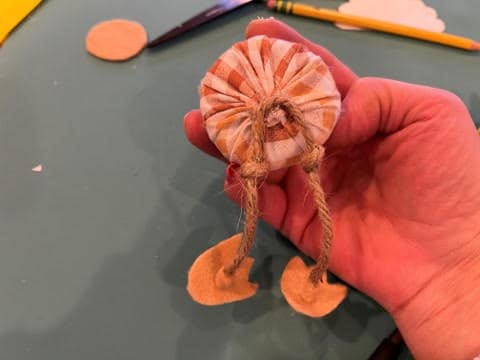
Add hot glue to the top of the legs then glue to the bottom of the chicken body. Using scissors cut out a circle from felt that will cover the center bottom of the chicken body where you just added the legs. Add hot glue to the bottom the body then glue on the felt circle.
Adding The Hackle, Wings, and Comb
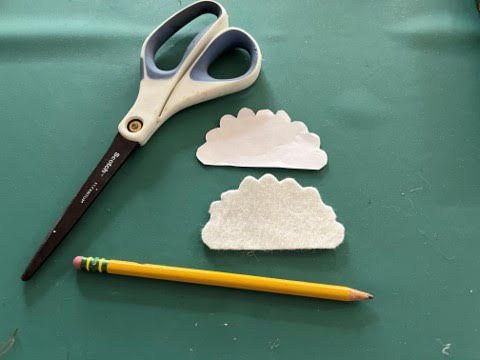
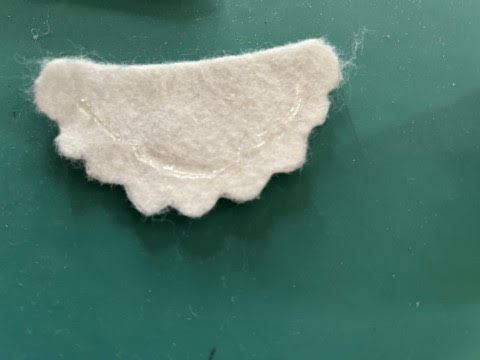
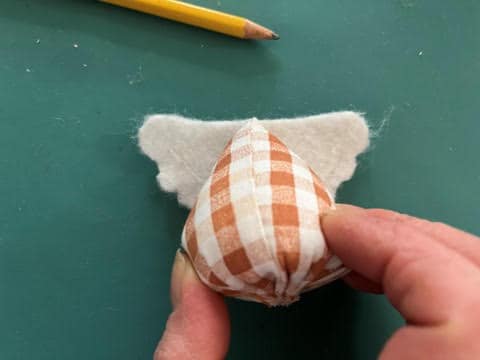
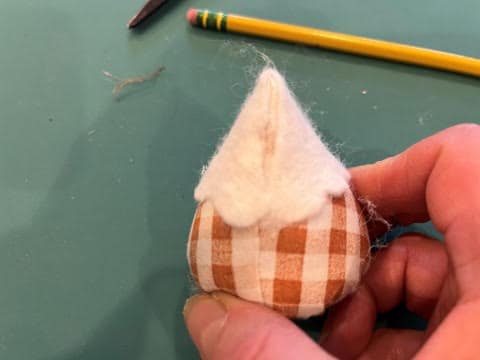
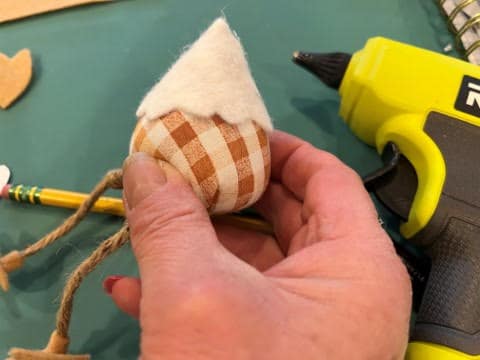
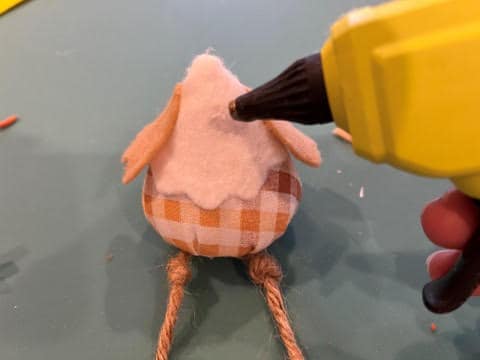
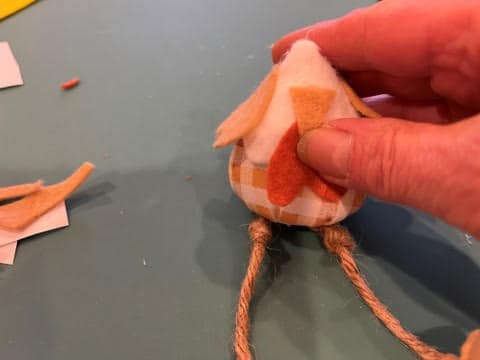
On a single layer of felt trace 1 hackle, 1 comb, and 2 wings. Cut them out on the trace lines. To add the hackle add hot glue inside the scalloped edge about a ¼” down from the flat edge. Lay down then place your chicken body in the center making sure the top of the body is at the edge of the hackle and with the back of the body is facing you then bring your sides of the hackle around the body and glue down. Next add hot glue to the end of one side of the hackle and glue down to the center of the body. Repeat this step to the other side of the hackle, (see photo’s below)
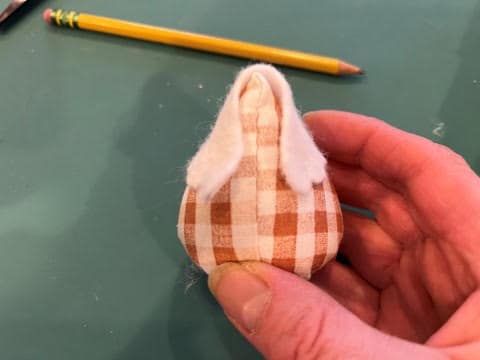
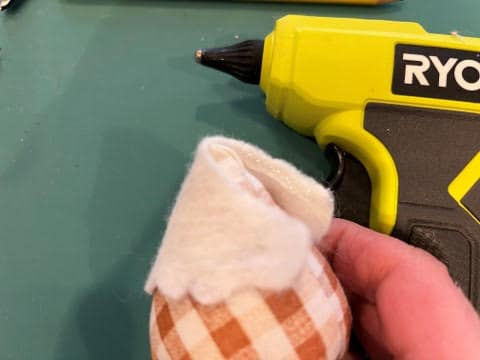
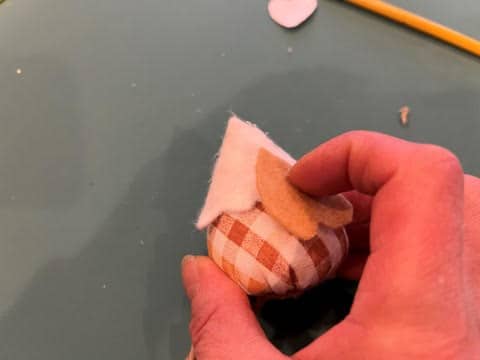
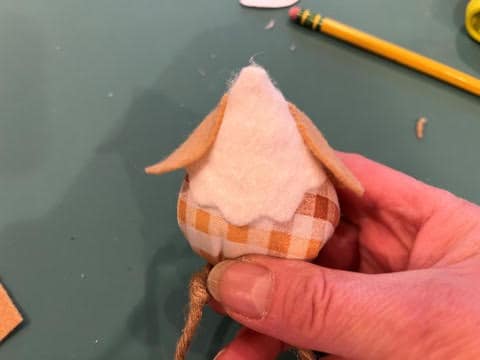
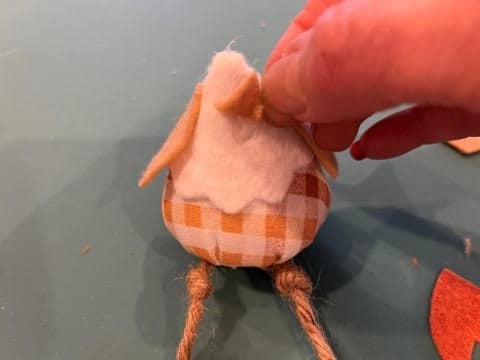
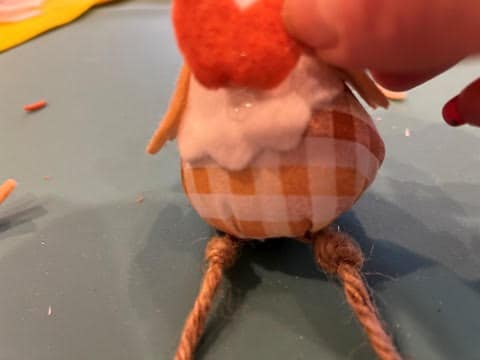
To add the wings a small line of hot glue down one side of the hackle where you want your wing to be then glue down the wing. Repeat this step with the other wing to the other side.
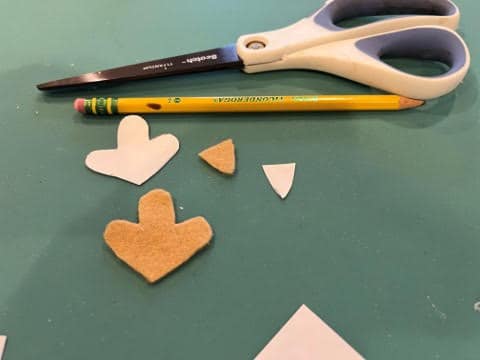
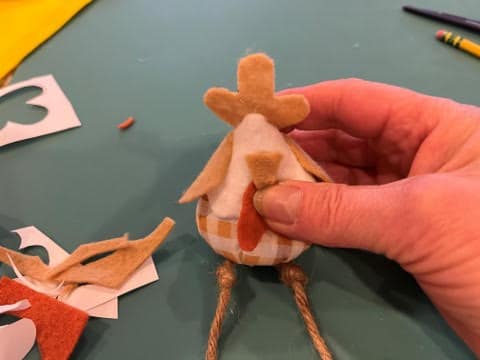
To add the comb add a small amount of hot glue to the bottom of the comb and glue to the back of the top of the head. Sorry I went a little out of order according to my photos below.


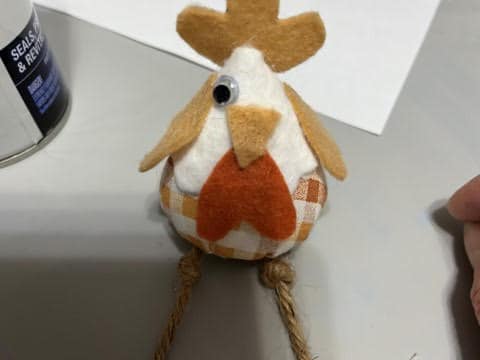
Adding The Beak, Wattle, And Eyes
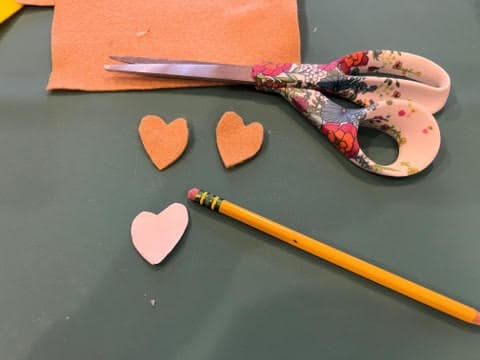
Trace and cut out the beak and wattle from a single layer of felt. Add a drop of hot glue to where you would like the beak to be (you are only going to glue the top of the beak in place) then glue beak to in place. Next lift up the bottom of the beak add a small drop of hot glue then glue the pointed end of the wattle in place. Add a drop of hot glue on top of the wattle then glue down the bottom of the beak.
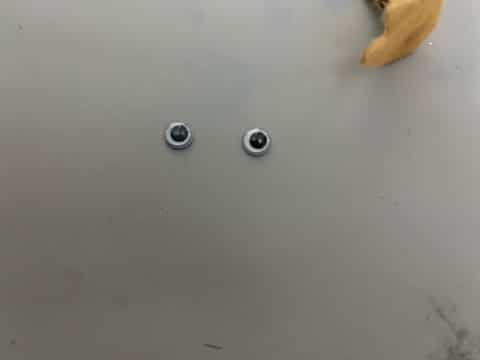
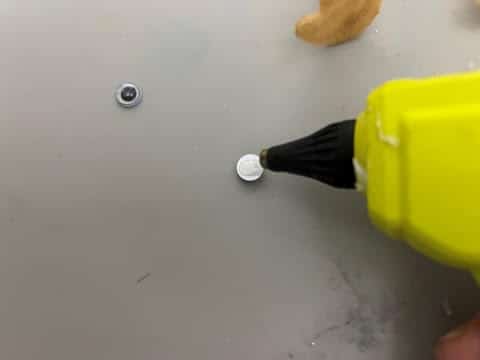
To add the eyes you will need two 8mm google eyes for the small chicken and two 10mm eyes for the large chicken. Add a drop of hot glue to the back of one eye then glue in place. Repeat this step to the second eye. Sorry forgot to take a photo of adding the second eye lol.
Thank you for posting pattern and directions for the chickens,s
I can’t find the pattern. I printed out 20 pages. But there was no pattern
All you need to click on is the first line under materials you will need it says pattern it will come up and you can print.