Fruit, Home Decor, Spring
DIY Fabric Strawberries

Apr
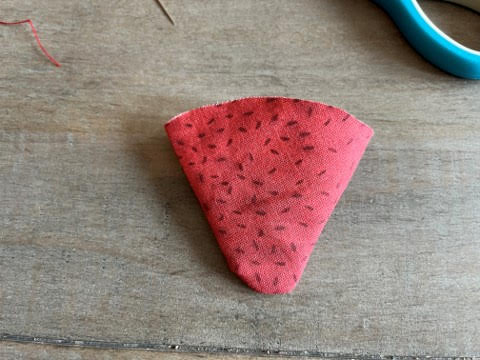
Spring is here and before we know it the strawberries will be ready for picking! Strawberries are one of my favorite berries so I decided I needed to make some fabric strawberries to add into my summer décor and I have to say they came out just adorable. I found this the strawberry fabric in Hobby Lobby it is called red seed blender and I knew as soon as I seen it that it would be perfect for making the strawberries and I was right they look just like a real strawberry.
Materials You Will Need
- Strawberry Pattern
- Fabric of choice ( The fabric I used is called red seed blender from Hobby Lobby)
- Green Felt (The color I used is called Olive)
- Small twigs from the yard
- Polyester Fiberfill
- Thread to match fabric and a sewing needle
- Scissors
- Pencil or pen
- Hot glue gun and glue sticks
Sewing The Strawberry
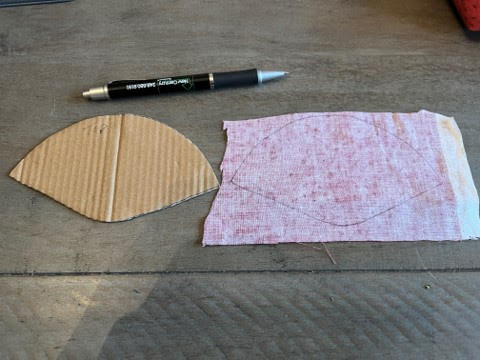
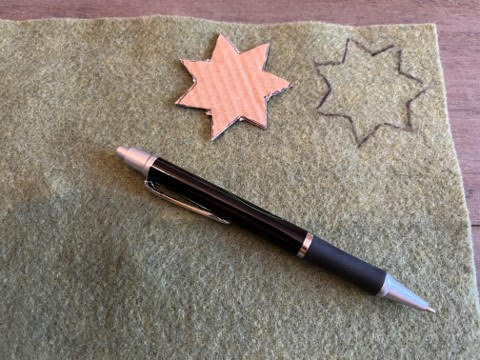
The first thing you will need to do is print and cut out your strawberry patterns. There are two size strawberry patterns and two size strawberry top patterns. The strawberries are really simple to make so have fun and make enough to fill a dough bowl or berry basket. Trace you strawberry patterns on the backside of a single layer of fabric and cut out on the trace line.
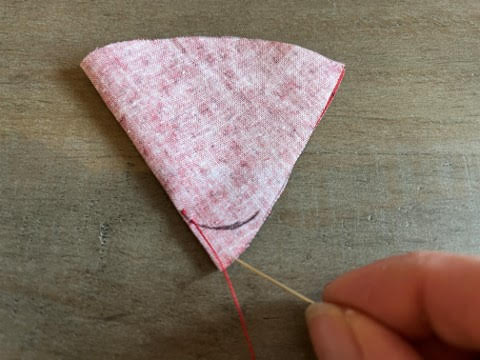
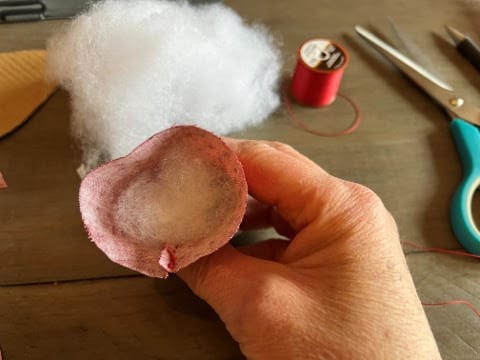
Next fold you fabric piece in half with the print facing in then at the bottom of the strawberry trace a line by hand approximately ¼” or so from the bottom starting at the folded side of the fabric curving it around so you get a nice rounded bottom rather than a pointy one (see photo below). I indicate on the pattern which is the top part of the strawberry.
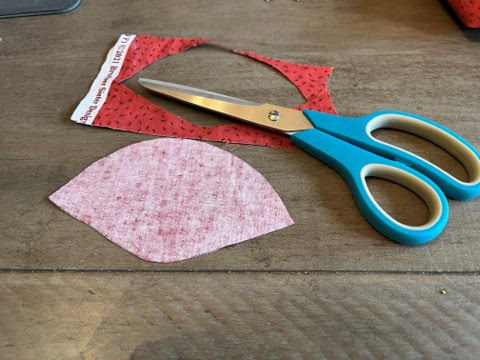
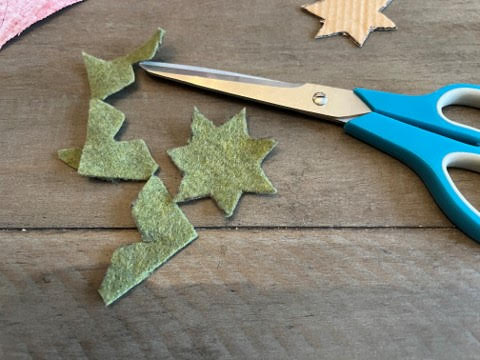
Using a short stitch length start sewing the strawberry at the beginning of the curved line then up the side between 1/8” and ¼” from the side to the top of the strawberry. Knot off and then trim off the excess fabric at the bottom.
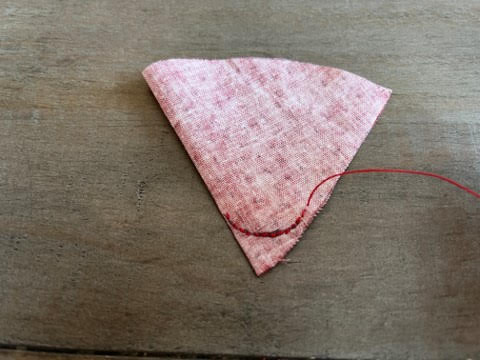
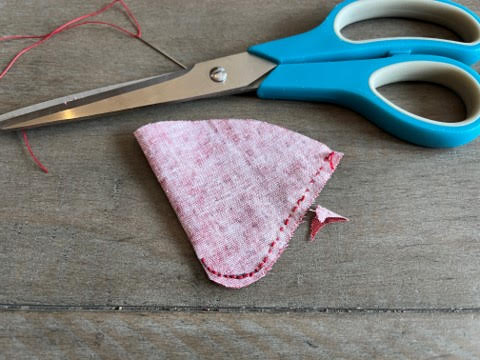
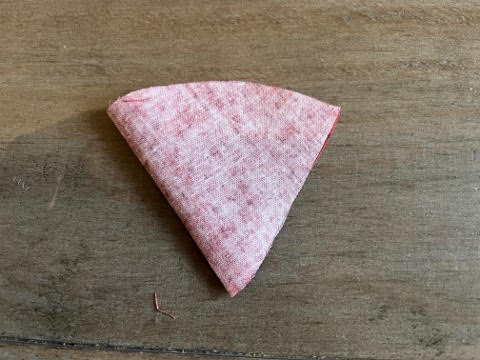
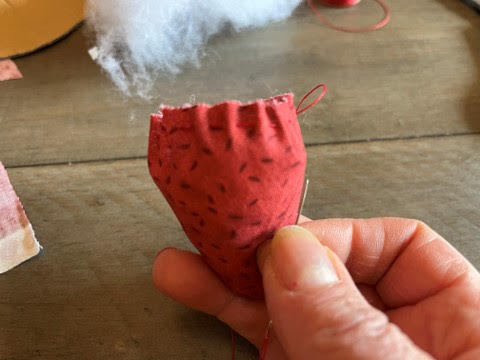
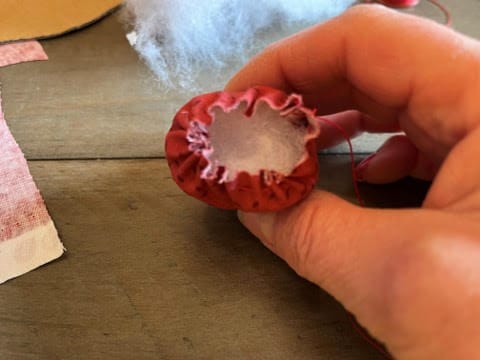
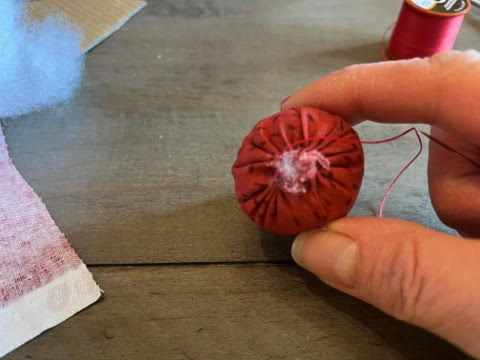
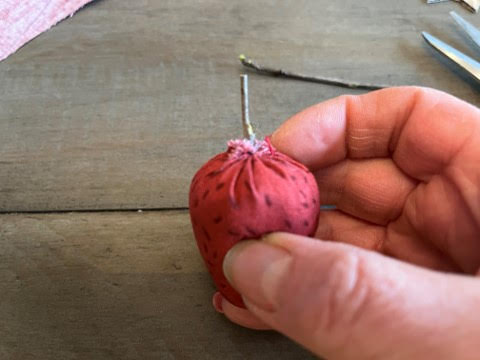
Turn the strawberry right side out then stuff about ¾ of the way with polyester fiberfill. Sew a gathering stitch all the way around the top of the strawberry about a ¼” from the edge. Finish firmly stuffing the strawberry, then pull the gathering stitch tight, and secure with a knot.

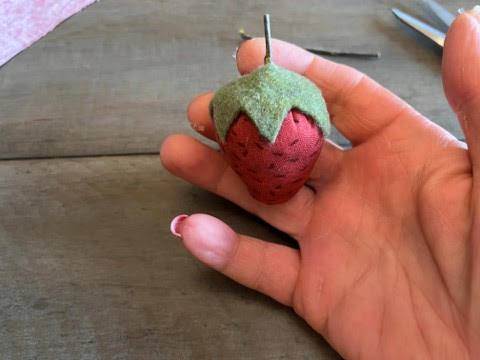
Making and Attaching The Stem and Top
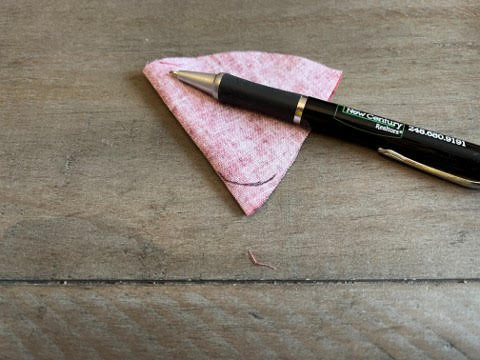
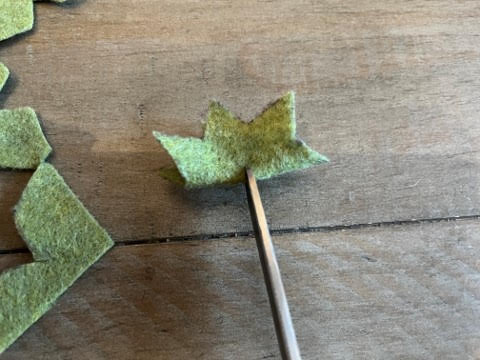
Trace your strawberry tops onto a single layer of green felt then cut out on the trace line. Fold the felt top in half then using a pair of scissors snip a small opening in the center, this will be for the stem. Next take a small piece of your stem (about a 1” or so) and insert it into the opening at the top of the strawberry.
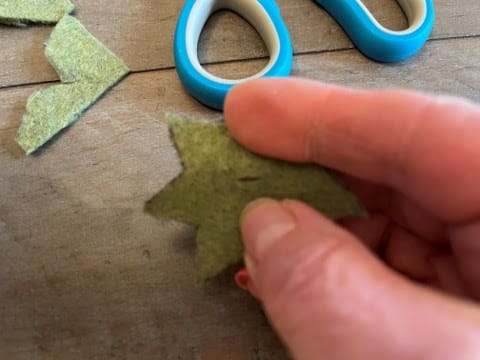
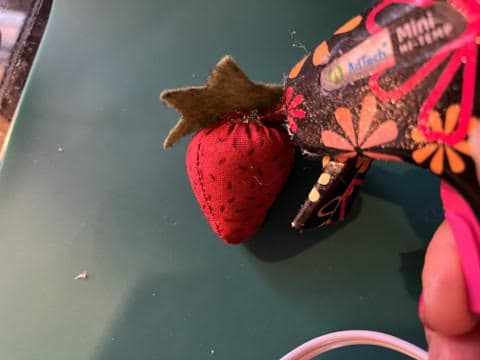
Next slide your felt green top over the stem add hot glue around the top of the strawberry then glue down your felt top piece. Lift one leaf at a time add a small amount of hot glue and glue down, continue gluing down the leaves all the way around the strawberry. If your twig stem seems loose you can remove the stem add a small drop of hot glue to the opening then insert the stem.

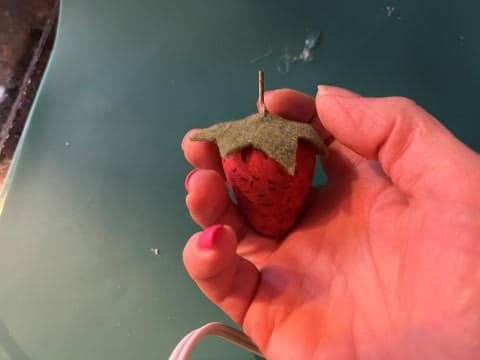
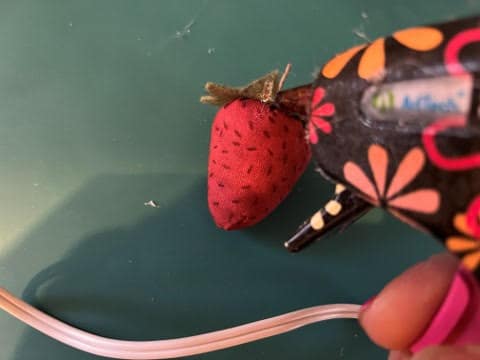

You are now done with your strawberry! I hope you enjoy making these adorable strawberries for your summer décor. They are wonderful to use in bowl, berry basket, and around a candle in a lantern for a fun summer look as your can see in the photo below.
How cute. I am not a sewer but wonder if gluing would work
You can glue the side but I think you are still going to need to do the gathering stitch around the top.
They are so darn cute I’m want to try them
Cool berries 🤗
I tired it and the bottom I must not have stitch up the way that you did… because I had to used a little glue to hold it in place
You can also watch the video if you are not understanding the directions in the blog
Omg Sherry,those berries are totally adorable. Will try gluing them. Still havinh trouble with my sewing machine.😬😟