Home Decor
DIY Farmhouse Wood Bead Lantern
May
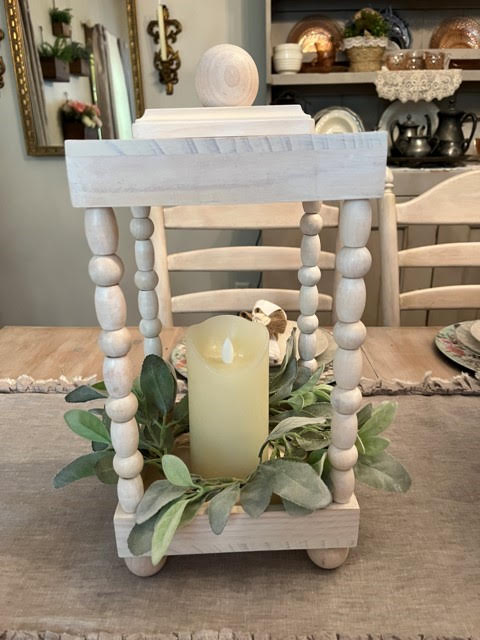
If you love farmhouse style you will just love this farmhouse wood bead lantern. You can make this lantern look so many different ways by using different stains or paints to match your style and décor. I have added a candle ring and timer pillar but you can place so many different items in the lantern such as plants or little figures. I hope you give this lantern a try.
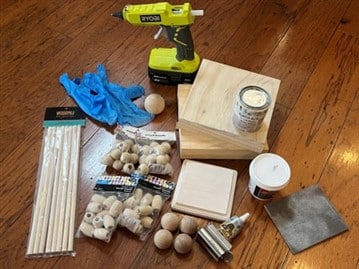
Materials I Used
- 2 Wood box signs (Hobby Lobby item #1403005)
- 2 packages of the Tree House Studio oval wood beads 32mm x 22mm (Hobby Lobby #335299)
- 2 packages of the Tree House Studio round wood beads 25mm (Hobby Lobby #240267)
- Four 3/8 x 12” dowels
- One 5”x5” wood square plaque (Hobby Lobby #179605)
- One 2” wood ball knob
- Four 1.5” wood ball knobs
- Rust-Oleum Ultra Matte wood stain in antique white or stain and paint in your color choice
- Wood Putty or spackling
- Putty knife
- Sandpaper
- Sponge brush
- Gorilla Clear Grip Contact Adhesive
- Lint free rag
- Latex gloves
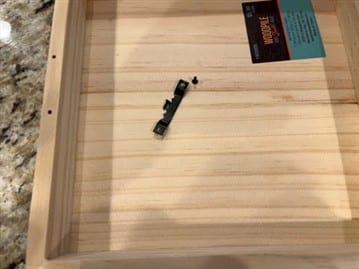
Staining The Wood Pieces
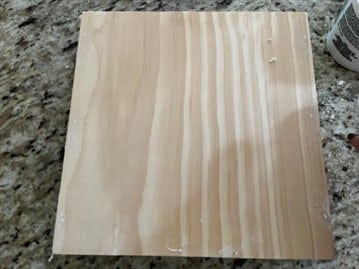
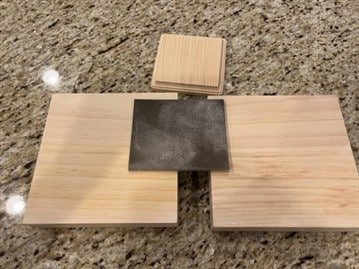
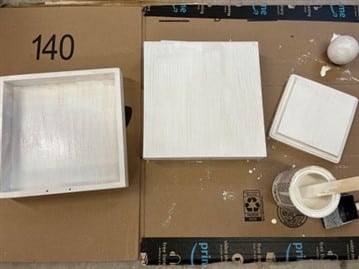
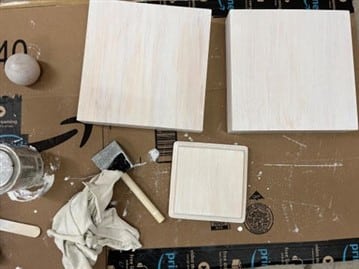
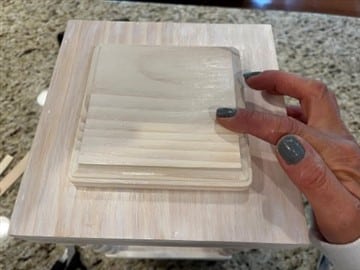
The first thing you will need to do is remove the stickers from the 2 wood box signs then fill in the nail holes with either wood putty or spackling. Next give the 2 wood box signs and the 5”x5” square wood pieces a sanding. You are going to stain all sides of the two wood box signs including the underneath. You only need to stain the top and sides of the 5”x5” square wood piece. If you are using the wood stain that I have used follow the directions on the can. The longer you leave the stain on the whiter you pieces will be. Wipe the stain off with a lint free rag.
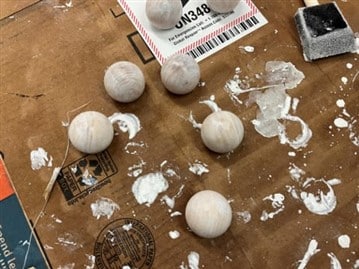
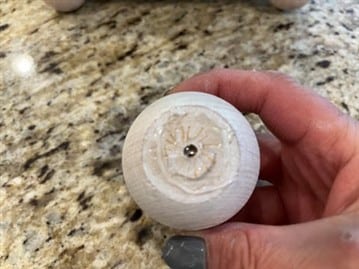
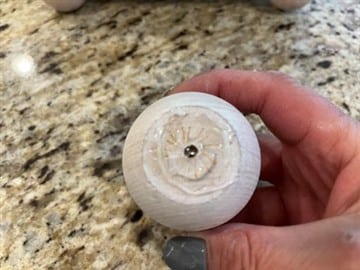
Next stain your four 1.5” ball knobs which are going to be the feet of your lantern and the one 2” ball knob for the top of your lantern.
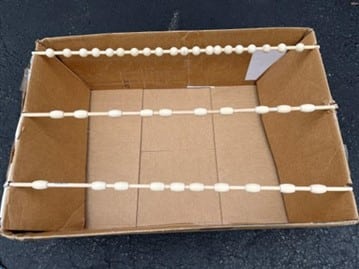
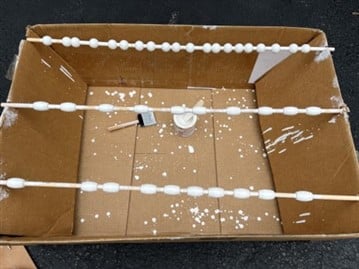
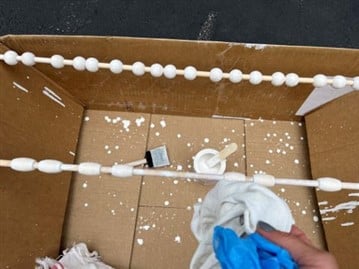
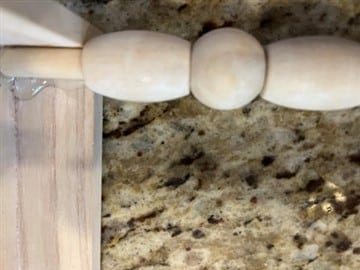
Time to stain the wood beads! You are going to need to stain 20 oval wood beads and 16 round wood beads. I found the easiest way to stain them was to slid them onto a long 3/8 dowel get a cardboard box and make notches on two sides of the box to lay the dowels in then stain the beads.
Assembling The Lantern
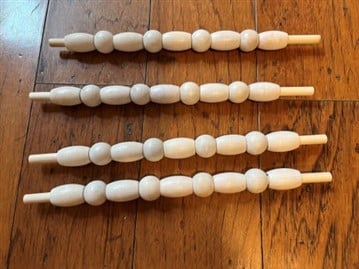
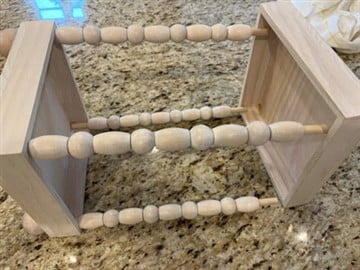
The first thing to do is to place the wood beads onto the dowels. You are going to use 5 oval wood beads and 4 round wood beads per dowel. Start with a oval bead then a round bead and continue alternating the beads ending with a oval bead. Repeat this step to the other three dowels.
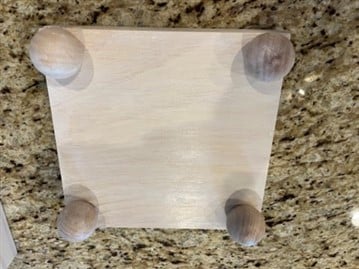
You are going to glue on the feet next. Take one of the box signs place down with the flat side facing up. Add the gorilla adhesive to the center of one 1.5” wood ball knob then add hot glue around the adhesive. Glue on the ball knob in one of the corners of the box sign. Repeat these steps to the other 3 ball knobs placing one in each corner of the box sign. This is the bottom of your lantern.

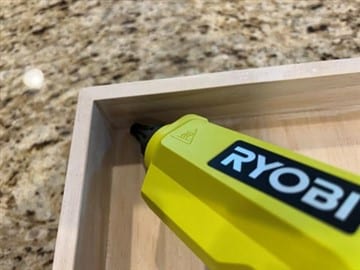
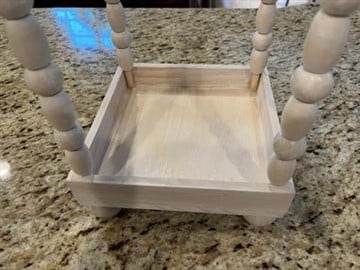
Lay the bottom of your lantern (the wood box sign with the feet) on its side then take the second wood box sign which will be the top of your lantern and lay it on its side, with the solid wood side facing outward, about 12” above the bottom piece of the lantern. Place your dowels in between the two boxes to see how far apart you will need them then remove the dowels. Next add hot glue in one corner of the bottom box of the lantern then glue in the dowel with the oval bead setting on the top edge hold in place until secure. Add hot glue in the corner of the top box of the lantern and glue in the other end of the dowel again with the oval bead setting on the edge of the box. Repeat these steps with a second dowel in the next corners of the bottom and top of the lantern. Flip your lantern then glue in another dowel then flip again and glue in the last dowel.
Adding The Top Wood Square And Knob
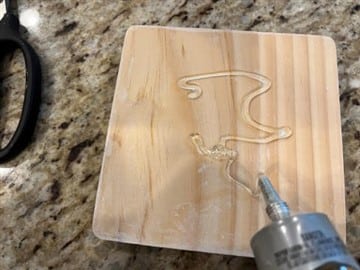
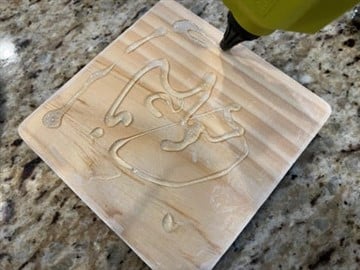
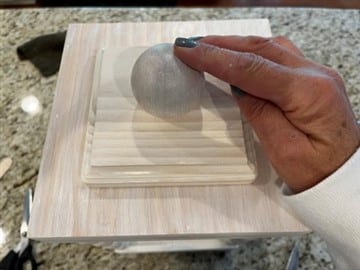
To add the 5”x5” wood square to the top of the lantern add gorilla clear grip adhesive to the center of the bottom of the wood square then add hot glue around the outer edges then center and glue to the top of the lantern. Next add the gorilla adhesive to the center of the 2” ball knob then add hot glue around the adhesive and glue onto the center of the 5”x5” wood square.
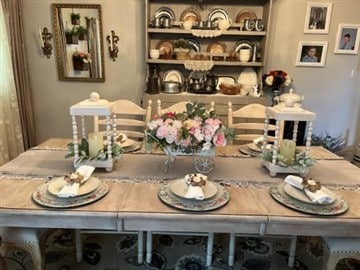
Your lantern is now ready for you to decorate. I added a candle ring and a timer pillar candle to the center of mine. Make two lanterns and use them as part of a centerpiece for your table. I hope you love this farmhouse lantern as much as I do.
It’s beautiful. I love it and will have to try to make it
Absolutely beautiful Sherry. I love that lantern. I love how you put it on your table as decorations around your dinner plates. So pretty. Great 💜