Home Decor, Outdoors, Thrifty Makeovers
DIY Solar Stained Glass Mushroom
Apr
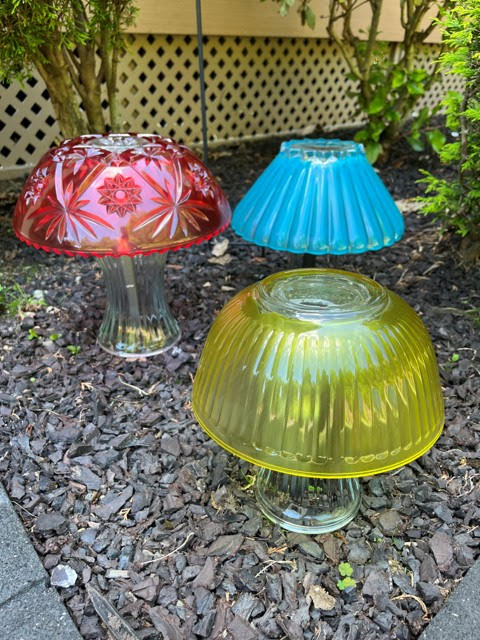
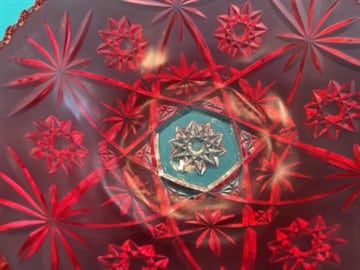
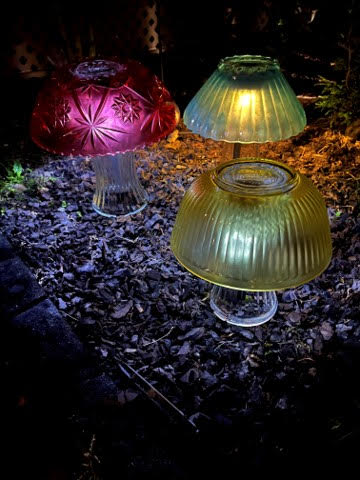
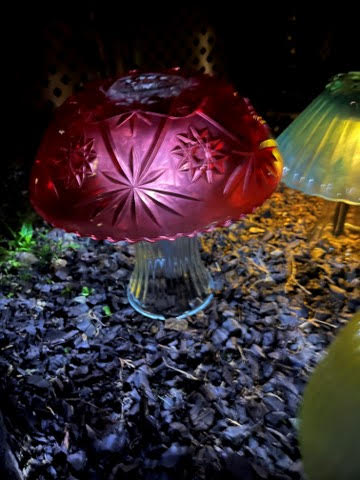
I just love repurposing items from the thrift store. I have seen so many people making the solar mushrooms from vases and bowls but I thought I would go one step further to make them my own and give them some color by using stained glass and sea glass spray paints. I just love how you can see them so much better with color verses plain clear glass. The mushrooms are super easy to make and look amazing at night lite up!
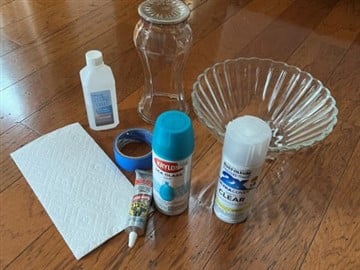
Materials I Used
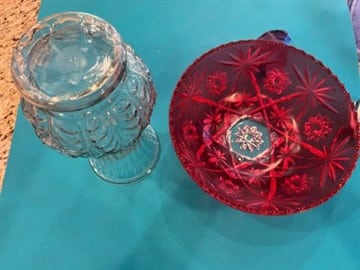
- Glass bowls and vases I had collected from thrift stores
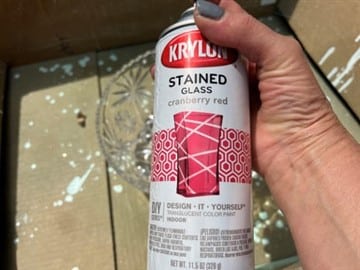
- Krylon sea glass or stained glass spray paint in your color choice
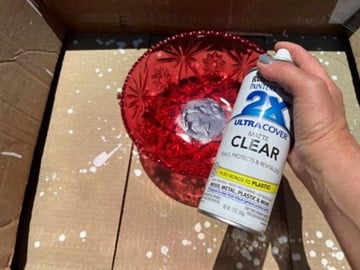
- Rust-Oleum matte clear spray sealer
- Rubbing alcohol
- Gorilla clear grip contact adhesive
- Painters tape
- Scissors
- Black sharpie
- Paper towel
- Small solar light either from the Dollar Tree or Walmart. The solar light has to be able to fit up into your vase.
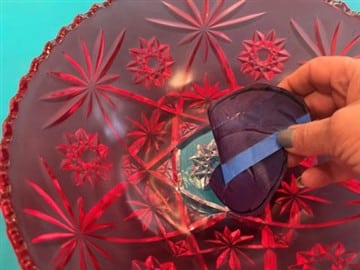
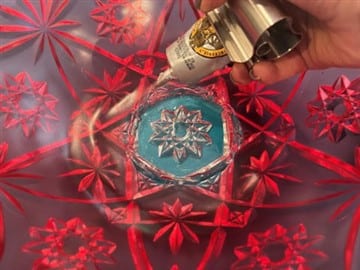
Preparing The Bowl And Vase For Painting
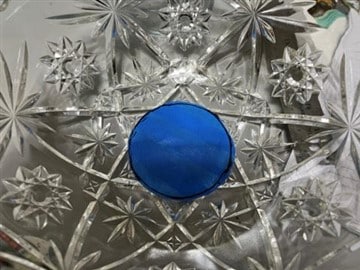
The first thing you will need to do is remove any stickers and wash and dry the bowl and vase. Next wipe down the bowl and vase with rubbing alcohol using a paper towel. Using pieces of painters tape you are going to cover the bottom of the vase then with a marker draw a circle on the painters tape the size of the bottom of the vase. Remove the tape cut out the circle then place in the center of the inside bottom of the bowl. This is because you do not want to paint the section that the solar light is going to be.

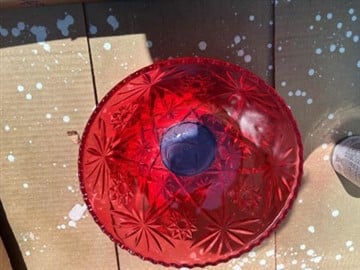
Painting And Sealing The Bowl
In a well ventilated area spray the inside of the bowl with your paint. Do a few light coats so you do not get any drips and let dry between coats. After the paint has dried you are now going to spray on your Rust-Oleum sealer let dry and then do a second coat.

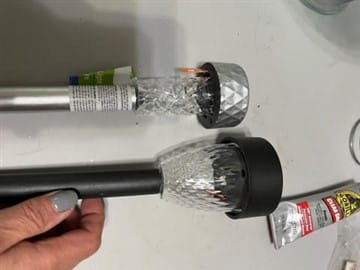
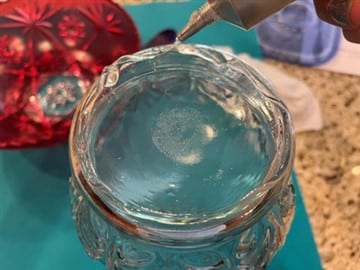
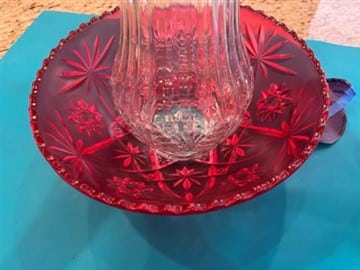
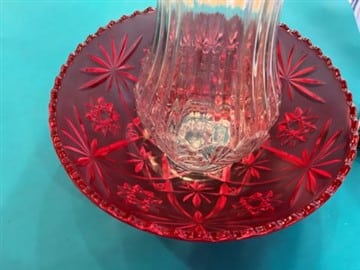
Attaching The Bowl To The Vase
Remove the painters tape from the bowl. Place the vase upside down then add the gorilla clear grip adhesive around the bottom of the vase then place the vase into the center of the bowl. Take out the vase add the adhesive where the vase touched the middle of the bowl then add a little more adhesive to the bottom of the vase (see photo’s below). Let the adhesive sit for about 2 minutes then place your vase back into the bowl and press down. Let the adhesive set up overnight.
After letting your mushroom set overnight you are now ready to take it outside and add it to your garden. Place your solar light into the ground then place your mushroom over the solar light. Wait to you see how pretty the mushroom is going to look at night lite up. I hope you try making the mushroom and even make them in a few colors for your garden.
I love your projects, will surly try the lantern and mishrooms
I love your projects, will try the lantern and mushrooms
I have made a few of these and even gave them as gifts. Now I’ve discovered that the paint is peeling on mine and also ones that I gave away which I feel horrible about. Can you please tell me what I did wrong? Would the heat outside cause peeling or how about automatic sprinklers getting them wet?
Omg gorgeous!!! gotta do mine that way !
is it better to spray the outside or inside.