Home Decor, Outdoors, Spring
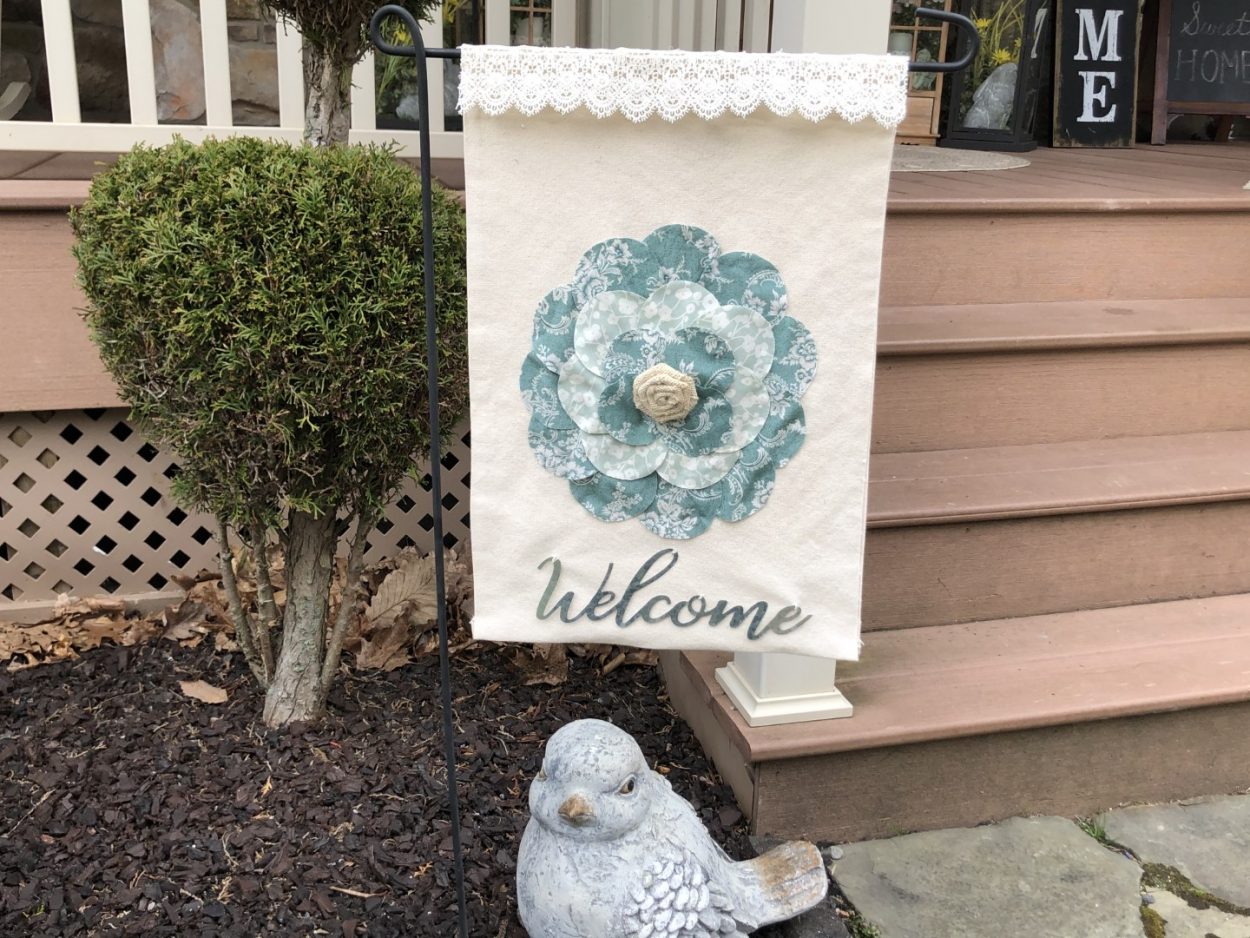
DIY Garden Flag
Apr
Spring has finally arrived and it was time to bring out my Spring and Summer outdoor décor, needless to say when I went to hang my garden flag it wasn’t looking in the best condition and with the stores closed and the stay at home order I couldn’t go buy a new one.I hung out the flag and told myself I will get a new one when the stores open again but after looking and looking at it I decided to give my hand at making a new one so I went digging through my stacks of fabric and found fabric that I would be able to use, if I must say so myself I think it came out really good and the best part isit didn’t cost me anything I had everything on hand.
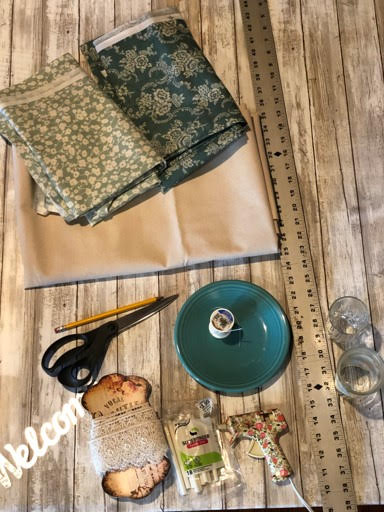
Here is a list of what you will need:
- Duck canvas fabric (I got mine at Joann’s a while back for a previous project)
- 2 printed fabrics
- Ribbon
- 2 Burlap Flowers
- Scissors
- Pencil
- Needle and Thread
- Ruler or Tape Measure
- Glue Gun and Surebonder Fabric Glue Sticks (Hobby Lobby or Amazon has the fabric glue sticks)
- Salad Plate
- 2 Different small drinking glasses that you can trace to get a 2 ¼” circle and a 2 ¾” circle (I used a small drinking glass and a juice glass)
- 2 Metal Welcome signs ( I purchased mine from dollar tree you can also find them at Hobby Lobby)
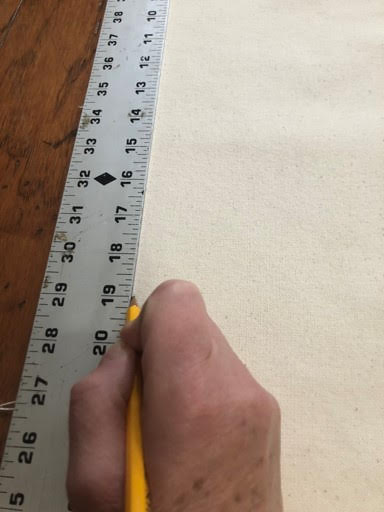
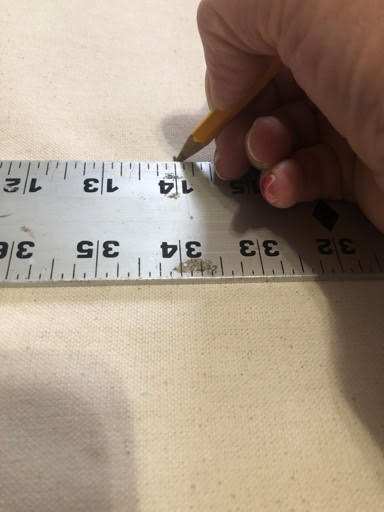
Making the base of the flag
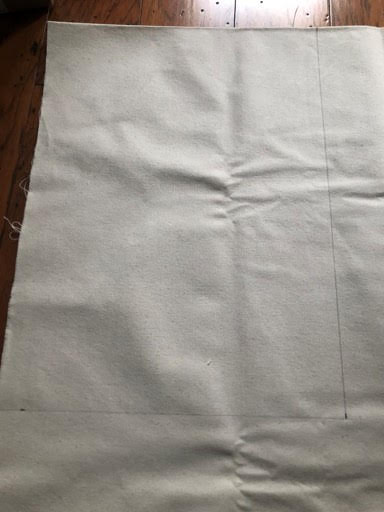
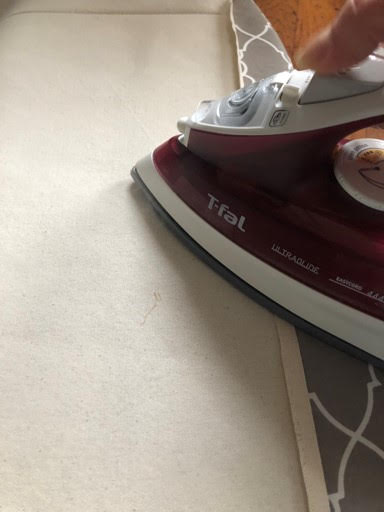
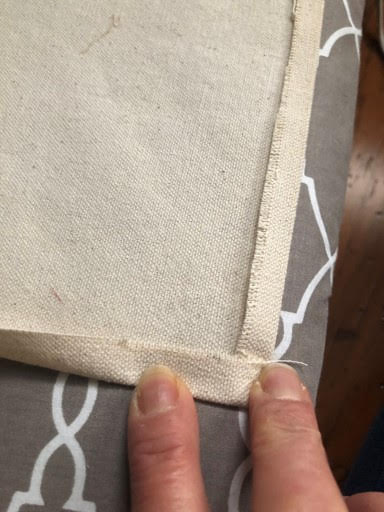
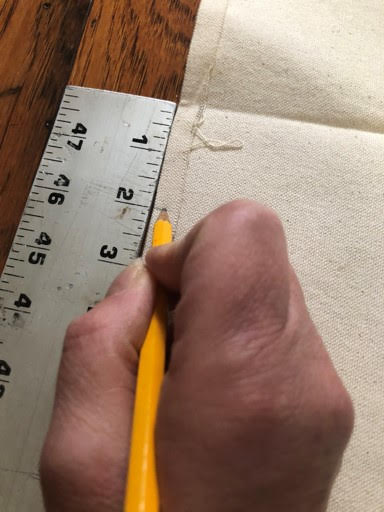
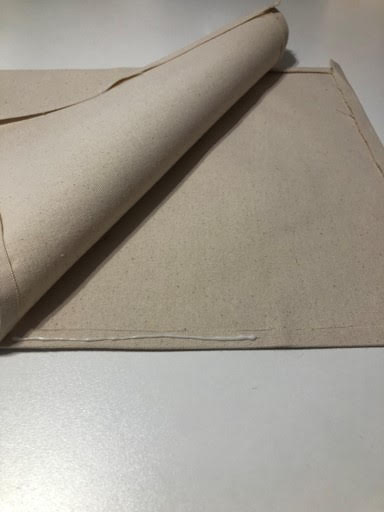
Fold your duck canvas in half with the fold at top, using your yardstick measure and mark 19 inched down from the fold then measure and mark 14 inches in from the side then cut out your fabric piece. Next open up your piece of fabric you just cut out and fold and iron a ½ inch seam on all four sides.
Gluing the canvas
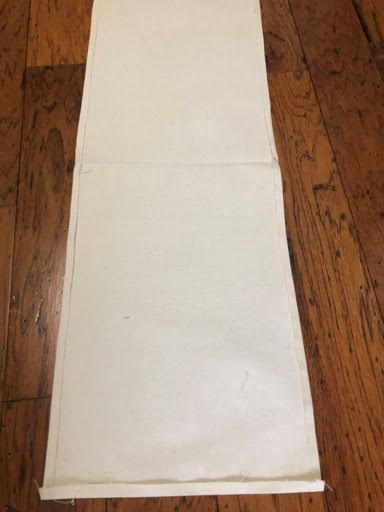
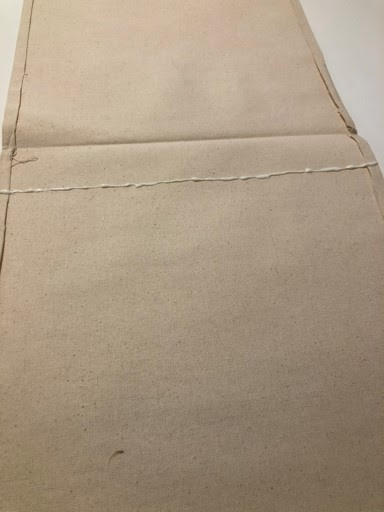
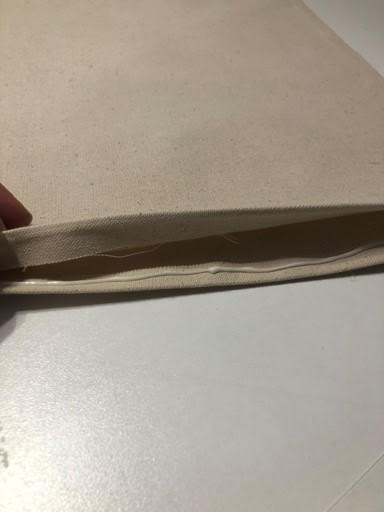
With your canvas piece opened measure and mark 2 inches down from the fold on both sides. Using your hot fabric glue add a line of glue from your 2 inch mark across your canvas to your 2 inch mark on the other side, now fold your fabric back over and glue them together this will be the pocket for your flag pole, check to see if your bottom two pieces line up making any adjustments to the seams if needed.
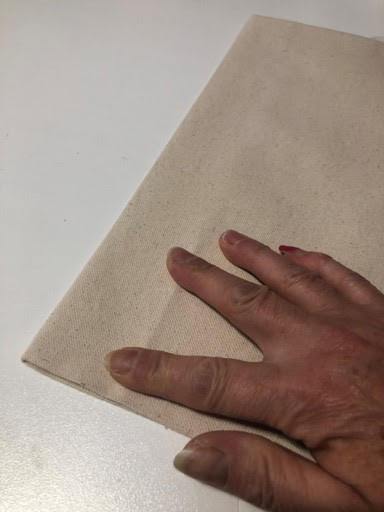
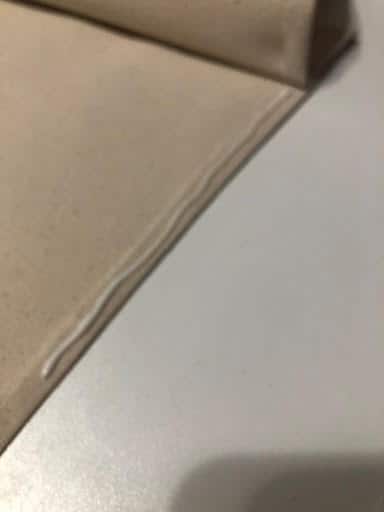
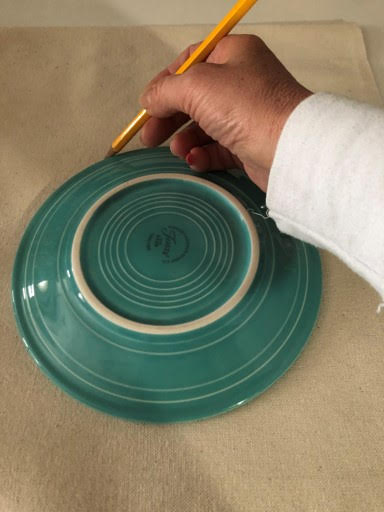
Next lift up the top piece of the canvas and apply hot fabric glue on the seam of the bottom piece only about a quarter of the way down then glue the two pieces together. Move to the other side and lift up the top piece of fabric and apply hot fabric glue to the seam on the bottom piece of fabric and glue down, lift up your fabric again and apply the fabric glue another quarter of the way down glue the two pieces together, repeat this step moving from one side to the other until both sides are totally glued down. Lastly glue the bottom closed by applying the glue to the bottom seam and gluing the two pieces together. Take your salad plate and center it in the middle of your canvas and trace with a pencil, flip your flag over and repeat this step.
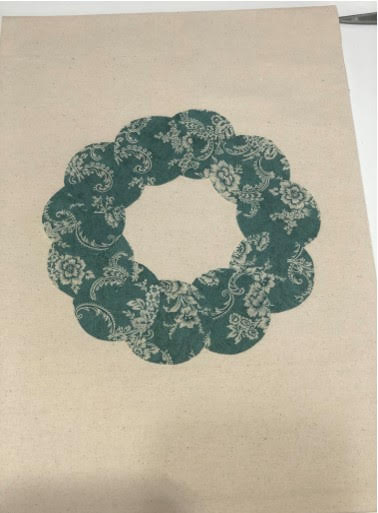
Making the flower petals
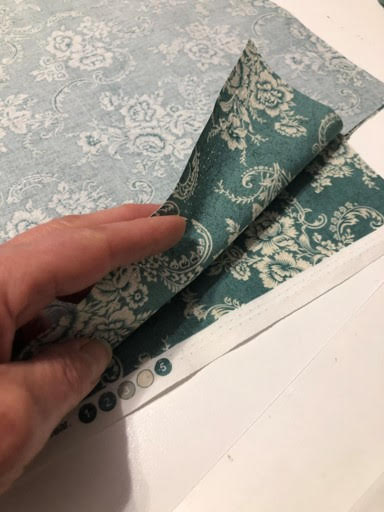
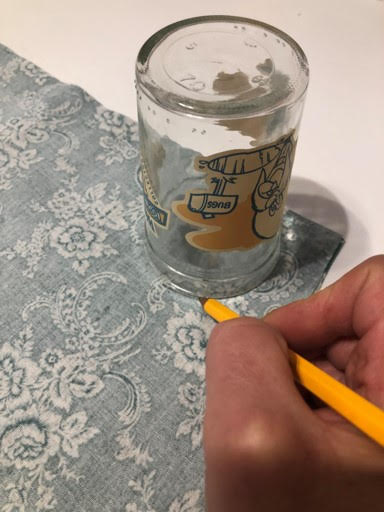
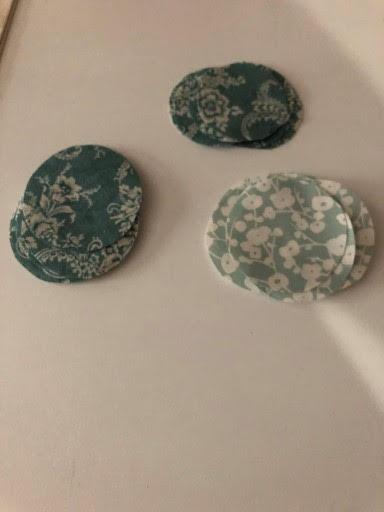
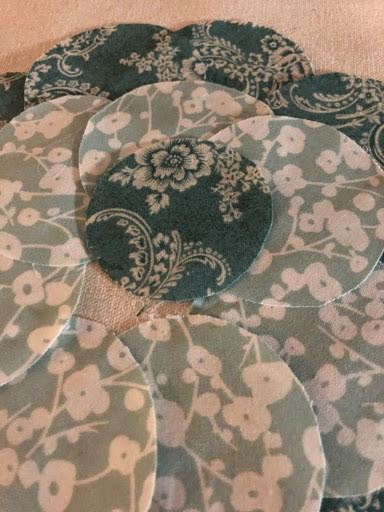
Choose what printed fabric you would like your outer petals to be then fold the fabric in half, with the print on the inside, now trace ten 2 ¾” inch circles and four 2 ¼” inch circles onto your fabric ( I used a small drinking glass and a juice glass to trace my circles) then cut them out you should now have 20 large and 8 small circles. Take your second printed fabric and fold in half with the print inside and trace and cut out seven 2 ¾” circles, you will now have 14 circles.
Assemble the flower
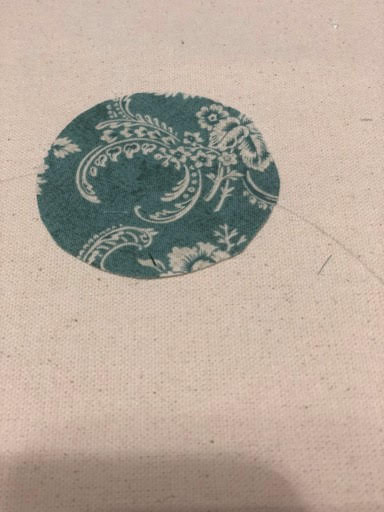
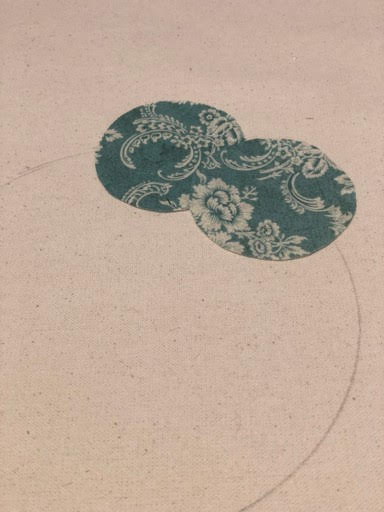
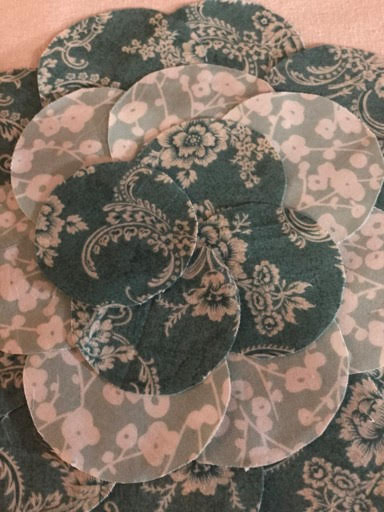
To assemble the flower start with your ten 2 ¾” petals , place your first petal in the center of your drawn circle, continue adding your petals overlapping each petal a little until all 10 petals are placed.
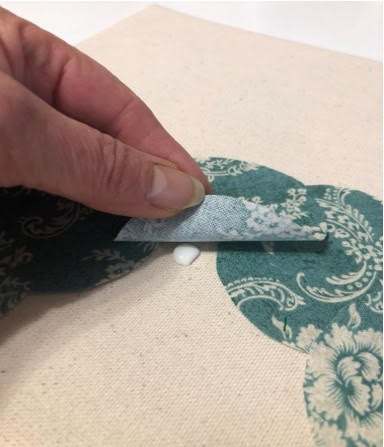
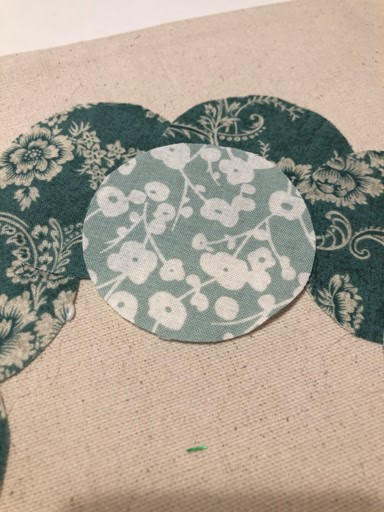
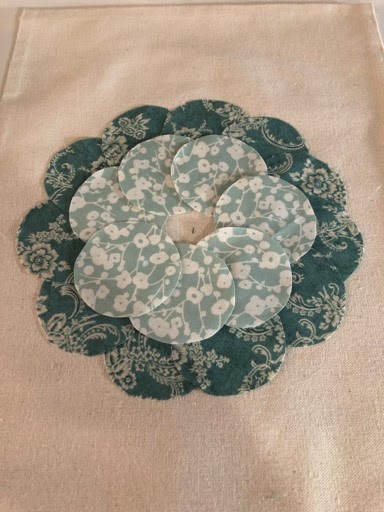
Once you have all 10 petals placed check to see if you have to make any adjustments, making sure the drawn circle is totally covered, now lift up the bottom of a petal and apply a small amount of fabric glue and glue down next lift up the top of the petal apply fabric glue and glue down, continue gluing all ten petals down. To start the second row take one of the 2 ¾” petals that you cut out of your second printed fabric and place it 1” down from the top of a petal in the first row centering it between two petals continue placing 6 more petals overlapping each a little, check to see if you need to make any adjustments making sure the canvas fabric is covered, glue each petal as you did in the first row. To start the third row place one of your 2 ¼” petals 1 inch down from the top of a petal in the second row centering it between two petals continue adding the last three petals overlapping each petal a little, make any adjustments and glue petals down. Turn your canvas over and assemble the flower just as you did on the other side. Finally add fabric glue to your burlap flower and glue in the center of your third row, repeat on the opposite side.
Adding the ribbon and welcome sign
To add your ribbon start by placing the ribbon across the top of your flag (end to end) then cut the ribbon now remove the ribbon add a line of fabric glue across the top of the flag and glue down your ribbon, repeat this step to the back side of the flag. Center your welcome sign between the bottom of the flower and the bottom of the flag, using the needle and thread start tacking the top and bottom of a few of the letters to the canvas make sure you start with the W and end with the last E so it will be secure to the flag. Repeat this step to the back side of the flag. You are now ready to hang your flag. Is your mind already thinking about making your own garden flag for each season and holiday, mine sure is. I hope you enjoyed this project.
this is so cute! another great idea. keep up the great work. loving your ideas
Love the Flag! I have all these different store bought flags but this has me thinking about some very personalized flags.
Thanks for very clear directions.
Love, Love this flag, calling Michaels to see if they have this!!!
I love this flag and it was easy to make and your directions were so easy to understand. I’m afraid to put my flag out, the wind is so strong here every single day. It is so cute😊
Very cute idea!! Love your fabric choices!
Your crafts are a step above others. More sophisticated. Love your work.
I am a visual person. As I read I thought there is no way I could make this. You did such a good job with the photos….I can definitely make this!
I don’t have fabric glue or burlap flower so I’m going to try sewing it on my sewing machine! I love it…thank you for inspiring me!