Christmas, Flowers, Home Decor, Winter
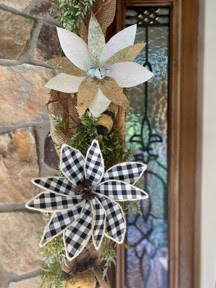
DIY Poinsettia Pick
Aug
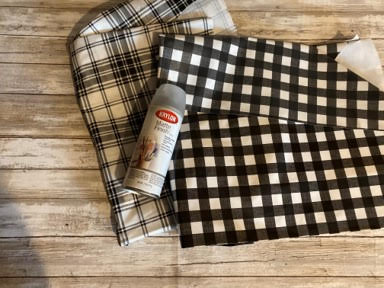
If you have been following The Crafty Decorator you should know by now I love to decorate around my front door and I keep trees up on my porch all year long so I am always trying to come up things that I can decorate around my door and my trees with that will stand up to the weather, I saw a poinsettia at Hobby Lobby in the Christmas picks section and it gave me the idea of making them out of fabric I could use outside, in the ribbon section they sell rolls of faux leather ribbon so I had to buy a few to see if my idea would work and I don’t know if you are like me but I don’t always fully read the label, when I got home I opened up the ribbon and it is only 24” long, you can almost get enough petals to make 3 poinsettia’s out of one roll which isn’t bad the roll was on sale for $2.50.After I made one I thought there has to something you can get that you would be able to make more flowers out of so back to Hobby Lobby I went and I found vinyl tablecloth fabric it was on sale for $5.69 a yard then I found a black and white plaid tablecloth in the fall décor section needless to say I bought both and you will be able to get so many more flowers from these as long as black and white is your colors. You can let your imagination run wild with all the different fabrics you can use to make this Poinsettia.
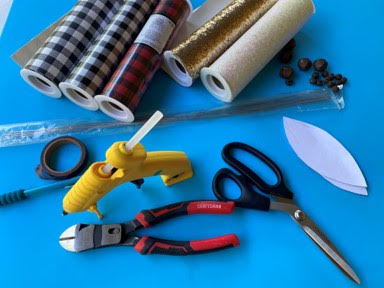
Here is a list of what you will need:
- Poinsettia Petals Pattern
- 22 gauge wire
- 20mm Bells
- Twine of your choice
- Fabric of your choice
- Brown Floral Tape
- Hot Glue Gun and Glue Sticks
- Scissors
- Pencil
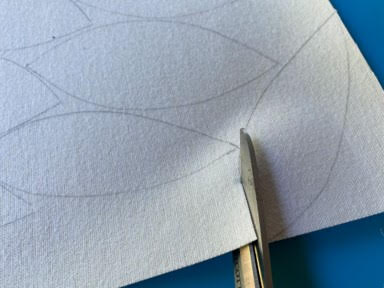
Print Out The Petal Pattern
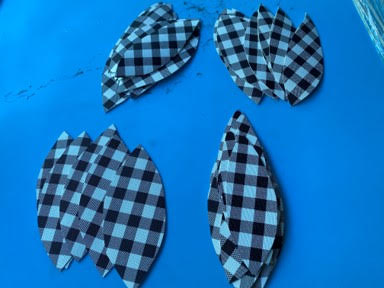
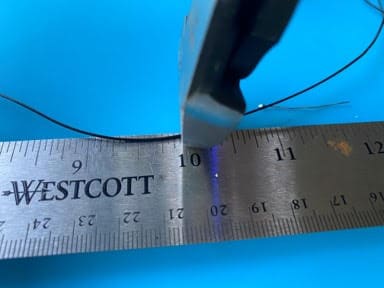
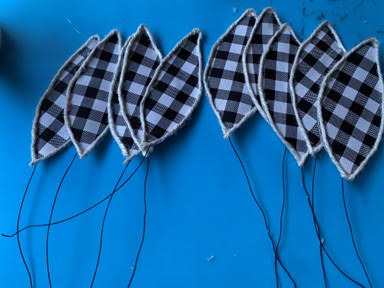
The first thing you will need to do is print and cut out the Poinsettia petal pattern, once you have your pattern pieces you will need to trace and cut out 5 of each of the petals from your fabric. If you are using a vinyl tablecloth or vinyl tablecloth fabric by the yard and it looks really shiny you can spray it with a matte sealer this will take the gloss to a matte finish. Next cut thirteen 10” pieces of 22 gauge wire, 10 pieces will be for the petals and 3 will be for the bells.

Attaching The Wires
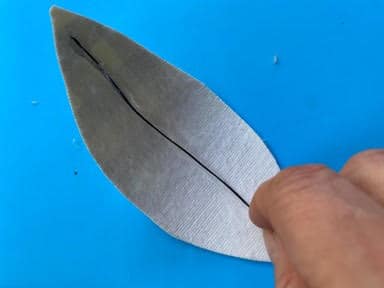
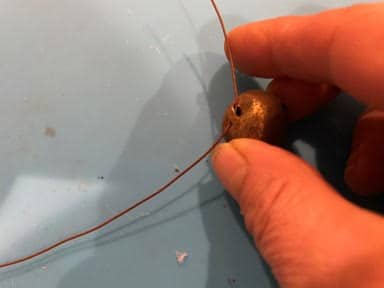
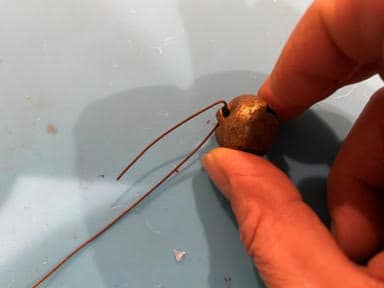
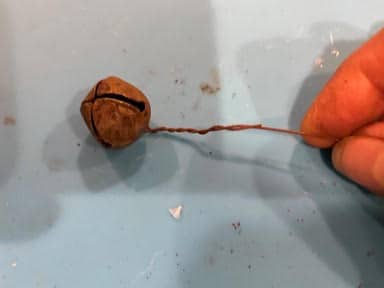
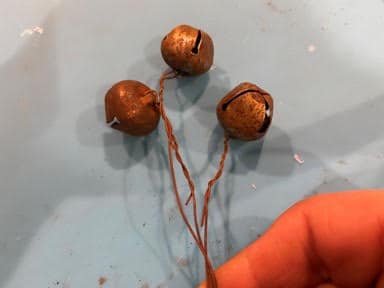
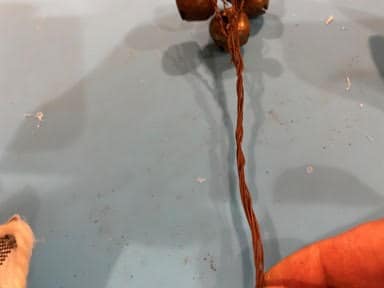
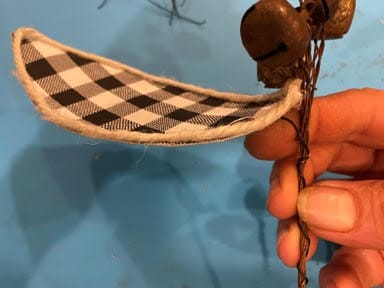
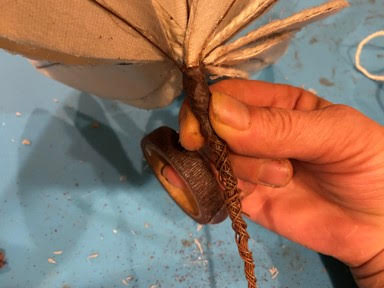
Once you have all your petals cut out and your wires cut it is time to attach the wires to the petals, to attach the wires take one of the petals and turn over so the back is facing up now add a line of hot glue down the middle of the petal then place your wire on top of the line of glue , repeat this step to the other 9 petals. Next take one of your wire pieces and put it through the bottom loop of the bell then bend the wire (about a 1”) over and twist the wire until it is tight, repeat this step to the other two bells, you can also add more bells in a different size if you would like. Once you have added the wires to the bells hold all three bells together and twist all the wires together all the way down.

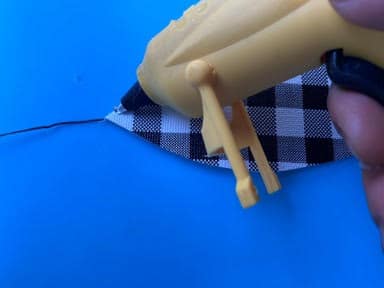
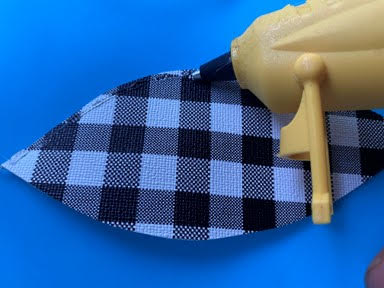
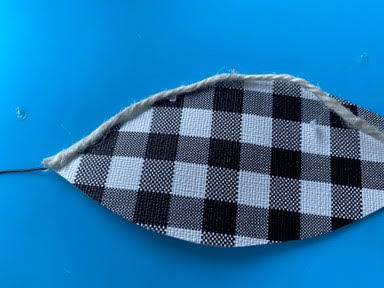
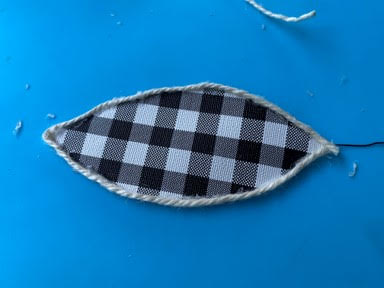
To add the trim to the petals starting at the bottom of the petal add a small line of hot glue at the edge of the petal then add the twine on top of the glue, continue gluing the twine around the petal until you end up at the bottom. Repeat this step to the other 9 petals.
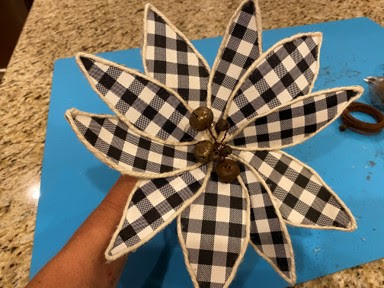
Assemble The Poinsettia
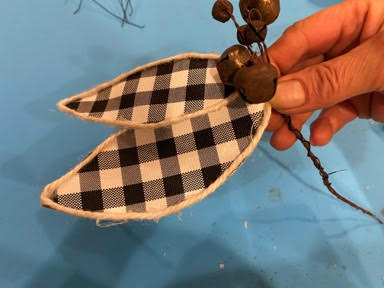
To assemble the poinsettia hold your wired bells then take one of the large petals and pend the wire at the bottom of the petal so the petal is sticking outward (so it looks like a 7) then hold the bottom of the petal just under the bells and wrap the wire of the petal around the bell wires. Next take a small petal bend the same way as you did the large petal then place the petal just under the bells so it is just a little on top of the large petal then wrap the petal wire around the bell wires. Take another large petal and repeat the same steps but this time make sure the petal is just a little under the small petal. Continue adding petals rotating large then small then large, etc. you want all the large petals to be the bottom petals and the small petals to be the top petals, one small petal should end up in-between two large petals. See the photo’s below.
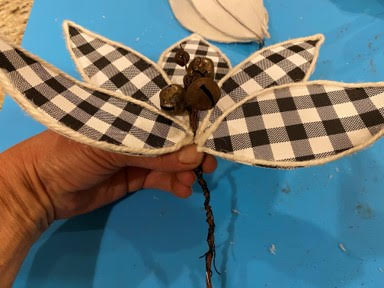
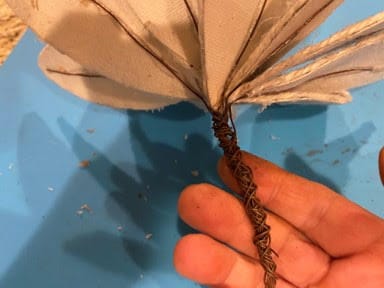
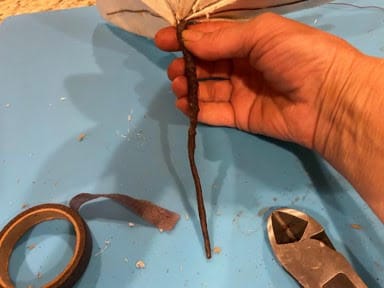
Now that you have your poinsettia assembled take the brown floral tape and starting right under the petals start wrapping the tape around the wires all the way down and back up the wires then cut the tape.
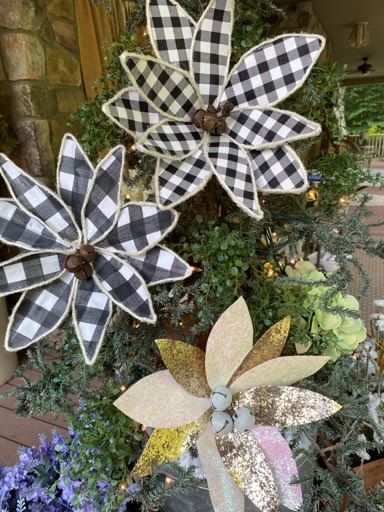
Your poinsettia is all done and ready for you to use to decorate your home for Christmas. I hope you will give this a try they are simple to make and come out so beautiful. You can use any fabric you like it doesn’t have to be vinyl you can use regular fabric to use inside your home. The poinsettia’s would be beautiful in your Christmas tree or around your front door.
Can you please send me an email with pattern so I can print it out. I need some of these on my front porch. Thanks!
First time watching , gonna like trying new things to make
Hi Sherry. I’m deaf. Thank you so much for comment and picture show how to make poinsettia and stuff things to make with. It help me to understand more clear than talk on video. I wish your video do have Closed Caption (CC). Also I have FB pages your other two sister Barb and Lisa. I did comment Lisa The Silver Farmhouse One time about CC. She did setup CC her video for the deaf people which is so awesome for deaf to understand what video say. But it won’t show live video of CC but will show on replay which it fine with me. You all sisters are so awesome do crafty. I love it you all do craft. Thank you so much again. Camille. P.S. if you would like to setup CC. I’m sure Lisa will show you how to do it to put on CC on your video. I do appreciated it. Barb use have CC on her video on her page but unfortunately no more. Hope you and Lisa explain to her Barb how to put CC on. 😊
Sherry, I don’t have a picture of pattern pieces, just cut pieces. I don’t have a ptinter so I was hoping to have the measurements as a guide. Thank you. Pat Bartkus
Your flowers are looking great! I have made the flowers from a cookie sheet they turned out great too. Love watching you three sisters.
Thank you for giving us patterns
I’m so glad you shared this I have been wanting to make these forever!!!! and I’m so excited to try them now that you did all the leg work for me 🤣🤣. I so appreciate that 💗. I am really enjoying you and Lisa too 😊. So again I sincerely thank you 🥰
These would make awesome sunflowers too. I have the checkered table cloth but had a hard time finding the 22 gauge wire. I will have to get back to these to finish them. I love them
Sherry, Can you please send me an email with pattern so I can print it out. I need some of these on my G-Daughters room , only I am making them sunflowers. Thanks! Thank you so much for all you do for all of us. You are my favorite of the 3 of you all.