Easter, Home Decor, Ornaments, Spring
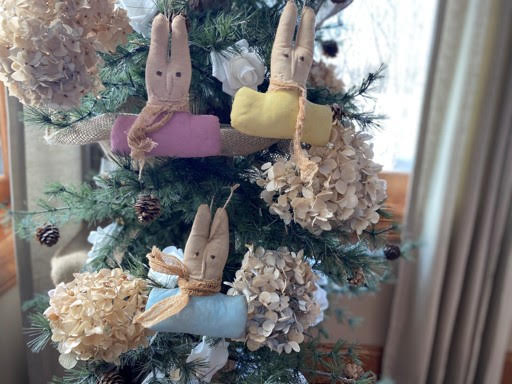
DIY Primitive Bunny Head Ornament
Feb
Easter is one of my favorite holidays to decorate for besides Christmas of course. If you love to decorate for Easter I hope you also leave up a tree to decorate for all the holidays and seasons, if you do you are going to love these primitive bunny heads. You don’t have to use them as an ornament if you would rather use them as a bowl filler you can certainly do that. I seen these a craft show many years ago so you know I just had to buy one bring it home and figure out how I can make them. If you are a crafter and see something you like somewhere take a picture of it or if it is not to expensive buy one and go home and start creating
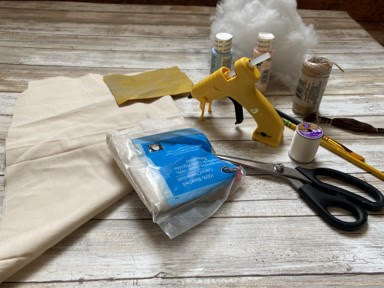
Here is a list of what you will need:
- Primitive bunny head pattern
- Muslin
- Cheesecloth
- Sewing Machine
- Heavy cream thread and needle
- Brown embroidery thread
- Thin jute
- Polyester fiberfill
- Acrylic paint color of your choice
- Paint brush
- Sponge brush
- Fine grit sandpaper
- Scissors
- Pencil
- Hot glue gun and glue sticks
- Coffee Stain Mixture (You can find my recipe under Sherry’s Shortcuts on my web page)
- Hot Glue Gun and Glue Sticks
- Wire Cutters
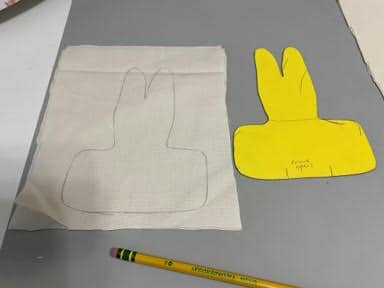
Making the Bunny Head
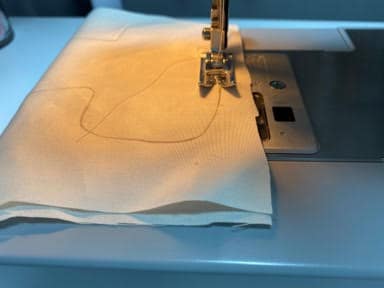
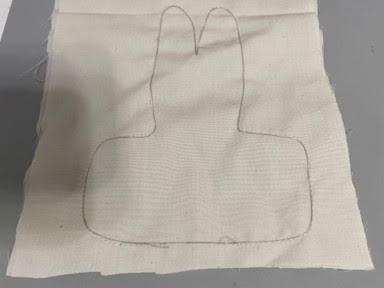
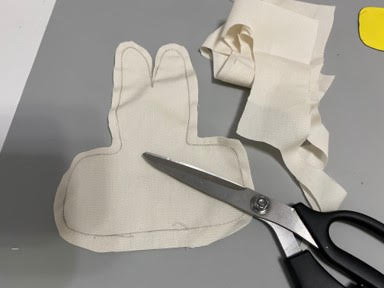
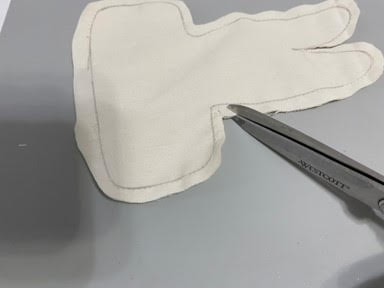
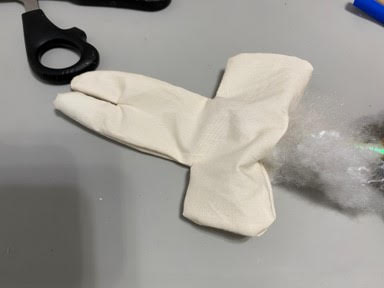
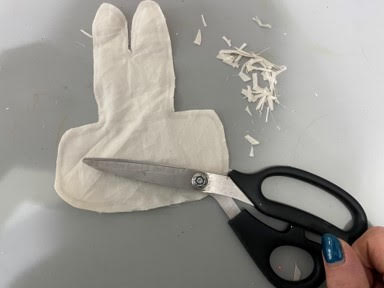
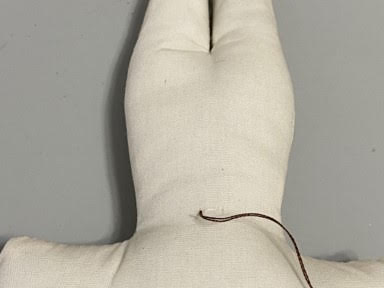
The first thing you will need to do is print and cut out the primitive bunny head pattern. Trace your pattern piece on a double layer of muslin. On your machine Sew up the bunny head using the trace line as your sew line. Make sure you leave open where indicated on the pattern. Cut out the bunny head about a ¼” away from your sew line. Clip all corners and cut between the ears being careful not to cut any of your sew lines. Turn right side out.
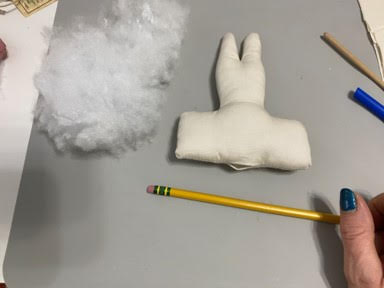
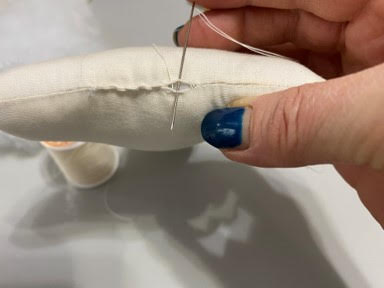
Stuff with polyester fiberfill. Using a heavy cream thread sew the opening closed.
If you are not a sewer and you would like to hot glue the bunny head trace your pattern onto a double layer of muslin. Cut out about a ¼” away from your trace line. Cut between the ears. Lay the piece with the trace line down facing up then place your second piece on top. Fold down the ear section of the top layer. You are now going to add a small line of hot glue around the ears on the inside of the trace line. Glue the top piece down. Continue add the glue line around the bunny head and gluing down making sure you leave the opening where indicated on the pattern. I like to fold back one side glue and then fold back the other side and glue.
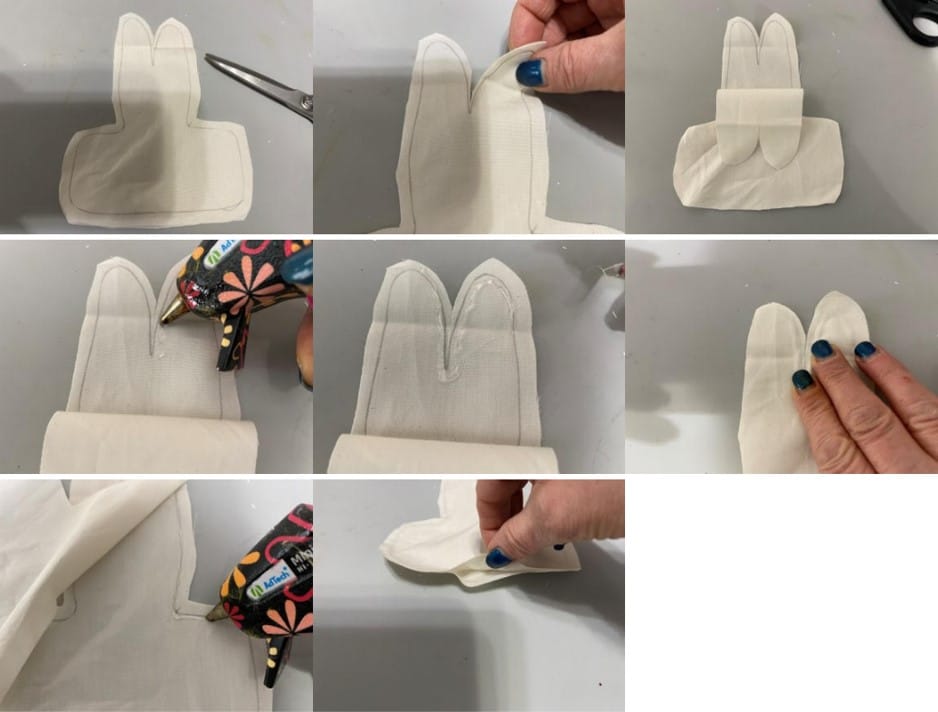
Trim off any excess material so you have a nice edge all the way around. Stuff the bunny head with fiberfill. Add a line of hot glue to the opening and glue closed.
Adding the Face
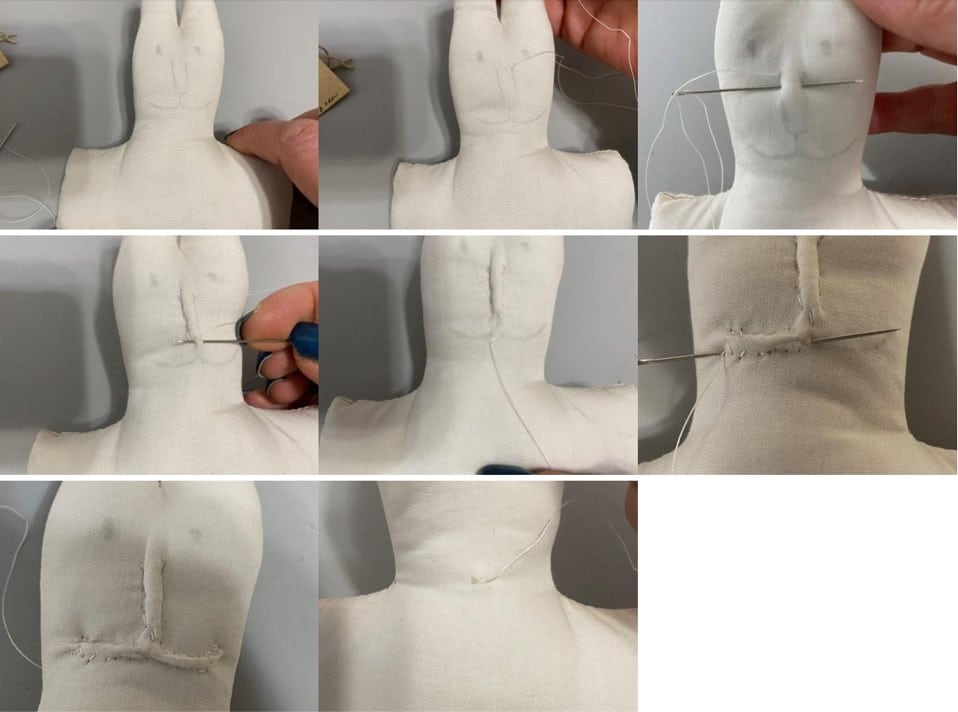
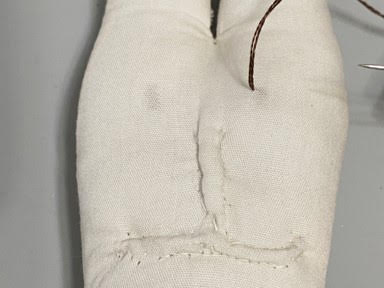
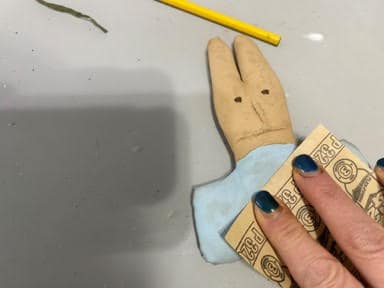
Using a pencil lightly draw on the face as indicated on the pattern. Take your needle with cream thread and insert into the back of the neck coming out the front of the head at the top of the nose. Ladder stitch his nose making sure you pick up a little stuffing with each stitch. Once you have his nose done continue down to the mouth. Ladder stitch the mouth again making sure you pick up a little stuffing with each stitch. When you have the mouth done bring the needle to the back of the neck and tie off.
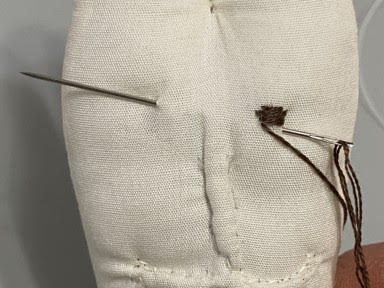
Take two strands of brown embroidery thread and needle going in from the back of the head to the front at one of the eyes. Stitch on the eye then bring your needle under and over to the other eye and stitch the eye one. When you are done stitching on the eyes bring the needle down to the back of the neck and tie off.
Coffee Staining
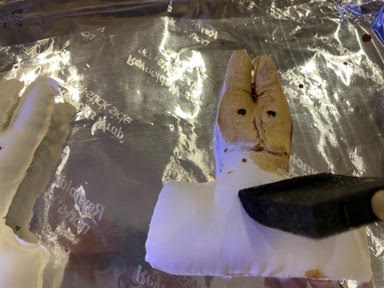
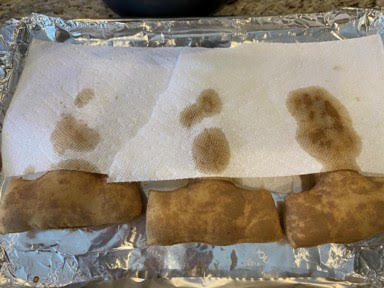
If you do not have your own coffee stain mixture you can find the one I use under Sherry’s Shortcuts on my web page. Using a sponge brush cover the bunny head with coffee. You can also cut a 10” piece of cheesecloth and coffee stain it at this time also. If you machine sewed the bunny head you can place your bunny head on foil lined cookie sheet and dry your bunny head in a 210 degree oven checking it every 5 minutes to make sure he doesn’t burn. I didn’t want my bunny heads to be to dark so I placed them between paper towel before putting on the cookie sheet. You can also just let them dry naturally. If you glued the bunny head you will have to let them dry naturally.
Painting the Bunny
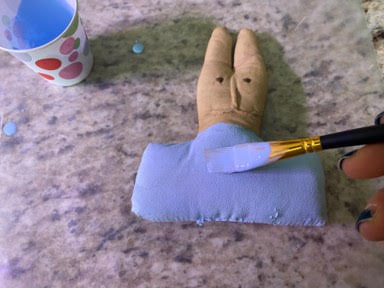
To paint the bunny mix a few drops of water into your craft paint and mix. Paint the bunny where indicated on the pattern piece. You can let him dry naturally or dry him in the oven. If you glued him you have to let him dry naturally. Once dried lightly sand the painted area giving it a worn look. Do not sand to hard you don’t want to tear the fabric.
Adding the Cheesecloth and Hanger
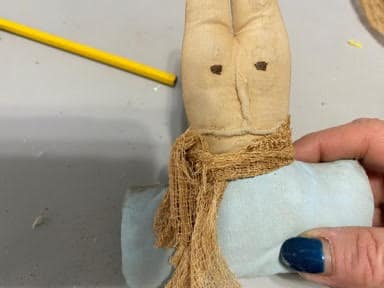
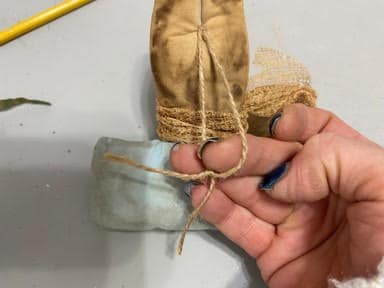
To add the hanger to the bunny use a thin piece of jute and needle. Insert the needle through the front of the head just below the middle of the ears bringing it out to the back of the head. Make a loop and tie a double knot. This will be your hanger to hang on a tree. If you want to use the bunny as bowl fillers you can skip adding the hanger. The only thing left to do is tie your coffee stained cheesecloth around his neck.

I hope you enjoyed making the primitive bunny ornaments. I think they came out adorable and I can’t wait to use them in my Easter decorating.