Christmas, Home Decor, Ornaments, Winter
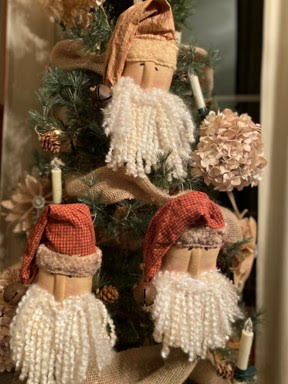
DIY Primitive Santa Ornament
Nov
Christmas is fast approaching! Every year I like to make a new ornament for my tree and I am just loving how this primitive Santa ornament turned out.He would make a beautiful addition to your tree or a very special Christmas gift.Every year for the past 15 years I have given handmade gifts for Christmas to my sisters and family there is nothing more meaningful then handmaking something special for a family member or friend.
Here is a list of what you will need:
- Santa Head Pattern
- Muslin
- Fabric of Choice for hat
- Trim of Choice for hat
- Coffee Stain Recipe
- Yarn
- 30mm Rusty Bell
- Jute or Twine
- Cream Thread an Needle
- Polyfill Stuffing
- Black Paint
- Small Paintbrush
- Pencil
- Scissors
- Hot Glue Gun and Glue
Coffee Stain Recipe:
- 2 cups water
- ½ cup instant coffee
- 2 Tablespoons vanilla
- 2 Teaspoons ground cinnamon
- 1 Teaspoon Ground Nutmeg
- You can add any spices you would like I also like to add ground clove.
- Bring water to a boil remove from heat add in the ingredients stir set aside and let cool.
Making The Santa Head
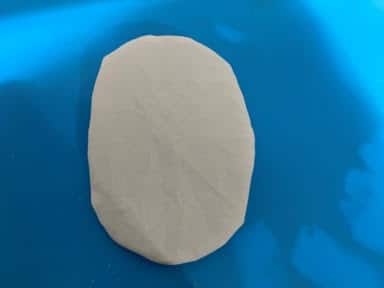
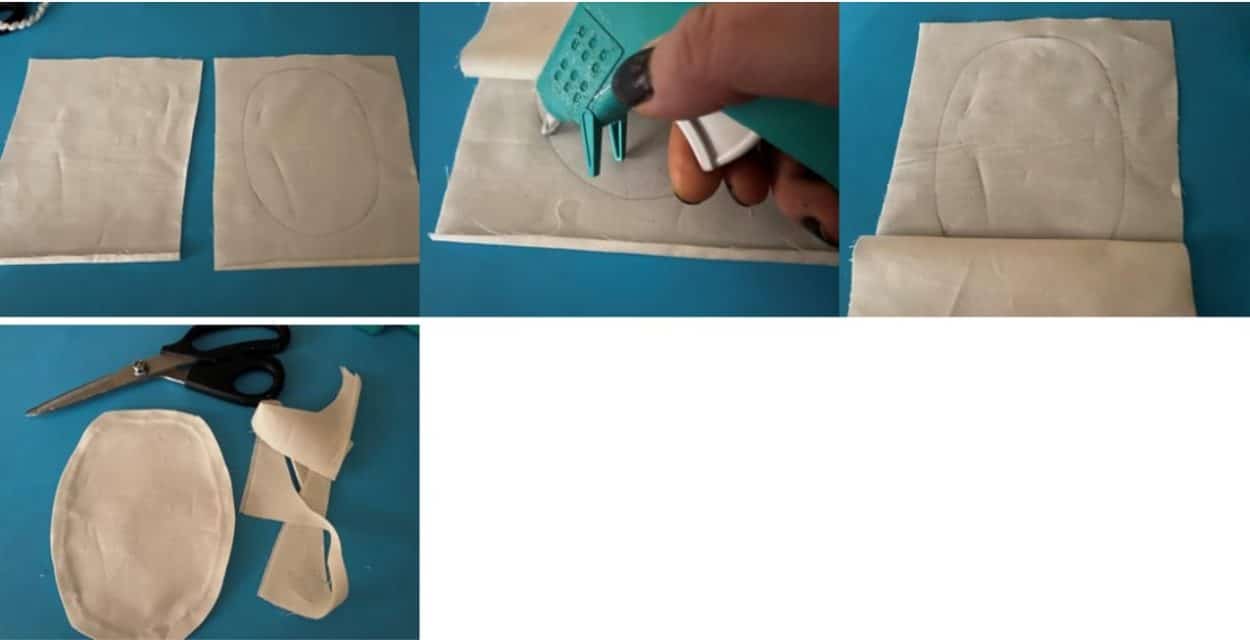
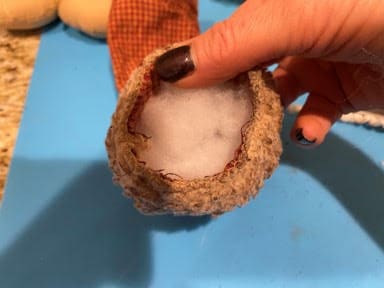
The first thing you will need to do is print and cut out the Santa head pattern. Using a pencil trace the pattern onto a double layer of muslin cut out in a square so you have extra fabric all around. On your machine sew the head all the way around on the trace line, cut our leaving about a ¼” extra fabric around the sew line. Clip around all the curve edges this will help the fabric from puckering. Next separate the two pieces of fabric in the center of the head and cut a small slit in the top layer then cut a hole big enough to be able to turn right side out and stuff.
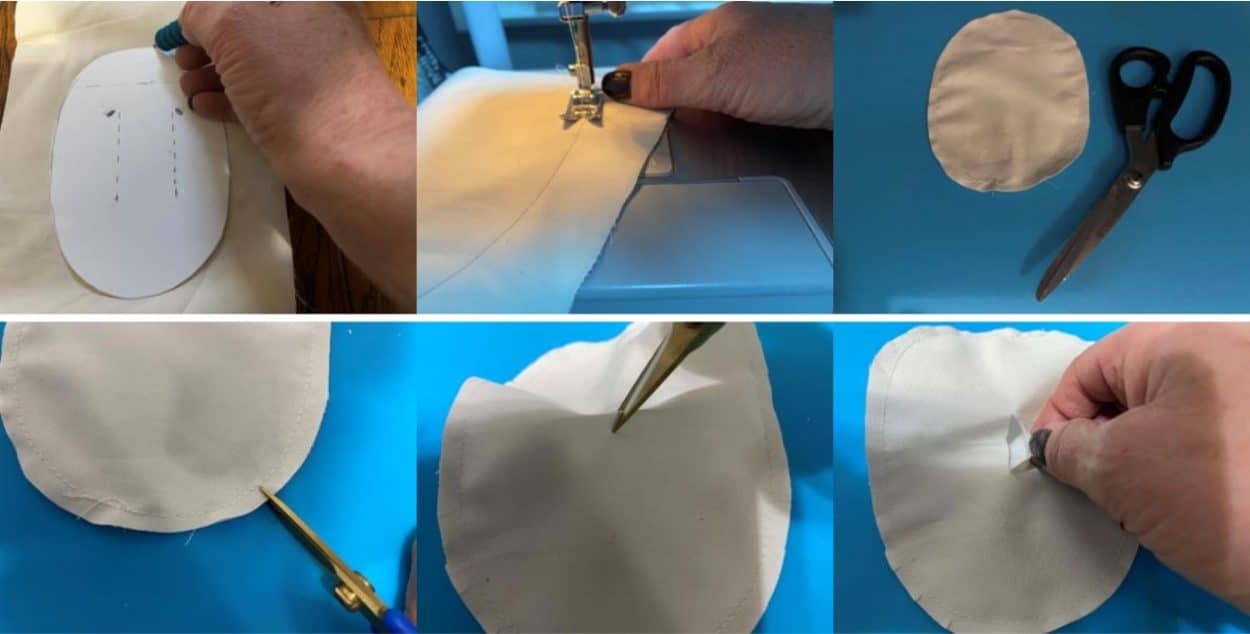
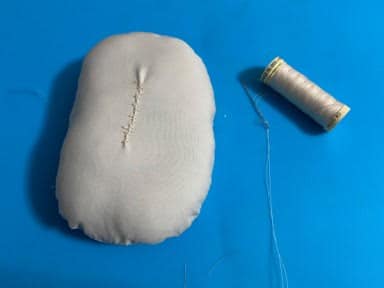
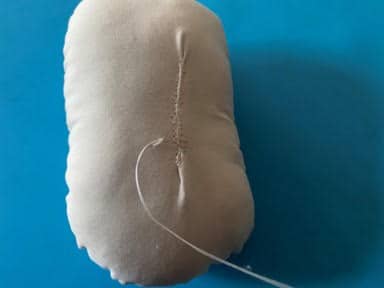
Turn right side out and stuff, I like to use the eraser end of a pencil to push the stuffing in. Next with cream thread and needle sew the opening closed.
Gluing The Santa Head
If you do not have a sewing machine I highly suggest sewing around the head by hand it is a much cleaner look. To glue the head trace the pattern onto a double layer of muslin, cut out in a square so you have extra fabric all the way around the head. Separate the two pieces of fabric, lay down the piece with the trace line facing up then lay the second piece on top lining up evenly. Lift up the top piece of fabric from the bottom place a small line of hot glue onto the trace line and glue down. Pull down the top piece of fabric add a small line of hot glue on the trace to each side and glue down, continue working your way up until you have glued the head all the way around. Next cut out the head leaving about a ¼” extra fabric all the way around. Now that you have glued the head all the way around you can follow the above directions for turning, stuffing and sewing closed.
Making The Face and Coffee Staining
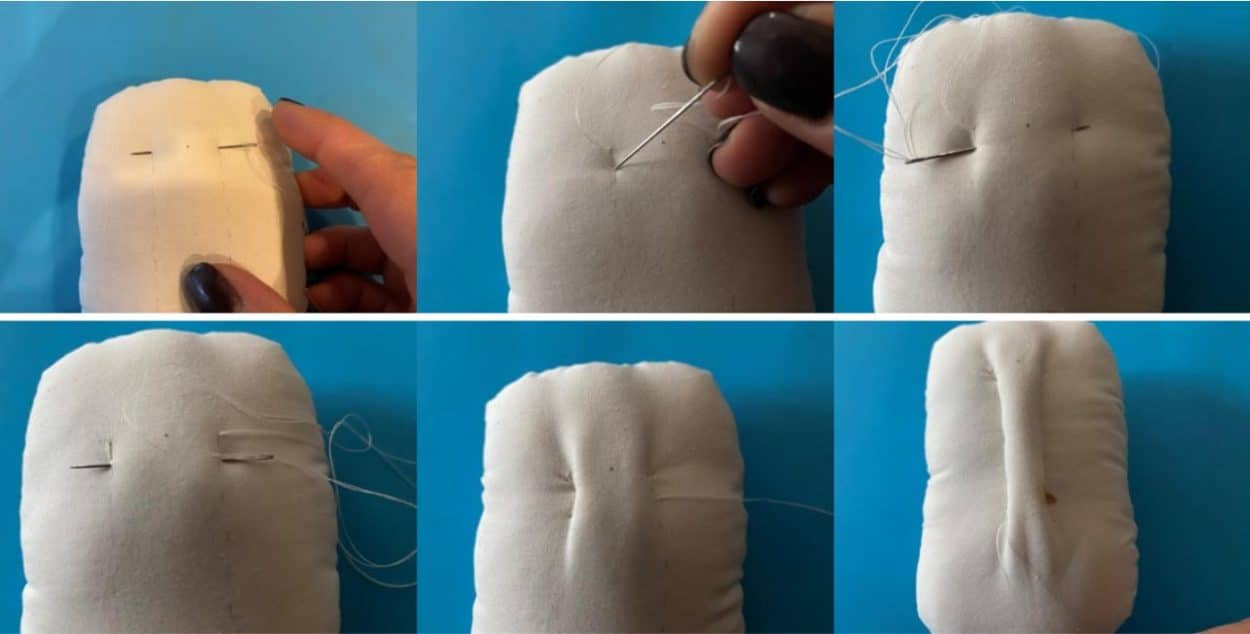
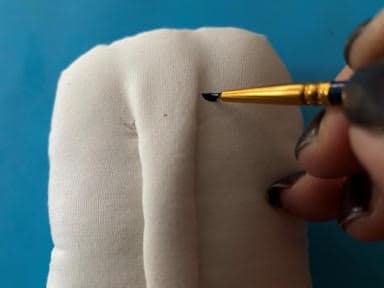
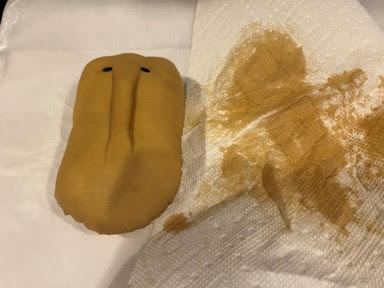
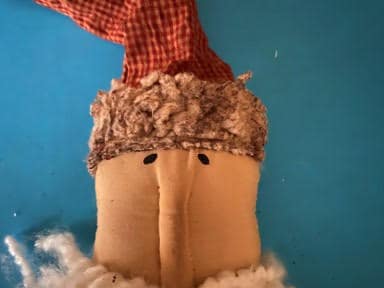
To make the face you are going to measure 2” down from the top of the head then draw your nose lines so the are in the center of the face, see the pattern for example. The nose should be about 1 ½” long. Next thread your needle with cream thread insert in the top right side of the nose bring needle under and over to the left top side pull the thread so your knot goes under the fabric. Now insert the about 1/8” down the same side bring the needle under grabbing some of the stuffing and bringing the needle to the top right of the nose. Next insert needle about 1/8” down the same side, go under catching some stuffing and over the left side just below your previous stitch, start pulling the thread tight after each stitch. Continue this process until you have finished the nose. Bring your needle to the back of the head and tie a knot and cut. With black paint and a small paintbrush paint on the eyes, see placement on pattern. Let eyes dry before coffee staining.

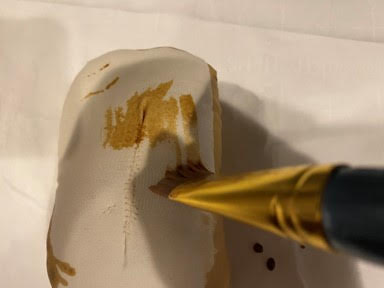
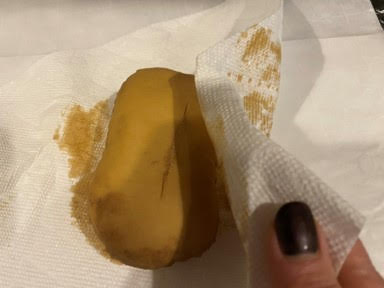
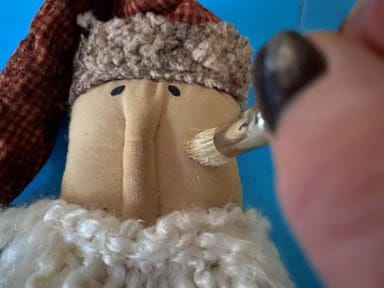
Now that you have the face done it is time to coffee stain. Using a paintbrush brush the Santa head with coffee then take paper towel and press down all over the head to remove all the excess coffee. I did this step because the first Santa head came out way to dark, by removing the excess coffee it dries the perfect color. You can let the head dry naturally or you can dry him in a 210 degree oven on a foil lined cookie sheet I also like to add a piece of parchment paper over the foil. Keep checking on your Santa head every five minutes until dry. If you have glued your Santa head you can NOT dry him in the oven you will have to let him dry naturally.
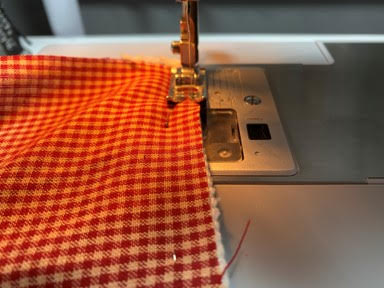
Making the Hat
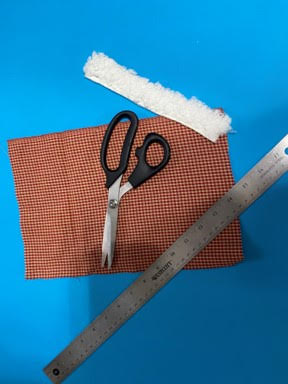
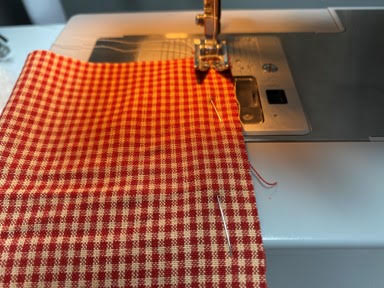
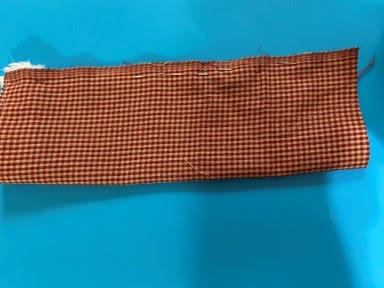
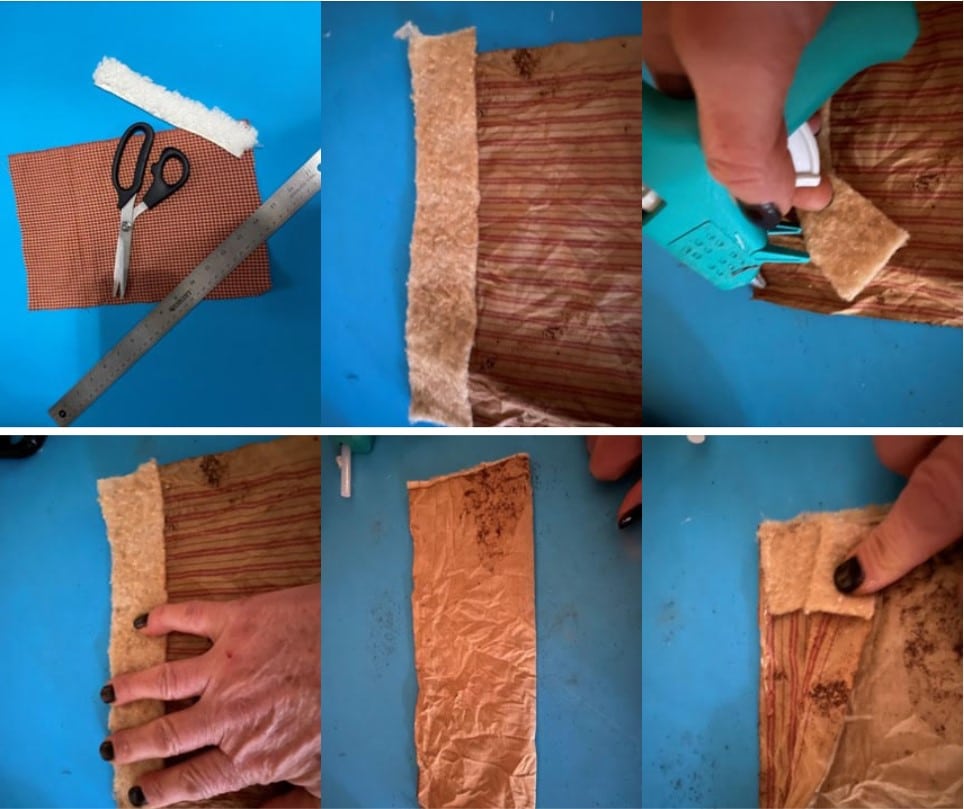
To make the hat cut a piece of fabric 8” wide by 12” long. Cut a piece of hat trim 8” long by about 1” wide. Lay the trim onto the front side of the fabric matching the 8” side, pine into place. Sew the trim to the fabric, next fold fabric long ways lining up the 12” sides, with the front side of fabric facing inwards, pin together and sew. It will be like a tube, turn right side out. Place the hat into the coffee mixture making sure it is all covered then ring out. You might want to wear gloves for this step so your hands don’t get all coffee stained. You can let the hat dry naturally or in the oven just like you did the Santa head.
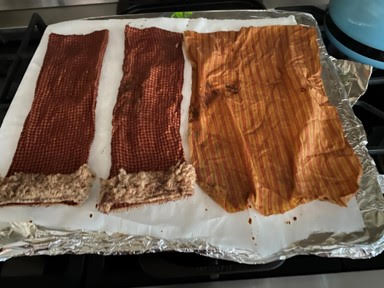
Gluing the Hat
The first thing you will need to do is cut a 8” wide by 12” long piece of fabric and a 8” long by about 1” wide piece of your fabric trim. Now place your fabric pieces into the coffee mixture and ring out. You can let the pieces dry naturally or you can dry them in a 210 degree oven on a foil lined cookie sheet and I also like to place a piece of parchment paper on top of the foil. Check the fabric every five minutes until dry. After your fabric has dried lay your 8” by 12” piece of fabric face up then place you trim piece on top of the fabric matching the 8” insides. Fold back part of the trim add a small line of hot glue at the edge of the bottom fabric then glue down the trim continue gluing the trim onto the fabric. Next fold the fabric longways with the front of the fabric facing inwards and lining up the two 12” sides. Starting at the top side fold back a small section add a small line of hot glue and glue down, continue working your way down until the side is all glued. Your hat should look like a tube with the top and bottom open. Turn the hat right side out.
Adding The Beard and Mustache
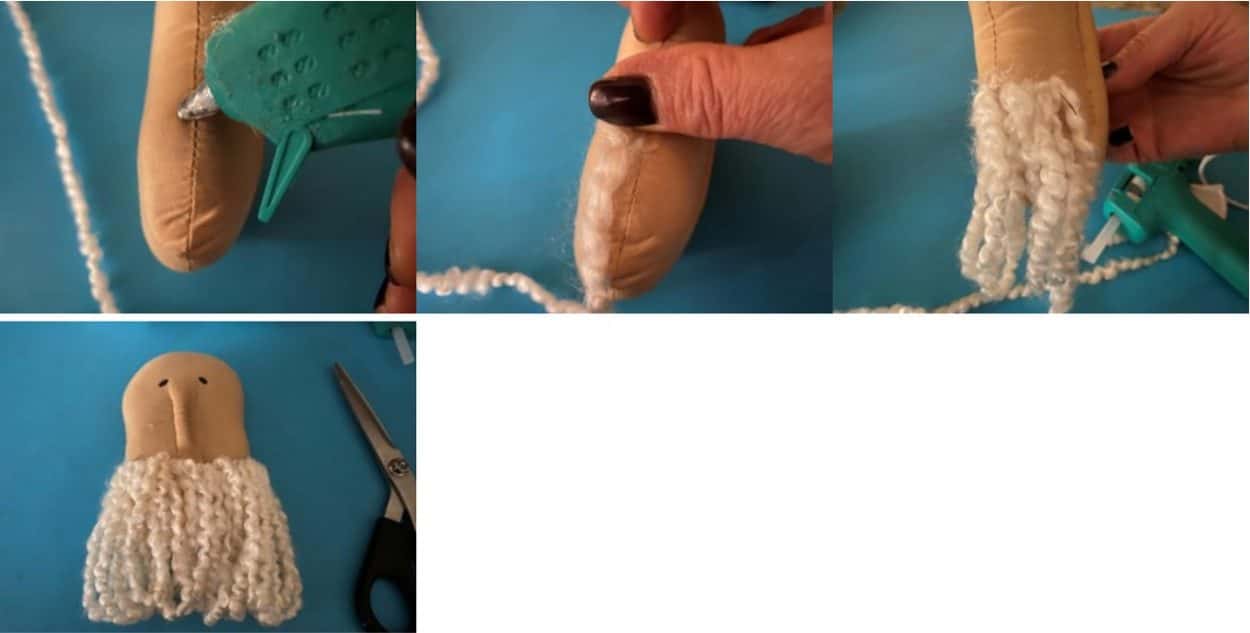
For the beard I used a fleece lite yarn in the color sandstone by Yarn Bee, but you can use any yarn you would like. To add the beard take the end of your yarn and slide it from the bottom of his nose to the side of his head right after your sew line towards the back of the head, this is where you are going to start the beard. Add and small dab of hot glue and glue down the end of your yarn, next make about a 4” loop an glue down the top of the loop right next to your beginning piece. Continue making loops and glue across the face, I like to make two or three loops then glue them down it just seemed faster. Make sure you are gluing the loops really close together so your beard will be nice and full.
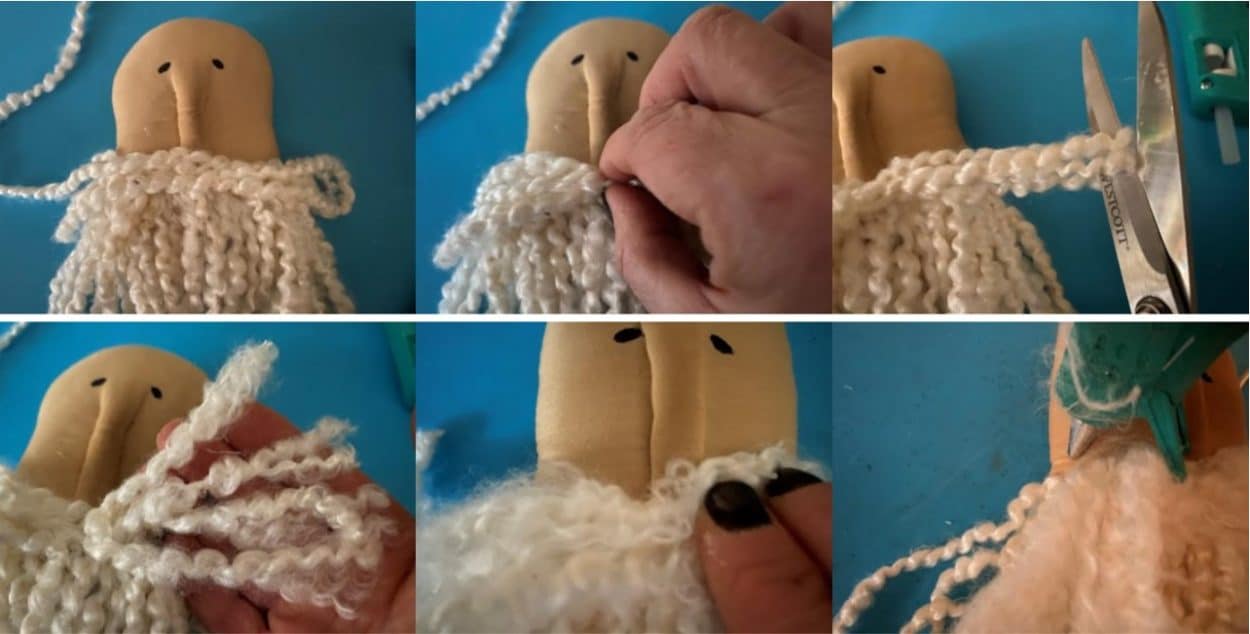
To add the mustache take the end of your yarn and lay it across the top of the beard under his nose. Now decide how long you are going to want his mustache and begin making loops back and forth to see how full you are going to want it then cut your yarn, I did two loops on each side. Next gather the yarn in the center with your fingers lift and a small amount of hot glue on top of the beard right under the nose then glue mustache down. Cut the end of your yarn then cut your loops of your mustache. Pull apart your pieces of yarn a little to make the mustache more full. You don’t want the mustache to just go straight across so add a small amount of hot to one side of his nose a little up from the bottom and glue his mustache, kind of like a little upside down u, repeat this to the other side of his nose. Finish gluing his mustache across the top of his beard just to the end of his head on each side do not glue around the side towards the back you want the ends to hang down a little. To finish using your scissors cut the loops on your beard, you can trim the ends of the beard to make even if you would like.
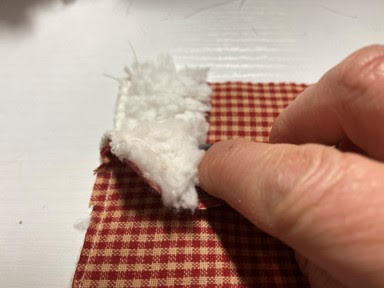
Adding The Hat
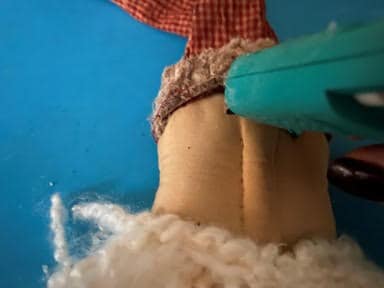
Before you place the hat on his head add a little stuffing inside the bottom of your hat then place the hat on his head. You want the hat to sit just above his eyes and a little lower in the back. Once you have the hat lift a small part of the rim of the hat add a small line of hot glue and glue the rim down, continue gluing his hat around.
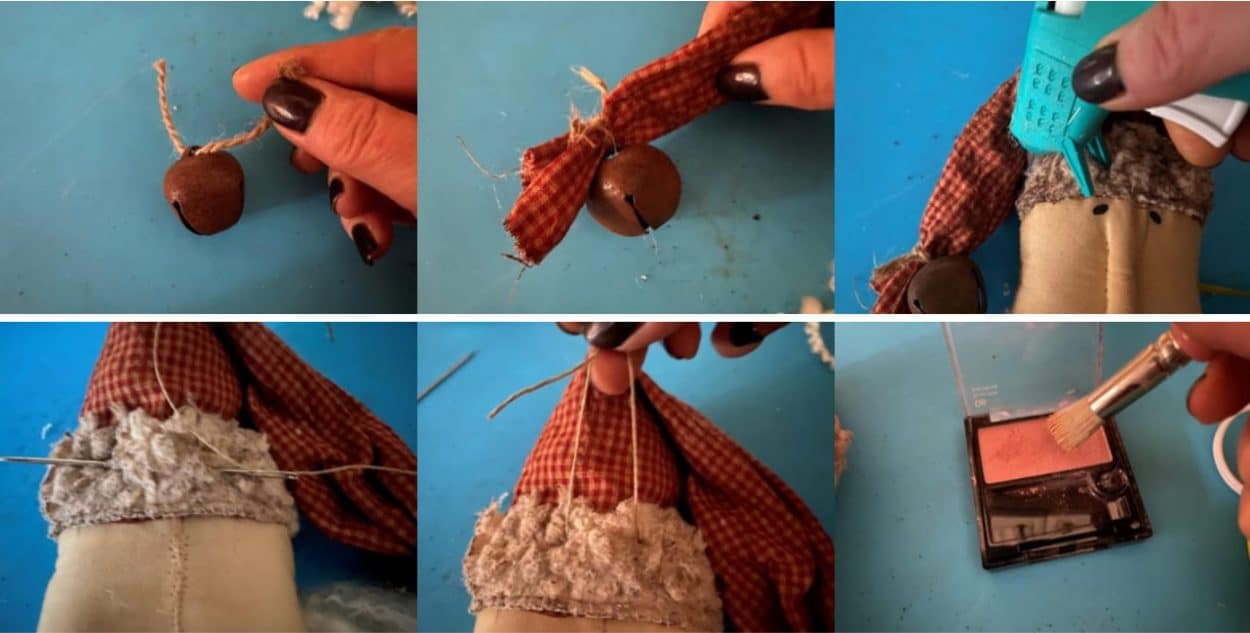
Now that you have the hat on cut a piece of jute or twine about 5” long slide on the rust bell. Gather the end of the hat about 1” or so above the end and tie on the bell. Flop the hat over to the side of his head fix how you would like it to look then add a small amount of hot glue to trim and glue hat to the side of his head. To add the hanger cut a 6” piece of jute or twine thread through a needle then go through the trim on the backside of his head, make the hanger hoop as big as you would like then tie a double knot at the top. All that is left is to give him some rosy cheeks. Using a stencil brush of firm paintbrush apply some of your blush to his cheeks.
Your Santa is now ready to hang on your tree. If you don’t want to use him as an ornament you can use him as a bowl filler he would look adorable in a wooden dough bowl. Another great idea is to insert a dowel into the bottom of him and use him as a pick in a centerpiece. I hope you have enjoyed making this Primitive Santa you should also check out blog on how to make a gingerbread man he would go great with this primitive Santa.
This shows skill, really like this style craft.
love this! also glad i got to watch you live for the demonstration! thank you for all your goodies!
This Santa is so adorable. I’m making some for one of my trees and to put on Christmas gifts to my neighbors. I love watching your videos, one of these days I will catch you live. Thanks for inspiring me.
I love these so much! ❤️ Love your style of crafting too! I’ve said this many times, you need an Etsy store, I’d probably anything you craft! 😊
Thank you for getting me started on my Christmas gifts. I made 7 of these wonderful Santa’s. One is for me. (I never keep one for myself).
I have started these awesome craft . not sure if I can do it but going to try . taking my time and looking at it . I have the head made wow so scary but i did it . know studying on the rest of hem . Thank you for showing us how. I love it