Christmas, Home Decor, Ornaments, Winter
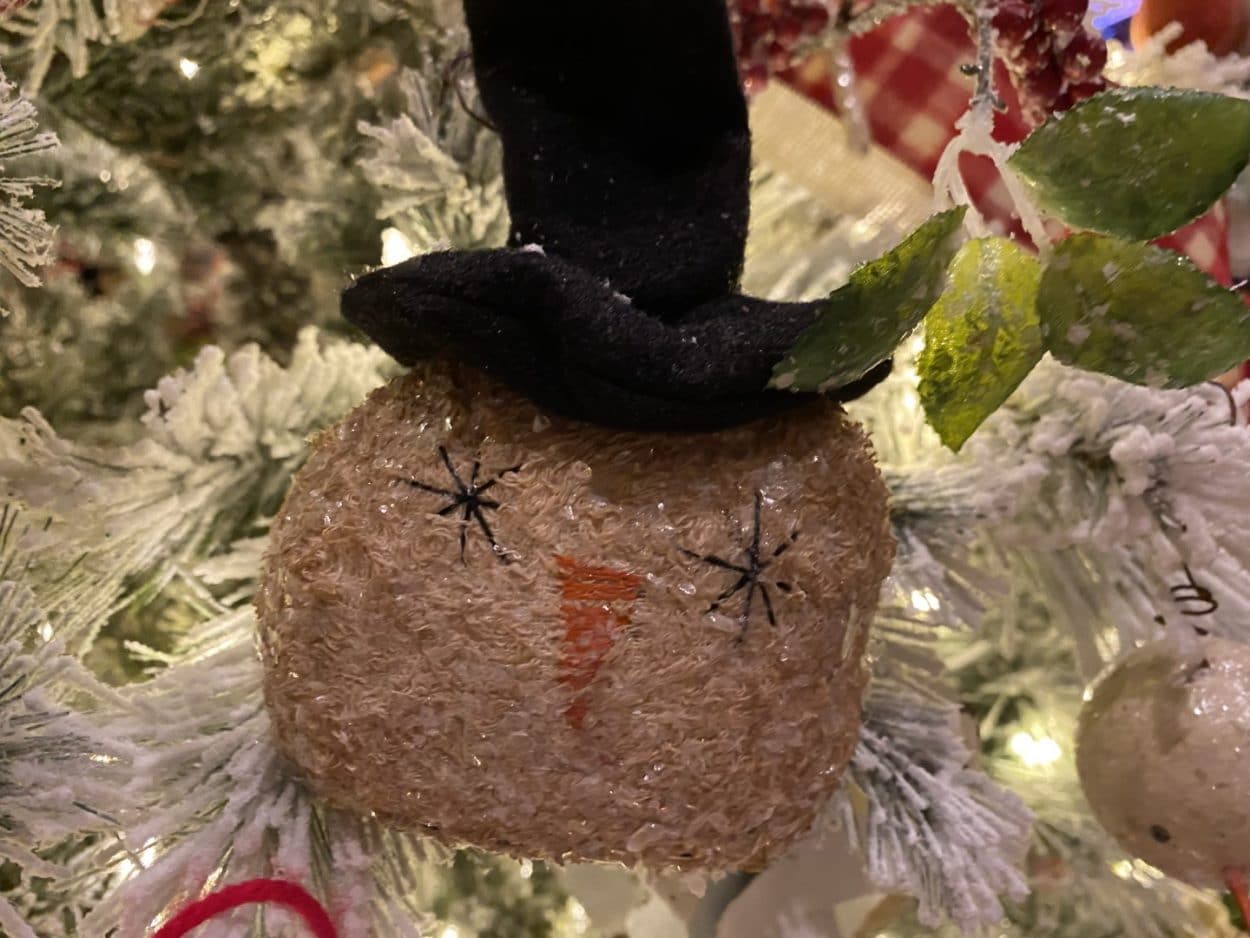
Primitive Snowman Head Ornament
Dec
I can’t believe Christmas is only a few weeks away.I finally have my tree up and decorated with all my handmade ornaments and this primitive snowman head is just one of my favorite.If you love decorating for Christmas with snowmen and Primitives you are going to love making this primitive snowman head, you can use him as an ornament on your tree or add a few of them to a wooden dough bowl.
Here is a list of what you will need:
- Snowman Head Pattern
- White Terry Cloth Fabric or Fabric of Choice
- Black Felt
- Polyester Fiberfill
- Black Embroidery Thread
- Orange Embroidery Thread and Needle
- Black Thread and Needle
- White Thread
- Thin Twine
- Sewing Machine
- Scissors
- Pencil
- Paintbrush
- Paper Towel
- White Chalk
- Hot Glue Gun and Glue Sticks
- Spray Adhesive
- Mica Flakes or Glitter
- Coffee Stain Mixture
Coffee Stain Recipe:
- 2 cups water
- ½ cup instant coffee
- 2 Tablespoons vanilla
- 2 Teaspoons ground cinnamon
- 1 Teaspoon Ground Nutmeg
- You can add any spices you would like I also like to add ground clove.
- Bring water to a boil remove from heat add in the ingredients stir set aside and let cool.
Making The Snowman Head
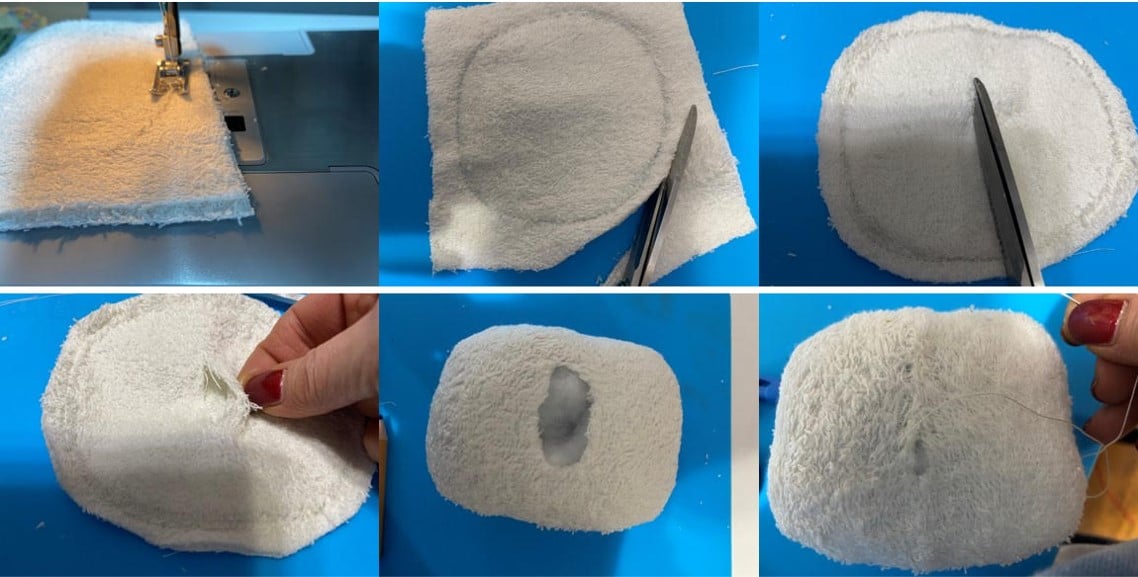
The first thing you will need to do is print and cut out the primitive snowman ornament pattern. Trace the snowman head pattern on a double layer of terry cloth fabric, I like to cut it out into a square and then sew it you can cut it out before sewing but make sure you leave enough extra fabric around your trace line because the trace line is your sew line. Sew all around the head using the trace line as your sew line. Next cut out leaving about a ¼” around your sew line. Once you have sewn and cut out the head using your scissors make slit in the middle of one layer then turn the head right side out. Stuff firmly then sew the opening closed with white thread.
If you do not have a sewing machine and would like to glue the snowman head you first need to trace the snowman head pattern onto a double layer of terry cloth fabric and cut out leaving about a ¼” extra fabric around your trace line. Next lay down your fabric piece which has the trace line then lay your second piece on top of the first piece. Fold back the top layer of fabric about half way down then add a small line of hot glue onto the trace line and glue fabric down. Next fold up the top layer of fabric and add hot glue to the trace line and glue fabric down. Once you have glued the head all the way around you can follow the above steps for turning, stuffing and closing the head.
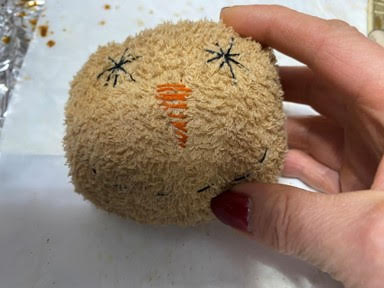
Adding the Face
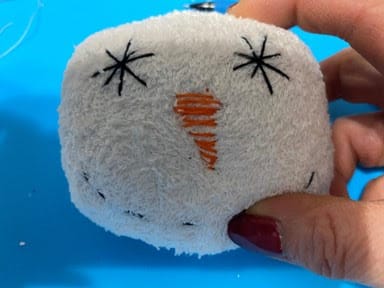
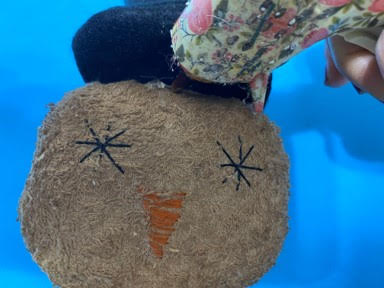
To add the face to your snowman follow the placement of the face on the pattern and using a marking pencil mark where you want the eyes, nose and mouth to go. Using black embroidery thread and a needle make the eyes on your snowman face, I did starburst eyes. I started by making a line up and down then across the middle of that line, filling in with two more lines like a X then I brought the needle under and over to where I was going to start the next eye. After you have the second eye done bring your needle to the back of the head and tie a knot. Once you have the eyes done using the black embroidery thread make your mouth. I just stitched a smile as my mouth but you can certainly make any mouth your would like. Next using orange embroidery thread and a needle stitch on your nose you can follow the one I made your stitch on any nose you would like then tie off at the back of the head..

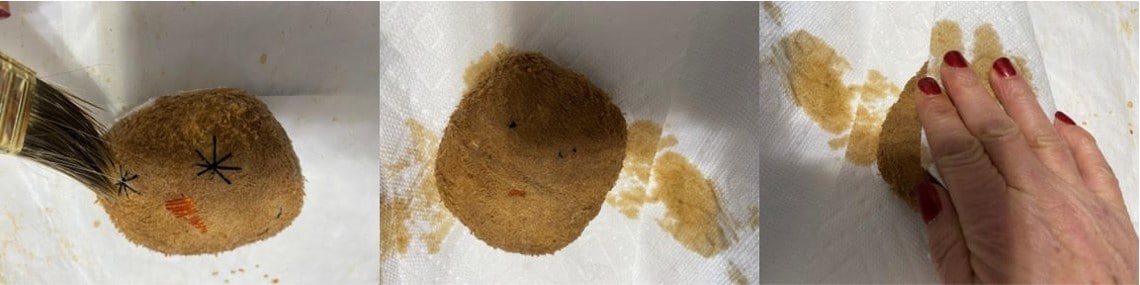
Coffee Staining the Head
If you would like to use my coffee staining recipe you can find it on my blog titled how I color fabric and coffee stain. Once you have your coffee stain using a paintbrush apply the coffee mixture to the entire snowman head. Next I did not want my snowman head so dark so I wrapped some paper towel around the snowmen head then squeeze lightly to remove some of the coffee stain. Set aside to dry. If you are impatient like me you can dry him in a 200 degree oven on a foil lined cookie sheet but only if you have sewn your snowman head if you have glued him DO NOT put him in the oven..
Making the Hat
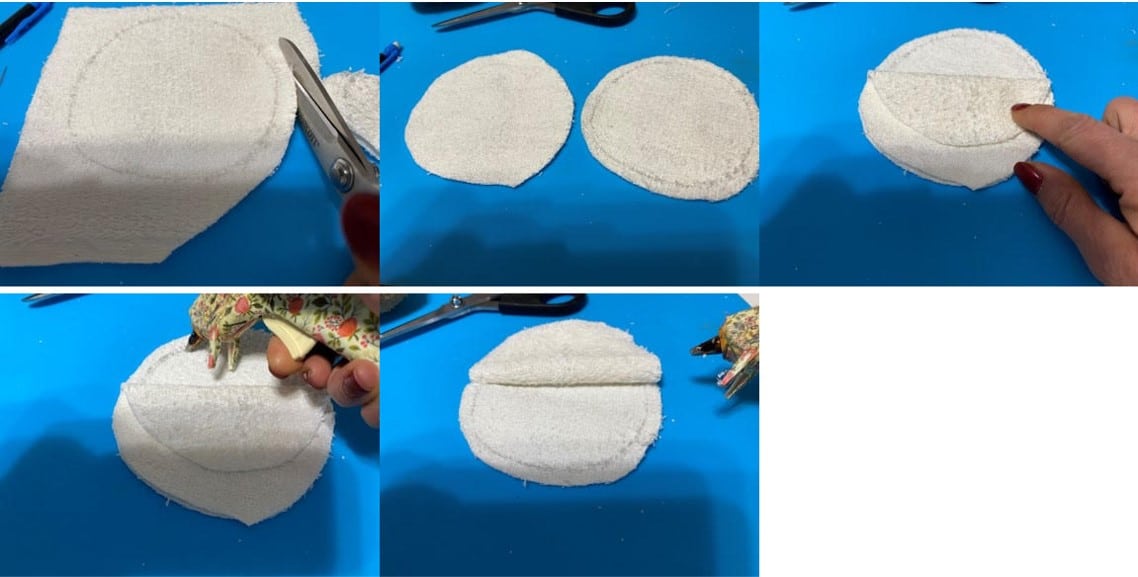
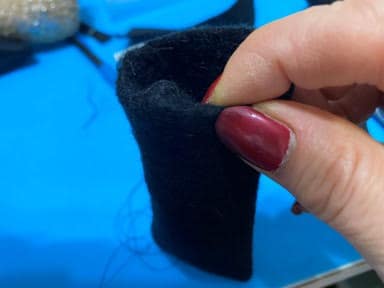
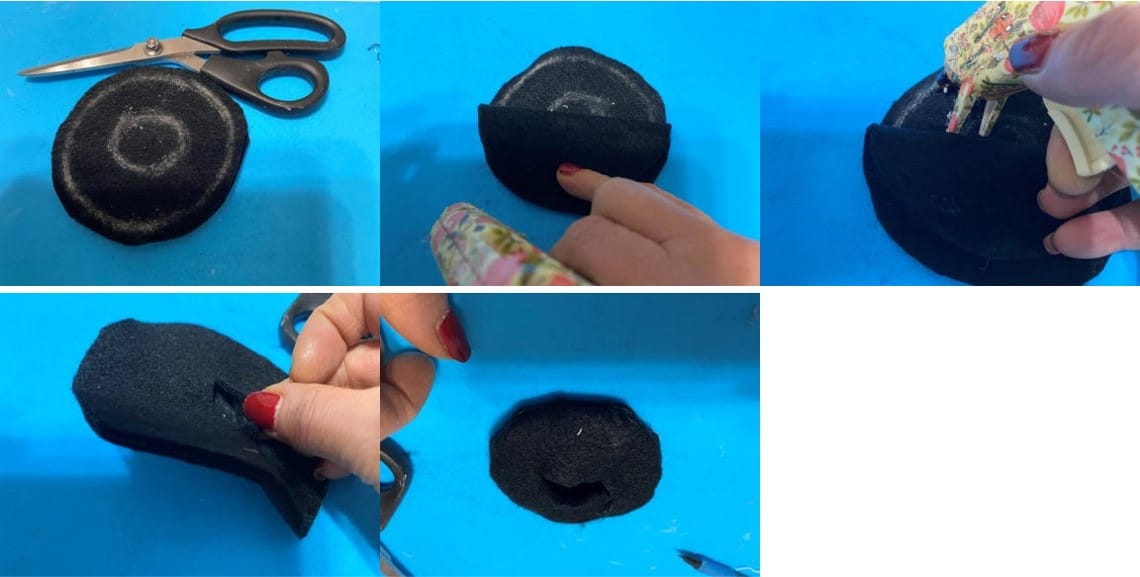
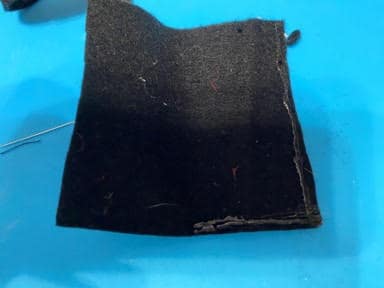
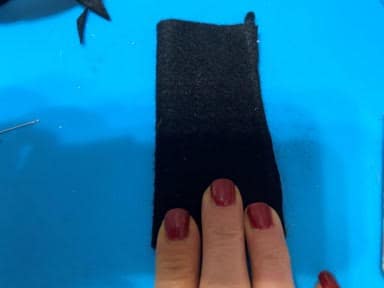
Using a piece of white chalk trace the brim pattern piece onto a double layer of black felt. Using the outer trace line as your sew line sew all around the brim with black thread and machine. Trim around the brim leaving about a ¼” extra felt around the sew line. Next in the center circle make a small cut in one layer of fabric and turn the brim right side out. Fold a piece of black felt in half then place your top hat pattern piece on the fold and trace with the chalk. Cut out and sew about 1/8” in from trace line, sew the top and down the open side leaving the bottom open. Turn right side out.
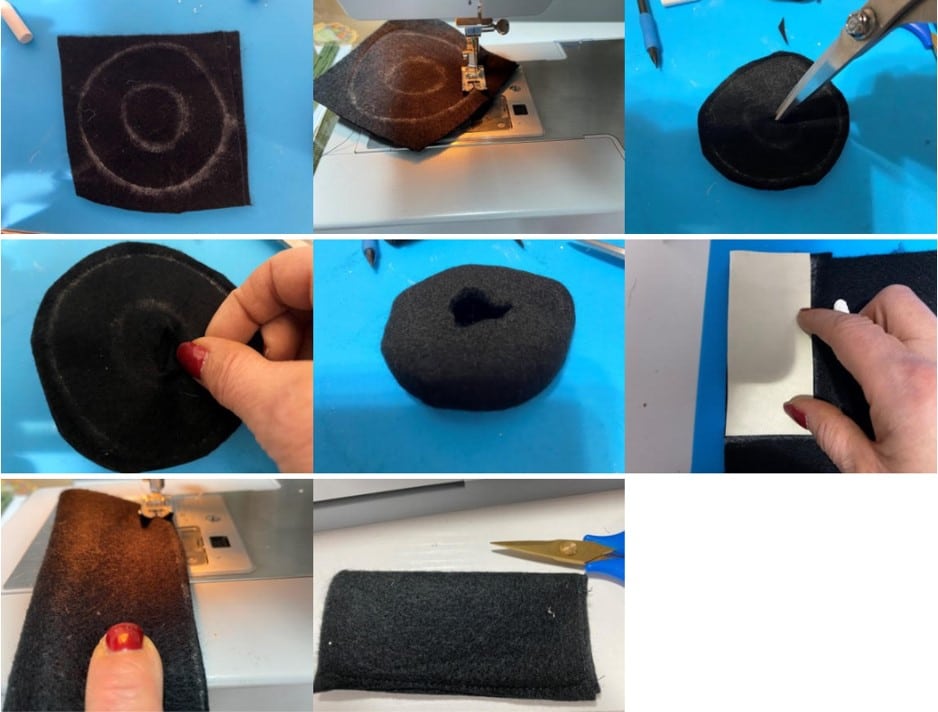
To attach the two hat pieces together fold in about a ¼” of the bottom part of the top hat piece then place in the middle of the hat brim and using black thread and a needle sew the two pieces together. So you don’t see the thread from sewing you want to sew the two pieces together by sewing the part you just folded under to the brim.
If you want to make the hat by using the hot glue gun trace your brim pattern piece onto a double layer of black felt then cut out about a ¼” away from the trace line. Lay the piece with your trace lines down then lay the second piece on top. Fold down the top piece about half way add hot glue to the trace line and glue down. Fold up the top fabric piece and add hot glue to the trace line and glue down. Now that you have your brim glued all the way around make a small cut in the top layer of fabric in the middle of the brim. Turn right side out.
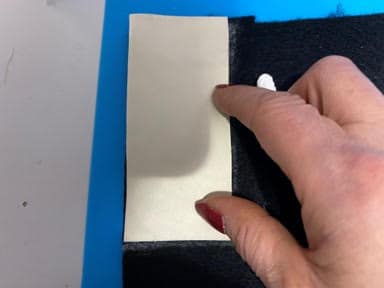
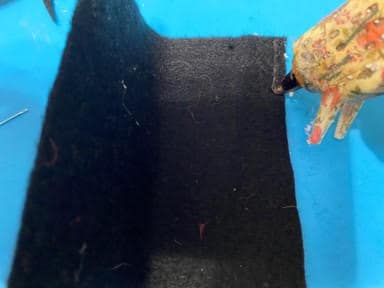
To make the top of the hat fold a piece of black felt in half, place pattern piece on fold and trace with chalk. Cut out about ¼” away from trace line. Slightly open up the hat piece add hot glue across the top and down the side and glue together, turn right side out. To attach the two hat pieces together I recommend sewing them together as in the directions above. I tried to glue them together and it was just to messy.
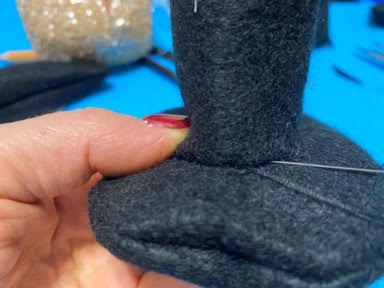
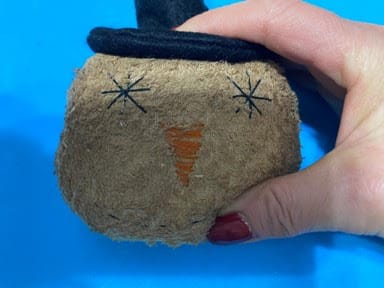
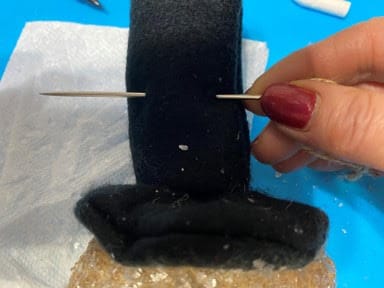
Attaching the Hat
To attach the hat to the snowman head place the hat onto the snowman head and using black thread sew the center of the hat onto the top of the snowman head. If you would like to glue the hat to the snowman head add hot glue to the top of the snowman head then glue on the hat.

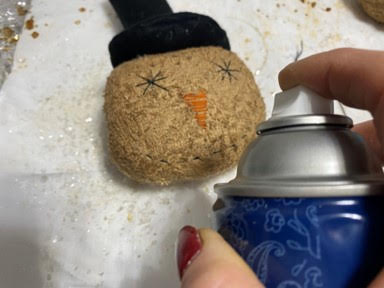
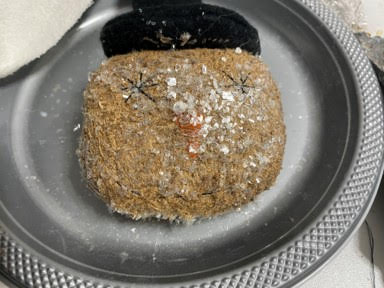
Adding The Mica Flakes Or Glitter
Lightly spray the front of the snowman head with spray adhesive try not to get it on the hat, then sprinkle on your mica flakes or glitter. Turn the head over and repeat this step to the back of the head making sure you get the sides and bottom also.
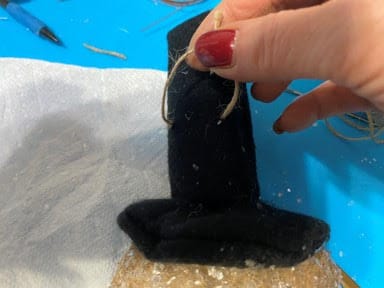
Adding the Hanger
To add the hanger thread a piece of twine through a needle then thread the needle through the middle of the back of the hat pulling the needle through leaving the twine. Remove the needle and tie the twine into a knot, trim off excess.
Your Primitive snowman is all ready to hang on your Christmas Tree or given as a gift to a friend or family member. I love making Christmas gifts for my family and friends every year, there is nothing better then a homemade gift. I hope you enjoy make this adorable primitive snowman ornament, if you love primitives you need to check out my blog for my primitive Santa ornament he would look great with the snowman.
I love all of your crafts but especially the primitive ones!
Do you think you can give measurements for the snowman head. Thank you.
You can send this snowman head to me!!! I love him…
I really like this little snowman head. Great job Sherry!
Hi. Did you do a video for this snowman head?
I made 5 of these cute snowmen. I love vintage decor. Thank you!