Christmas, Home Decor, Winter
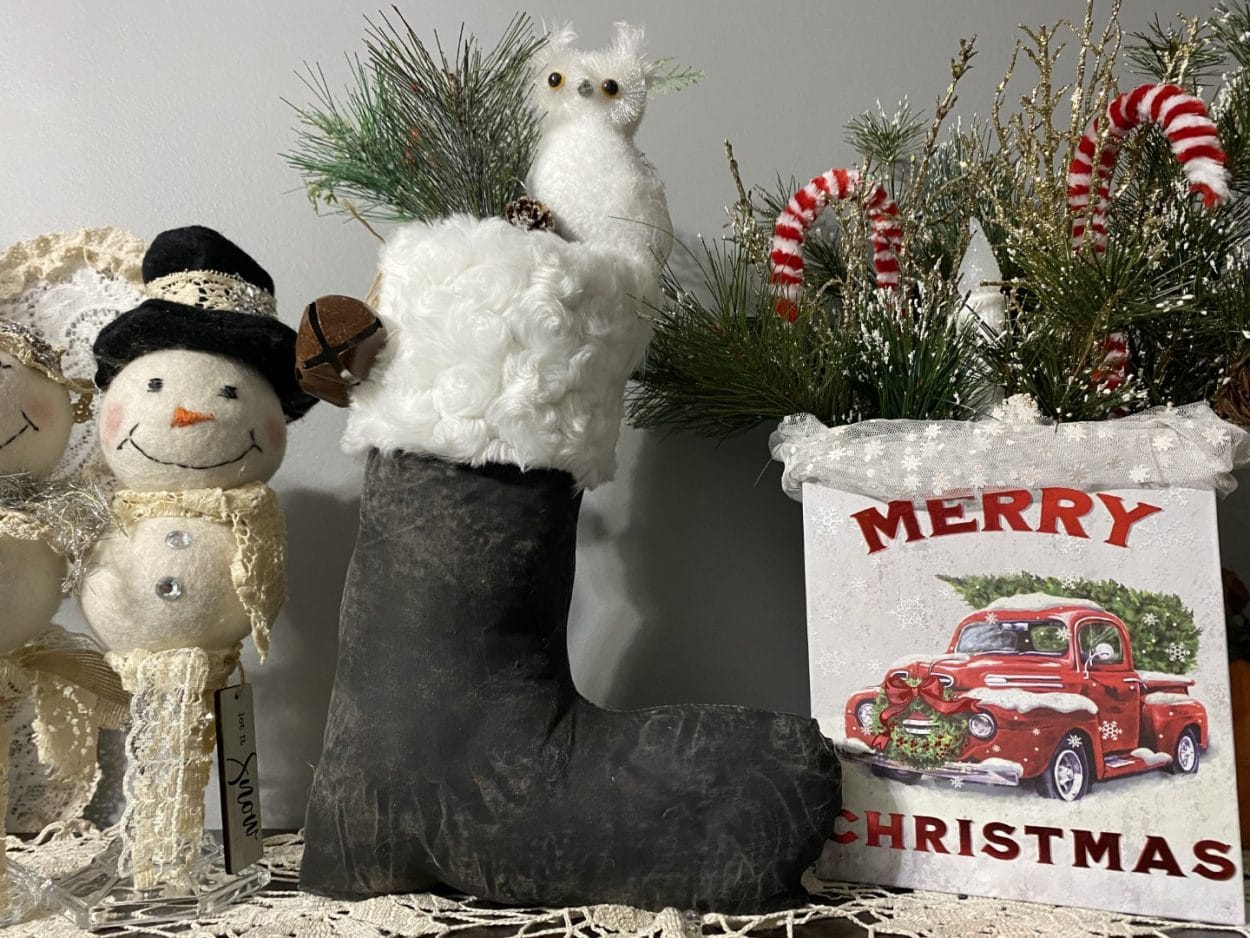
DIY Santa Boot Shelf Sitter
Oct
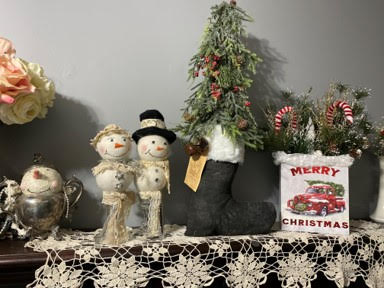
Here at The Crafty Decorator we recently made the cutest Santa Boot ornaments then I decided to give my hand a try at making a larger Santa Boot to be a shelf sitter and I have to say I just love how it came out.I love to paint, sand and coffee stain a lot of my crafts but you certainly can use any fabric you would like in any color you would like, the fun part is deciding what you would like to put in the Santa Boot it doesn’t have to be filled with greens you can put small gifts in it even candy let your imagination run wild.
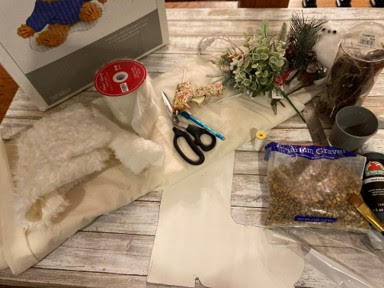
Here is a list of what you will need:
- Santa Boot Shelf Sitter Pattern
- Muslin
- Fabric Of Your Choice For The Trim
- Black Craft Paint
- Polyester Fiberfill
- Fine Grit Sandpaper (200) Grit
- Sand (Dollar Tree)
- ¾ and ¼ Measuring Cup
- Paint Brush
- Scissors
- Pencil
- Ruler or Measuring Tape
- Coffee Stain Mixture (See my blog on how to Paint and Coffee Stain Fabric)
- Sponge Brush
- Sewing Machine
- Greens Of Your Choice
- 2 Rusty Bells
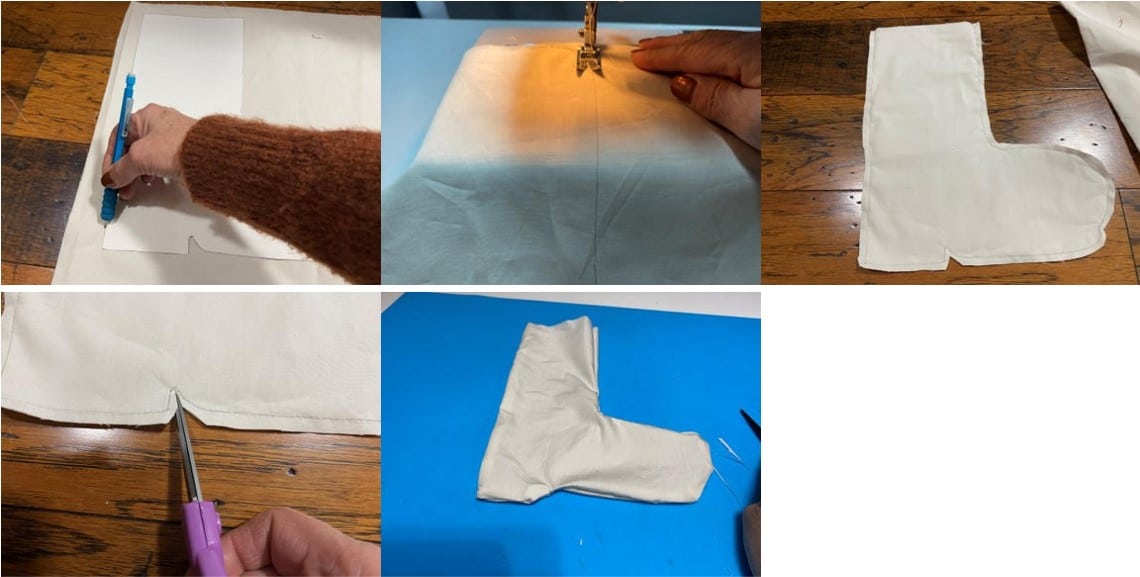
Print Out the Pattern
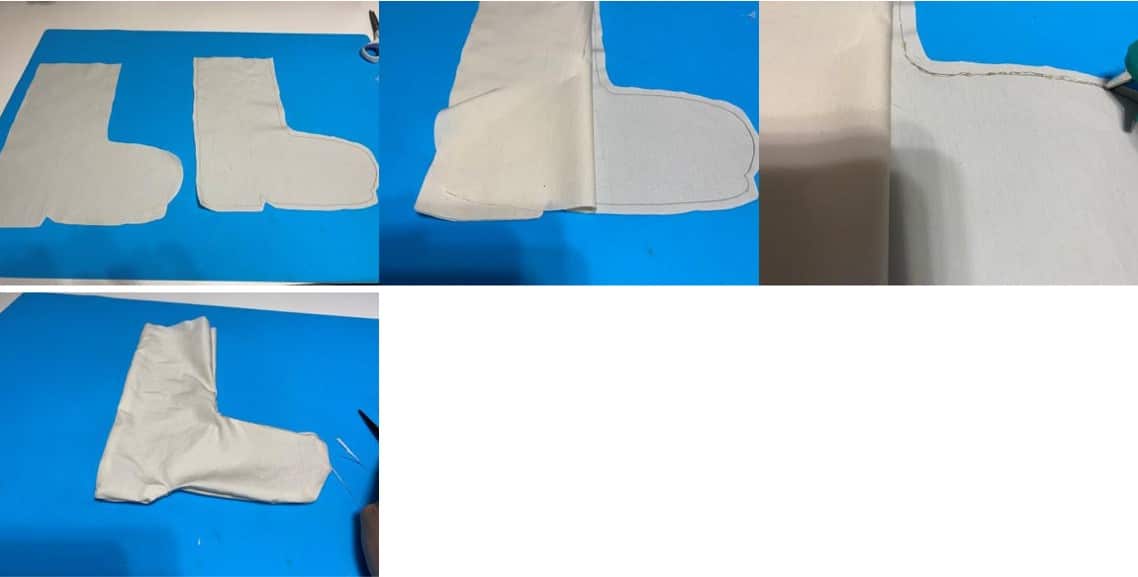
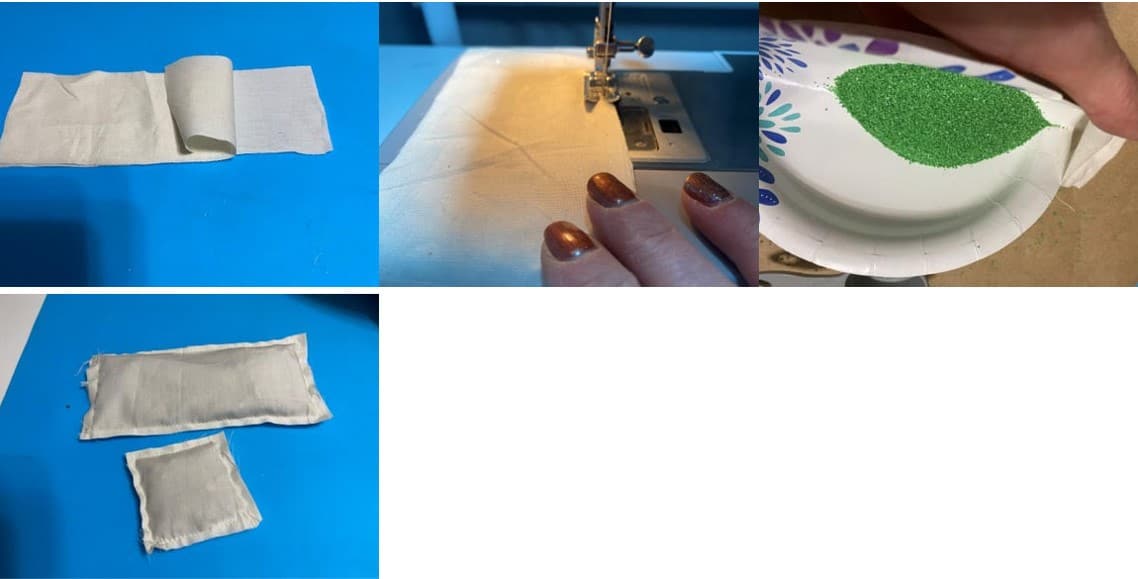
The first thing you will need to do is print and cut out the Santa Boot Shelf Sitter pattern. Next trace your pattern onto a double layer of muslin then cut out the Santa boot at least a ¼” from the trace line. Once you have your Santa boot cut out sew on the trace lines leaving the top of the boot open. Clip around the curves of the boot this will prevent the fabric from puckering, make sure you do not clip your stitches. Turn the boot right side out.
If you are not a sewer and you would like to hot glue your boot together, trace the patter onto a double layer of muslin then cut the boot at least a ¼” from the trace line. Separate your two boot piece then take the boot piece without the trace line and place on top of the boot piece with the trace line making sure they line up. Fold back the toe part of the boot and using your hot glue gun place a small line of hot glue on your trace line and glue your two pieces together keep folding back and adding hot glue working your way around the bottom of the boot then do the top of the boot. Once you have your boot all glued clip around all the curves this will keep the fabric from puckering, turn your boot right side out.
Making the Sandbags
To make the Santa Boot stand on it’s own you are going to make two sandbags. From a double layer of muslin cut a piece 8”long by 3 ½” wide then cut a 3” by 3” piece next sew three sides of each piece leaving one shorter side open. Take a ¾ cup of your sand and pour into your 8” by 3 ½” sewn piece of muslin then sew closed, I bought my sand at the dollar tree one bag should be enough for one boot and the color of the sand doesn’t matter, next take a little less then a ¼ cup if sand and pour into your 3” by 3” piece and sew closed. You can also hot glue sand bags follow the same directions but instead of sewing them just hot glue them together. Here is a tip to make pouring the sand in a little easier take a small paper plate bend in half pour half the sand in the plate then pour into your fabric piece.
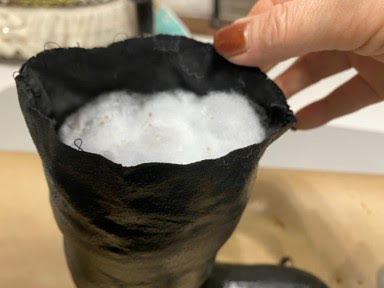
Stuffing the Boot
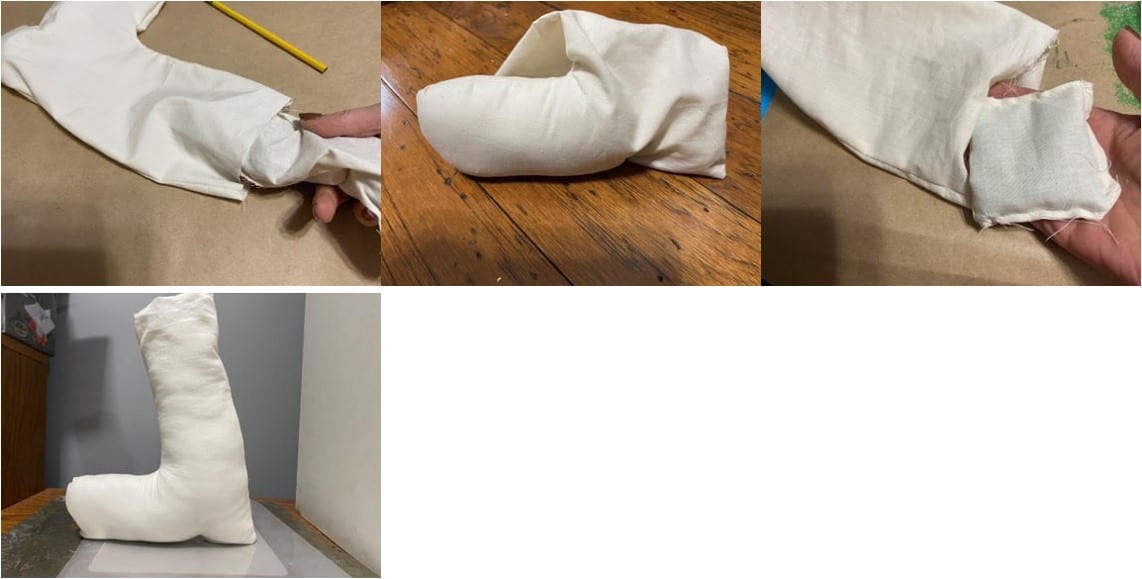
To stuff the boot first take a small piece of fiberfill and stuff the bottom tip of the toe then take your 8” by 3 ½” sandbag and place into the front of the boot laying it flat. Now begin stuffing the front of the boot with your fiberfill, you are going to stuff the toe then start stuffing on top of the sandbag, keep checking to make sure your boot will stand up continue stuffing until you reach the heal of the boot. Take a small amount of fiberfill and stuff the bottom of the heal then place your 3” by 3” sandbag into the heal keep stuffing the heal on top of the sandbag working your way up to the top of the boot, make sure your boot will sand.
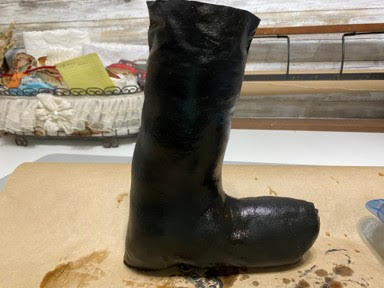
Painting, Sanding and Coffee Staining
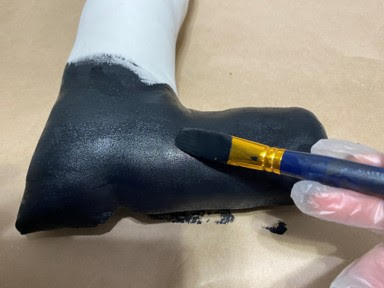
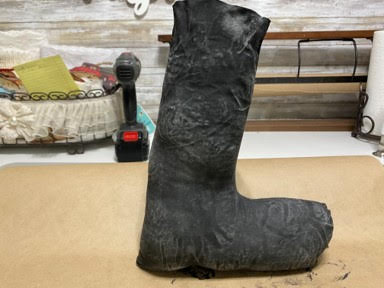
Now that your boot is all stuffed paint the whole outside of the Santa boot with black paint, push down the stuffing and paint about a inch around the inside top of the boot and let dry I you are like me and can’t wait you can dry your boot in a 230 degree oven on a foil lined cookie sheet make sure you check the boot about every 10 minutes until dry. You can NOT dry your boot in the oven if you glued your boot.
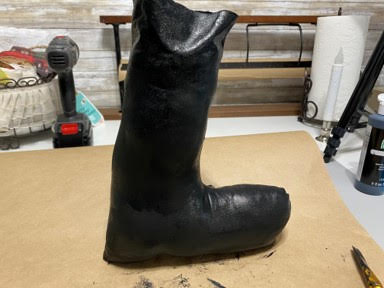
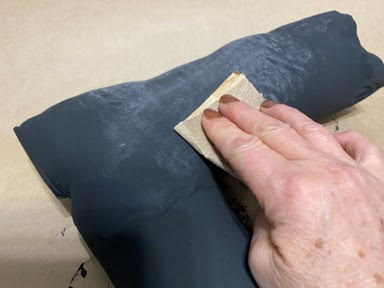
Once your boot is dry take a piece of fine grit sand paper and sand the whole boot, making sure you don’t sand to hard and put a whole in it. Sanding is going to give the boot a worn look you can skip this step if you do not want the old worn look.
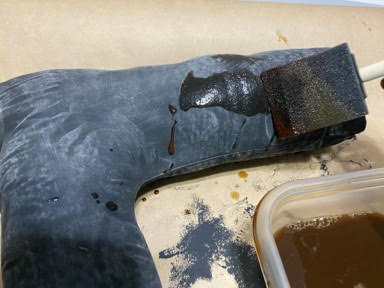
After you have sanded cover your boot with the coffee stain mixture, I use a sponge brush to apply the coffee stain mixture. You can let dry naturally or dry in the oven the same way you dry the painted boot, don’t forget if you glued the boot you can not dry in the oven!! You are going to love how the coffee stain makes the boot smell. If you would like to coffee stain your boot trim you can do that know cut your trim piece 12” long and 4”wide, place into coffee mixture ring out and dry.
After your boot has dried check to see if you need to add more stuffing, I took out the stuffing from the leg of the boot and added more stuffing to the foot then stuffed up to the top of the boot again.
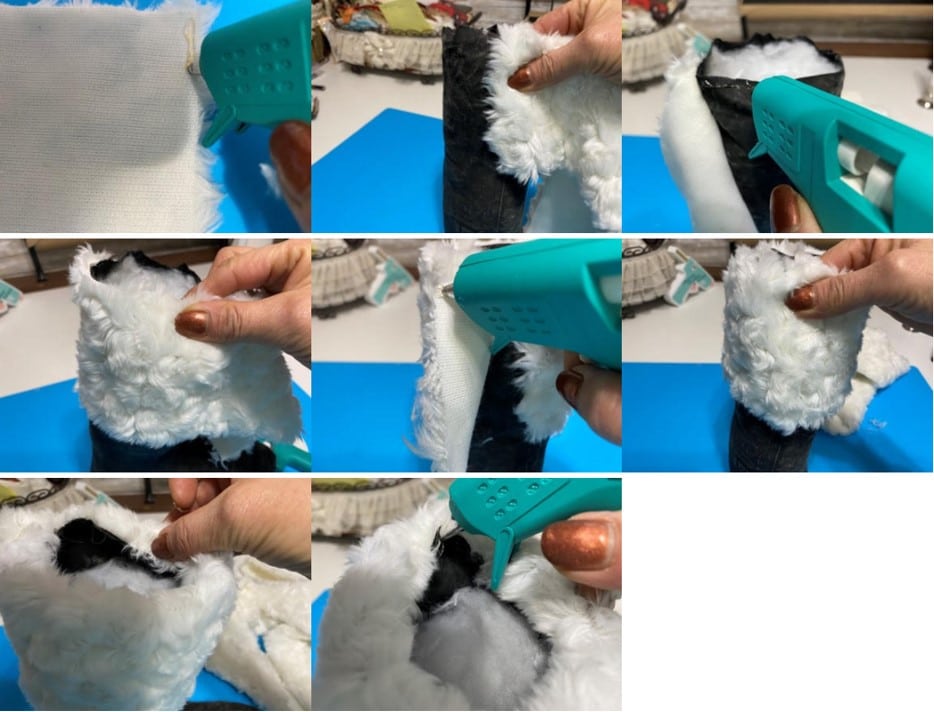
Adding the Trim and Greens
Cut a 12” long by 4” wide piece of your trim, add hot glue down one end and glue to the seam at the back of the boot, next add a small line of hot glue at the top edge of the boot and glue your trim continue gluing around the top of the boot when you get to the beginning add a line of got glue down the end of your trim and glue next to the first end of the trim. At the top of the boot tuck about a ½” of the trim into the boot all the way around then lift a small area add some hot glue and glue down inside the boot continue all the way around the boot.
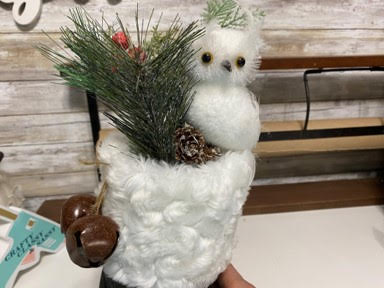
If you want to add rusty bells thread a piece of jute or twine through a needle slide two bells onto the jute, thread the jute through the trim on the side of the boot at the top and tie into a knot. Add any greens you would like into the top of the boot. Your boot is now finished and all ready for you to decorate your home for Christmas with.
Wish I had your skills, love all your primitive items you make! ❤️
Love all you make.