Home Decor
DIY Tea Towel Wall Art
Feb
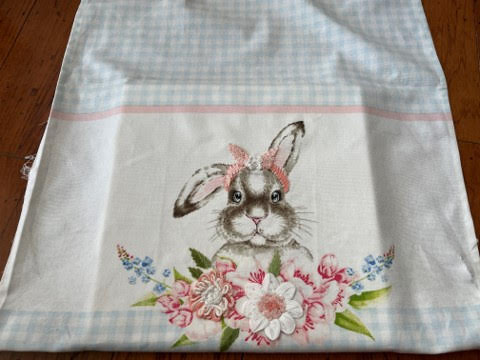
Do you love decorating your home but you are on a tight budget. Here is cost friendly way to create decorative wall art for any room in your home. I have been seeing such beautiful tea towels in the stores and I knew I just needed to find a way to use them in my home besides just as a towel. I decided to try turning them into wall art and I just love how they came out.
You will be amazed how simple they are to make!
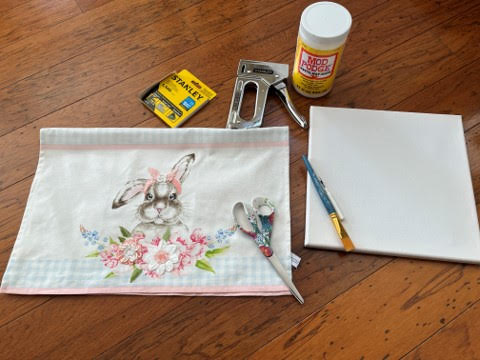
Materials You Will Need
-
Decorative Tea Towel
-
Artist Stretch Canvas to fit the decorative part of your tea towel
-
Mod Podge
-
Heavy Duty Staple Gun and Staples
-
Seam Ripper
-
Scissors
-
Paintbrush
-
Iron
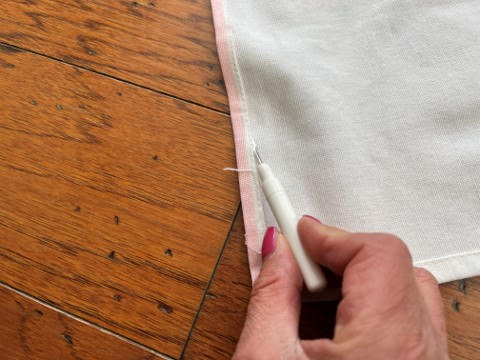
Preparing The Tea Towel
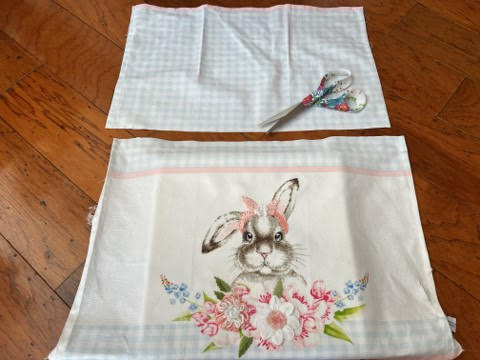
The first thing you will need to do is carefully open the seam across the bottom of the tea towel with a seam ripper. I your decorative part of the tea towel you are going to use is in the center of the towel you will not need to open the seam. Next iron the tea towel getting out all the wrinkles.
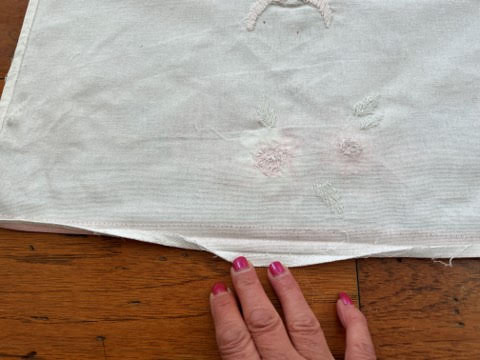
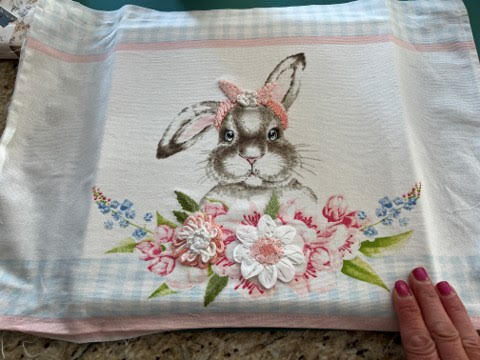
Place the tea towel onto the artist stretch canvas making sure you center the decorative part of the tea towel on the canvas.
Cut any excess from the top of the tea towel making sure you leave enough to wrap around to the back of the canvas for stapling. If you have a lot of towel at the bottom you can cut off the excess, my decorative part of the towel was towards the bottom so I did not have any excess towel at the bottom.
Attaching The Tea Towel To The Canvas
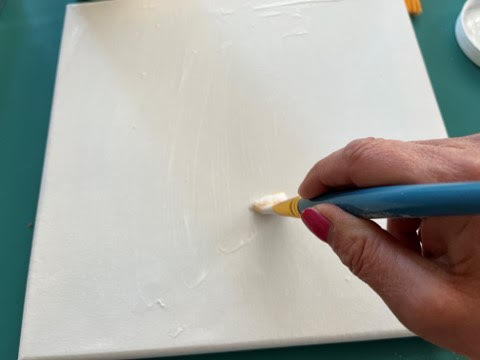
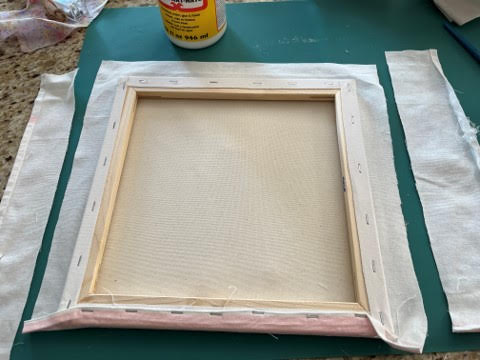
Using a paintbrush apply mod podge to the front of the canvas then place your tea towel on top making sure to center the decorative part of the towel. Rub the towel smooth to make sure there are not wrinkles.
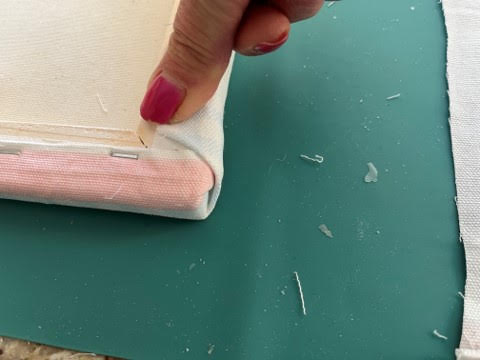
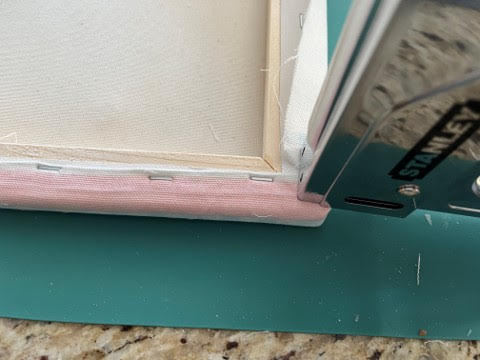
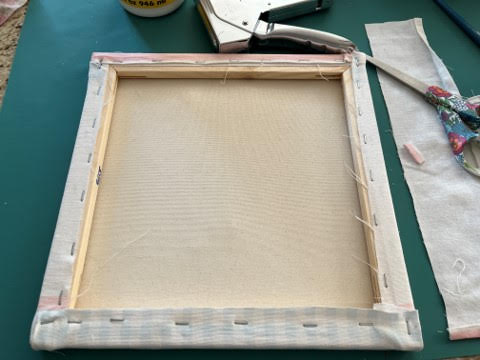
Turn the canvas over pull the bottom of the tea towel to the back of the canvas and start stapling the towel to the back of the canvas. Do not staple close to the ends yet. Next trim off the excess towel on the sides making sure you leave enough to staple to the back of the canvas.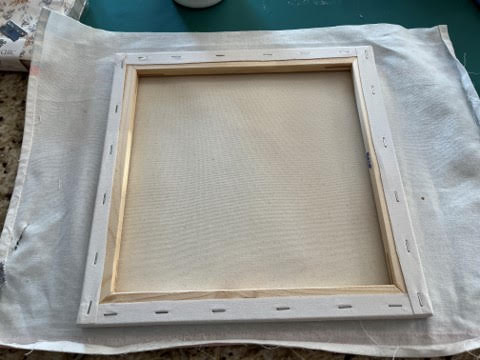
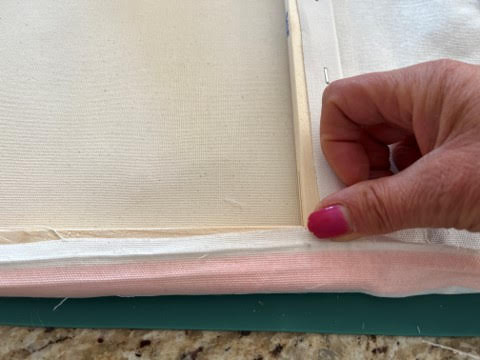


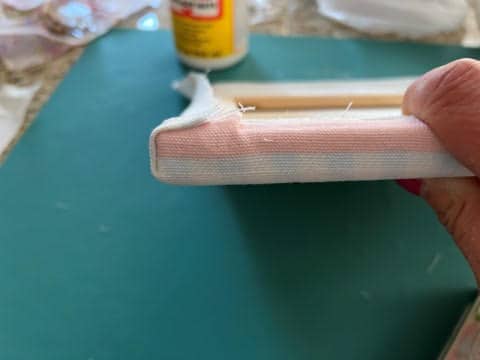
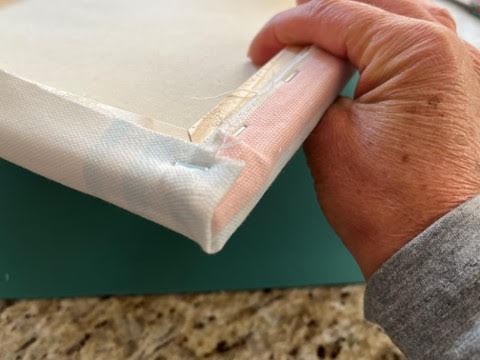
Turn the canvas over to make sure your design is still in the center then flip back over. Now you are going to fold the corner something like wrapping a preset but you want to make it as square as possible. Staple down the corner continue stapling across then fold down the next corner and staple. Staple down the opposite side, then the corner and across the top.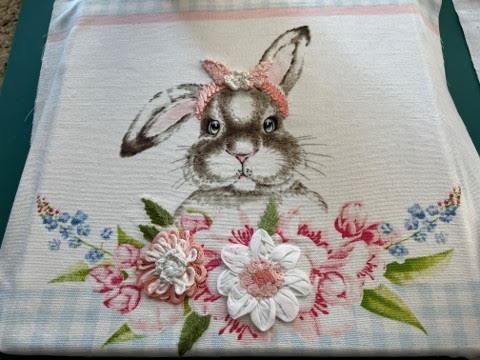
If you would like the front a little stiffer and shiny you can cover the front with of the tea towel with mod podge and let dry.
You can add a picture hanger to the back or you can be like me and use the command picture hanging strips.
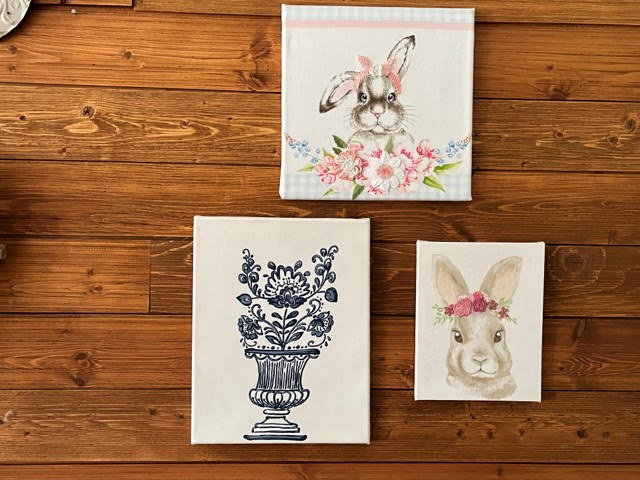
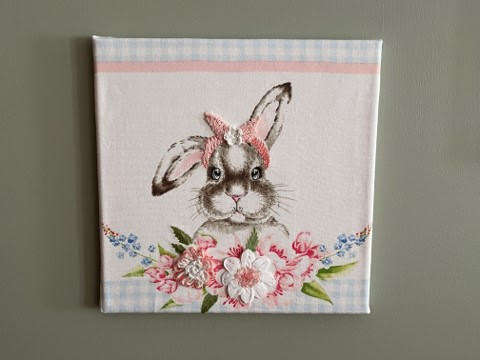
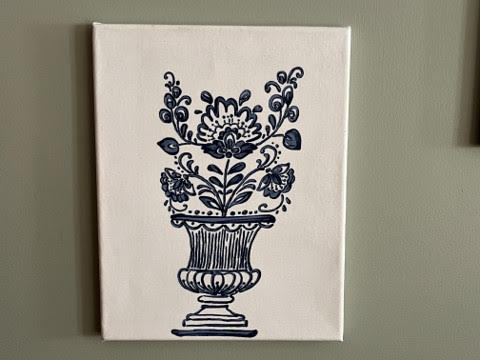
I found these bunny tea towels at Home goods and the blue flowers in the pot at hobby lobby on clearance for $1.79.
The artist stretch canvas you can get 8×10 and 11×14 at The Dollar Tree or the craft stores have really good deals on a bundle if you would like to make a few of the tea towel canvas’s for your home. For the bunny I used a 12x`12 canvas, the size canvas you are going to wan will depend on the tea towel you are using. I think the bunnies are adorable for spring/summer or to use in a babies room.
I hope you give these a try once you make one you are going to want to make them for every room in your home. The possibilities are endless and the best part is they won’t break the bank!

Love everything you make my favorite were the yarn hearts that you put together one was pink and one was cream . Gave it to my daughter she absolutely loved it thank you for sharing that with us
Thank you so much I am so glad you are here with me.
You have the best ideas
Thank you so much.
You are amazing. I love your quite way you show us what to do. Thank you for sharing your crafts.
You are so sweet thank you so much.
Love the tea towels. This idea is awesome. Can’t wait to make some thank you so much.
Thank you so much!
They are beautiful where do you get such beautiful tea towels
Thank you so much!
I am going to try this t towel They are beautiful. I love your crafts but most of the time do not comment because I am on reruns. So I never try to win something. I work so hard to catch you live. Thanks I watch your sisters too. I like yours best than Barbs than your youngest sister. I like hers the least because I am not into her decorations. Anyway your friend Judy from Shamokin area in PA
Thank you so much!
LOVE YOUR WORK
Thank you so much!
Great idea. Now I have to look for tea towels. I was wondering instead of mod podge could the plastic wrap and iron method work on this?
I love your crafts
I have tea towels from Paris and Portugal and I needed some way to display them. I will definitely use your idea. Thank you