Fall, Halloween, Home Decor, Thanksgiving, Thrifty Makeovers
DIY Thrift Store Glass Pumpkin
Sep
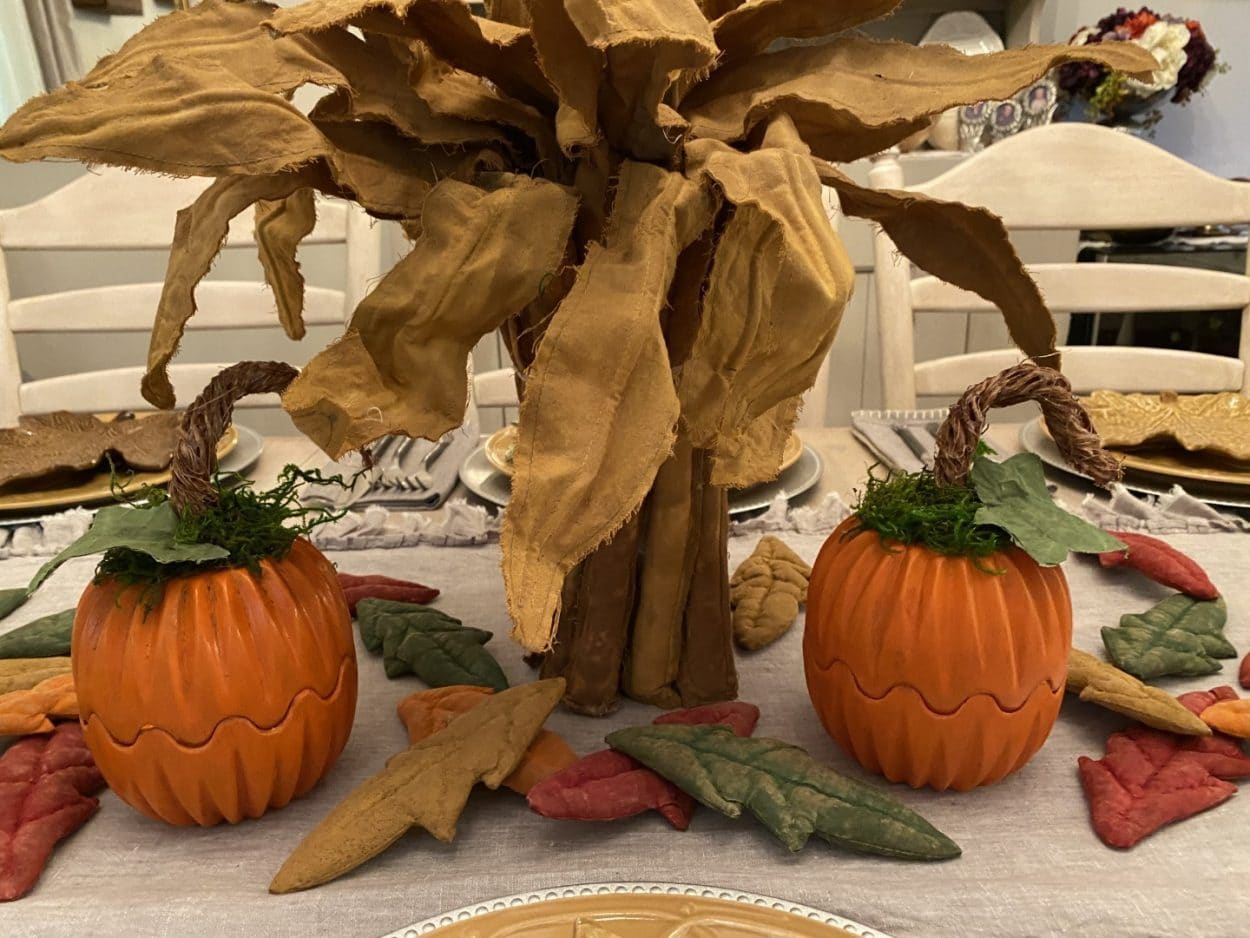
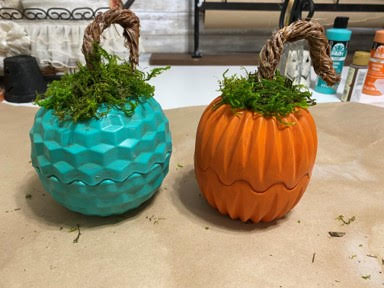
One of my favorite place to shop is the thrift store, I just love searching for treasures that I can turn into something different and unique to decorate my home with.I was shopping in Goodwill one day and I came across what I thought was two glass candy dishes but someone told me they are candle holders from Interior decorating at least that is what I think it is called.As soon as I saw them I immediately thought of a pumpkin and I knew I had to have them, I think they are the cutest pumpkins.If you are a thrift store shopper keep an eye out for two piece glass candy dishes or candle holders so you can create these adorable pumpkins.
Here is a list of what you will need:
- Thrift Store Glass Candy Dishes/Candle Holder
- FolkArt Pure Orange Enamel Paint For Glass (Hobby Lobby)
- Antiquing Medium
- Krylon Matte Finish Sealer
- Green Fabric
- Preserved Moss
- Paint Brushes
- Green Floral Wire
- Wire Cutters
- Hot Glue Gun and Glue Sticks
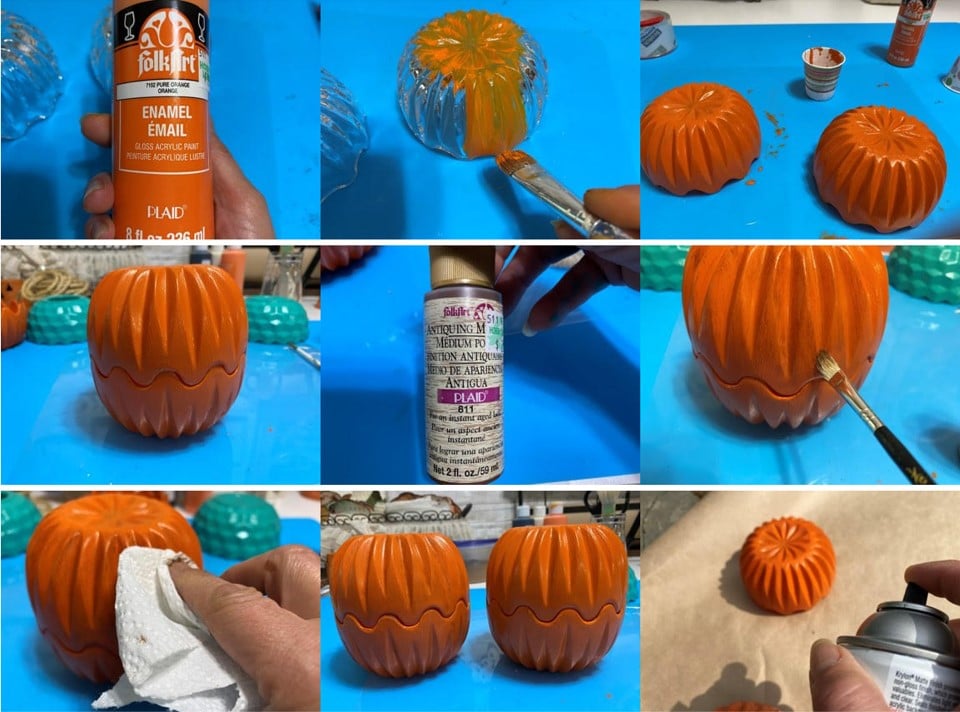
Painting the Glass
The first thing to do is give your glass candy dish a washing next paint the outside of your glass candy dishes with the FolkArt Enamel Paint I used the color pure orange but you can paint them any color you would like, it took 3 coats of paint to cover the glass really good. After the paint dried I wanted to give them more of an antique look so I used Antiquing Medium all you need to do is dab your paintbrush and lightly brush over the orange paint, you can add as much or as little as you would like if you think you added to much just wipe some off with a paper towel. The directions say to bake them in the oven to cure so they can be put in the dishwasher I choose not to do this part, after my paint was dry I gave them two coats of Krylon Matte Finish Sealer you can certainly follow the directions if you would like and cure them in the oven.
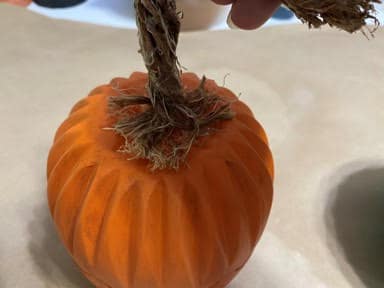
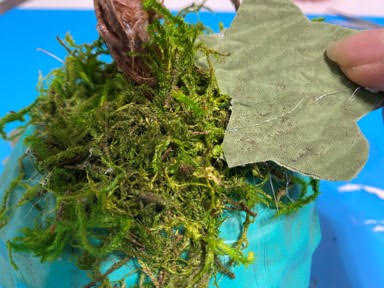
Adding The Stem And Moss
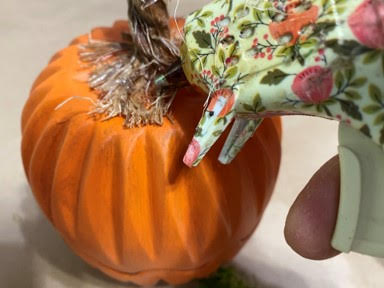
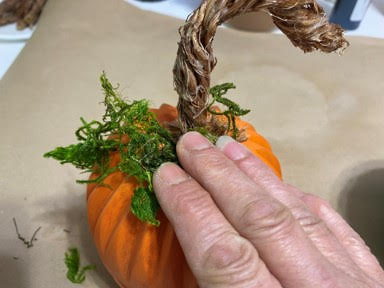
You can use a cinnamon stick, a piece of branch from a tree or if you would like you can make your own realistic stem as I do, if you would like to make the stem I use you can go to my blog for DIY Pumpkin Stem. To add your stem apply hot glue to the top of your pumpkin them glue the stem on. To add the moss apply hot glue around the stem and glue down the moss.
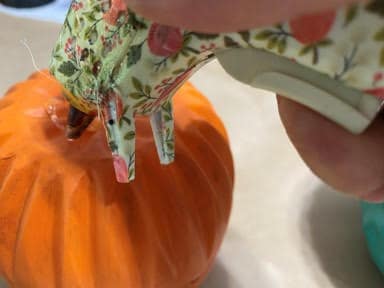
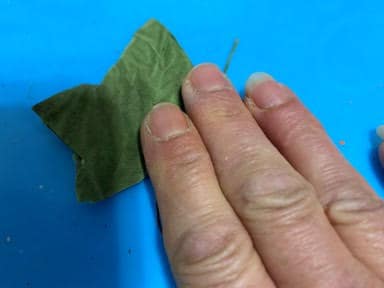
Making The Leaf
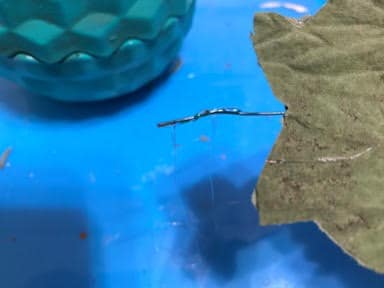
The first thing you are going to need to do is print and cut out the leaf pattern, next trace and cut out the leaf from a double layer of green fabric, if you would like to color your own fabric you can see how I color my own fabric on my blog called How I Coffee Stain And Color Fabric or you can use any green fabric of your choice. Now that you have traced and cut out your leaf cut a 4” piece of green floral wire then lay one leaf down and add a small line of hot glue down the middle of the leaf place your second leaf on top and glue down. Next you are going to glue down the sides of the leaf by adding a small about of hot glue close to the edge of the bottom leaf and gluing the two leaves together, I do one side of the leaf at a time.
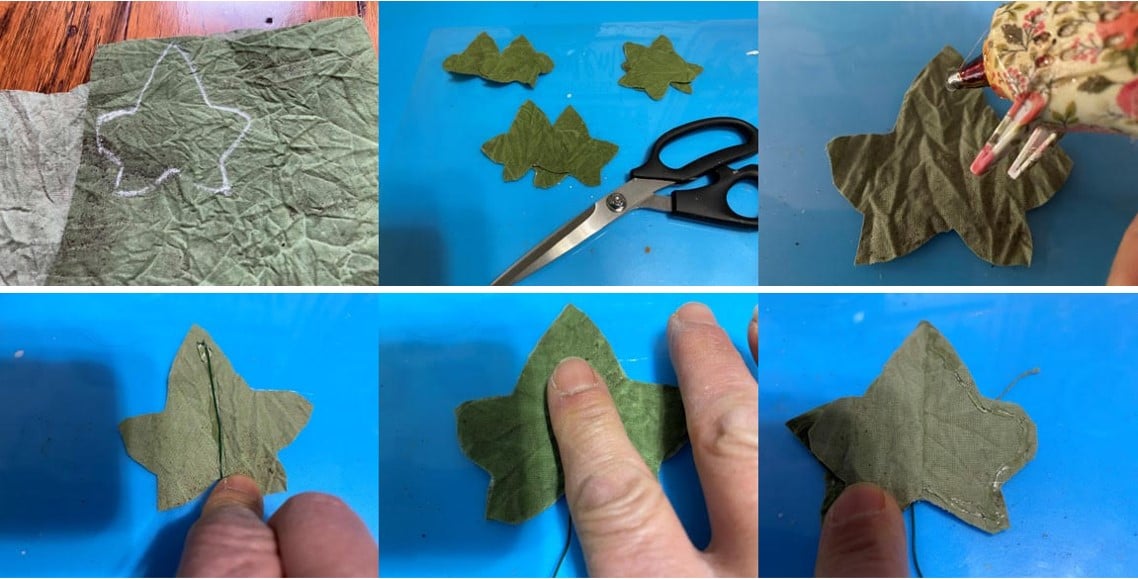
To attach the leaf to your pumpkin add hot glue to the bottom of the wire and insert into the moss next to the stem. You can add as many leaves as you would like.
Love love your corn stalks working on them now. I know you have been working on Christmas. But do you have pattern for corn, to go with our stalks? It would be great. Thank you so much. Love your posts.