Home Decor, Ornaments, Valentines Day
DIY Valentine Girl Ornament / Tree Topper
Jan
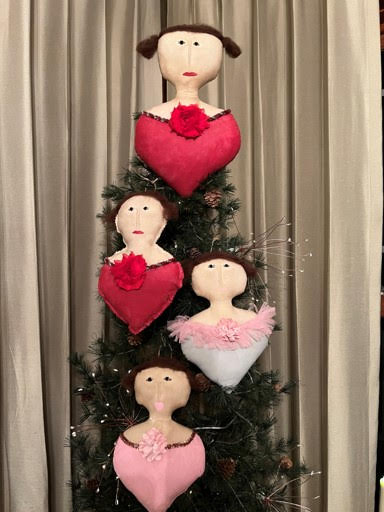
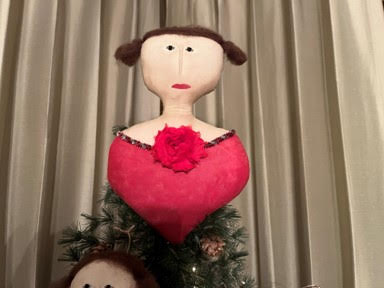
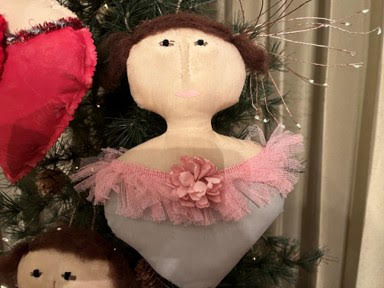
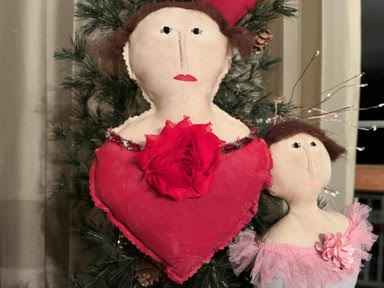
I just love decorating for the holidays and if you been following me you know I leave trees up all year long in my home. I wanted something new to decorate my trees with for Valentines Day and I seen this Valentine girl online so I decided to give my hand a try at making a pattern and giving her a try and I think she came out just adorable. After making the smaller ornament girl I had to make a larger girl to use as tree topper or I can also just hang her from my trees.
Materials You Will Need:
- Muslin Fabric
- Polyester Fiberfill
- Sewing Machine
- Cream Thread and Needle
- Embroidery Thread In The Colors Black, Tan and Brown
- Wool Roving in Brown (Hobby Lobby)
- Pipe Cleaners In Your Color Choice or Ribbon
- Flower Embellishments
- Craft Paints In Your Color Choice
- Pencil
- Scissors
- Paintbrushes
- Sponge Brush
- 220 Grit Sand Paper
- Coffee Stain Mixture
Sewing The Valentine Girl
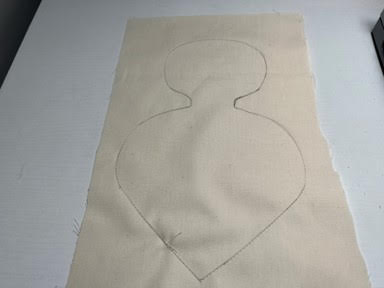
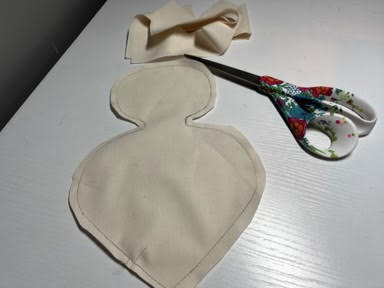
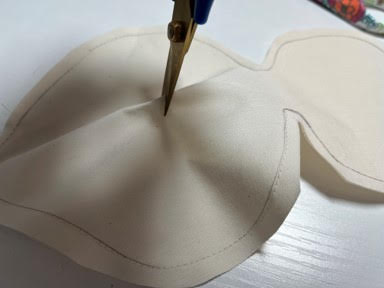
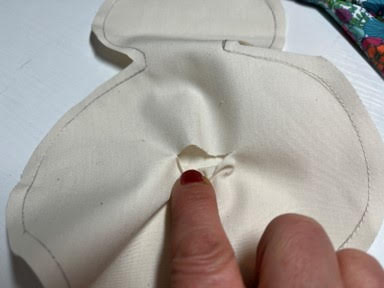
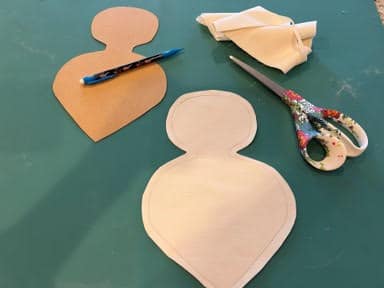
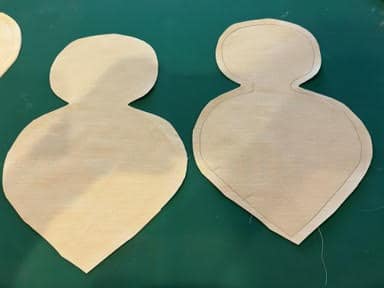
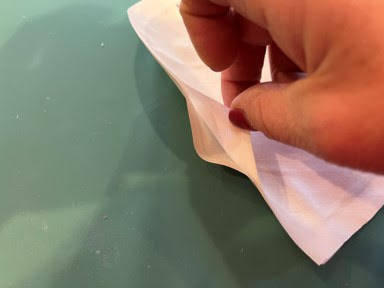
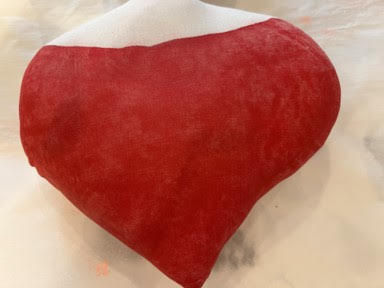
The first thing you will need to do is print and cut out the pattern pieces. The following directions are the same whether you are making the small Valentine Girl ornament or the large Valentine Girl tree topper. Trace your pattern onto a double layer of muslin. Using a sewing machine sew all the way around the Valentine girl using the trace line as your sew line. Cut out about a ¼” away from the sew line. Using your fingers separate the two layers of fabric then using a pair of scissors clip a small slit in one layer of fabric in the middle of the heart body. Make the small slit large enough to turn right side out and stuff. Using scissors clip around all the curves making sure not to cut the sew lines this will help the fabric not to pucker when you turn right side out.
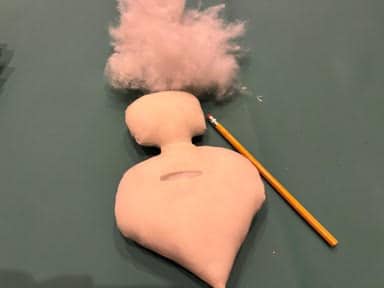
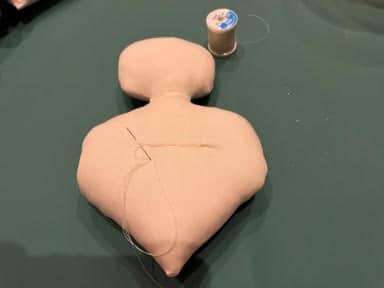
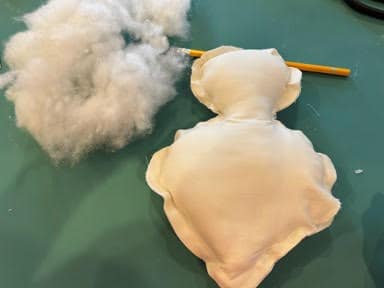
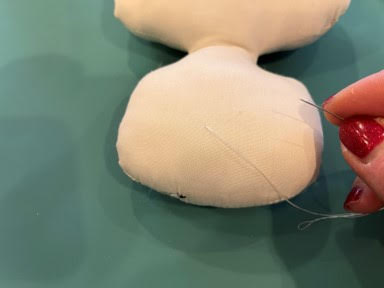
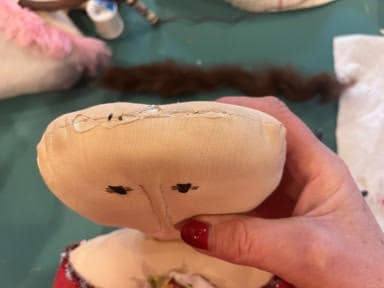
Turn right side out and firmly stuff with polyester fiberfill. I like to use the eraser end of a pencil to push the stuffing in. Sew the opening closed with cream thread and needle.
Gluing The Valentine Girl
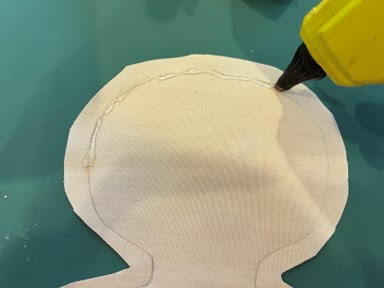
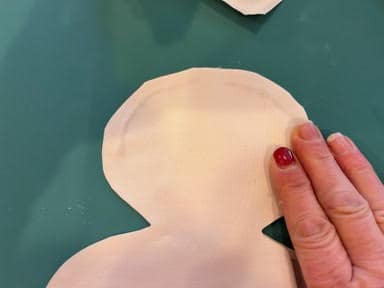
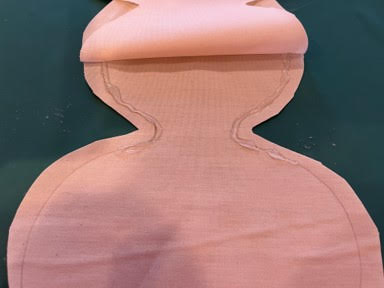
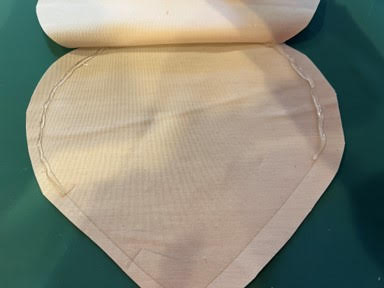
Trace the pattern onto a double layer of muslin. Cut out about a ¼” away from the trace line. Separate the two pieces laying down the piece with the trace line facing up. Using a hot glue gun and a glue stick, I love using gorilla hot glue sticks, add a line of hot glue on the trace line around the top of the head then place your second piece on top gluing them together. Next fold up the top layer of fabric then add hot glue on the trace line around the rest of the head and the neck, glue down the top layer of fabric. Fold up the top layer of fabric add hot glue about a ¼ of the way down each side of the heart then glue down the fabric. Continue glue the two layers together leaving an opening where indicated on the pattern.
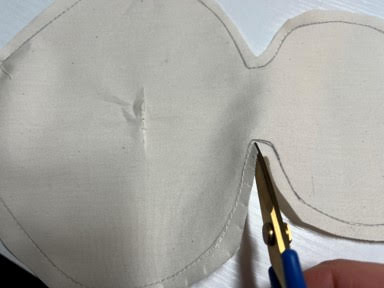
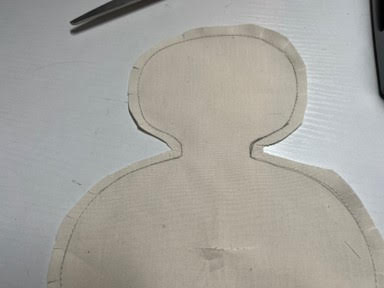
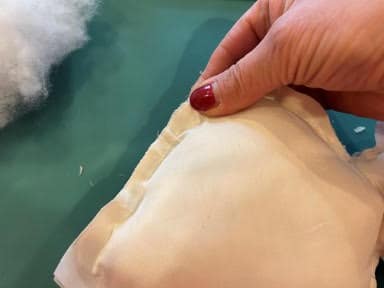
Carefully firmly stuff making sure you do not break through the glue line. If you happen to break open the glue line hot glue closed and continue stuffing. Once you have the girl stuffed hot glue the opening closed. Using scissors or pinking shears trim the excess fabric around the Valentine girl be careful not to cut to close to the glue line.
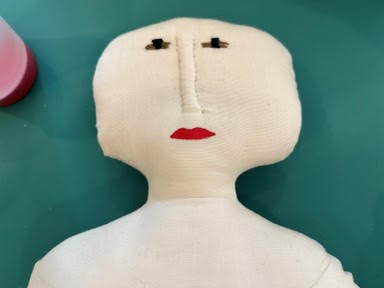
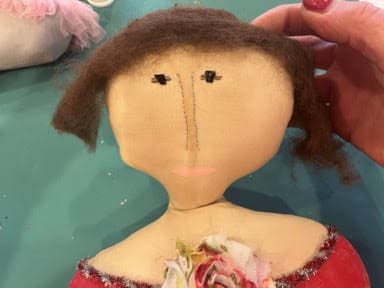
Adding The Face
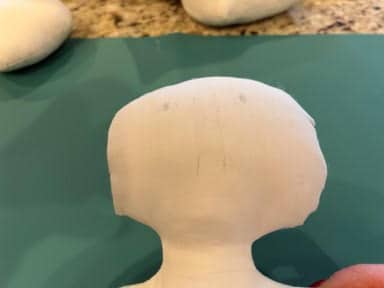
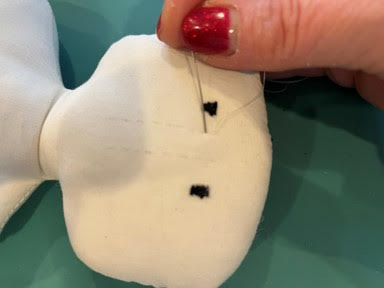
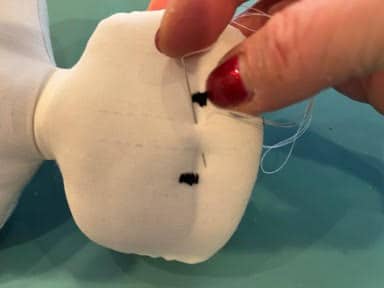
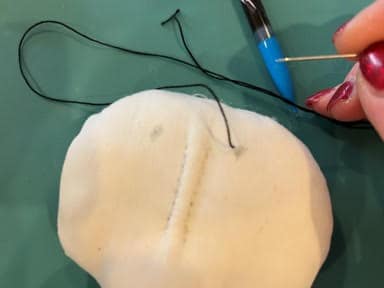
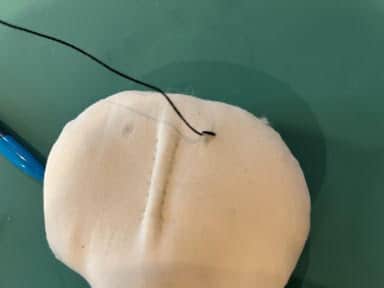
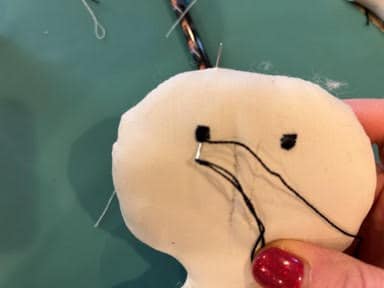
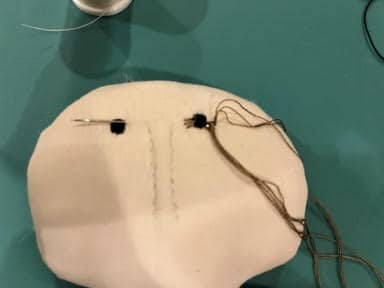
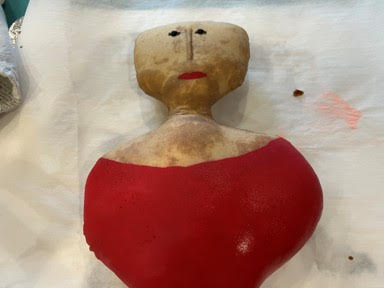
Using a pencil lightly draw the eyes and nose on the head where indicated on the pattern. To sculpt the nose using a heavy cream thread and needle insert the needle in the back of the head coming out at the top of the nose. Make a small stitch down, and come out on the other side of the nose at the top. Go back and forth in the same manner pulling the thread a little tight as you go. When you are making the last stitch come out the back of the head and knot off.
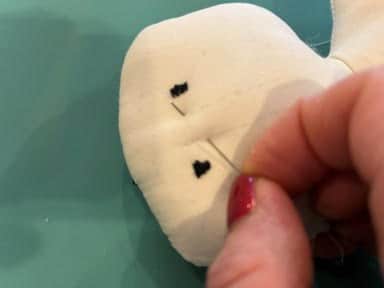
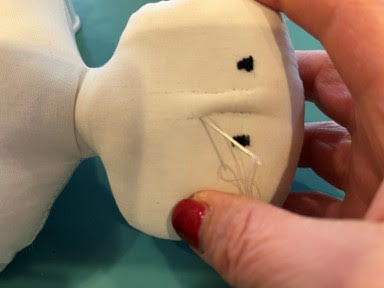
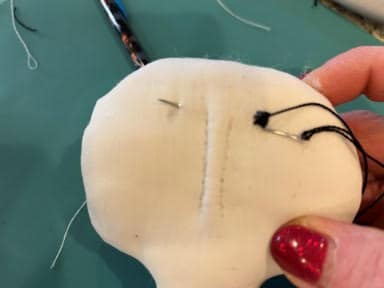
Using three strands of black embroidery thread stitch on one eye they bring the needle and thread under and over to the other eye and stitch the other eye. When you are done with the second eye bring the needle and thread to the top of the head and tie off.
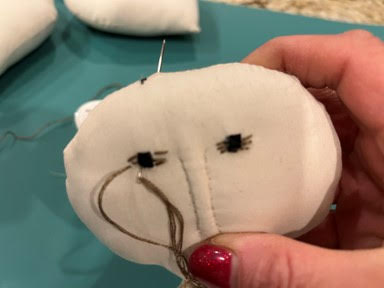
Next using two strands of dark tan embroidery thread and needle stitch on the lines on the sides of one eye where indicated on the pattern. When you have finished one eye bring the needle and thread under and over to the other eye and stitch on the lines then bring the needle and thread to the top of the head and knot off.
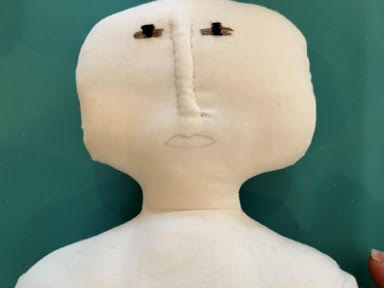
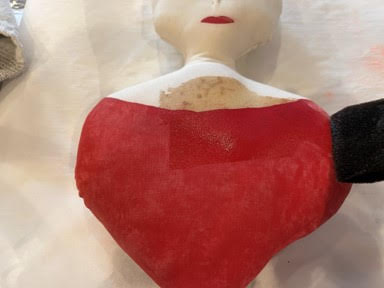
Using a pencil lightly draw a mouth onto the face, you can following the drawing on the pattern for the mouth I used or you can draw any mouth your would like. Next paint the mouth with craft paint in your choice of color.

Painting, Sanding and Coffee Staining
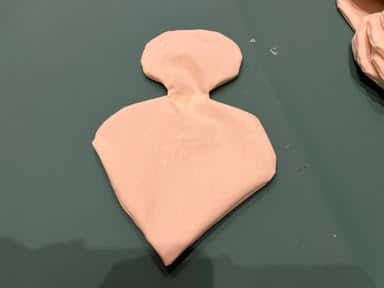
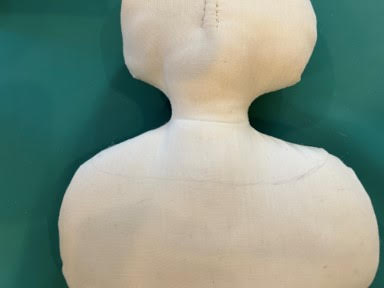
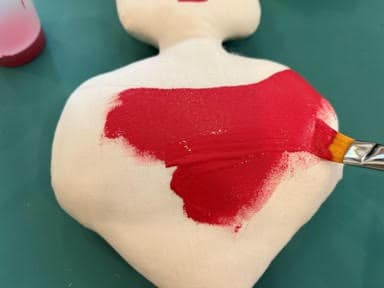
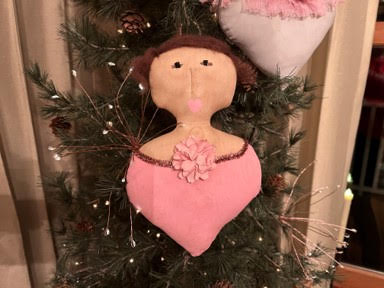
Using a pencil lightly draw a line to separate the chest and heart body as shown on the pattern. Paint front and back the heart of the body with craft paint in your choice of color. Let dry. If you have sewn the Valentine girl you can place her on a parchment lined cookie sheet and place her in a 210 degree oven checking her every 5 minutes until dried. If you have glued her do not put her in the oven or all the seams will open up.
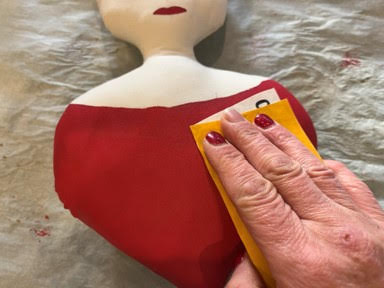
Once your paint has dried using a 220 grit sandpaper sand the painted area this will give a worn look.
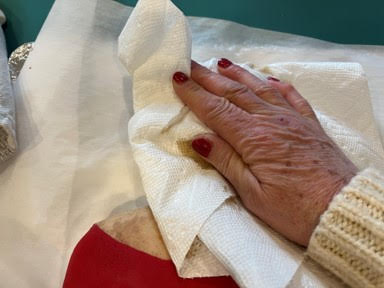
Coffee staining is optional I like to give the fabric a little darker tone and I also love the smell of the coffee mixture. If you need to know how to make a coffee stain mixture you can check out my blog on how I coffee stain and paint fabric. Using a sponge brush cover the entire Valentine girl with the coffee stain mixture by brushing it on. Next take some paper towel and blot the head to remove some of the coffee. Let dry naturally or place in the oven as you did to dry the paint. Do not place in the oven if you have glued the girl.
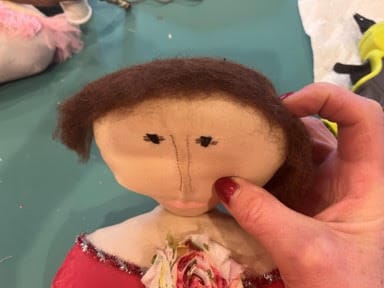
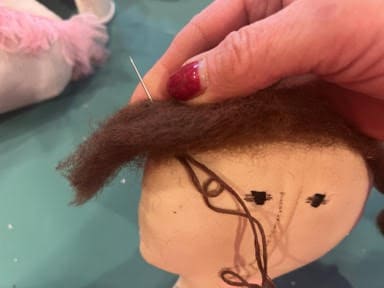
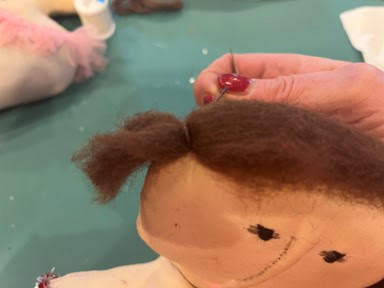
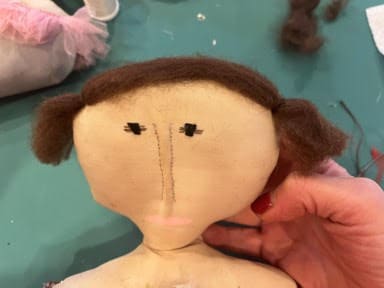
Adding The Hair
Take a piece of the brown wool roving and place on the top of the girls head. Cut the wool roving to the size you want the hair to be. Next add a line of hot glue on top of the head and glue down the wool roving. Take a piece of brown embroidery thread and needle and at the end of the top of the head do two stitches around the hair and through the head. Knot off at the back. Repeat this step to the other side of the head.
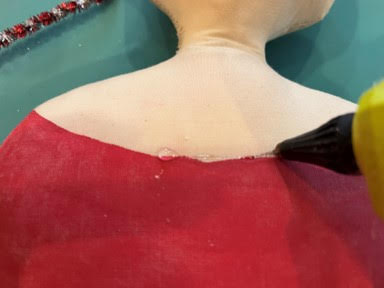
Adding The Embellishments
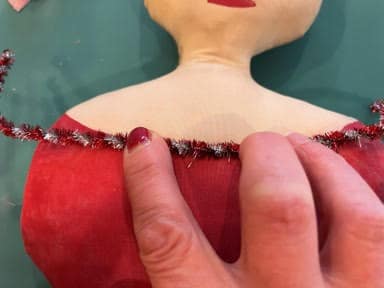
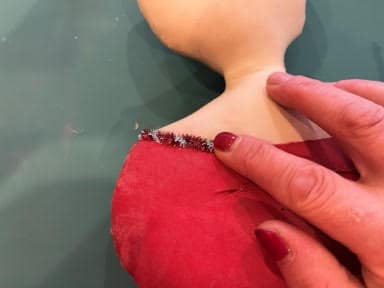
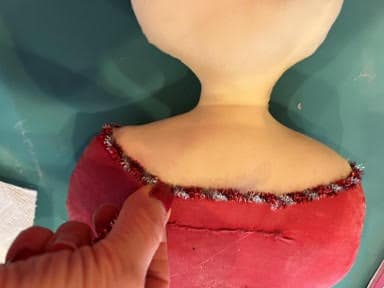
You can use a pipe cleaner or ribbon in-between the heart body and chest. If you are using a pipe cleaner you will need one pipe cleaner for the small girl and two pipe cleaners for the large girl. If you are using ribbon measure how much you will need to go around the girl and cut to size. Add a line of hot glue on the front of the girl at the top of the painted area. Center the pipe cleaner or ribbon and clue down. Add got glue around the back of the girl and glue down the pipe cleaner or ribbon. If you are doing the large girl you are going to have to cut a piece of another pipe cleaner to finish the back. Glue the piece onto the back.
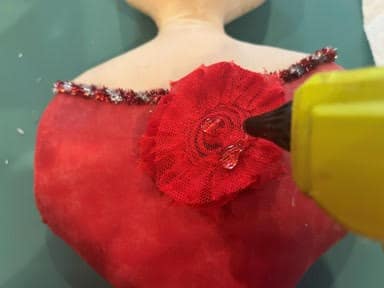
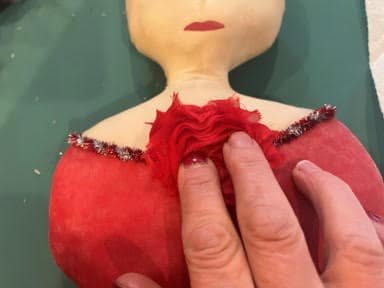
I added a flower to the front center but you can add any embellishment you would like. For the large girl I glued on a flower from a roll of flower ribbon I had bought at hobby lobby. And for the smaller girl I used a paper flower I had. Just add some hot glue to the back of your embellishment and glue to front of your girl in the center of your pipe cleaner or ribbon.
Adding The Hanger
To add a hanger to the Valentine girl to use as an ornament. Take twine and a needle insert the needle in the top back of the head form a loop and tie a double knot. Trim off excess.
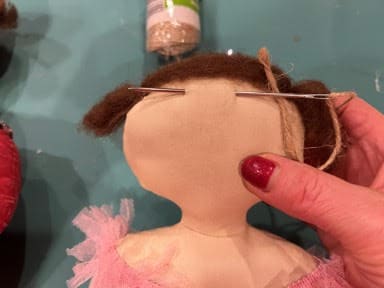
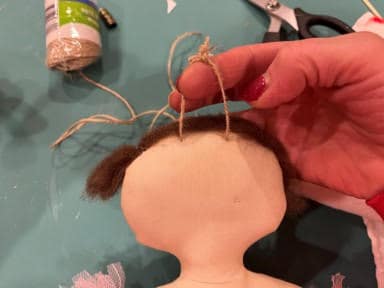
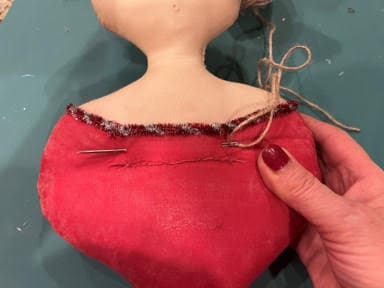
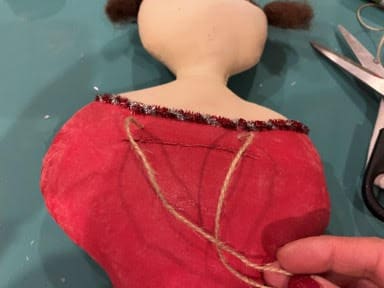
If you would like to make the Valentine girl a tree topper take twine and a needle insert on the back of the girl under the pipe cleaner or ribbon and bringing the needle up about 3” or so over. Leave about 6” of twine on either end. Place the Valentine girl at the top of the tree and tie around the branch at the top of the tree.
You have now made your Valentine girl! I hope you love her as much as I do. She will look adorable on your tree or placed on a shelf or tiered tray.
Sherri I’m missing something……where Valentine Girls pattern?
Go to my web page at https://www.thecraftydecorator.com you can find it there. Click on the first line under Materials you will need it will bring up the pattern.
I’m excited to make her!
I love the video making these cute ladies. However, while watching I noticed the birds on the tree in the background. Is there a pattern for those?
Yes there is a blog where you can print out the pattern for them. Go to my web page at https://www.thecraftydecorator.com and click on blog you will find it there.
Thank you so much Sherry!
Love the dolls
Where do you get the wool for the
hair?
It is wool roving from Hobby Lobby. You can find it in the same isle they sell the embroidery thread.
I ❤️ working on your creations. I had fun making the small version of this Valentine’s Lady.