Home Decor, Valentines Day
DIY Valentine Owl
Jan
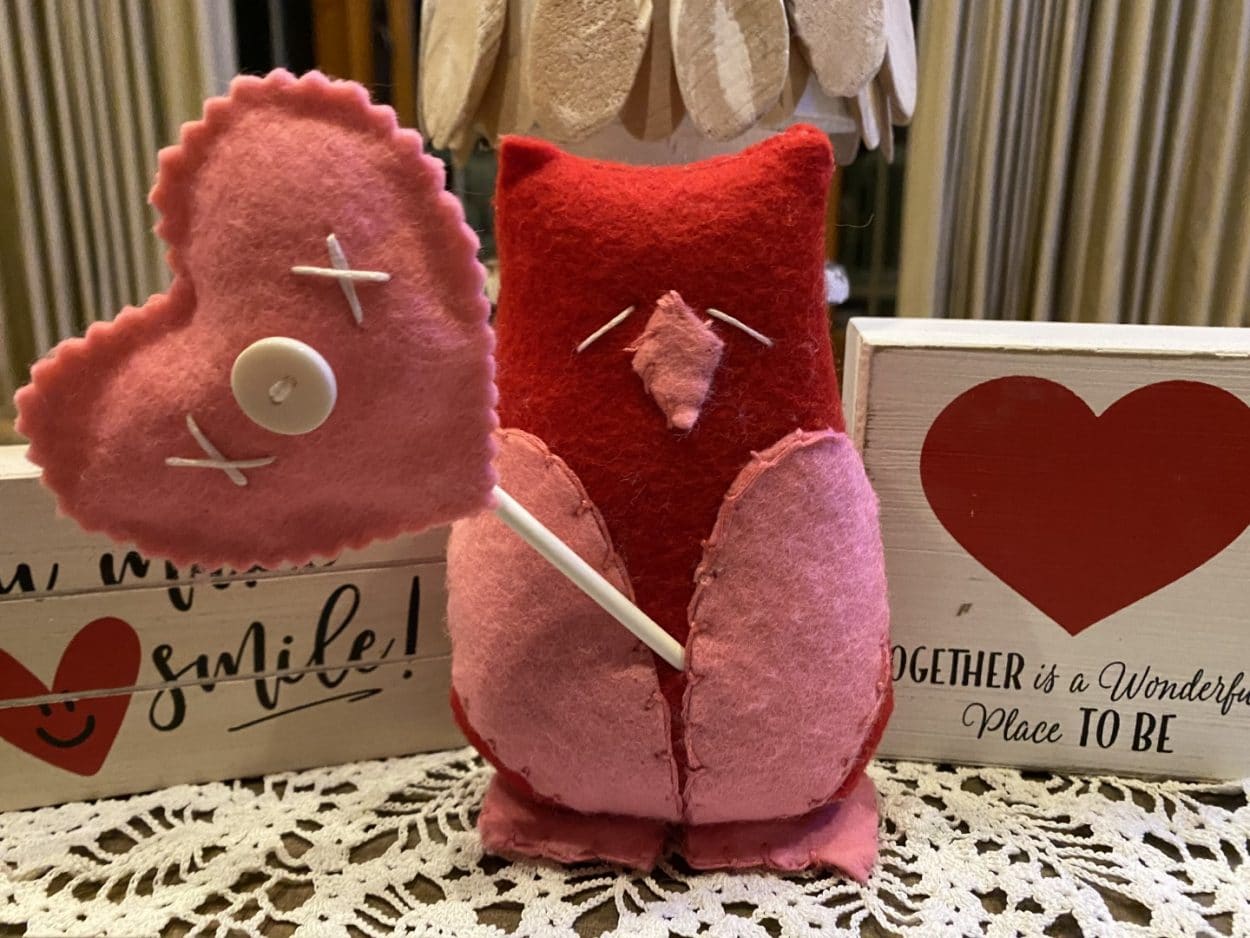
I just can’t believe Christmas is over and Valentines Day is right around the corner.If you decorate for Valentines Day you are going to love this little Valentine Owl.I originally made this adorable owl years ago using a pattern from a craft magazine.I made a few modifications to him to make him more simple to make.
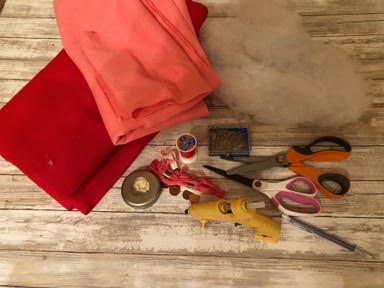
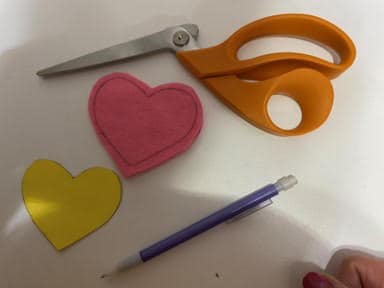
Here is a list of what you will need:
- Valentine Owl Pattern
- Red Felt
- Pink Felt
- Pink Embroidery Thread
- White Embroidery Thread
- Red Thread
- Needle
- 8” Treat Stick or Dowel
- Small White Button
- Polyester Fiberfill
- 4 Pennies
- Scissors
- Pinking Shears
- Sewing Pins
- Sewing Machine
- Hot Glue Gun and Glue Sticks
- Pencil
- Ruler
Making the Owl Body
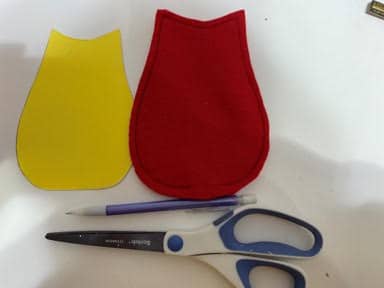
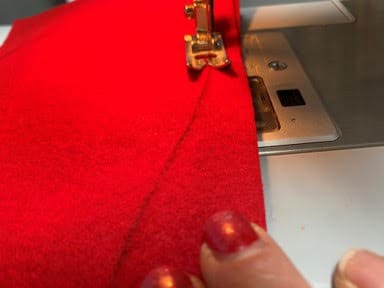
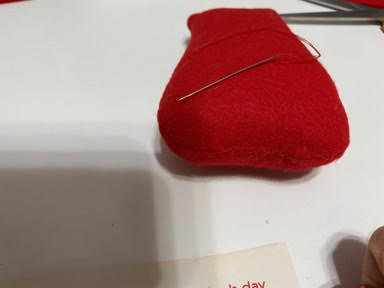
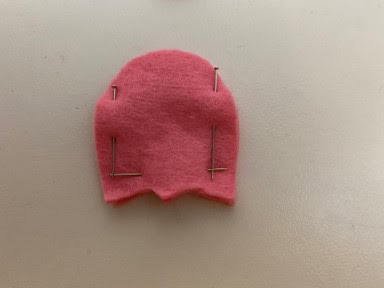
The first thing you will need to do is print and cut out the Valentine Owl Pattern. Trace the owl body onto a double layer of red felt with a pencil, cut out about a ¼” away from the trace line. Using the trace line as the sew line sew the owl body on your sewing machine, leaving a opening on the bottom as indicated on the pattern. Turn right side out and stuff firmly with fiberfill. After you have stuffed the body sew the opening closed with red thread.
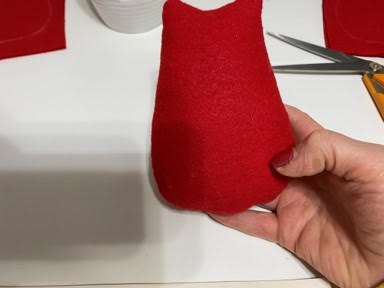
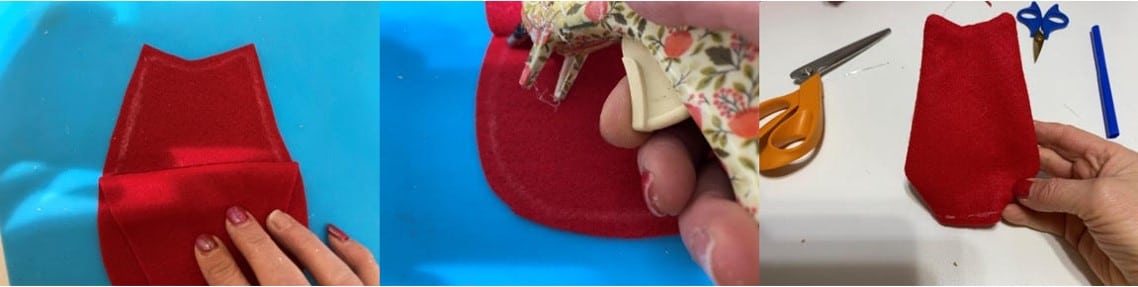
To hot glue the owl body instead of sewing, trace the body on a double layer of red felt and cut out about a ¼” away from the trace line. Next lay down the body piece with the trace line facing up then lay the second piece on top. Fold back the top layer half way then apply a small line of hot glue on the trace line then glue down the top piece. Next lift up the bottom of the top piece add a small line of hot glue to the trace line leaving a opening on the bottom as indicated on the pattern and glue down. Turn right side out and stuff firmly with fiberfill. Glue the opening closed..
Attaching the Wings
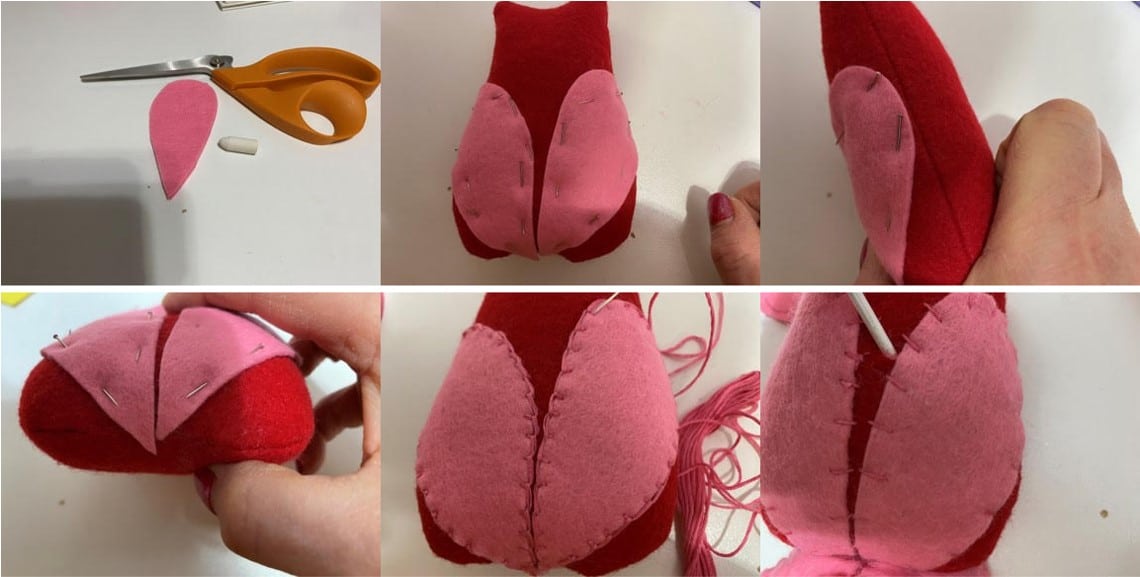
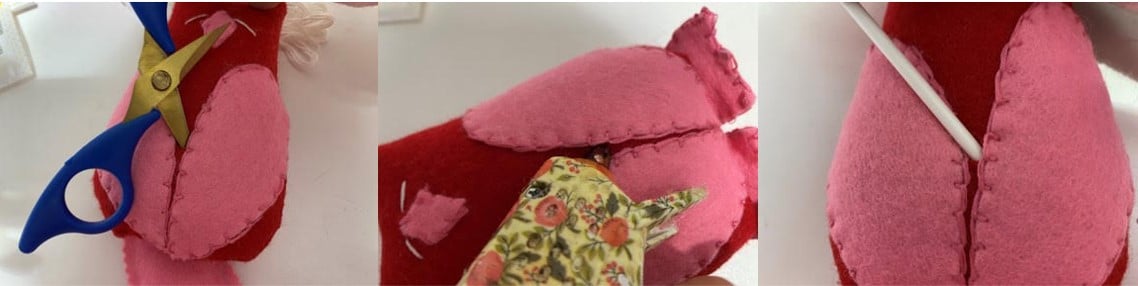
Trace the wing pattern piece onto a double layer of pink felt. Cut out the wings on the trace line. Lay wings onto body front, so they are creating a heart shape. Pin them in place. You can look at the photo’s below to see how to place the wings on the body. Using pink embroidery thread do a blanket stitch around the edge of each wing. If you don’t know how to do a blanket stitch you can go on You Tube and watch videos on how to blanket stitch it is really simple. If you would rather you can just do a regular stitch around the wings, I also show a photo of a regular stitch below.
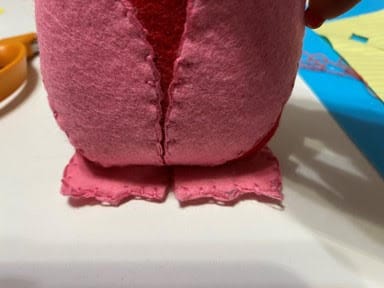
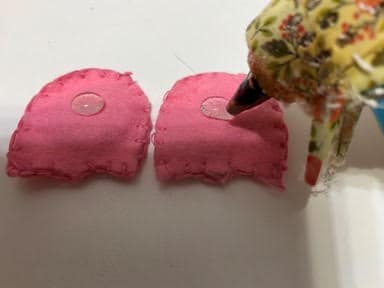
Attaching the Feet
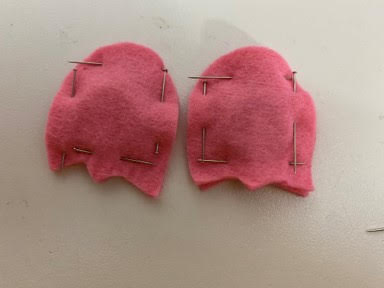
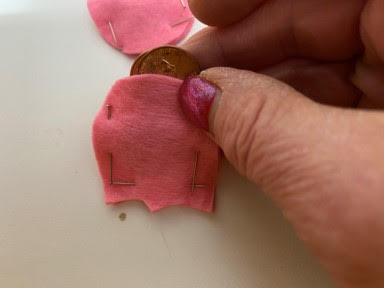
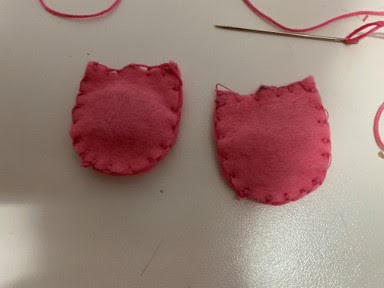
Trace the foot pattern two times on a double layer of pink felt. Cut out the feet on the trace line, you should have 4 feet. Pin two feet pieces together. Using pink embroidery thread start at the right side of the back of the foot and do a blanket stitch around the foot until you reach the back of the foot. Insert 4 pennies into the foot then continue sewing closed, in the photo I show putting the pennies in before sewing but it was to hard to sew the feet with the pennies in the foot so I did not add the pennies until I sewed around the foot as I explain in the above directions. Repeat this step to the other foot. You can also do a regular stitch around the foot if you would prefer.
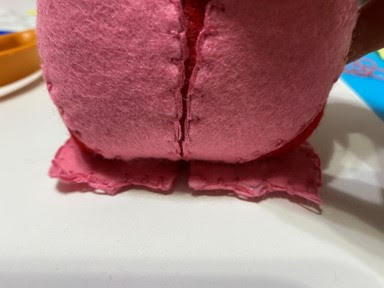
Now that you have the feet made place the two feet next to each other and set your owl body on top of them so you can see where they are going to be glue on. Add hot glue in the middle of each foot and glue the owl body to the feet. Your owl should now be able to stand on his own, you may need to shake him a little to move the pennies around and make him stand.
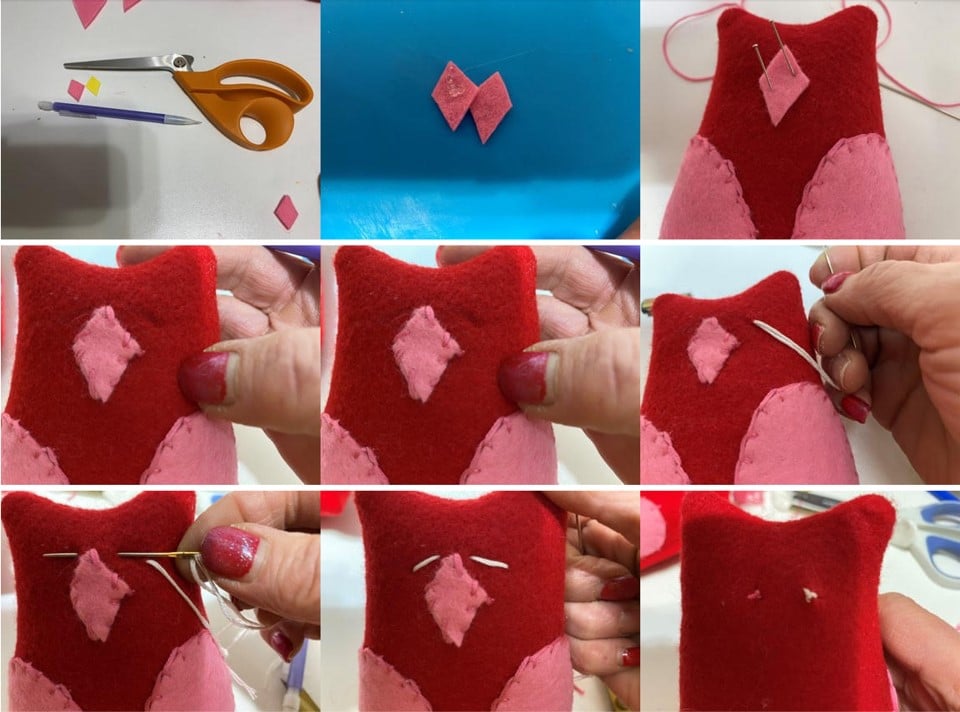
Adding the Beak and the Eyes
Trace the beak pattern onto a double layer of pink felt. Add a drop of hot glue in the middle of one piece and glue the two pieces together. Pin the two sides of the beak to the owl face. Using pink embroidery thread sew the beak to the owl face using a regular stitch. See photo below. When you come to the end of sewing on the beak bring the tread to the back of the head and tie off with a double knot. Next using a pencil lightly draw the two lines for his eyes onto the face. Using white embroidery thread go in from the back of the head and stitch on his eyes and going back out to the back of the head and tie off using a double knot.
Adding the Heart Lollipop
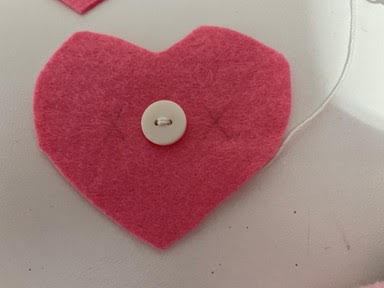
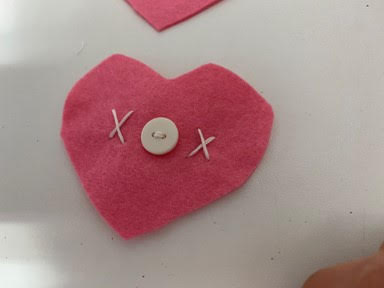
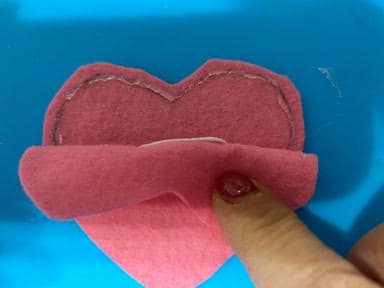
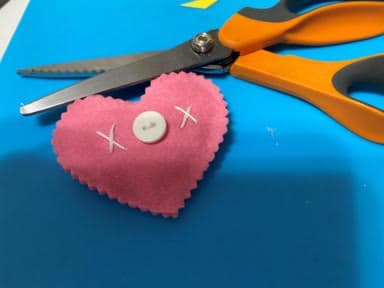
Trace the heart pattern onto a double layer of pink felt. Cut out the heart about a ¼” from the trace line. Lay down the heart piece with the trace line facing up, lay your second heart piece on top making sure they line up. Next take a small white button and using white embroidery thread sew the button in the middle of the heart without the trace line. Do not tie or cut your thread after sewing on the button. Using a pencil lightly draw a X on each side of the button. Stitch on both of the X’s using the white embroidery thread you just sewed the button on with. After you have stitched the two X’s tie a double knot at the back of the heart.
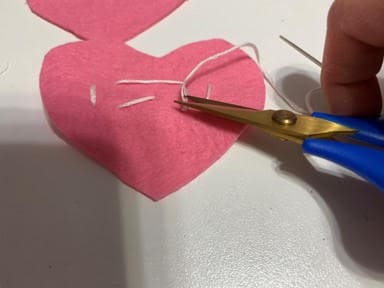
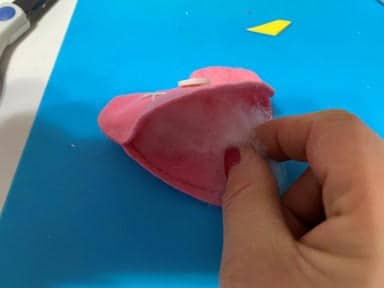
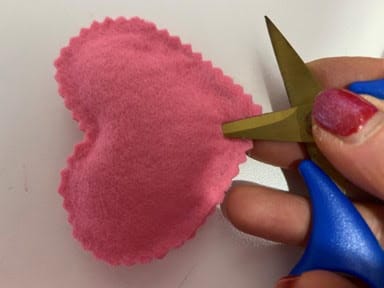
Lay the heart, button facing up, on top of the heart with the trace line. Fold back the top of the heart half way and add a small line of hot glue on the trace line and glue top piece down. Lightly stuff the heart with fiberfill. Next finishing gluing the heart closed. Cut 2” off the treat stick. You can also use a 6” dowel piece or a 6” piece of a skewer painted white. Using pinking shears trim around the whole heart, make sure you don’t cut your glued closure. Using the tip of your scissors on the back side of the heart make a small hole at the bottom. Add a small amount of hot glue into the hole and insert the stick pushing the stick up to the top of the lollipop.
Adding the Lollipop to the Owl
Using the tip of your scissors make a small hole in-between the two wings. Add a small amount of hot glue into the hole then insert the lollipop into the hole at a slant. See photo’s below.
You are now finished making your Valentine Owl. I hope you enjoyed making him and have fun decorating with him. He would also make a cute little Valentine for someone, you can not glue the lollipop in and insert a real lollipop so they could remove it to eat and replace it with the one you made.
Hi Sherry when I download the pattern the reindeer ear and eye come up No owl pattern.
Sherry, The owl pattern did not come up. Could you please post the dimensions.
I WOULD LOVE ❤️ TO MAKE THIS OWL 🦉 BUT I DONT HAVE A COMPUTER 😔😔😔
Hi Norma! I go to my local Staples store and print patterns there.
Such a cute project
the owl pattern is not there, it’s rain deer ears and eye
This owl is soo cute. I love watching you craft. ❤️
How can I get owl pattern