Easter, Home Decor, Spring
DIY Wood Bead Bunny
Mar
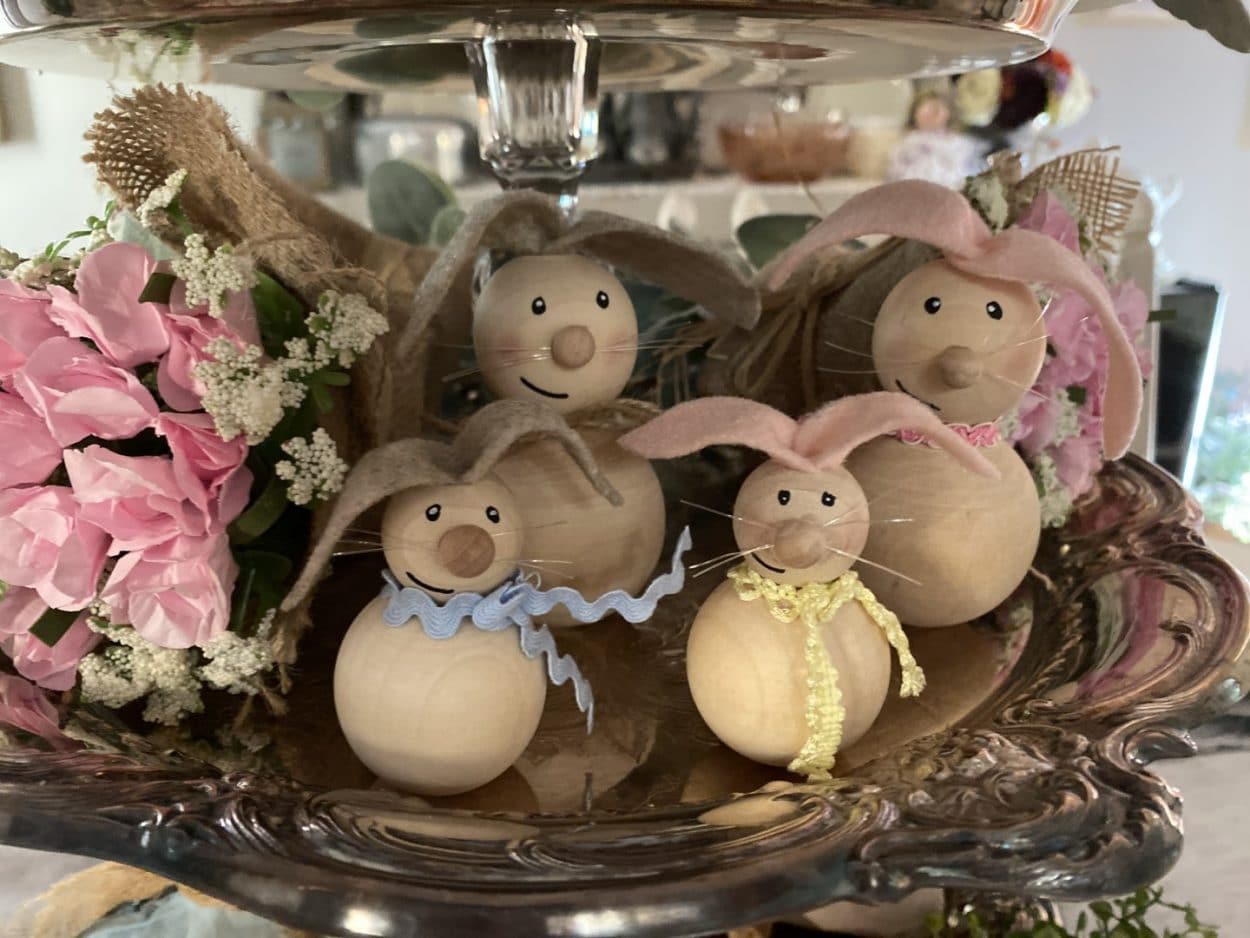
Are you looking for a simple and affordable Spring/Easter decoration. This bunny family would be just an adorable addition to your spring décor. I just love how they came out and all I had to purchase were the beads I had everything else on hand. You can find the wood beads at Hobby Lobby they are sold in the jewelry making supplies. I am going to leave my bunny family out all through the summer. Be careful making this adorable bunny family they can become addicting and before you know it you have bunnies popping up all over lol.
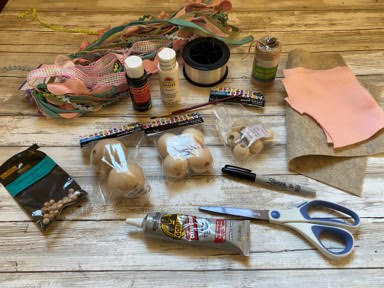
Here is a list of what you will need:
- 51mm wood beads, Tree house wood beads (Hobby Lobby)
- 38mm wood beads, Tree house wood beads ( Hobby Lobby)
- 25 mm wood beads, Tree house wood beads (Hobby Lobby)
- ¼” wood furniture buttons
- Fishing line
- Tan and Pink felt
- Ribbons
- Jute twine
- Black and White Craft Paint
- Paintbrush
- Blush
- Scissors
- Pencil
- Black Fine tip sharpie
- Gorilla Clear Grip Adhesive
- Hot Glue Gun and Glue Sticks
Assemble the Bunnies
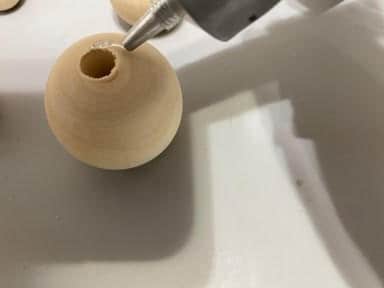
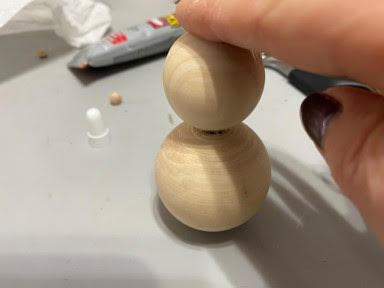
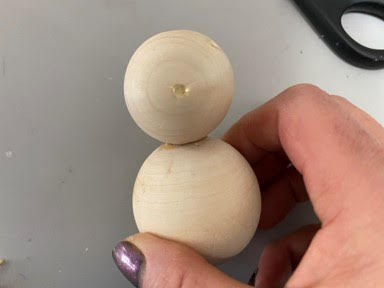
To make the two bigger bunnies take a 51mm wood bead add gorilla clear grip adhesive around the hole on one end of the bead then glue the 38mm bead on top. Repeat this step for the second bigger bunny. To make the two smaller bunnies take a 38mm wood bead add gorilla clear grip adhesive around the hole on one end then glue a 25mm bead on top. Repeat this step for the second small bunny. Set the bunnies aside for about 15 or 20 minutes.
Assemble the Bunnies
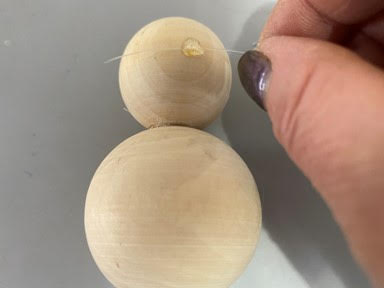
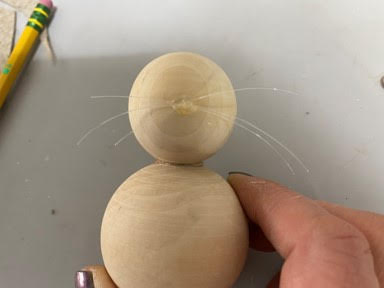
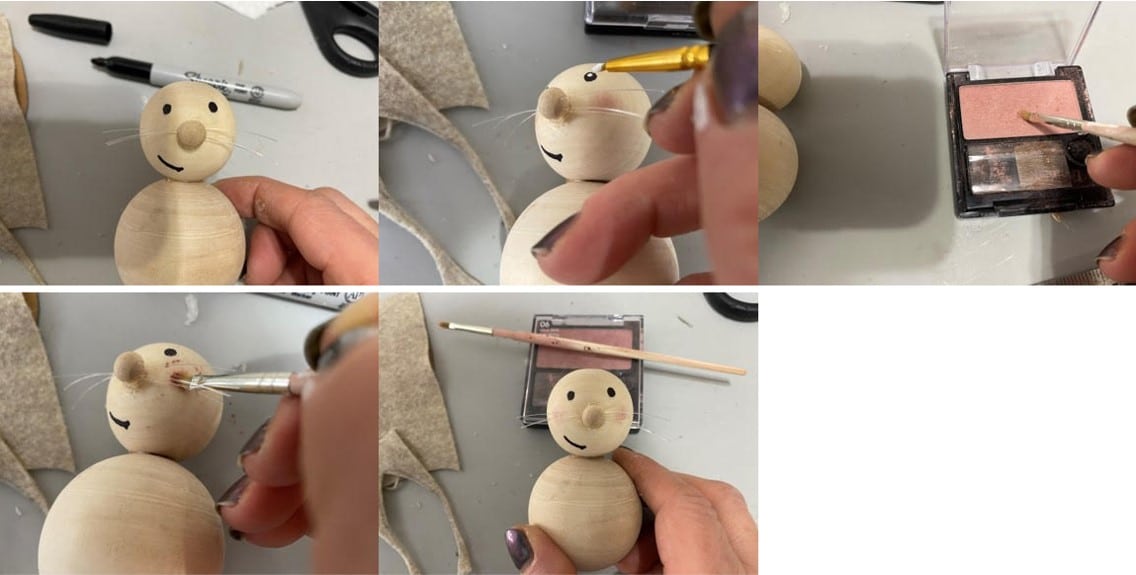
To add the face start with the whiskers and nose. Add a small drop of hot glue in the middle of the head then add three pieces of fishing line across the hot glue. Next place one of the furniture buttons on top of the hot glue. If your hot glue has already hardened add another small drop then place the button. I forgot to take the photo before I added the eyes. Trim the whiskers to the size you think they should be. Repeat these steps to the other three bunnies.
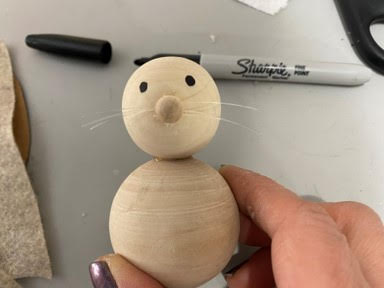
For the eyes you can either use a black fine tip sharpie or black craft paint. After using the sharpie I found using the black craft paint easier for me but it is your choice. Using a fine paintbrush make a white dot in each eye. Either using the black sharpie or black craft paint make the mouth. I chose to just make a half smile but you can make a full mouth if you would like. Next using blush and a stiff paintbrush apply blush to the cheeks. Repeat these steps to the other three bunnies.
Assemble the Bunnies
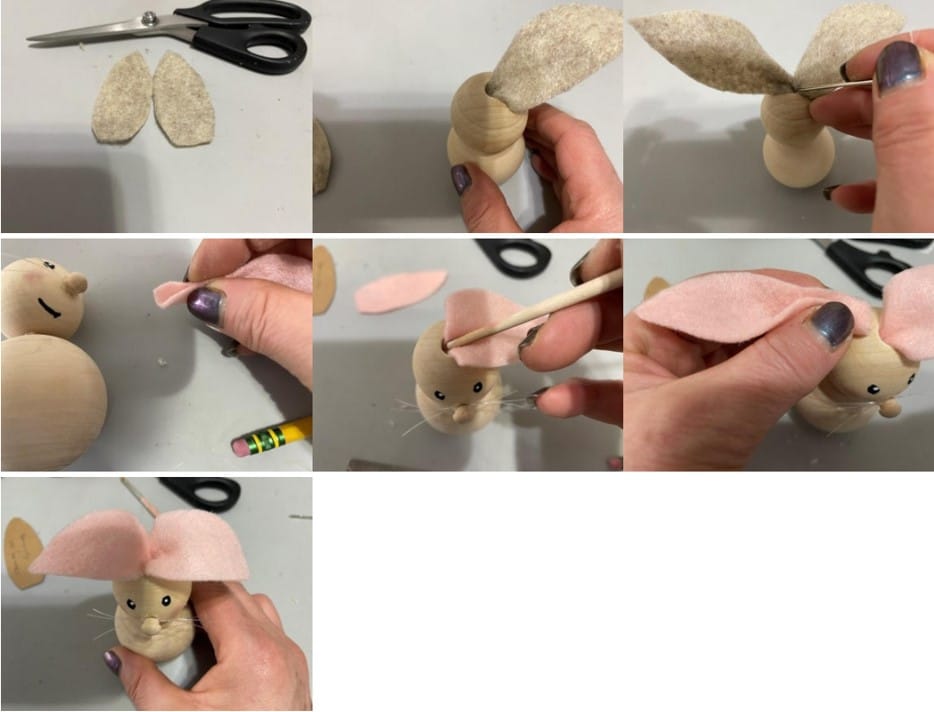
Trace and cut out one large ear on a double layer of tan felt and a double layer of pink felt. Trace and cut out one small ear on a double layer of tan felt and a double layer of pink felt.
Take one large tan ear fold the bottom of the ear inward and insert into the hole at the top of one of the big bunnies. Take the second ear fold in the bottom of the ear and insert into the hole. You will need to use the end of the paintbrush or a needle to bush the second ear down into the hole. Bend the ears downward so they look floppy. Repeat this step to the other big bunny using the large pink ears. Repeat these steps using the small ears and the small bunnies.
Adding the Embellishments
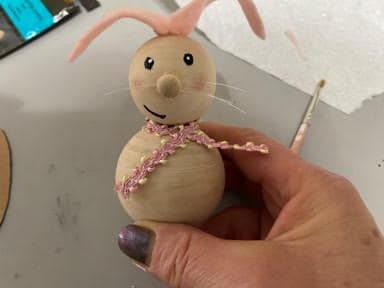
For the girl bunnies I added a ribbon around the neck. For the daddy bunny I tied a piece of jute twine around his neck and for the baby boy bunny I added a ribbon around his neck. You can use anything you would like to add around the bunnies necks. Just cut a piece of twine or ribbon and tie around the bunnies neck.
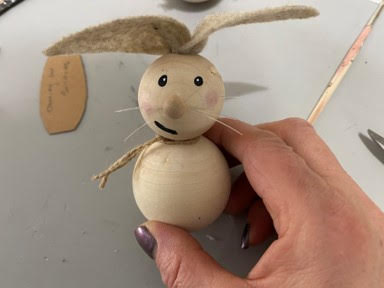
Your bunny family is now finished and ready to be placed in your home. Are they just not adorable? I hope you enjoyed making this bunny family. You can use them to decorate for Easter and if you love bunnies like me you can leave them out all summer long.
I am so glad that I found your site. Enjoy all that you do. Thank you for sharing.